PicsArtist @paolomore Shows You How to Turn a Photo Into a Mosaic
Paolomore (@paolomore) is a user with an exceptional talent for finding awesome editing tricks that can be done with the PicsArt app. Today we’re sharing his step-by-step tutorial on how to turn any photo into a mosaic.
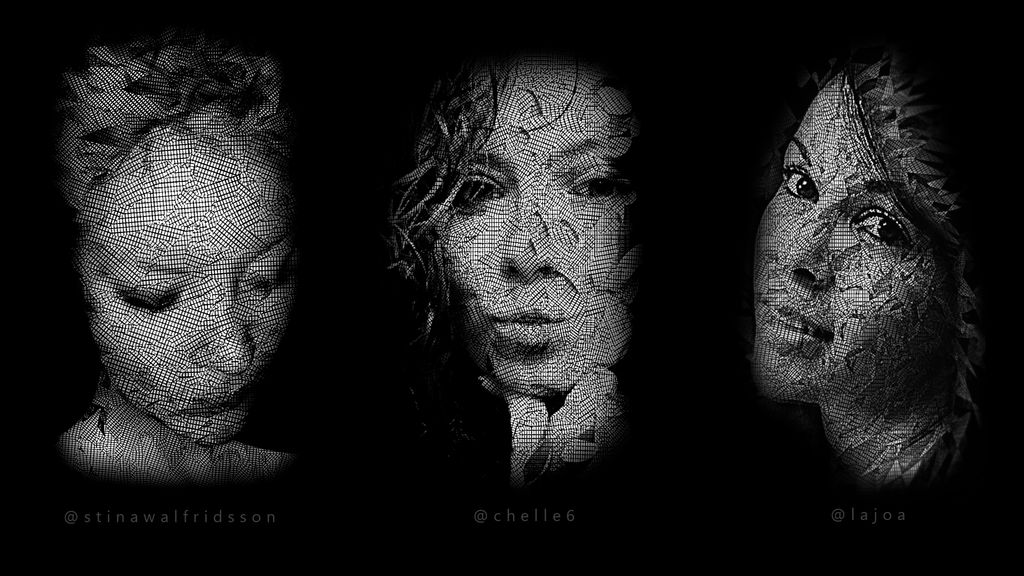
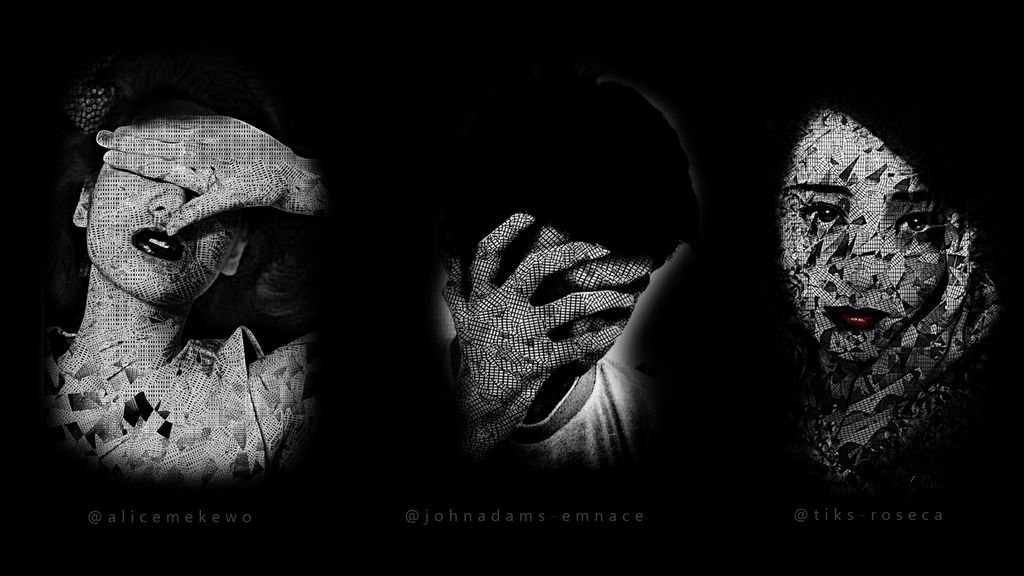
This is one of those tricks that only Paolomore could have come up with, but once you learn it, it’s actually easy to pull off. Make any image look like it was made out of thousands of small tiles, and instantly become a mosaic master like the greats of ancient Greece. Just watch the video or follow the steps below.
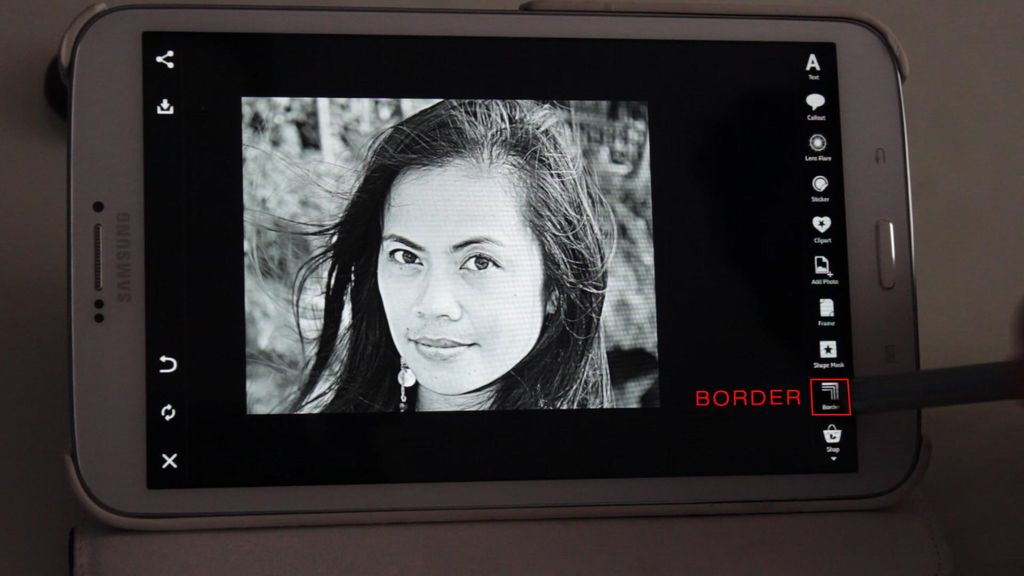
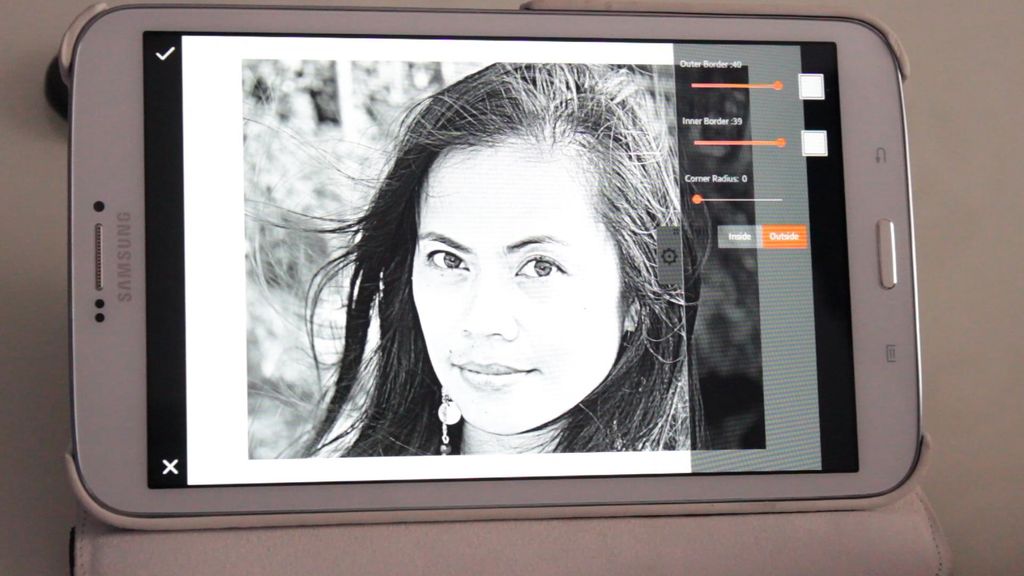
Step 1: Border
Select the Border icon from the toolbar, and create a simple white outer border.
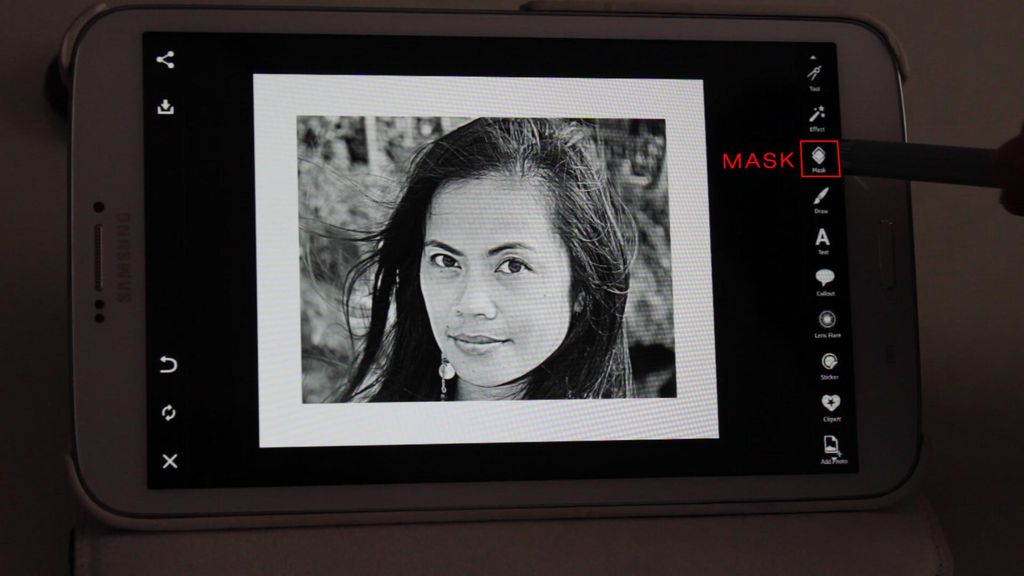
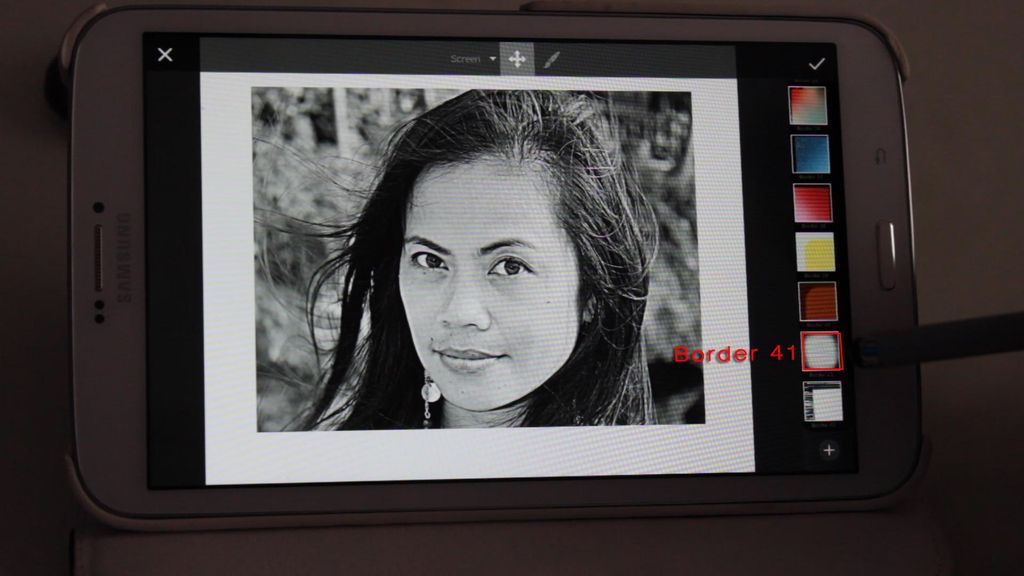
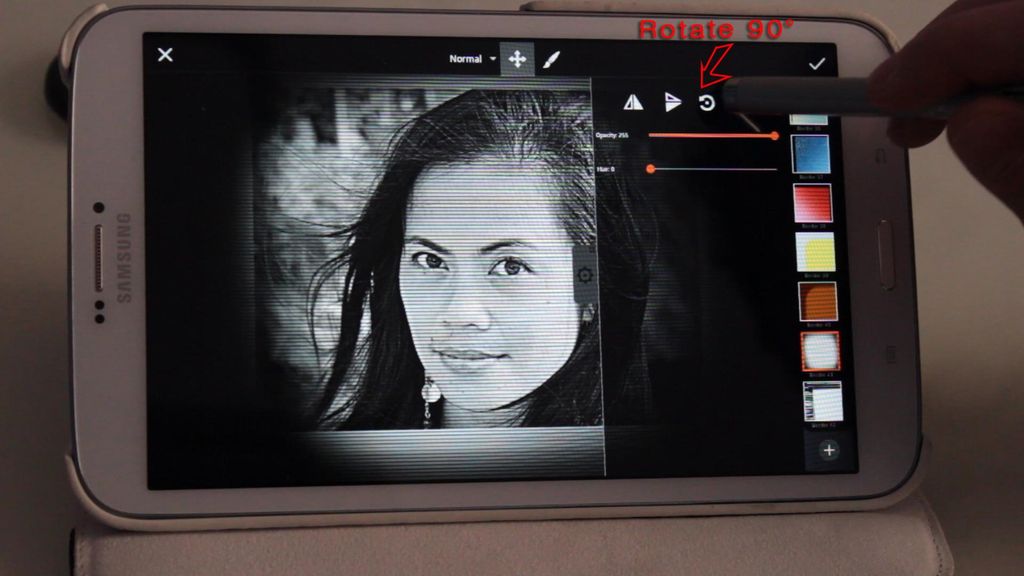
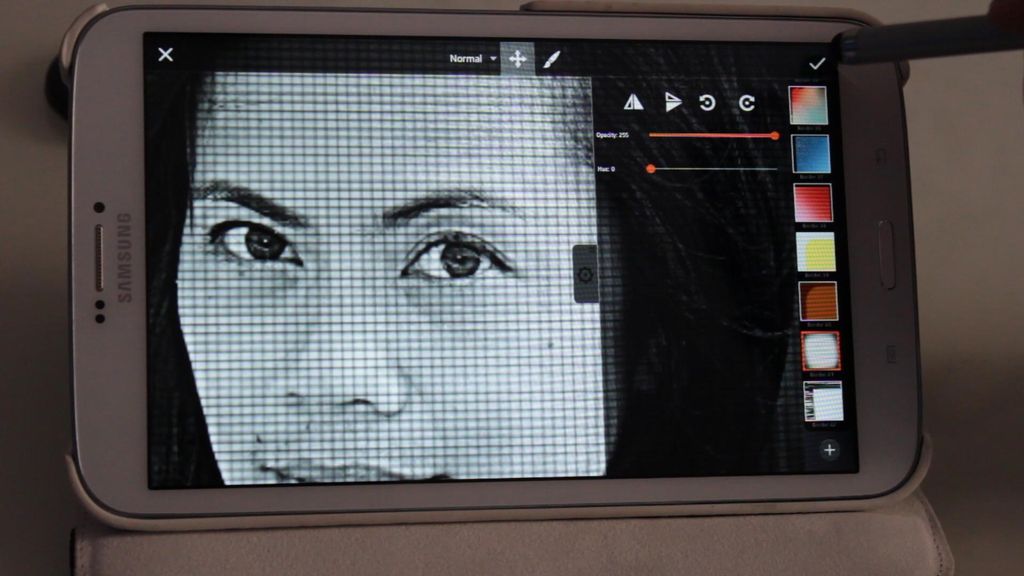
Step 2: Border Mask
Select Masks from the toolbar, and in the Border category, select Border 41 and confirm it. Repeat and select Border 41 again, and rotate it 90 degrees to create a grid.
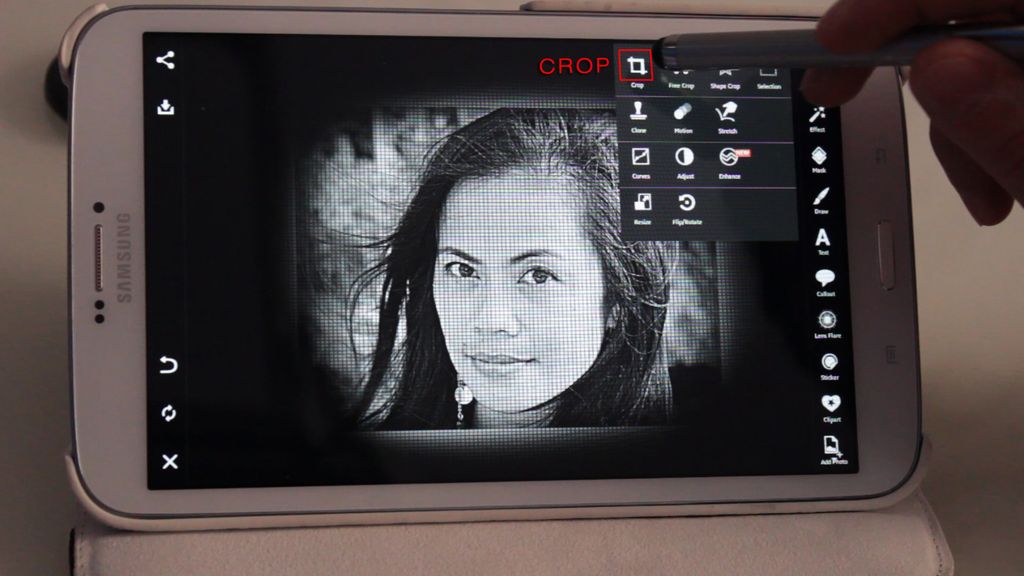
Step 3: Crop
Crop along the edges of the white border you created to remove it.
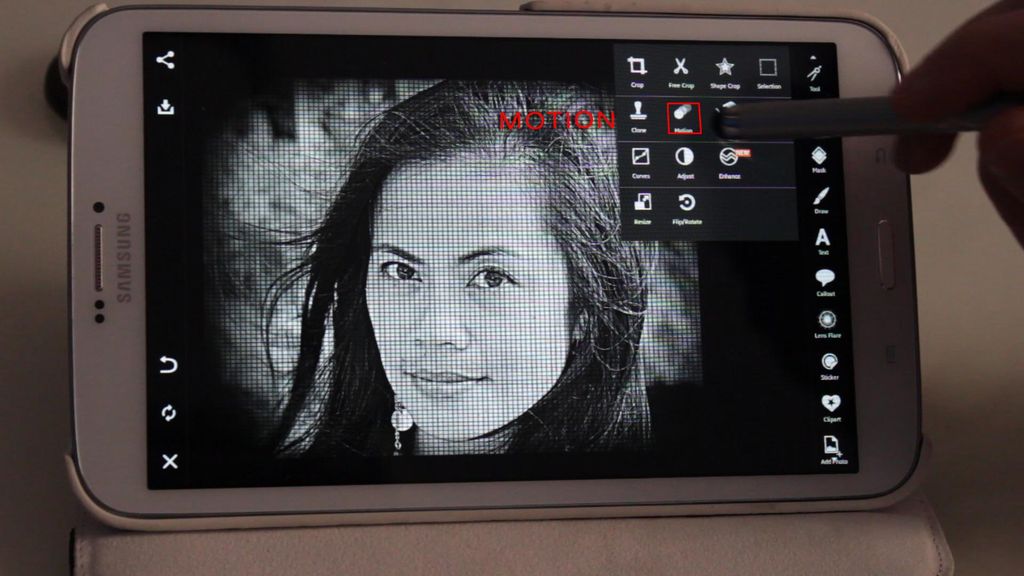
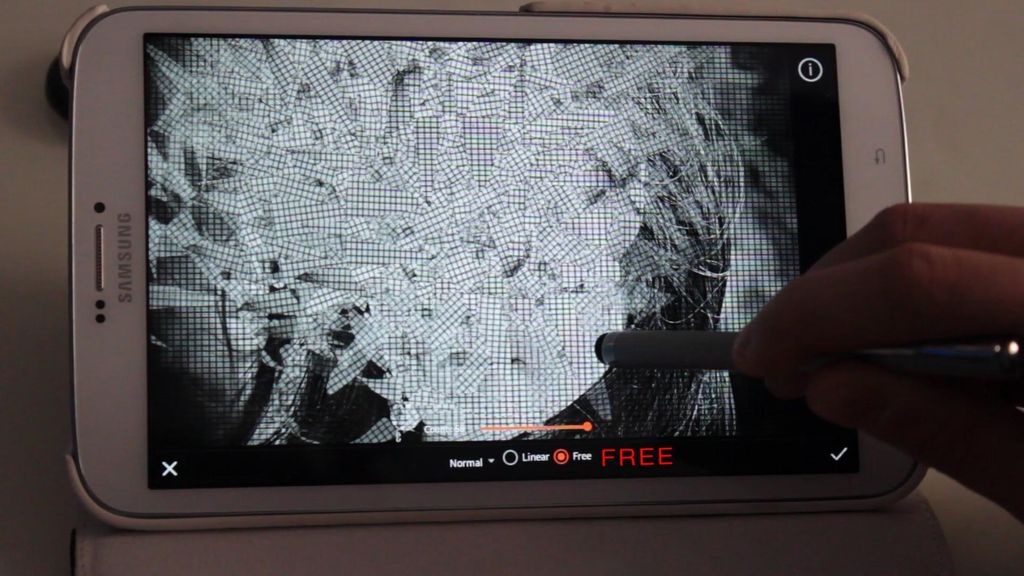
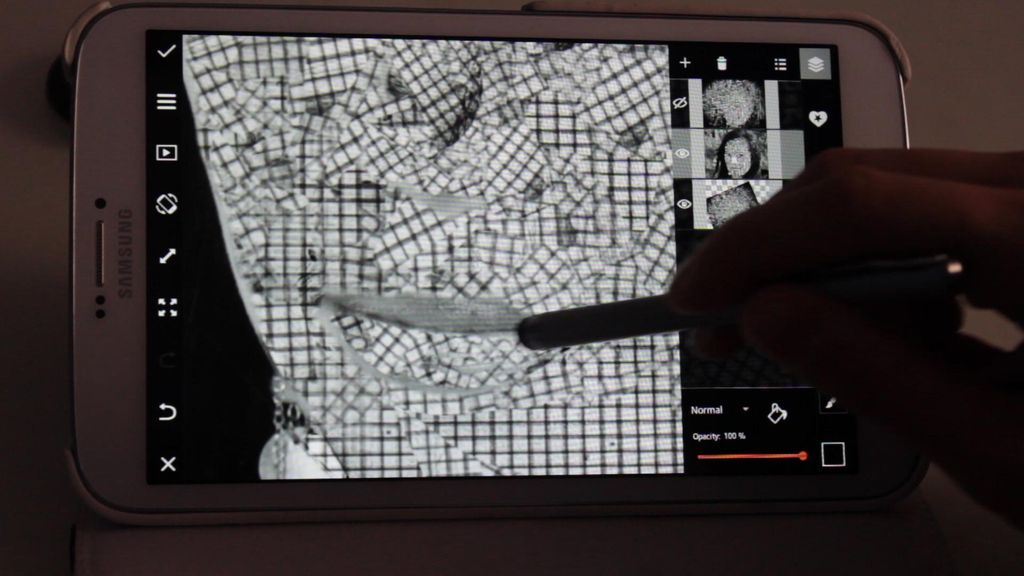
Step 4: Motion Tool
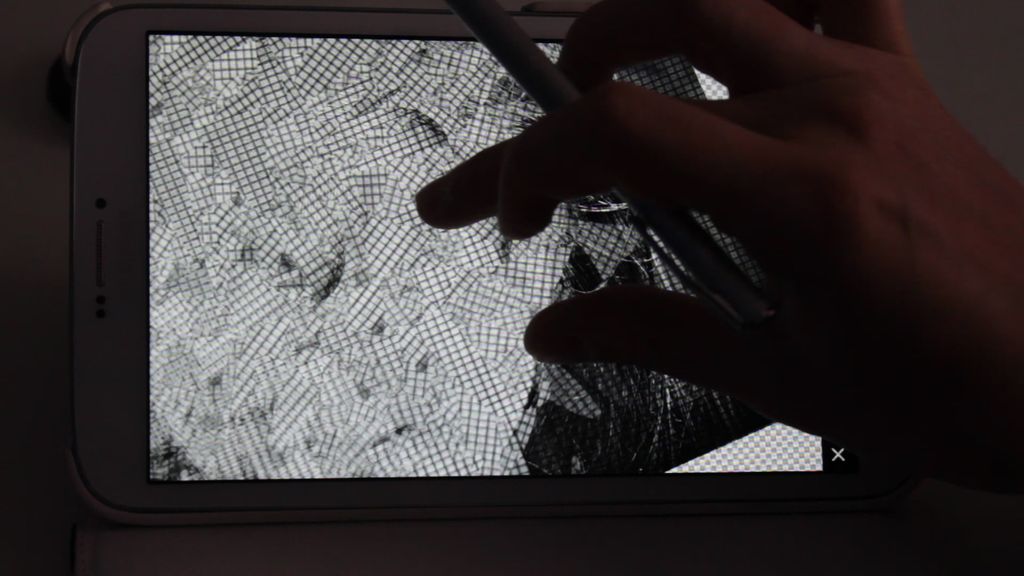
Select the Motion Tool and create a series of about 20 small loops across the face. Select the “Free mode” and drag your finger around in circles to create many angular shards of mosaic.

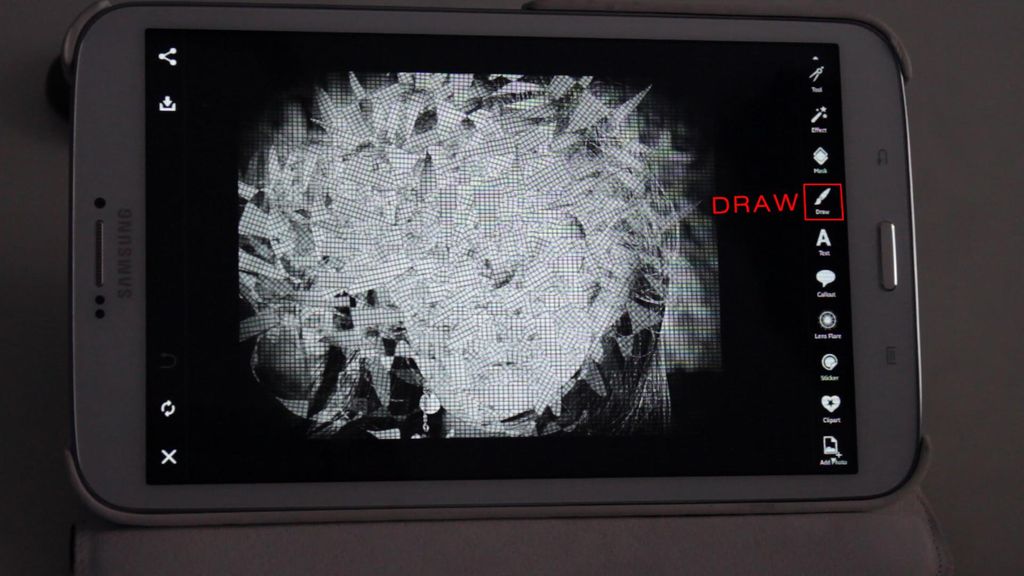
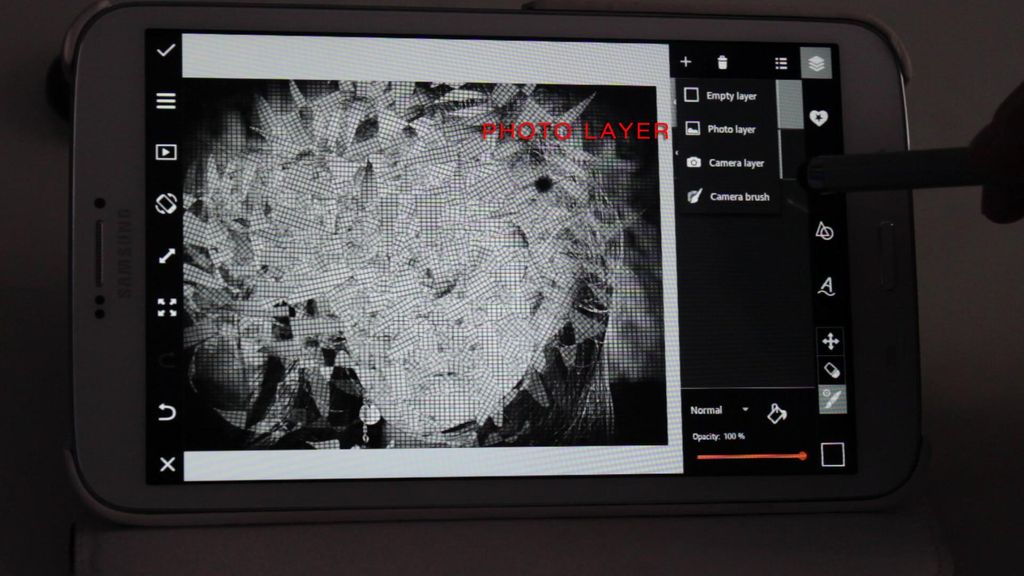
Step 5: Draw Tool
Confirm and open the Draw Tool. Duplicate the layer with your image, then add a photo layer of your original photo between the two duplicate layers. Hide the top mosaic layer.
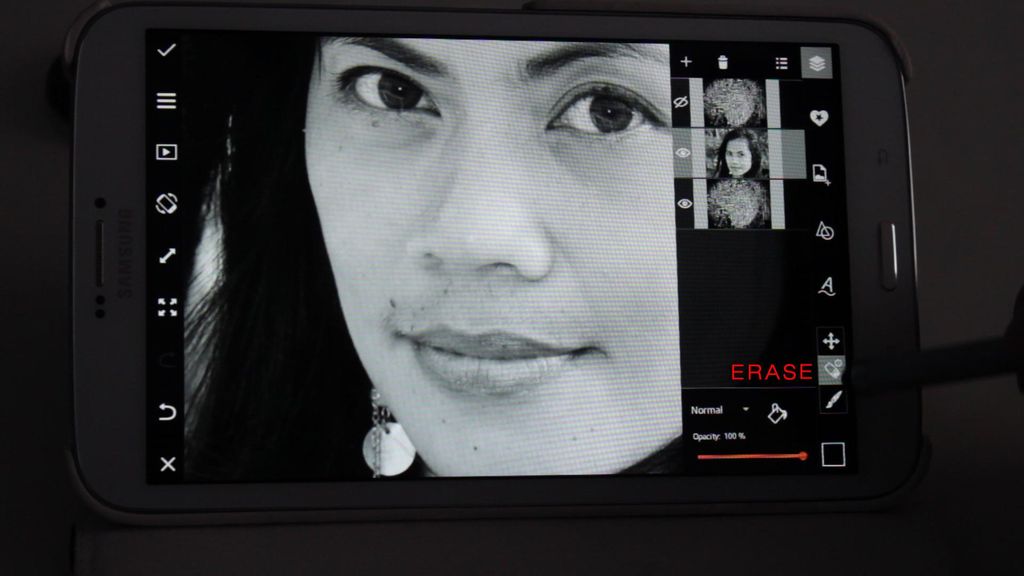
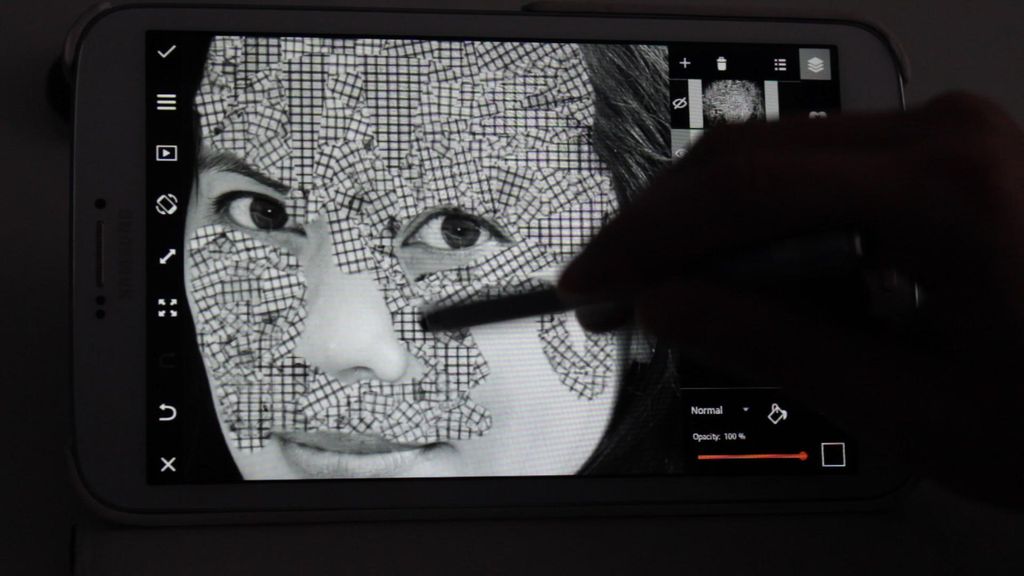
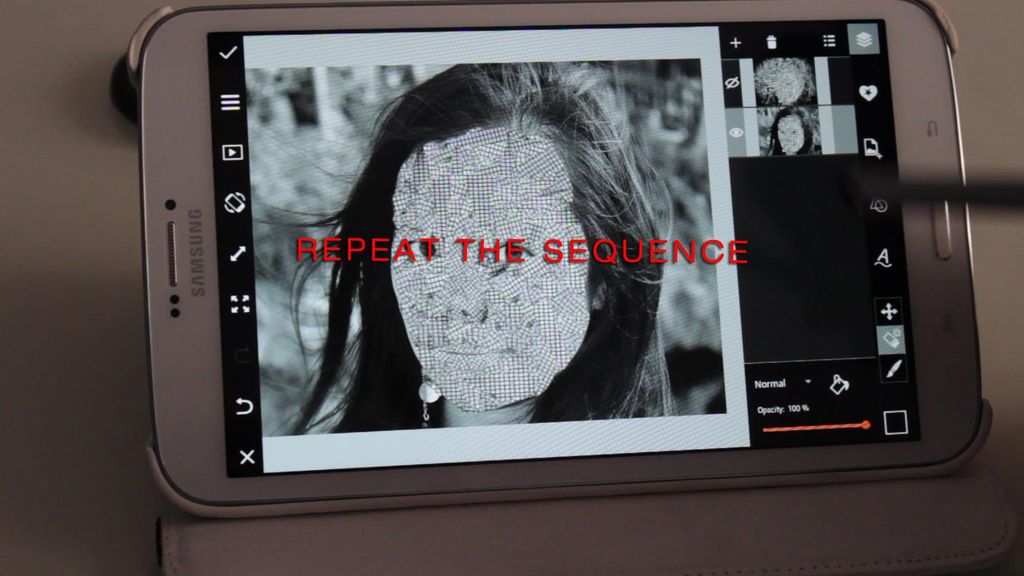
Step 6: Erase
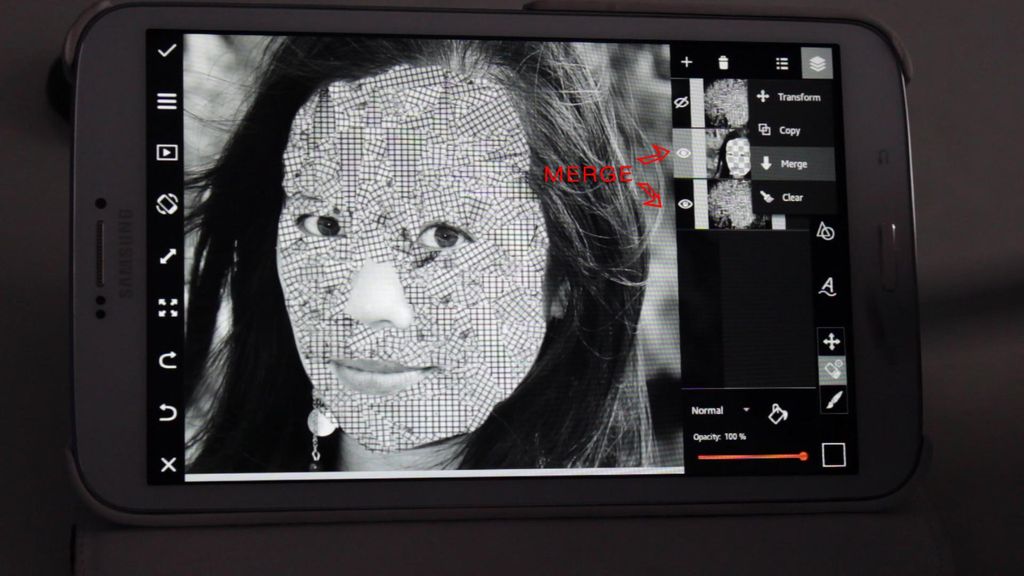
Erase your parts of your original portrait to reveal the mosaic behind, leaving the main features like eyes, nose, and hair intact. Then merge your portrait and the lower mosaic into a single layer.
Step 7: Duplicate & Rotate
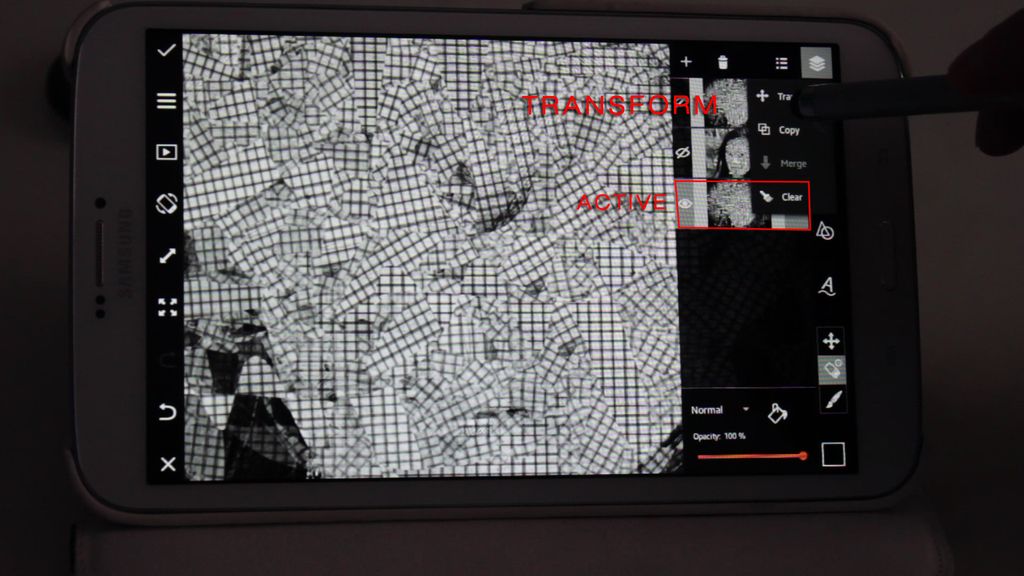
Duplicate your hidden mosaic layer on top, and move it to the bottom. Select Transform and rotate the bottom layer 45 degrees.
Step 8: Erase
In your merged middle layer, select the Eraser but this time erase the eyes and nose, revealing the rotated mosaic behind it, then merge the two layers.
Step 9: Hair
Repeat the process of duplicating the hidden top mosaic layer, moving it to the bottom, and then erasing pieces of the middle layer, but this time, erase pieces that make up the hair. When done with the hair, do the background.

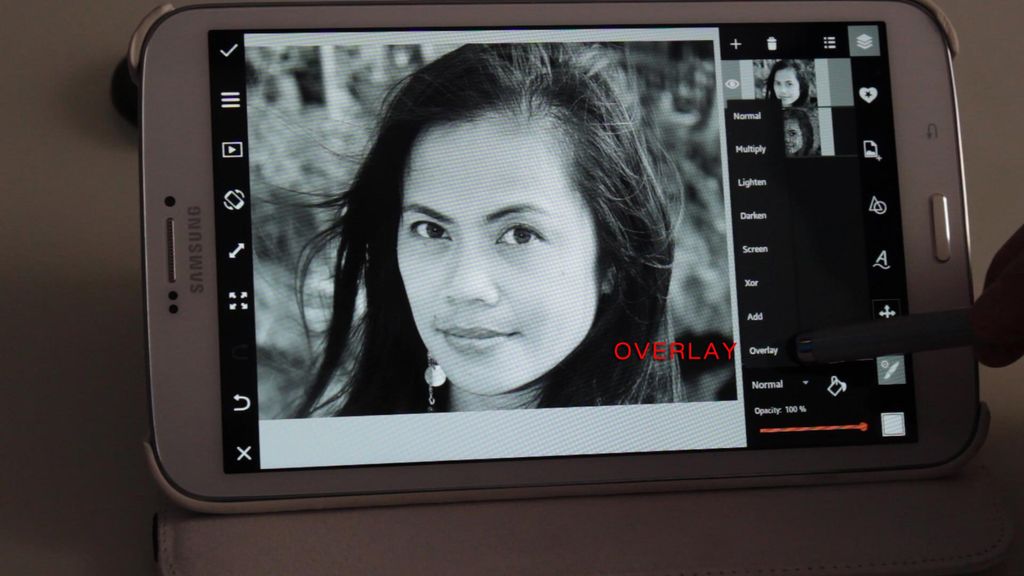
Step 10: New Layer
Delete your top layer, merge the bottom layers, then add a new photo layer on top, with the original untouched portrait. Reduce the opacity to around 40 percent and set the top layer to Overlay.
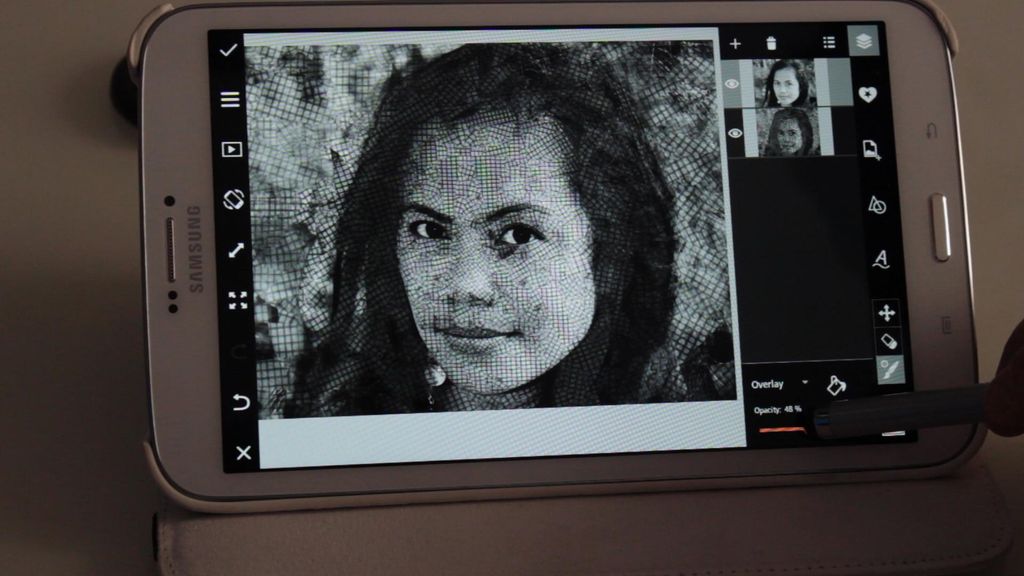
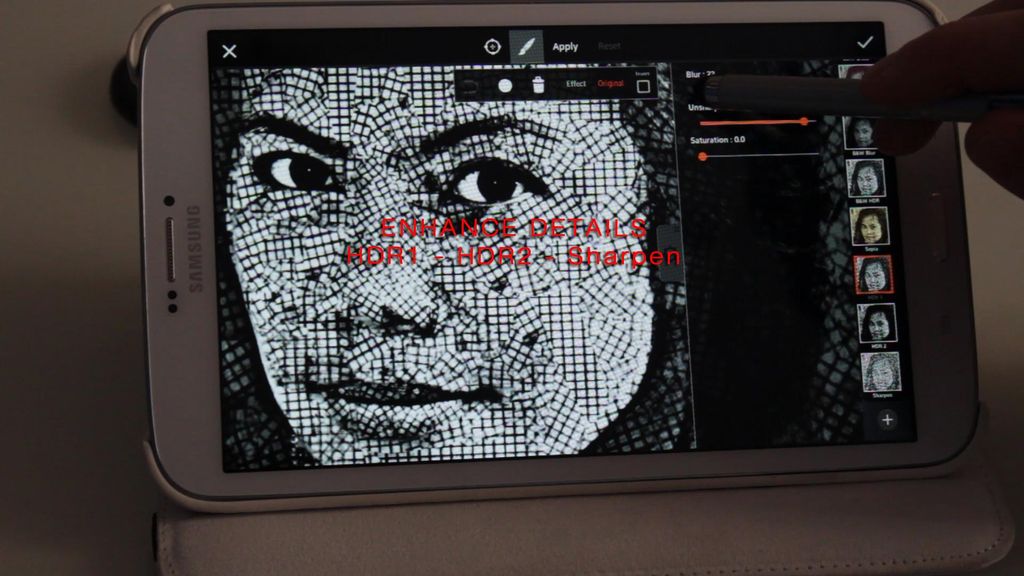
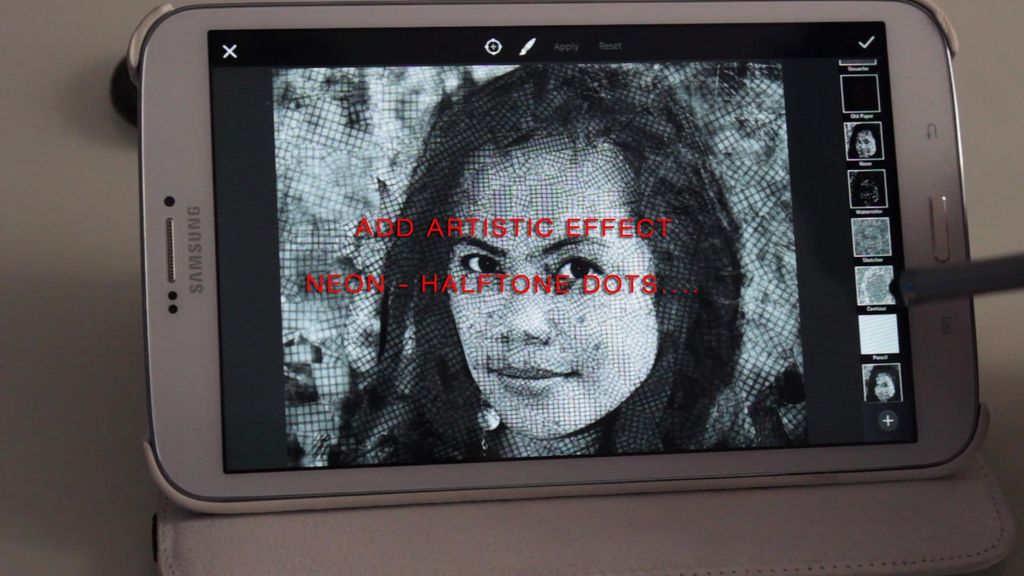
Step 11: Effects
Add effects like HDR, Neon or Halftone Dots to accentuate the final look.