If the color of your photos doesn’t look quite right, it’s likely the result of an incorrect white balance setting. After working with the aperture, shutter speed, and ISO, you may be hesitant to adjust yet another dial. This function however, is actually quite user friendly with convenient built-in presets to choose from. Once applied, the impact is immediately evident. Whether you are shooting portraits, or focusing on travel and scenic photography, the white balance is a powerful tool to help fine tune your vision.
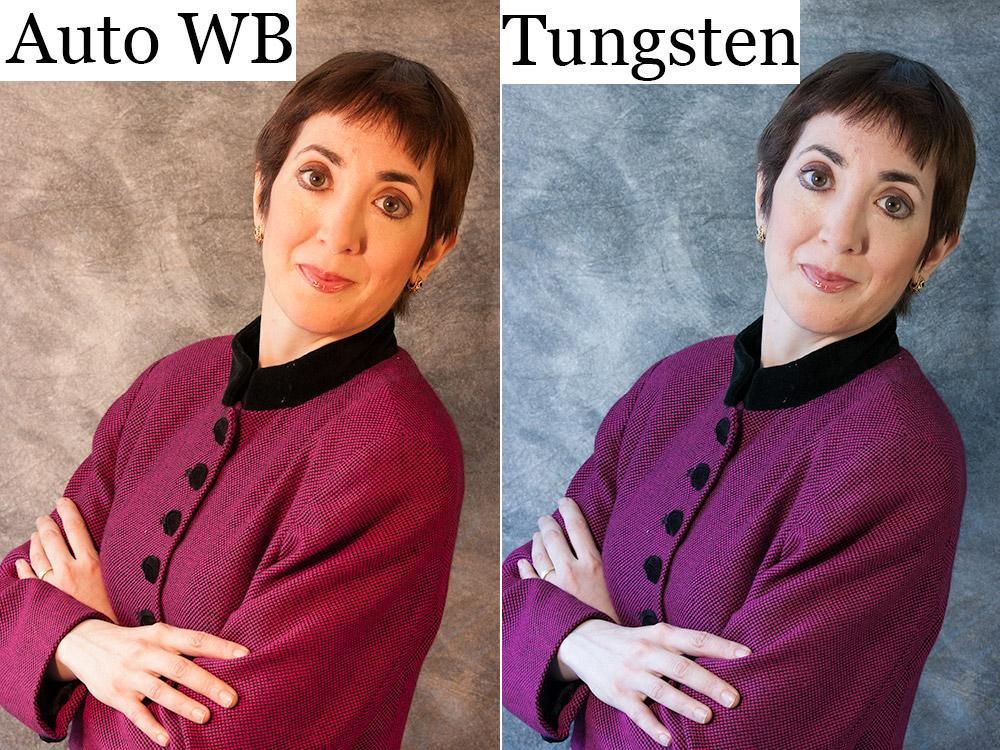
A common problem for indoor photographers is a ghoulish yellow color cast that effects the entire image. This is caused by the extremely warm color temperature of the light bulbs. While automatic white balance was designed to remedy this, it fails to do so consistently. The solution is to manually select the Tungsten white balance preset (also known as Incandescent). With it, more blue is added to the scene, effectively neutralizing the unrealistic yellow. In the side by side example below, you can see how the image shot with the Tungsten preset appears more natural. This menu selection is typically represented by a light bulb icon in the camera’s white balance menu.


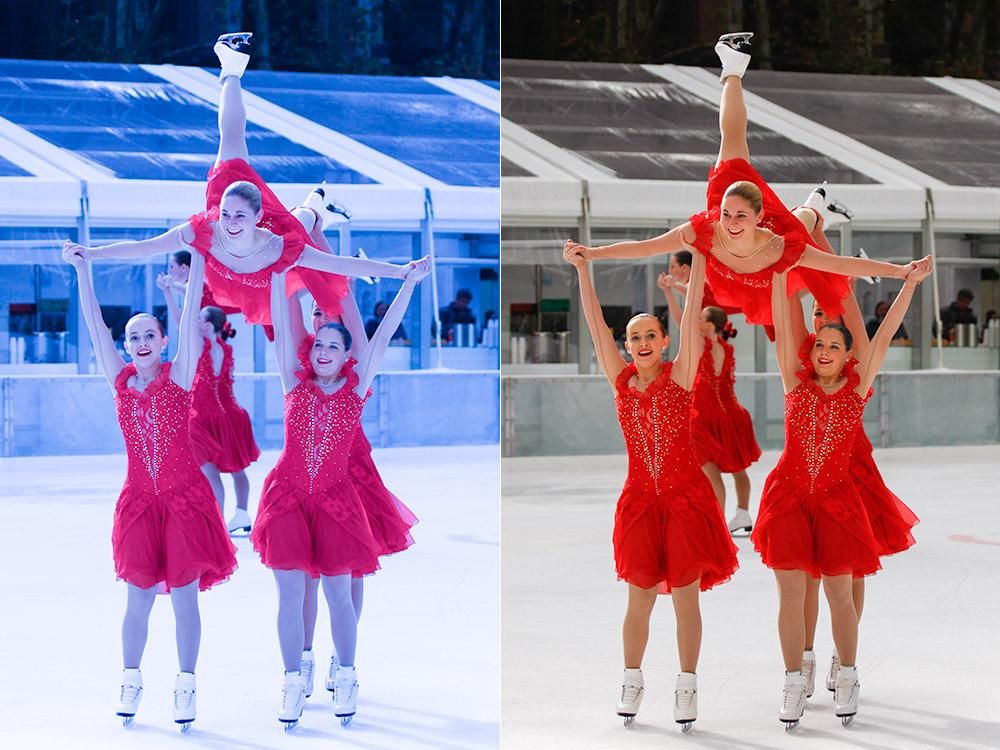
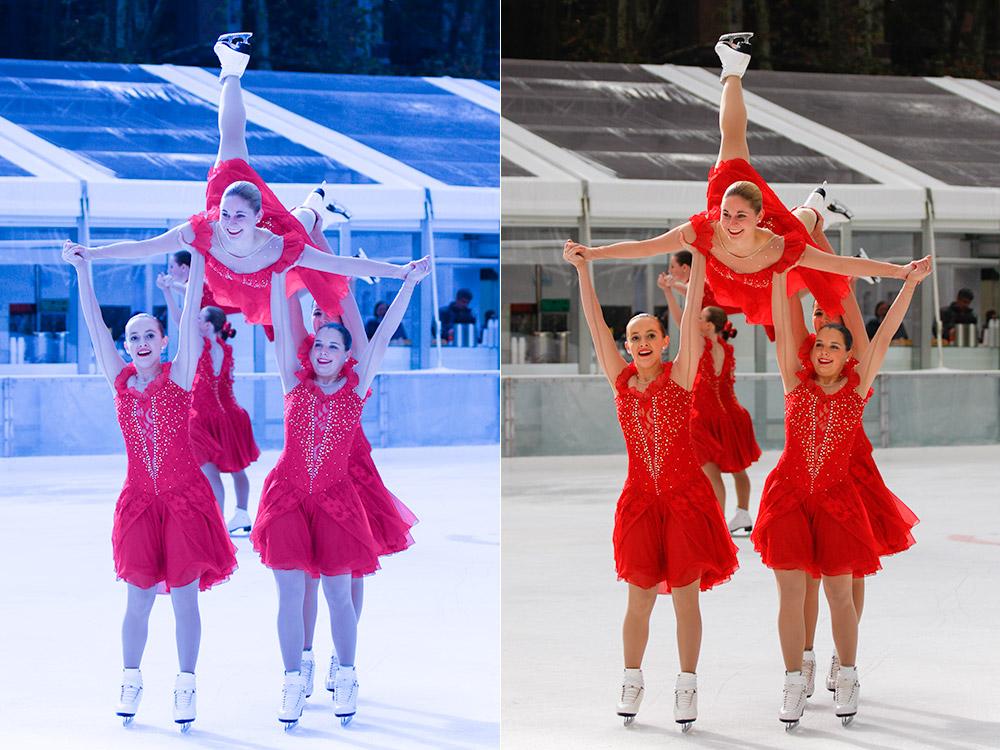
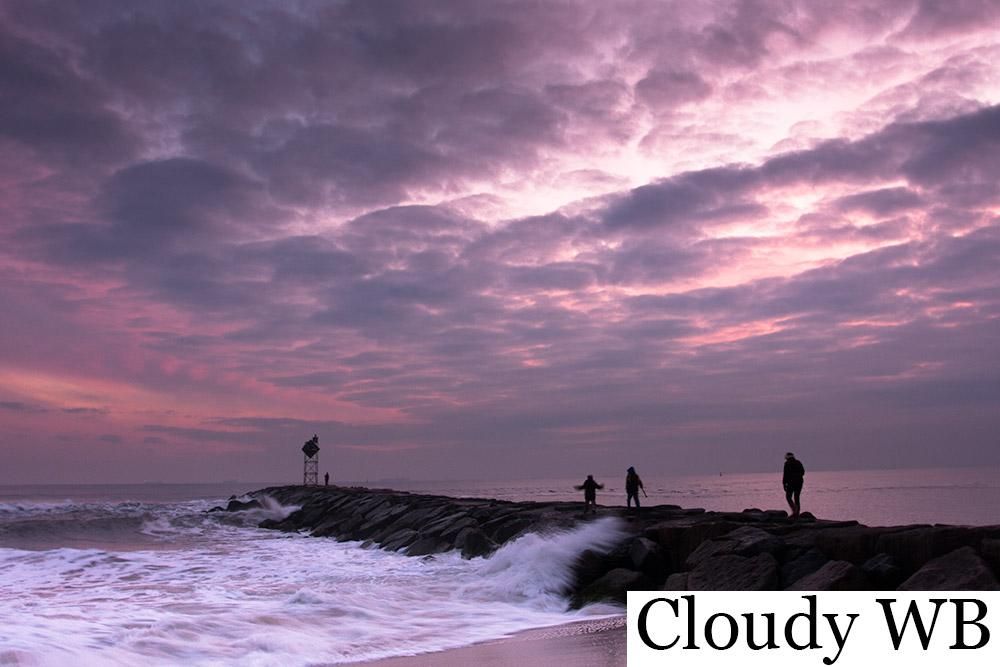
Auto White Balance does an adequate job outdoors. Yet, an overcast day is not required to benefit from the “cloudy” white balance option. Similar to a painter adding more yellow to their brush, this setting introduces a golden quality of light to a scene. It also makes objects in the shade appear less blue. Greens become more vibrant, making the cloudy preset an ideal choice from sunrise through sunset. This is perhaps my favorite white balance setting as it retains an accurate representation of the color temperature while adding brilliance to the photo. In this side by side example, you can see just how effective it is.
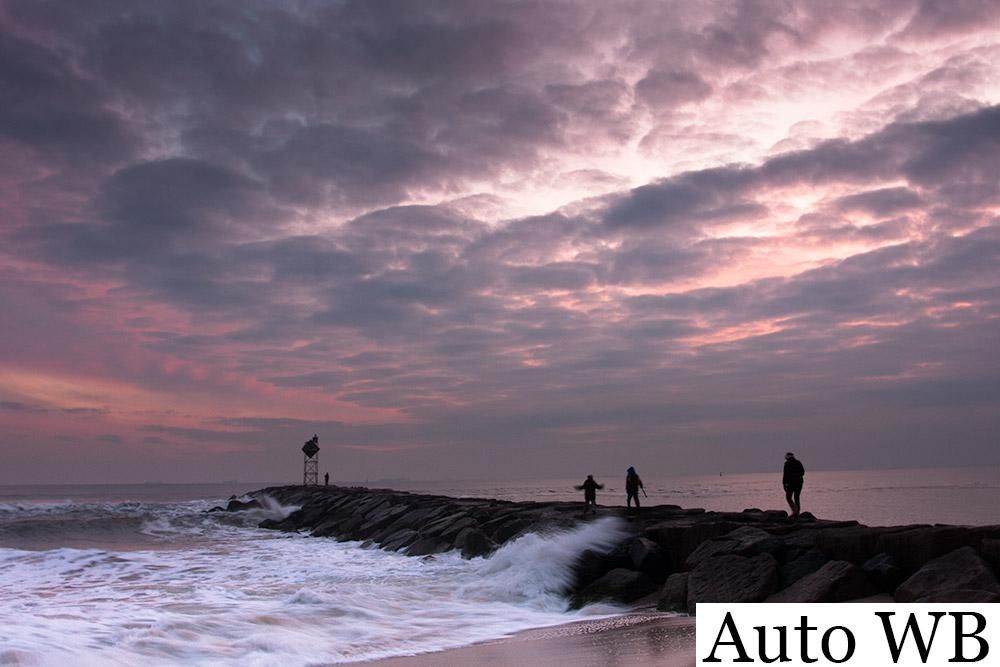
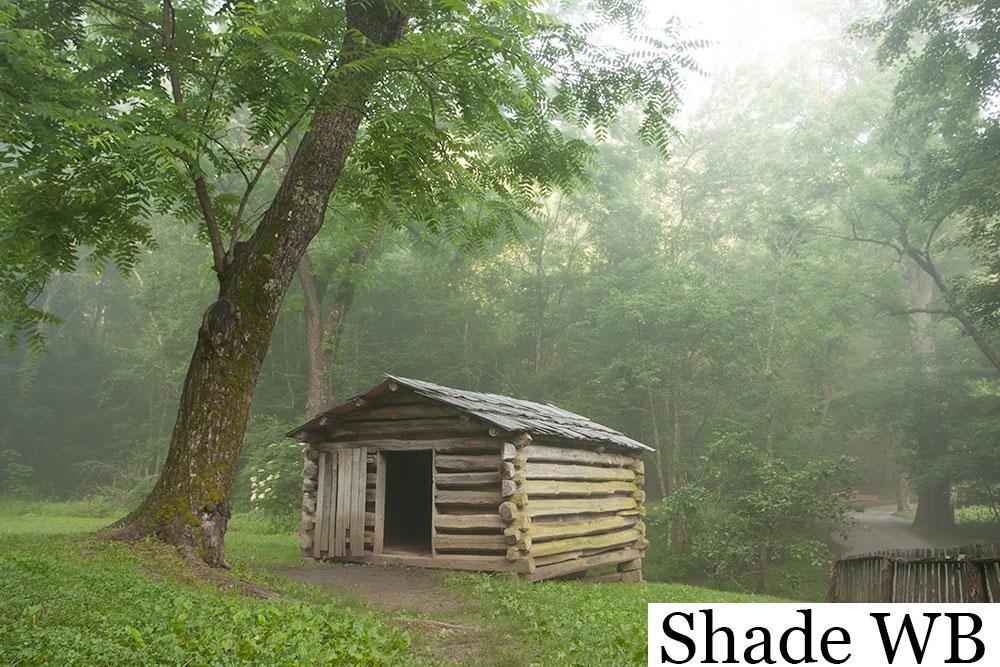
The “shade” preset not only adds more yellow, but orange as well. This results in color temperature that appears much warmer. Be careful with this setting as it’s very easy to overdo the effect. If your scene already has brilliant saturation, this is not a recommended choice. However, landscapes with subtle touches of color can be beautifully enhanced with the shade setting. If you’re not sure what’s best, you can bracket your white balance, shooting the same scene in auto, cloudy, and shade. If you shoot in RAW, you can also experiment with this with post production software.

You may notice several additional options in your camera’s white balance menu. Settings like “fluorescent”, “flash”, and “daylight” all sound sophisticated. The reality is, they don’t work quite that well. Instead of over complicating matters, stick with the big three – cloudy, shade, and tungsten. These presets will provide accurate colors for nearly every situation. Apply them to your photography and say goodbye to those unpleasant color casts