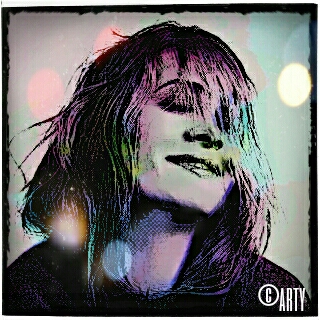
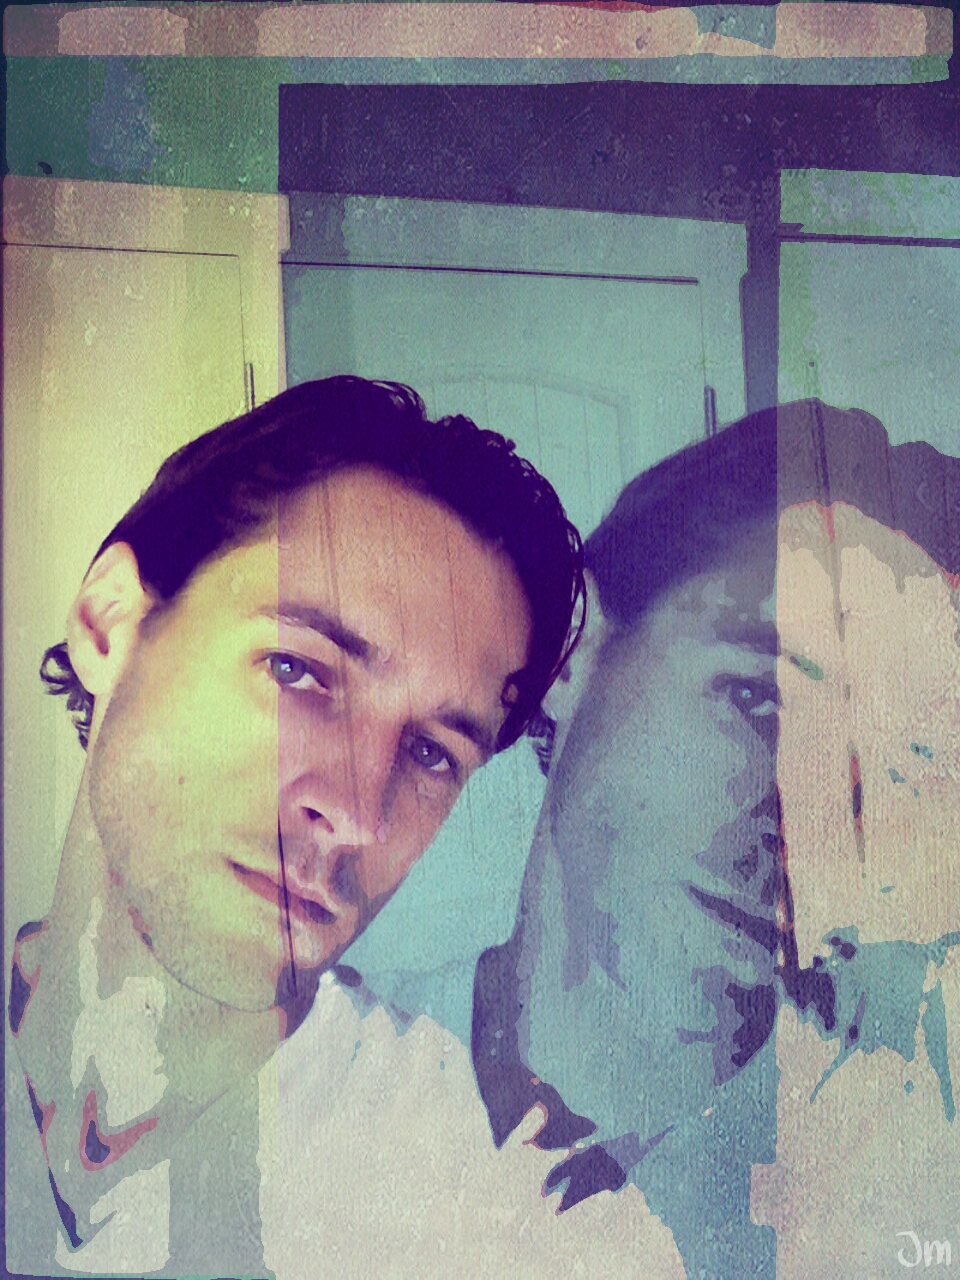
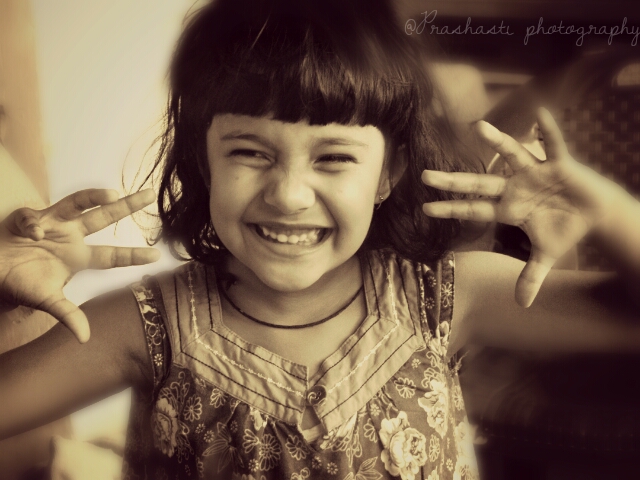
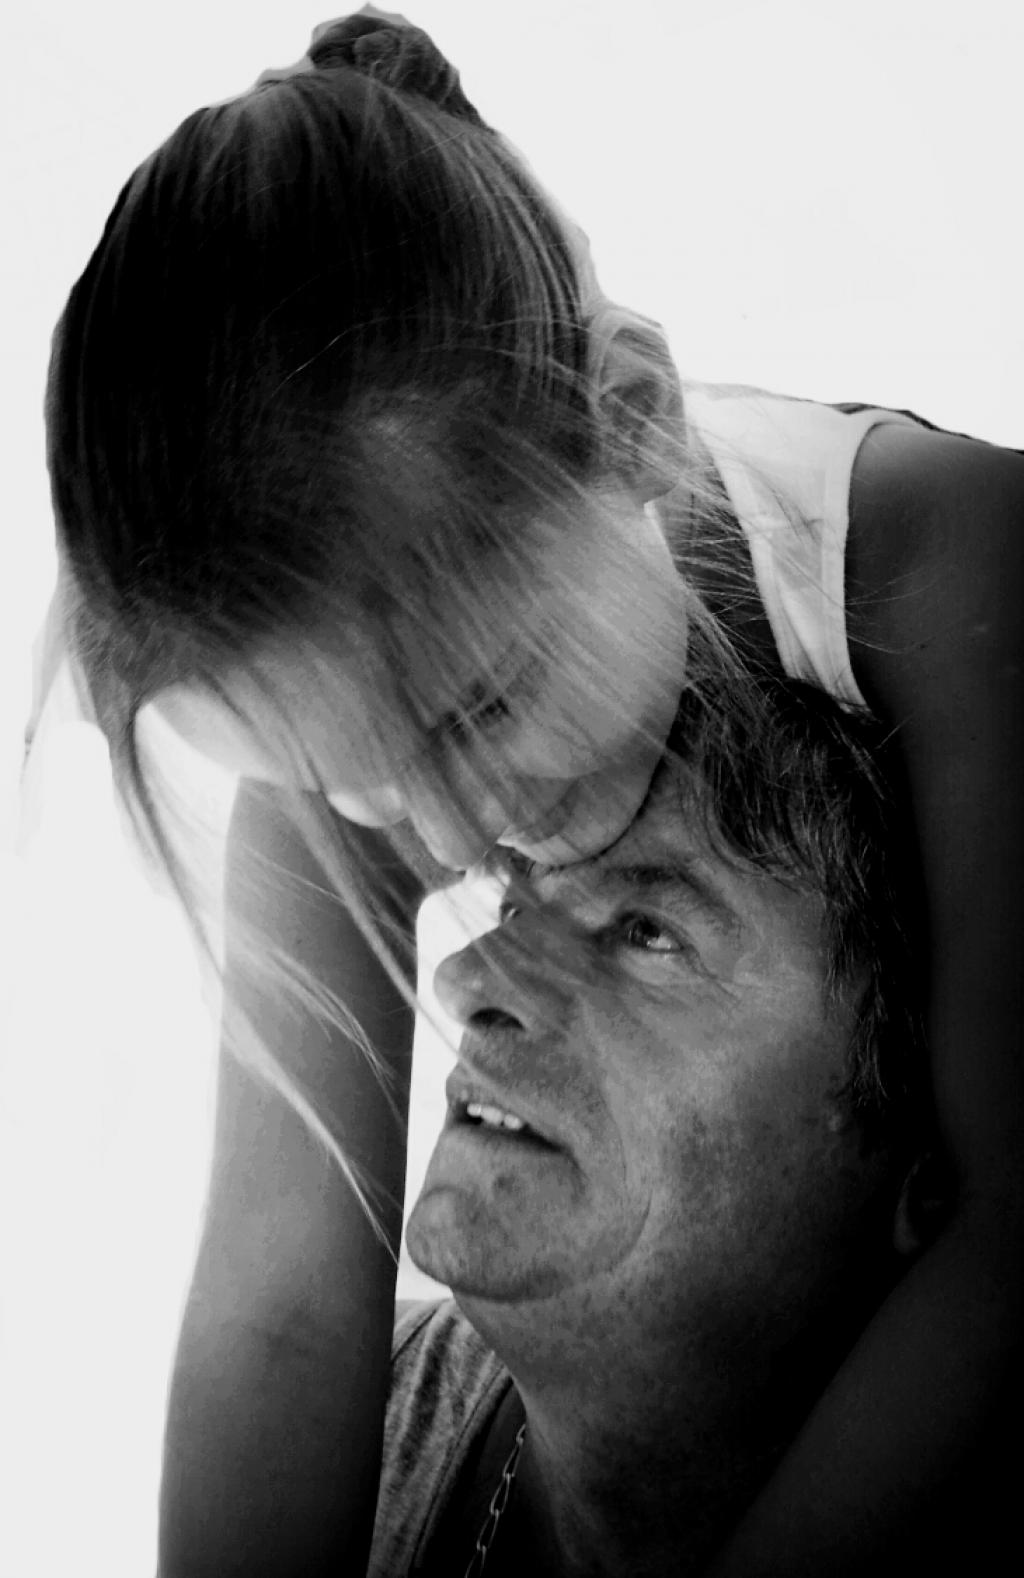
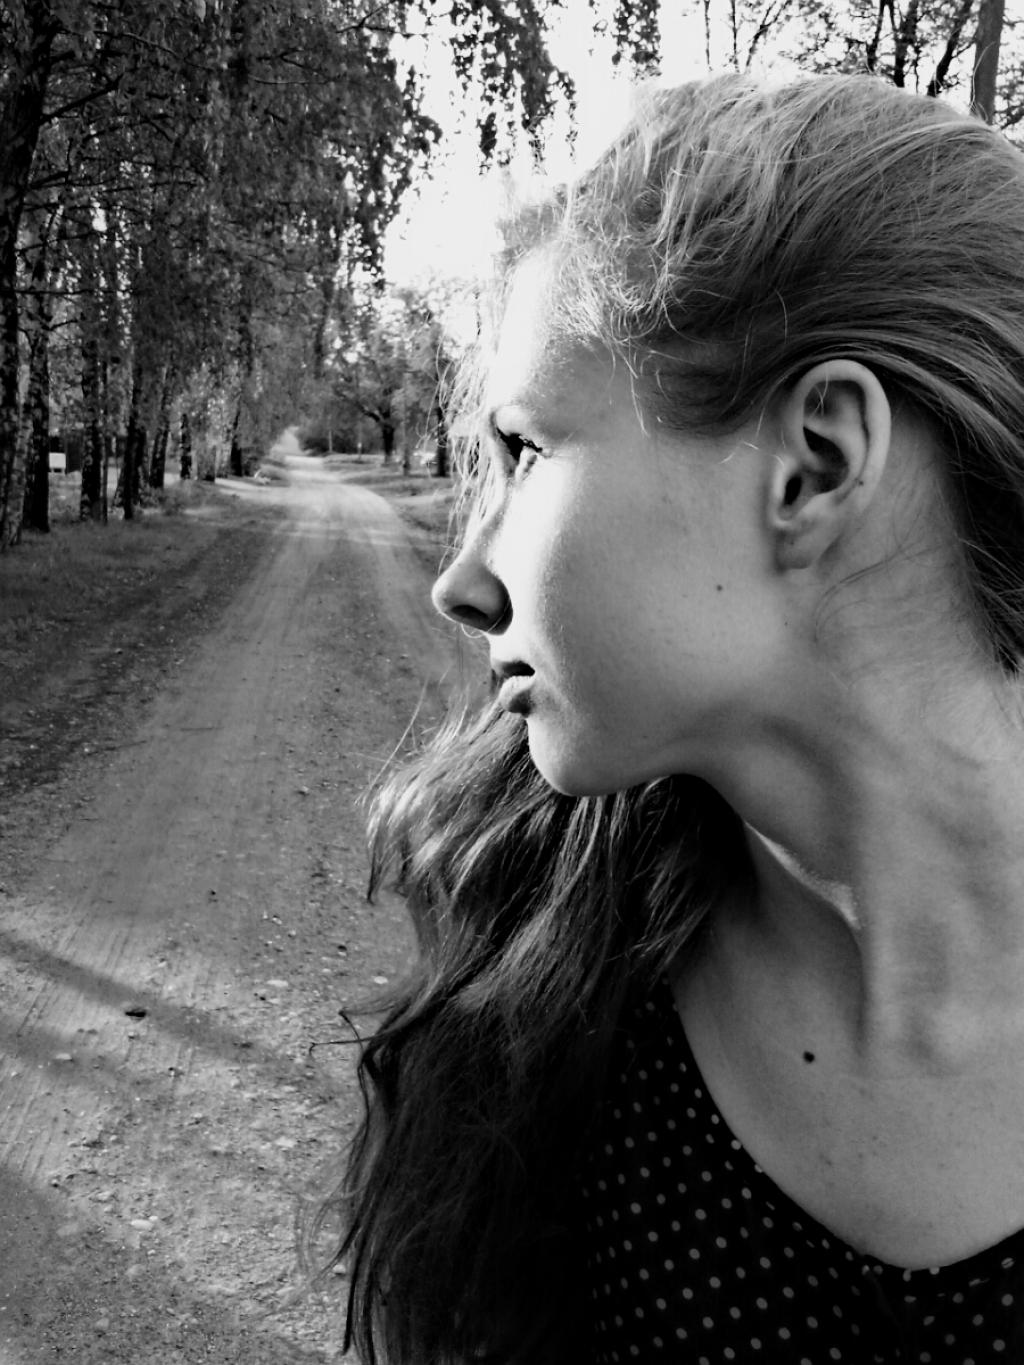
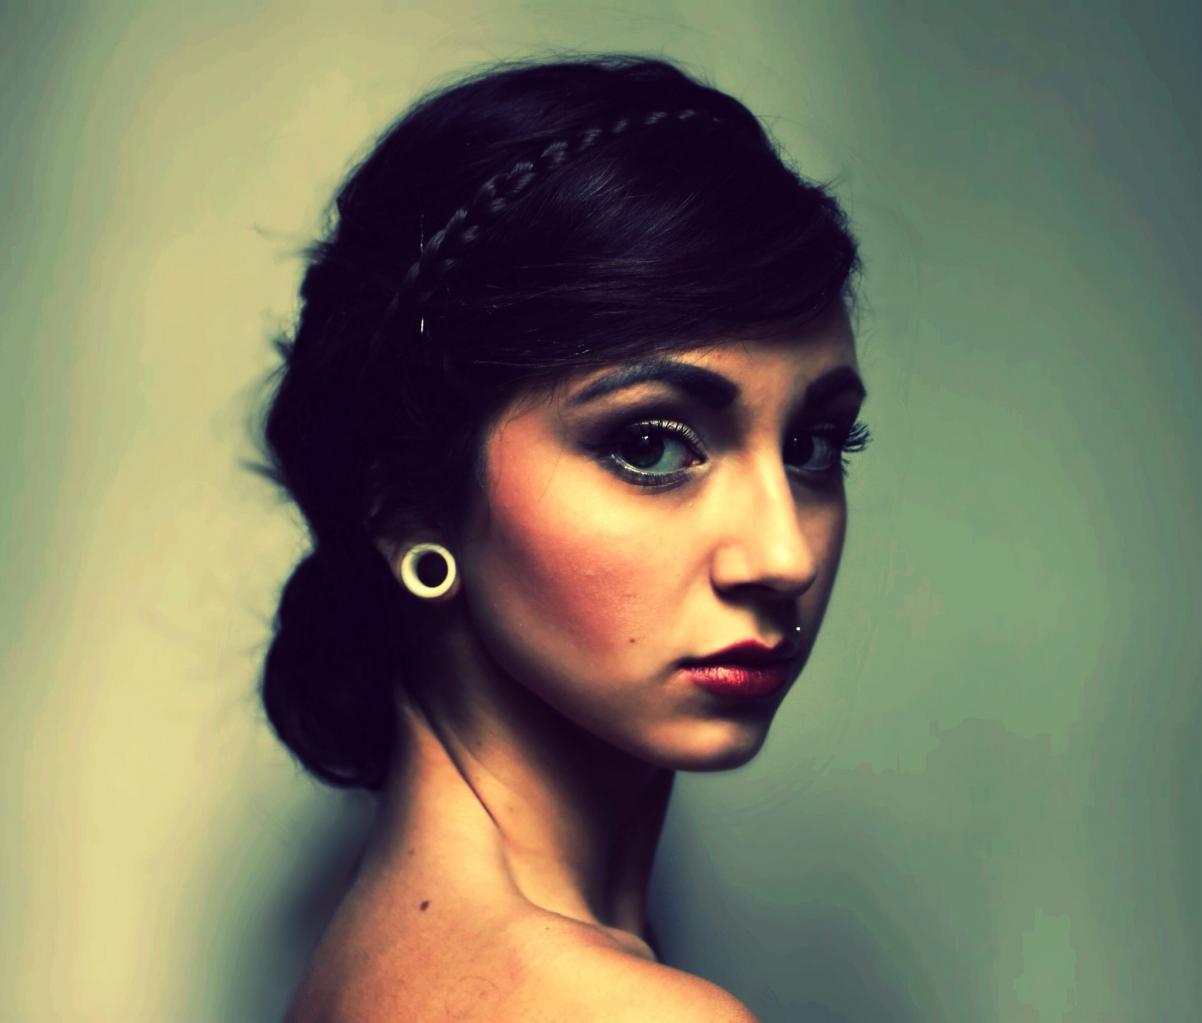
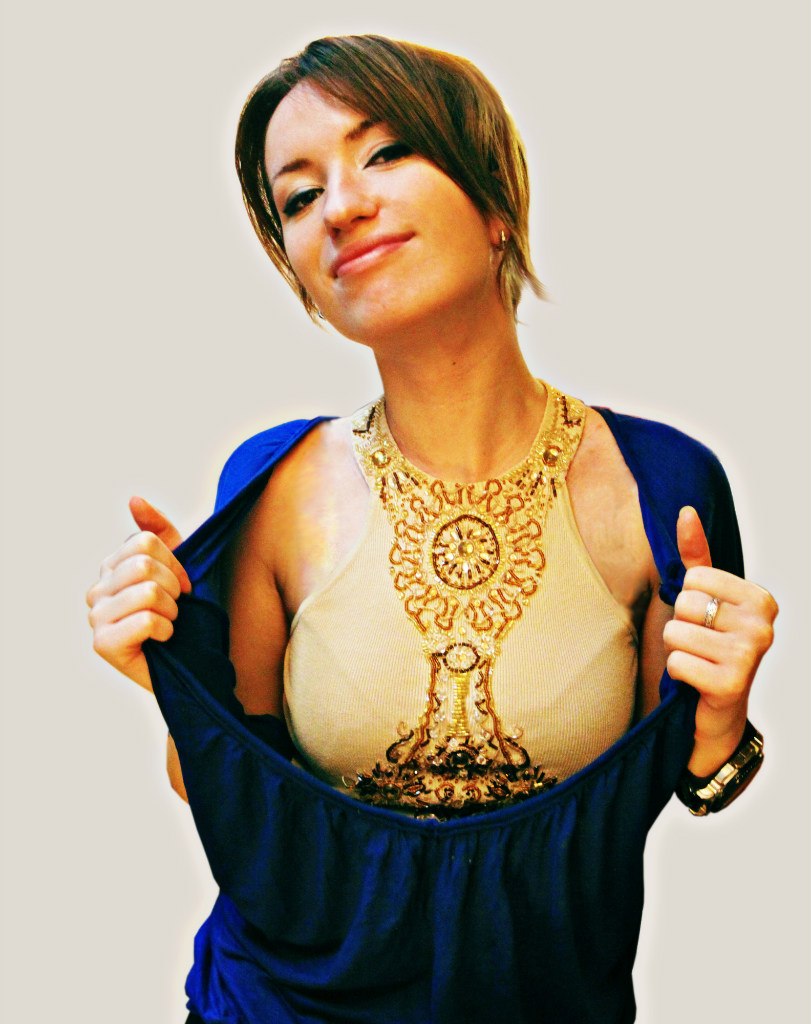
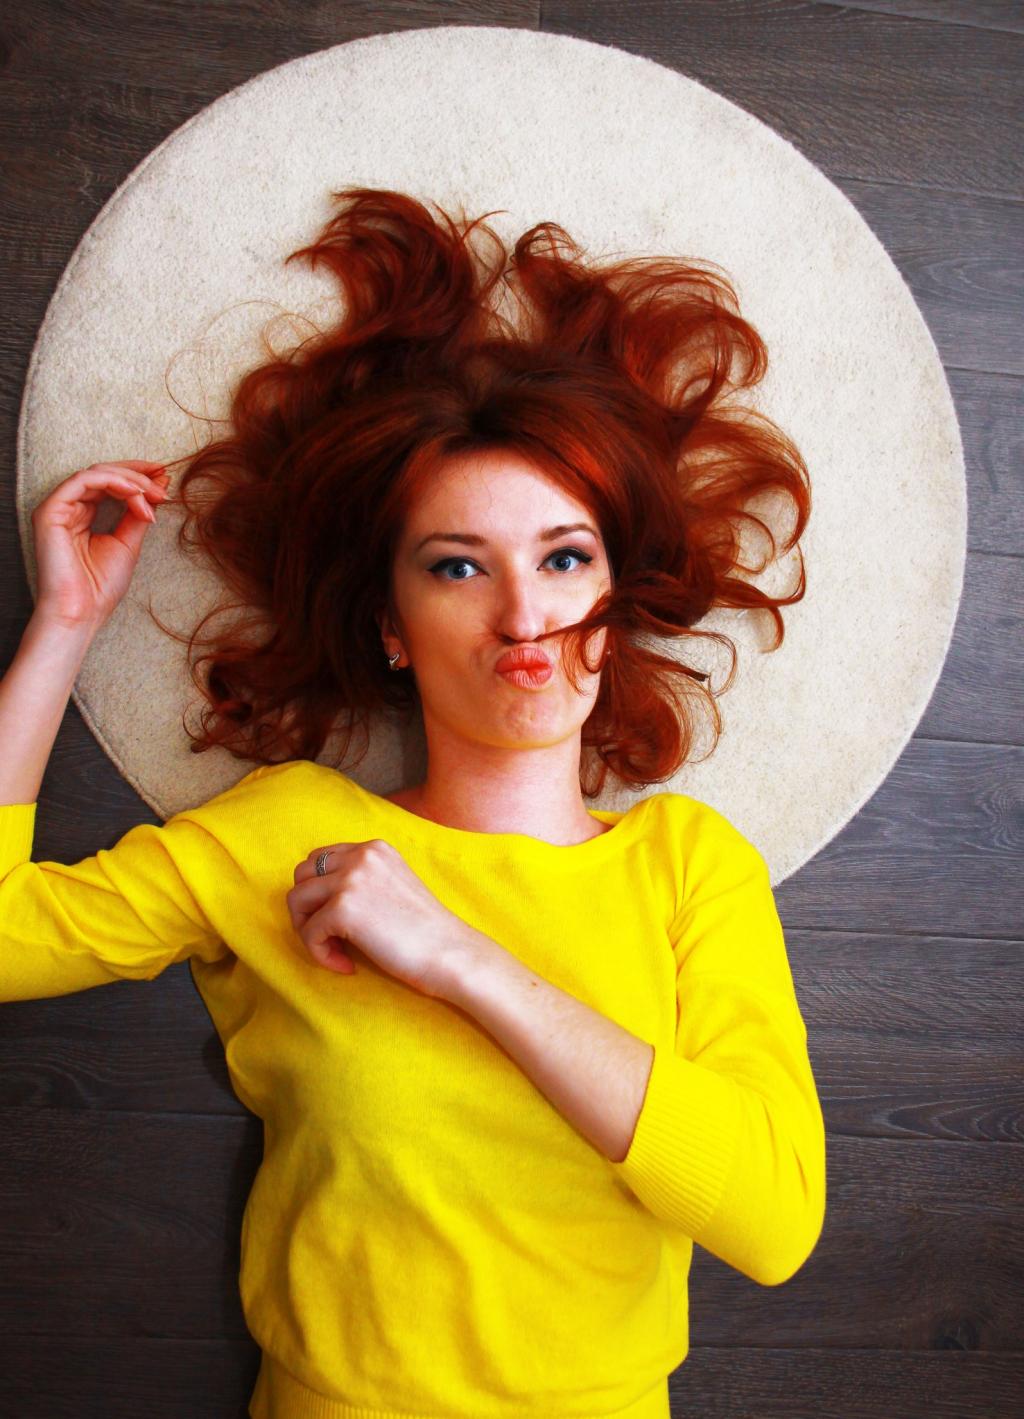
There are three things that define a great portrait: a wide aperture, an appropriate focal length, and beautiful, flattering light. Of these, the first two are arguable. It’s usually nice to have that blurry bokeh background, and zooming in tends to flatter facial features, but these rules aren’t carved in stone. The only thing that matters in portrait photography is light.
Whether you’re shooting with a high-end DSLR or a smart phone, you can make a beautiful lighting setup with only a few simple tools and an astute eye.
What You’ll Need
- Something to take the picture – anything with a lens and image sensor.
- At least one lamp. It can be any lamp, but the brighter, the better – try to find 100 watt bulbs or higher. If they can be directionalized, it’s best; bending desk lights or manoueverable floor lamps work very well.
- A person to photograph.
What You Might Want
A reflector – this is simply a portable, flat, white surface that you use to bounce extra light into the picture. You can buy specially made ones, or you can use a large piece of foam board or thick white cardboard. You can also use metallic surfaces such as sheet metal or tin foil for a harsher reflection.
A scrim – a translucent piece of white fabric, usually silk. Hold this between your subject and a harsh light source in order to diffuse it into a soft, flattering glow.
How to Set Up
If you don’t have a lamp, sitting your subject with a bright, diffused window to one side will produce the best results. In portraiture, you want to illuminate the face from an angle that accentuates features such as the jaw, eyes, and cheekbones while suppressing the appearance of wrinkles and skin blemishes.
The ideal angle is usually somewhere around 45 degrees above and to the side. Placing your lamp in this position is called “Rembrandt Lighting”, a style which was popularized by the Dutch painter of the same name. It is characterized by one side of the face being lit and one largely in shadow, except for an upside-down triangle below the eye. If the shadows are too deep, this is where you can bring in your reflector to bounce some stray light to brighten them up.
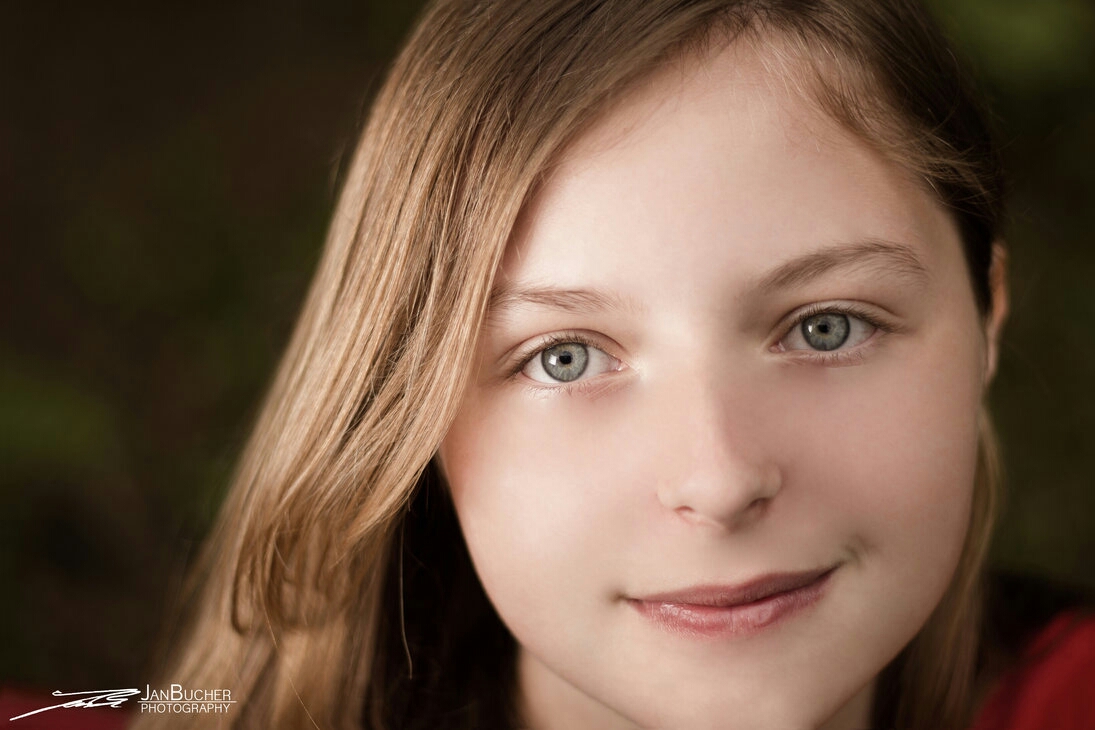
There is another method that is quite similar; with the lamp still 45 degrees above your subject, bring it around in front of them. This will light the face evenly on both sides, leaving only a shadow directly under the nose, which you can also brighten with a reflector. This is called “Butterfly Lighting”.
The third standard type of lighting is called “Side Lighting”. As the name suggests, the lamp is placed directly to the side of the subject’s face. This gives a dramatic half light/half shadow look that is particularly flattering for men.
These are tried and true methods, but once you get an eye for how your light behaves, you can move the light around freely and experiment. Ask a friend to assist you in holding the lamp so you can observe the way the picture changes with the direction of the light. Remember to keep your camera as steady as possible for maximum sharpness.
Perfecting in Post
When you’re finished, import your photos into the PicsArt app to make them really sparkle. Adjust the colour tone to get just the hue you’re after, or add a softening effect to get that dreamy haze look. You can even turn it black and white for that old-fashioned look. The possibilities are endless, so click away and have fun!