This week’s Drawing Challenge has asked PicsArtists to paint lighthouses using the PicsArt Drawing Tools. This tutorial will give you a boost and show you how its done. You’ll learn some cool drawing tricks and hopefully get some ideas to inspire you when you draw your entry for this week’s challenge. Check out this breakdown of a lighthouse drawing and get acquainted with the PicsArt Drawing Tools by following these four simple steps below!
When you finish your drawing, use PicsArt’s new video export feature to share a video tutorial on how you drew your drawing. Video export creates a time-lapse video of your drawing process and plays it back as a video. Share it on youtube with the tags #PicsArt and #DClighthouse.
Step 1: Draw an Outline
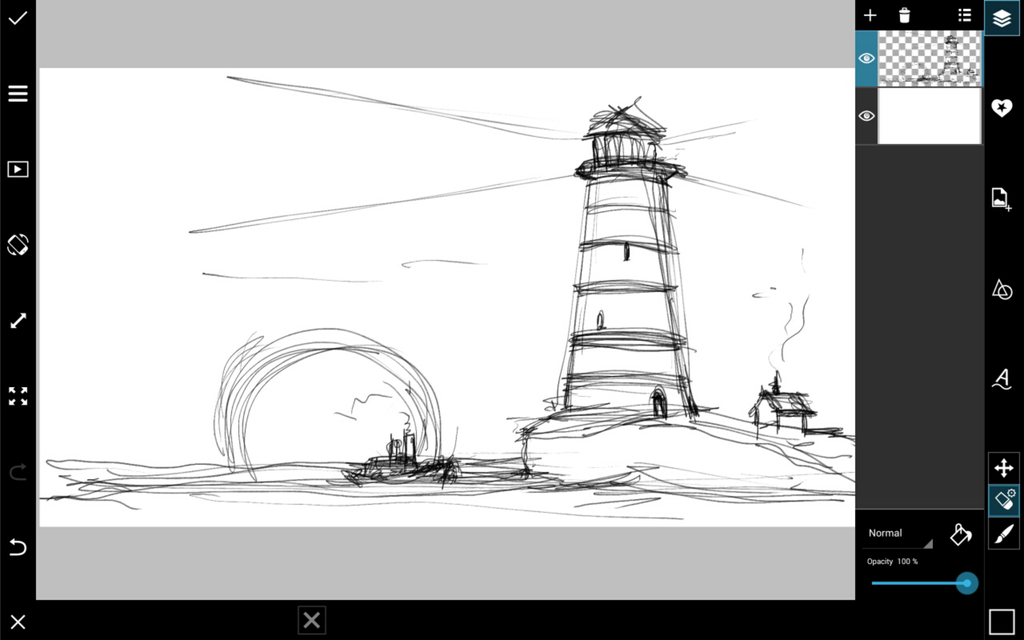
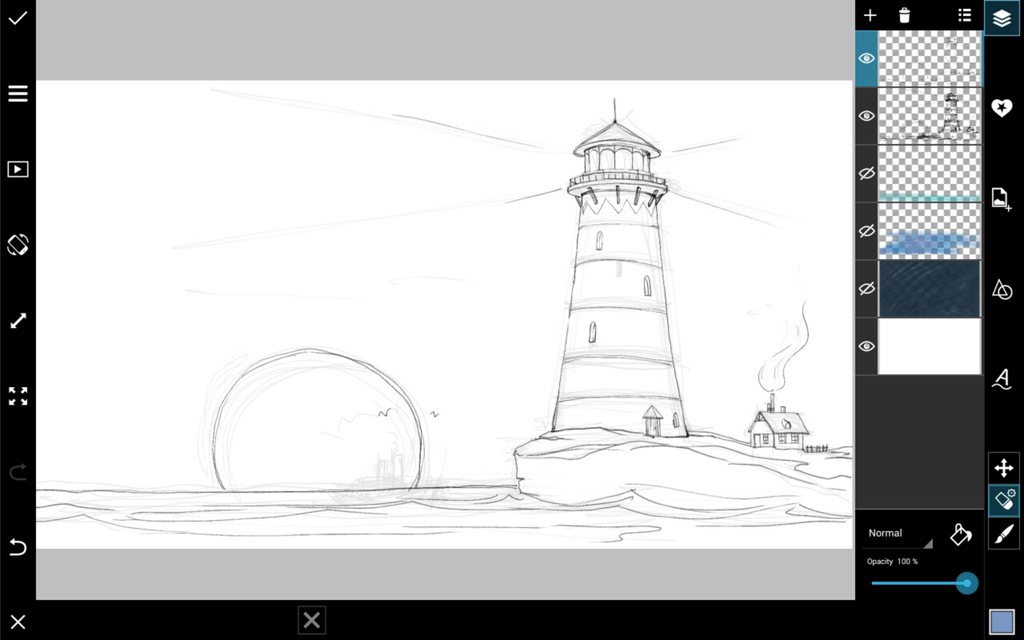
Draw a rough outline, just worrying about the basic shape, size, and surroundings of your lighthouse. Reduce the opacity and add a new layer. Trace a more refined outline over your rough version. Delete the initial layer when done.
Step 2: Create a Background
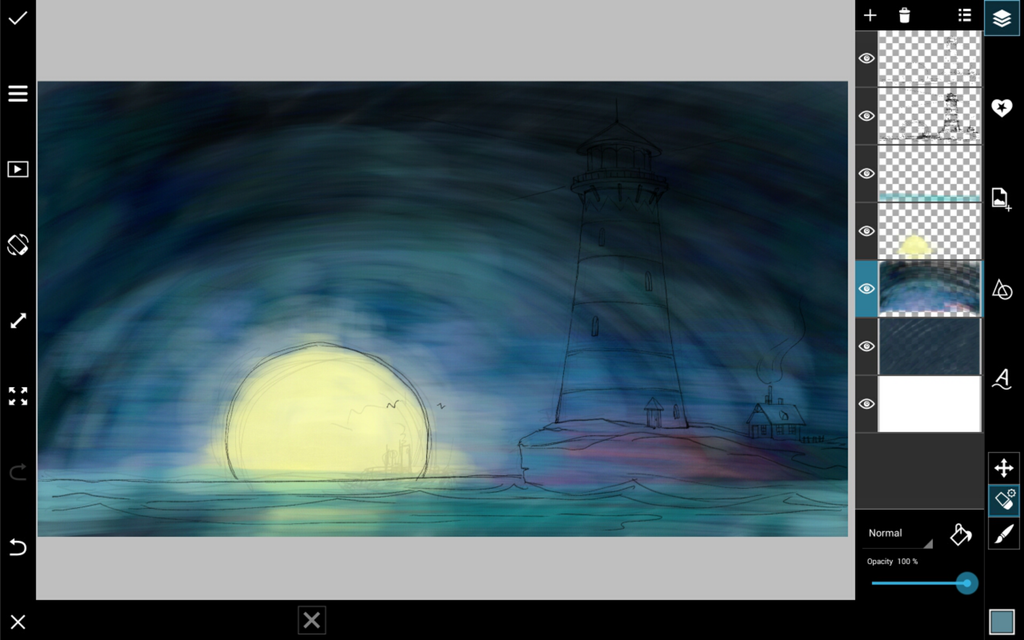
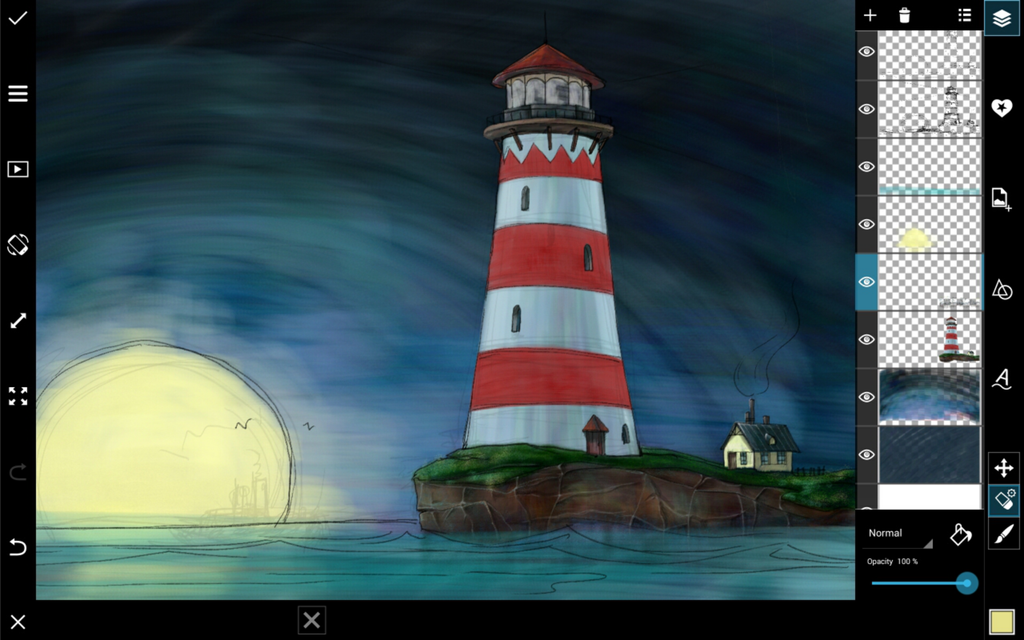
Add new layers at the bottom of your layer stack (in the back), and use them to create a background. Create color themes for the sky and ocean. Add stars, a moon, clouds, or other details you would like to add.
Step 3: Add Main Colors
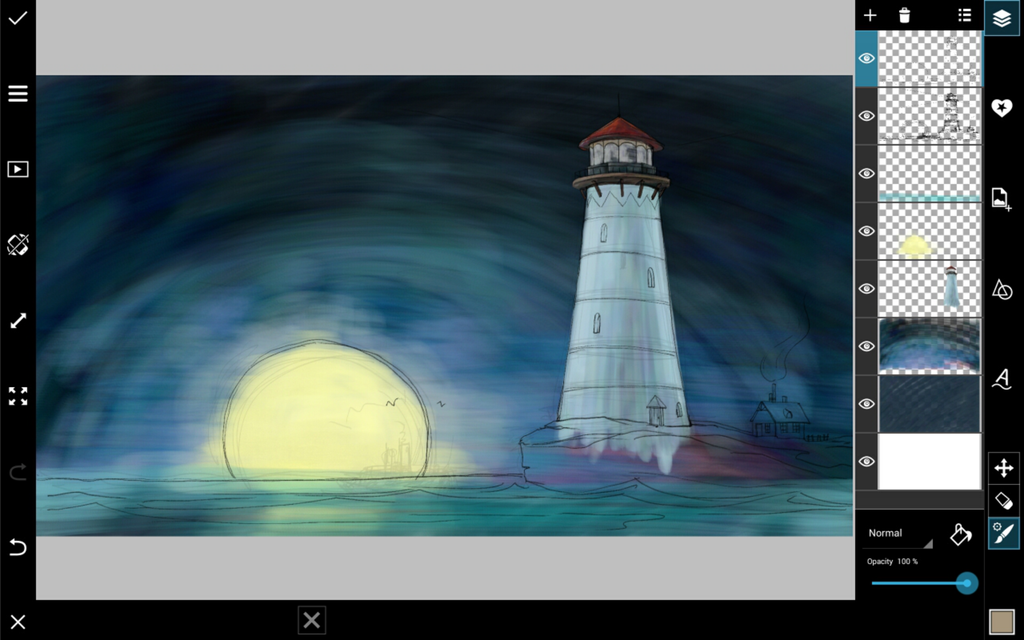
Add another layer directly underneath your outline, and color in your lighthouse. Vary color tones to add texture to things like grass and dirt.
Step 4: Add Shading
Select the Brush tool and reduce the opacity of your brush to make it translucent. Use black to add shading and white to paint on lighting. Don’t forget the streaks of light coming out the top of your lighthouse!


