The Drawing Challenge this week is a contest to see who can draw the best house. Building a house is hard work, however, and you might need help to go from blueprints to wall-painting. Houses are large and ambitious subjects, but at the end of the day, the trick to building a great home is to mind the details. The right materials and the right stylistic accents can turn the most decrepit dwelling into a home sweet home. Here is a step-by-step drawing tutorial to give you guidance and inspiration as you begin construction on the house of your dreams.
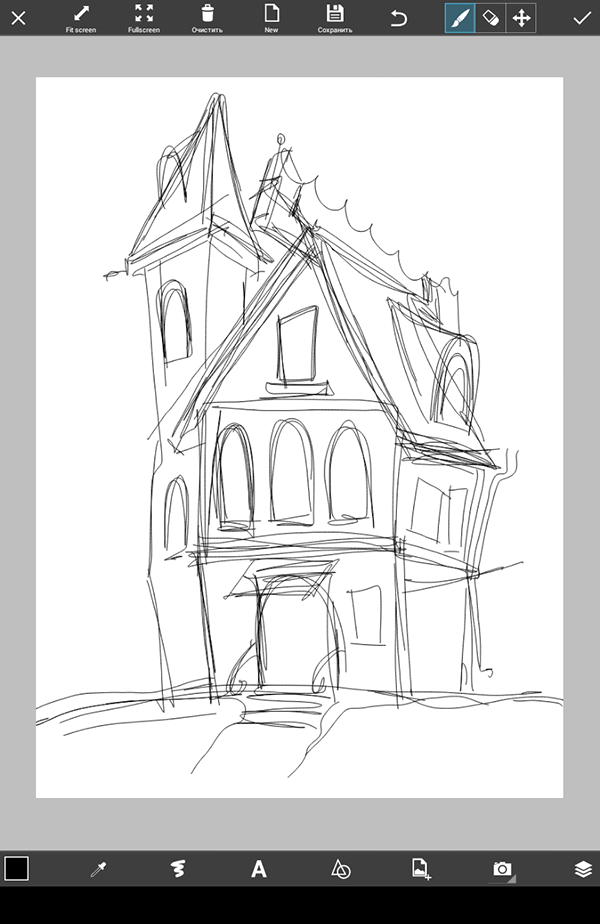
Step 1: Draw the Basic Shape
Draw a very rough outline of your house, planning out its architecture from floor to roof.
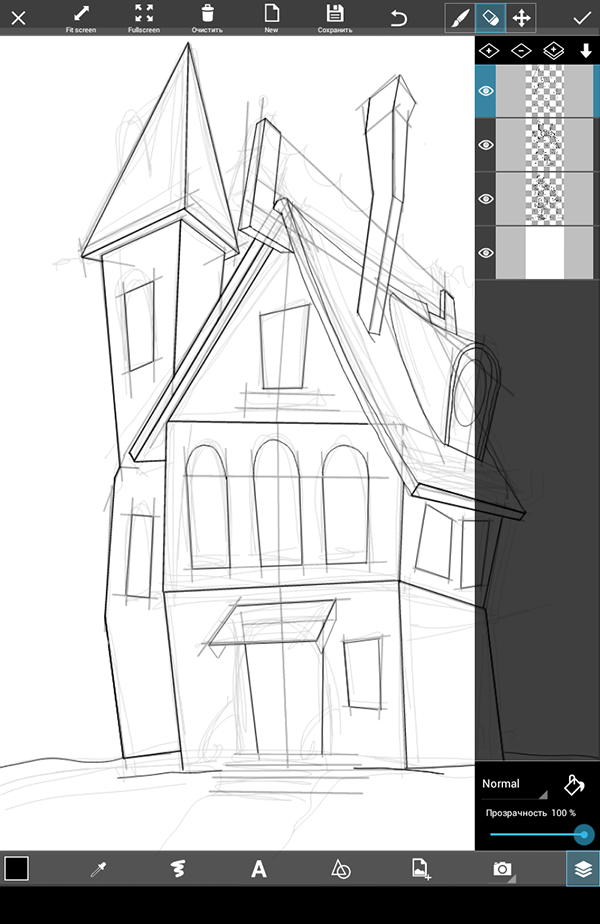
Step 2: Add New Layer
Reduce the opacity and create a new layer. Trace a more precise outline, replacing rough strokes with clean lines.
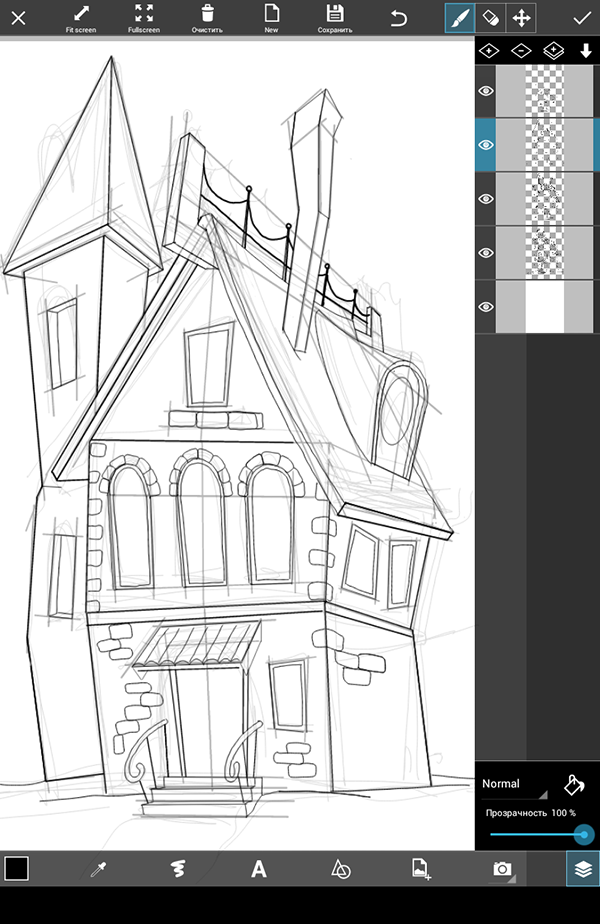
Step 3: Add Details
Finalize your outline by adding the remaining details, such as bricks and window frames.
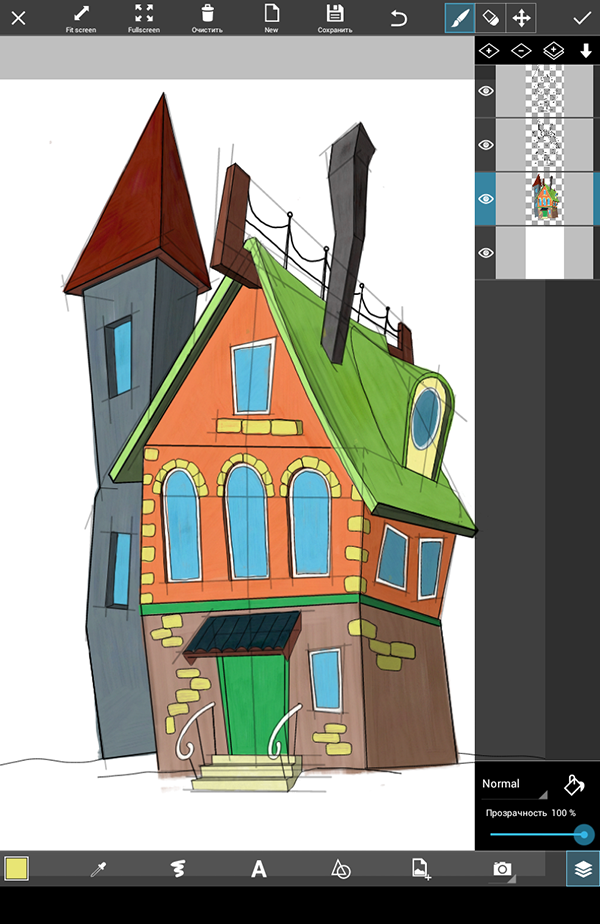
Step 4: Adding Basic Colors
Add a layer and color in your outline. Paint only the base colors of each element, save the finer coloring work for later on.
Step 5: Add Lighting and Shadow
Add a new layer, then apply shading and lighting by using darker and lighter tones of your base colors. Mind the direction of your light source to decide which areas to darken and lighten.
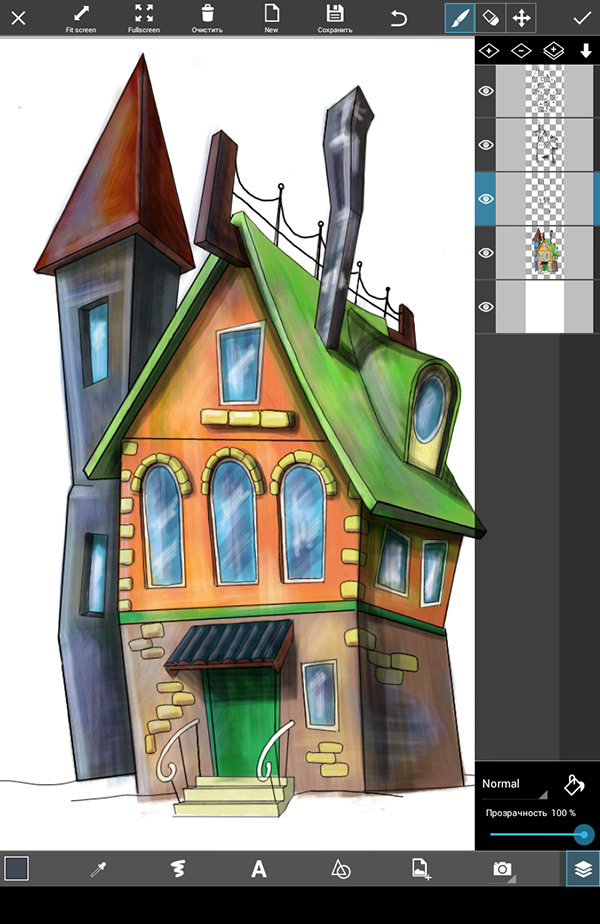
Step 6: Color the Background
Add new layers for your background, and use large spray-like brushes to create textures, like clouds and grass.
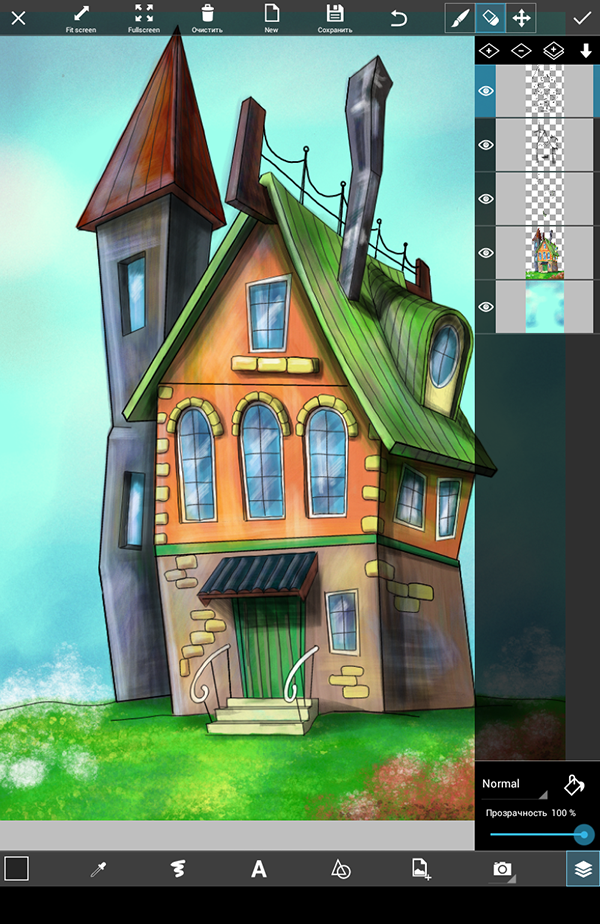
Step 7: Final Details
To finish your drawing, add whatever details remain, door knobs, window-frame details, flowers, or even birds in the sky. Whatever you think is missing.
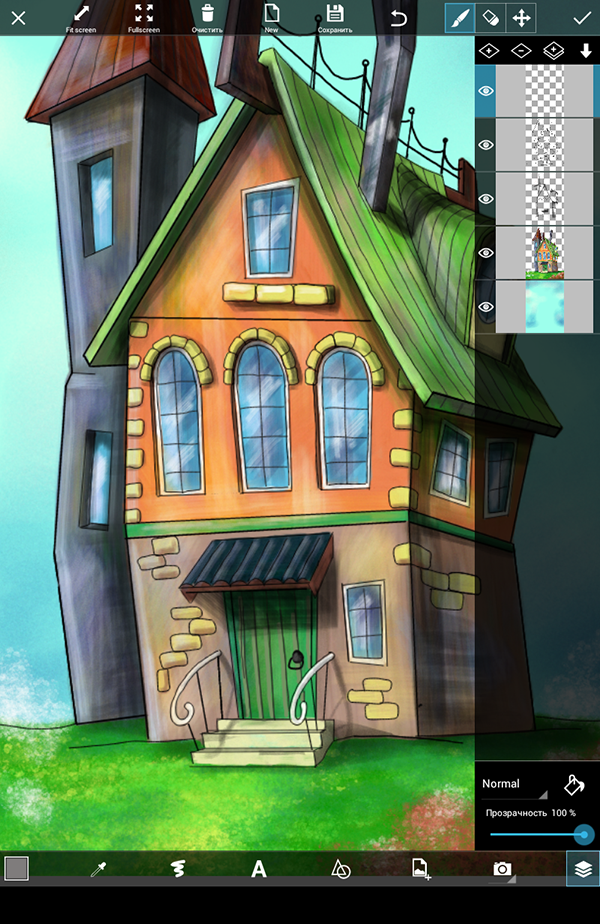
Congratulations, you’ve just finished your new home! You are now ready to submit it to the Drawing Challenge and have an open-house for the whole community!


