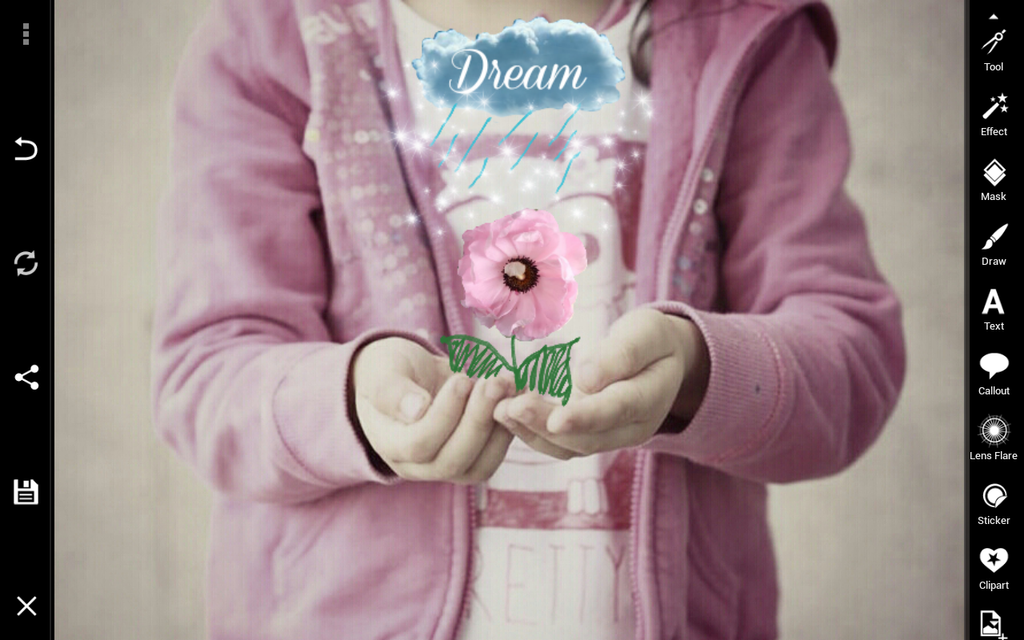
PicsArt has a diverse array of features that let you do some pretty cool editing tricks, but they are really at their best when you use them all together to create something truly unique. Custom Clipart is one of our most recent and exciting features, so here we are going to show you step by step how to create custom clipart and integrate into your drawing alongside some of PicsArt’s other awesome features. The results will knock you out of your chair!
Step 1: Upload a Photo
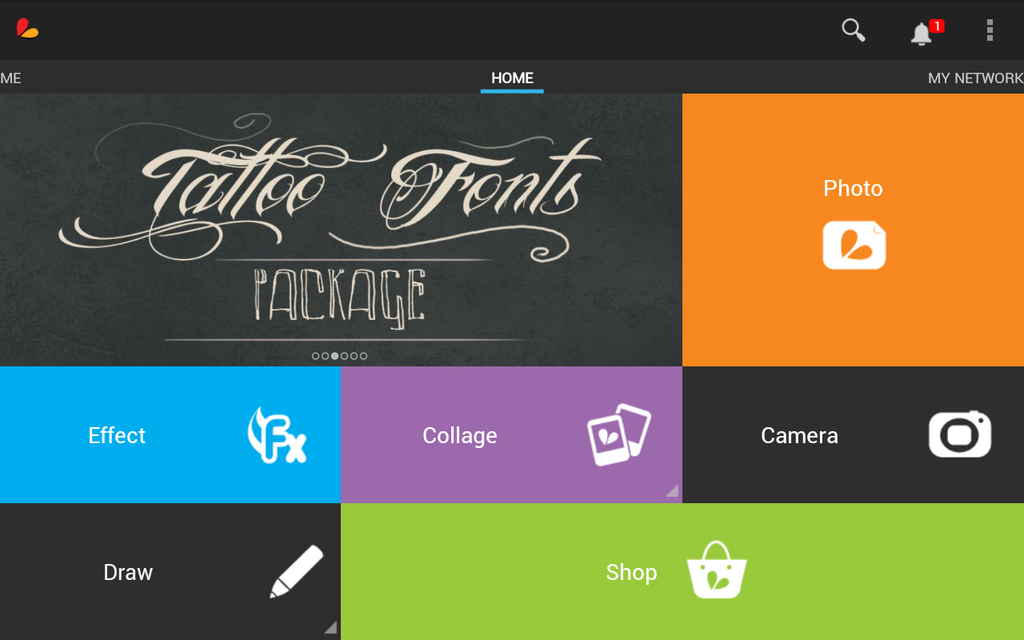
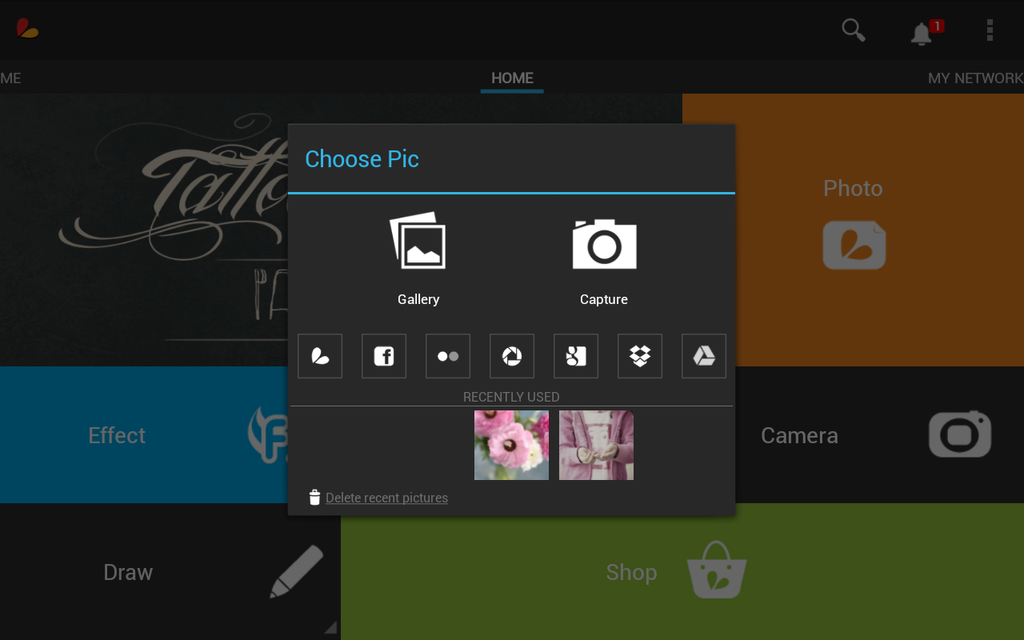
Upload a photo from the editing section of the main menu to serve as your basic background.

Step 2: Create Clipart
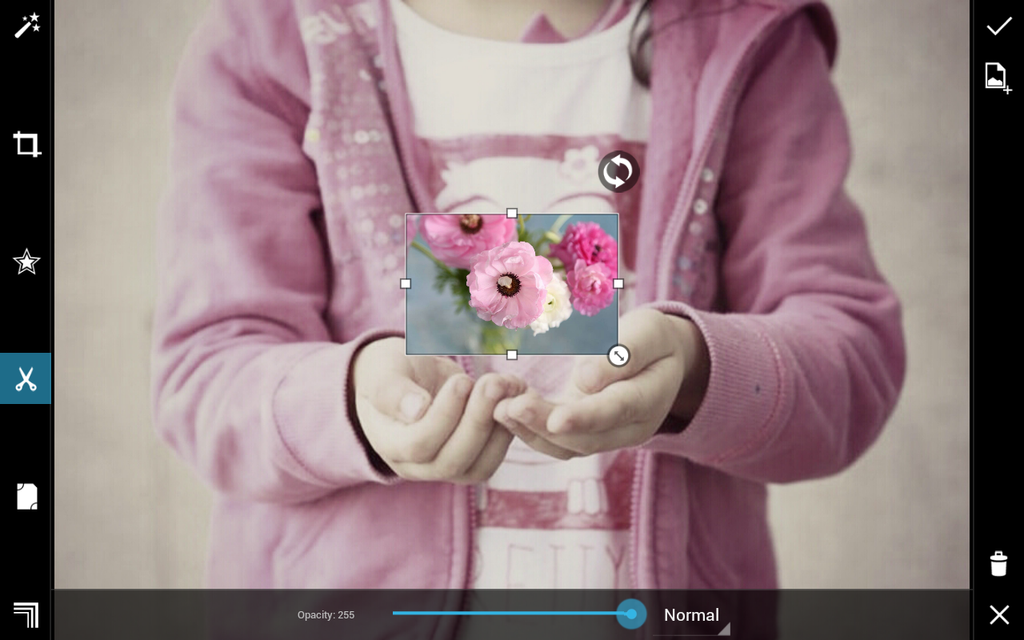
Add a photo of an object you want to turn into clipart. Select the “free crop” scissors, then set your brush to the Lasso. Trace the edges of your object until you close the lasso. Press “save as clipart” and confirm. We made a piece of Rose clipart.
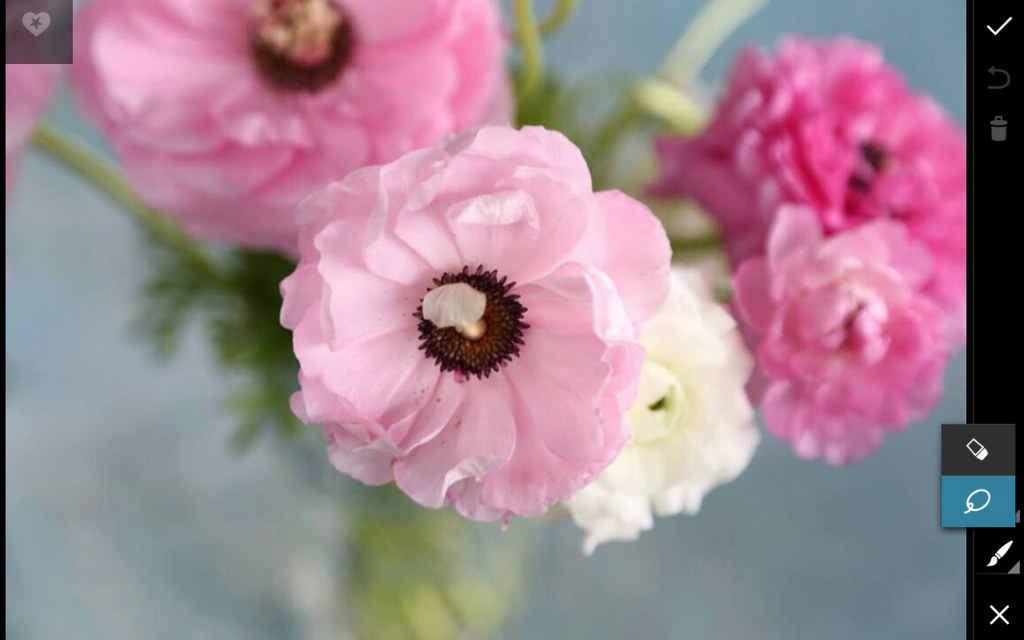
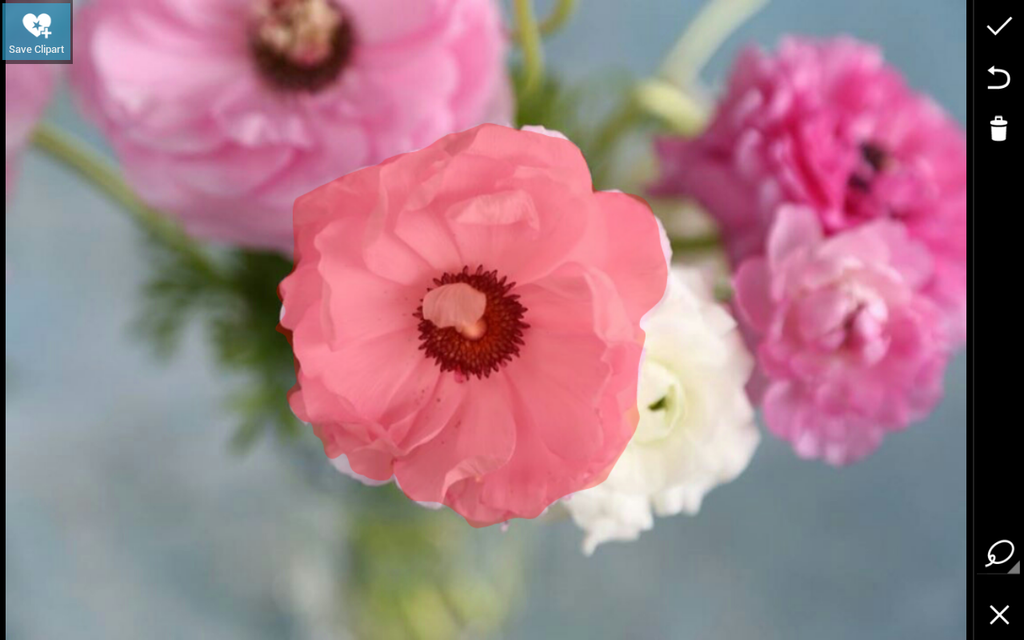
Step 3: Integrate Clipart
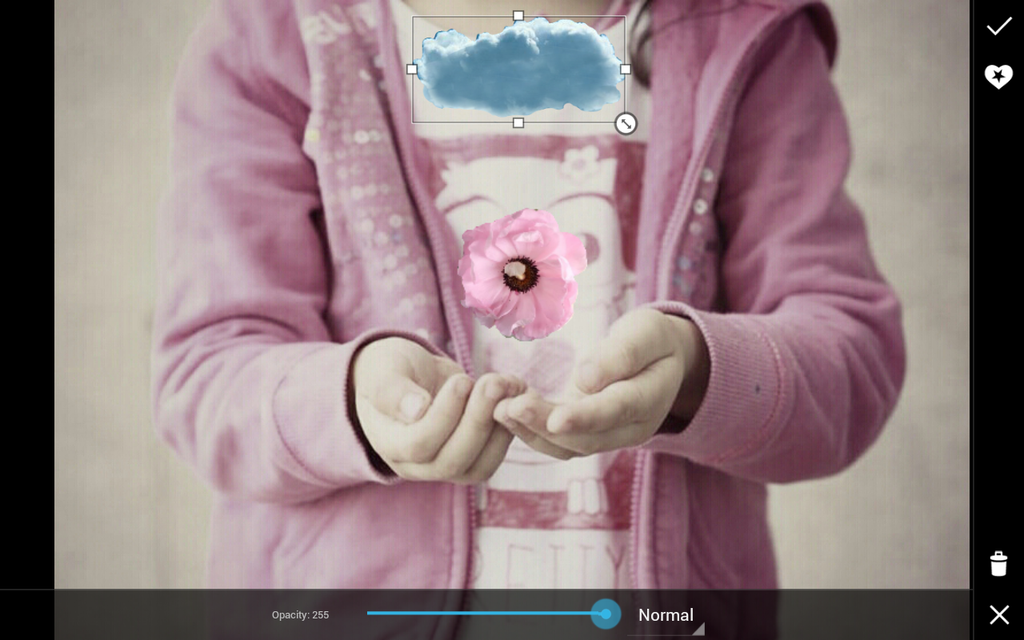
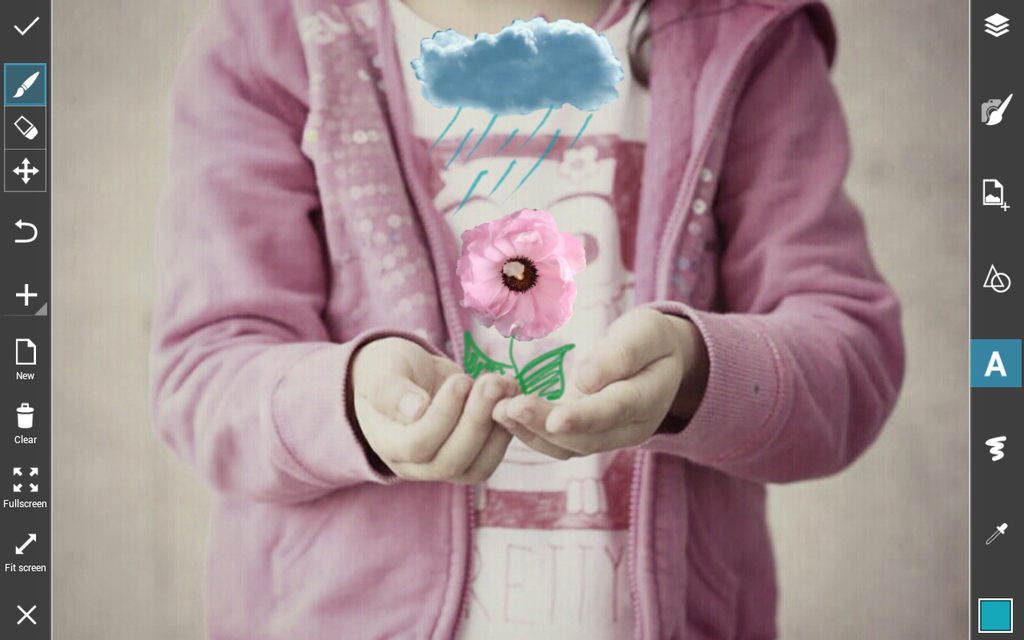
Place your new piece of clipart in your photo in a way that it fits with it’s surroundings, and press the clipart icon to add any other custom clipart that fits into your photo. We chose a cloud to go with our rose. Confirm.
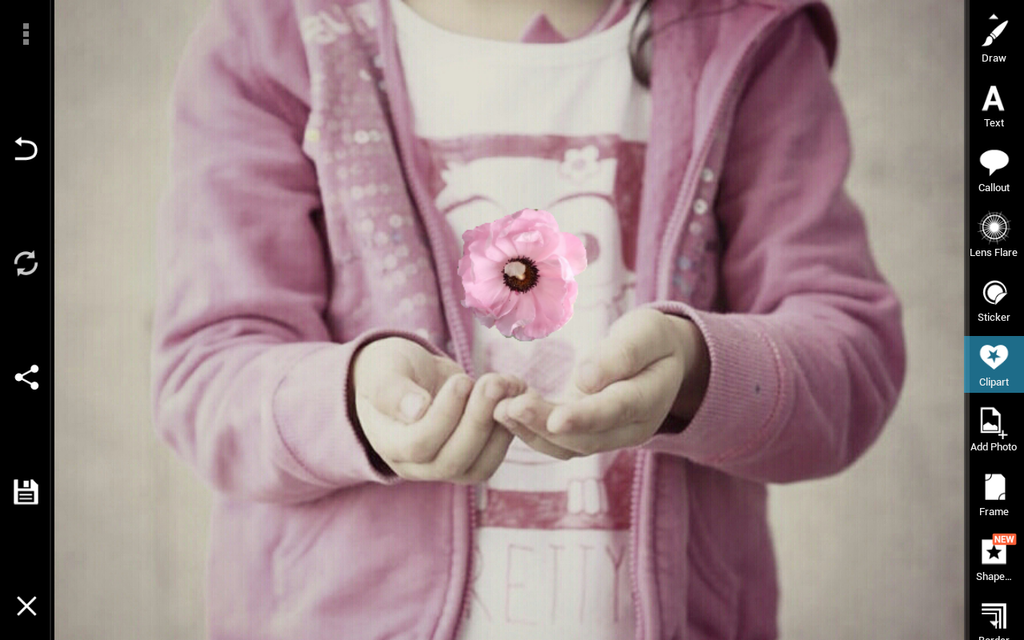
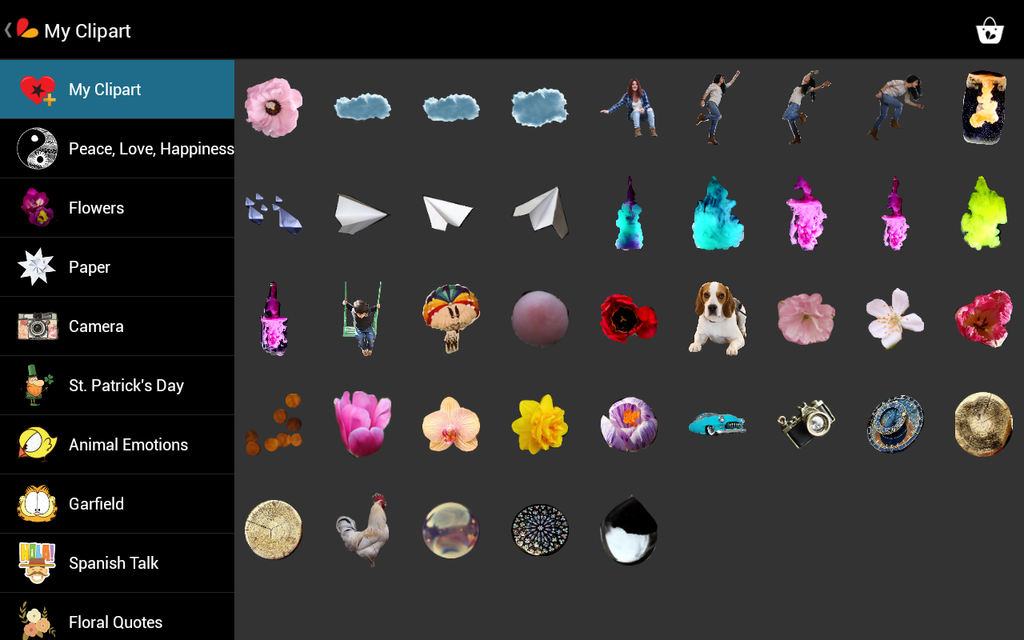
Step 4: Draw Elements
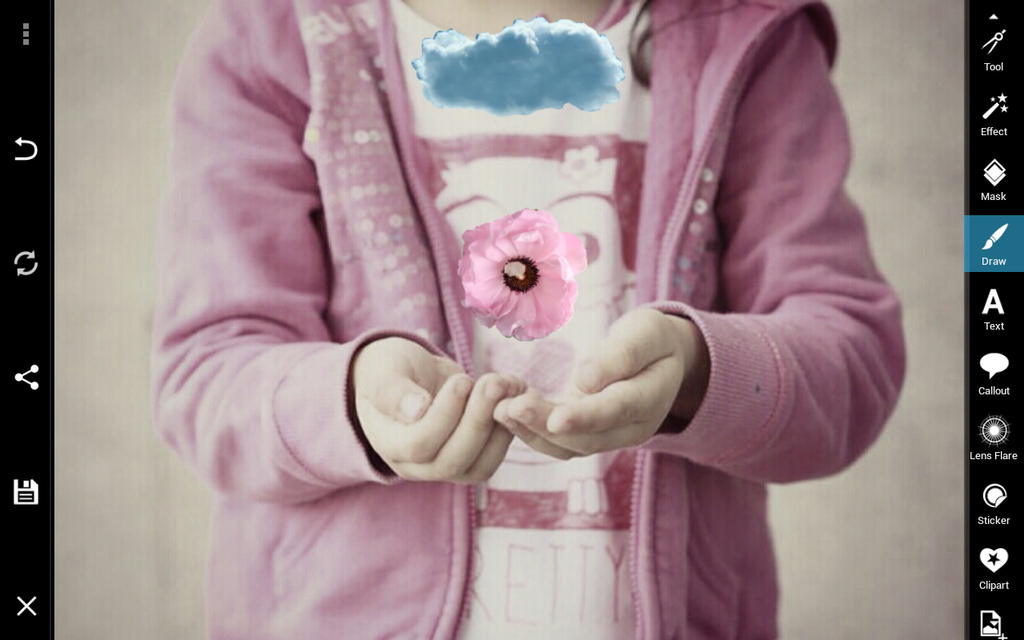
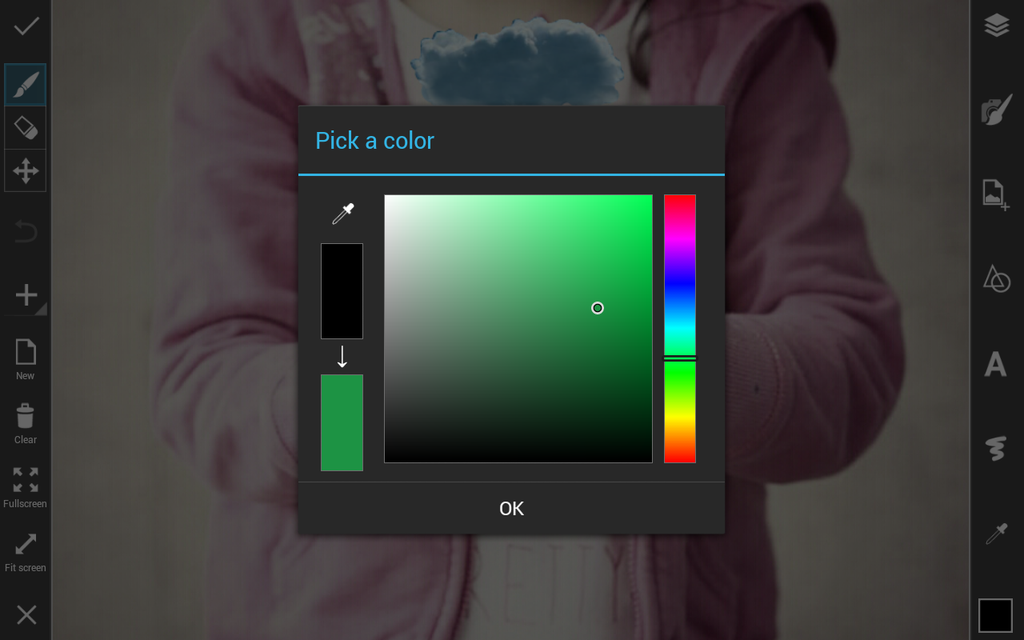
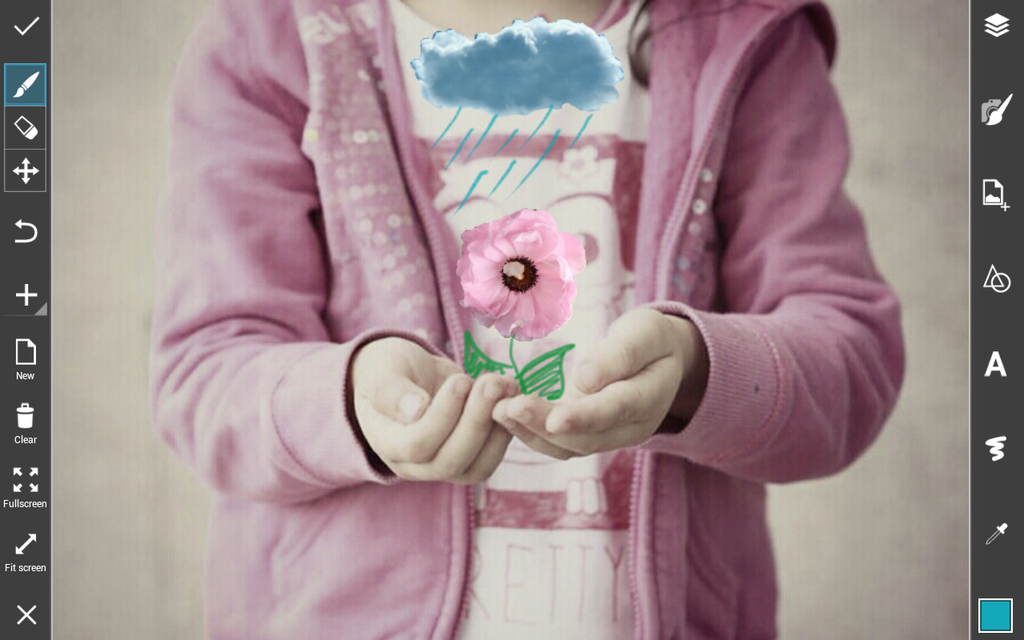
Select the draw icon to open Drawing Tools. Choose your color and brush, and add to your clipart with drawings. We drew a stem for our rose, and rain for our cloud. Confirm.
Step 5: Add a Text
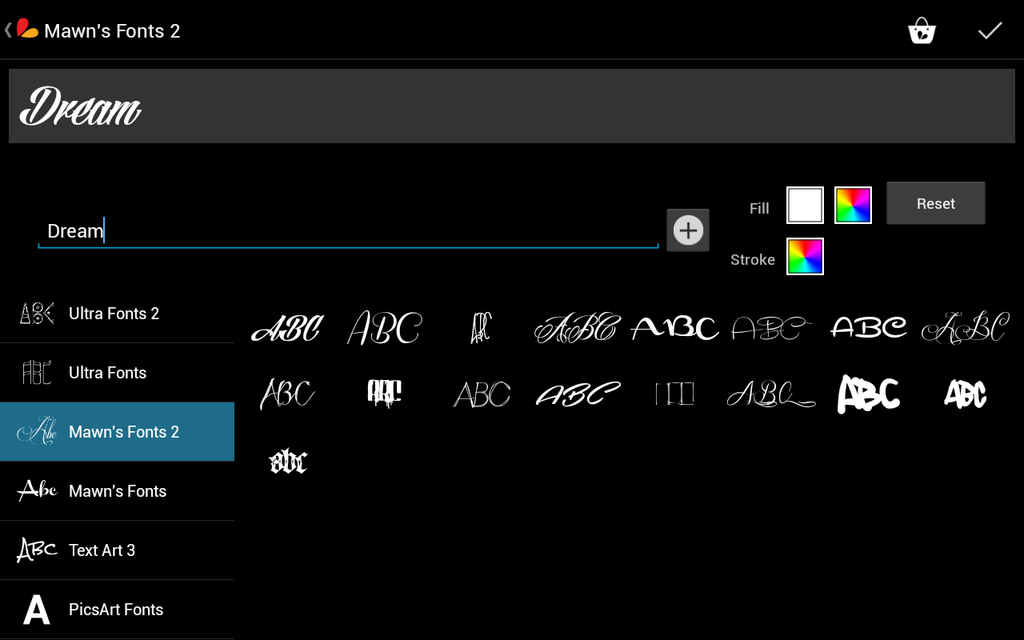
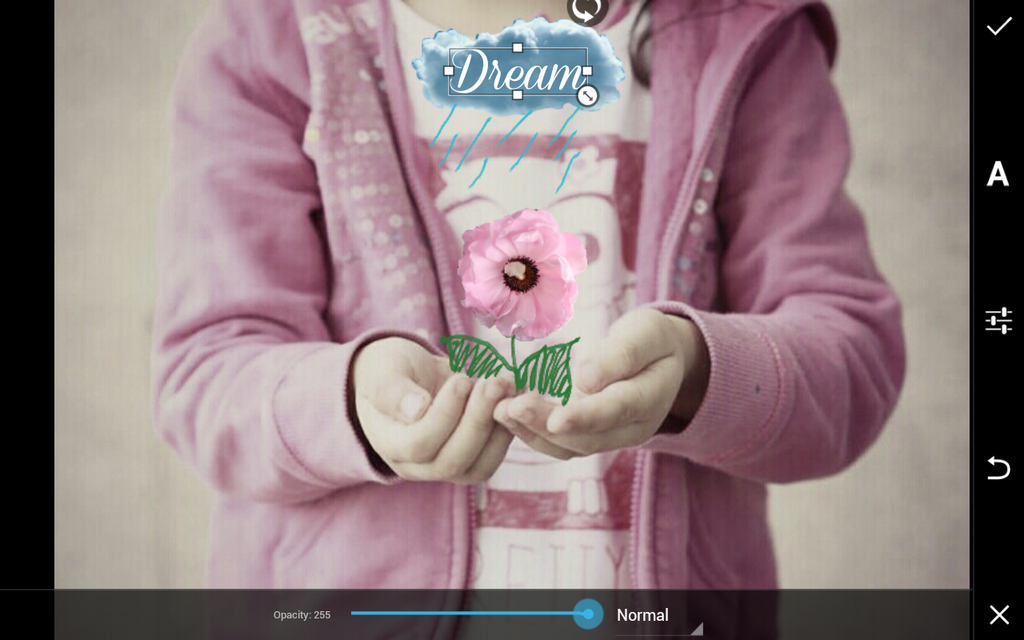
To write a message, select the A shaped Text icon. Choose a font and color, and write a personal message to add into your photo.
Step 6: Add Stickers
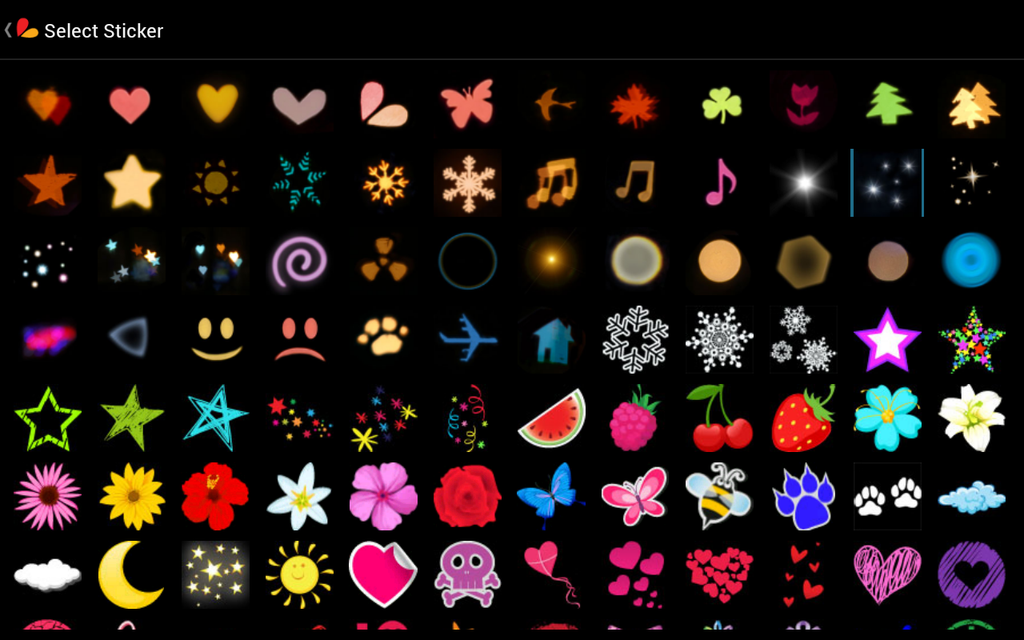
PicsArt Stickers let you add a lot of one thing to a photo. Select a good sticker to sprinkle everywhere with the Sticker icon, and glue on as many as you like by tapping the screen.

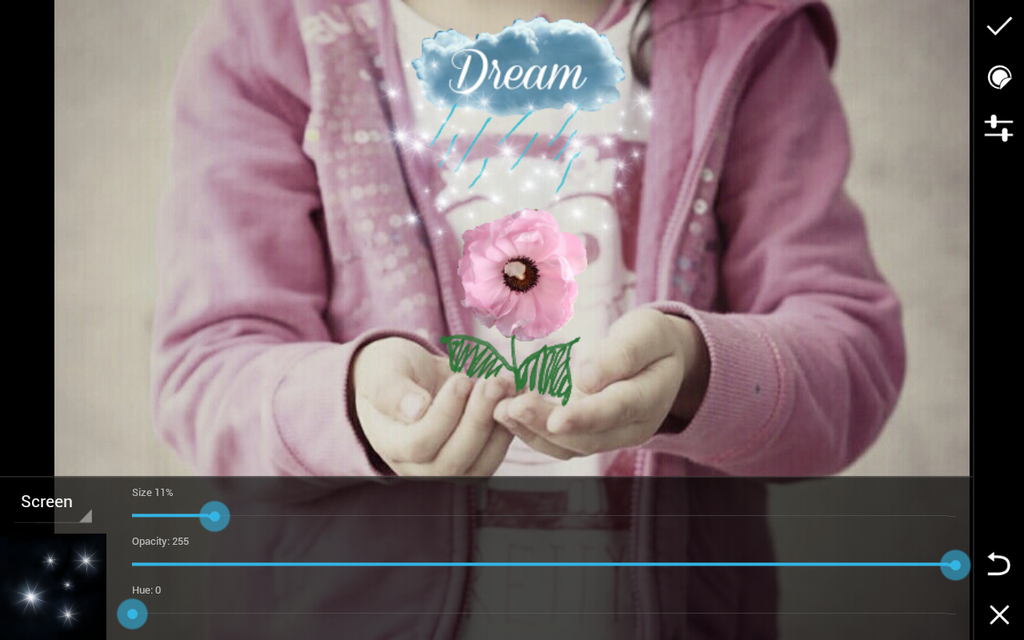
You’re finished! Stand back and admire your handiwork.
