How to Add a Touch of Autumn to Your Shots
Fall is in full swing, so we’ve prepared this tutorial to show you how to add a touch of autumn to your shots. Read on to learn more!
Step 1: Open Clipart
Open your image in Draw. Tap on the Add icon and select Clipart.
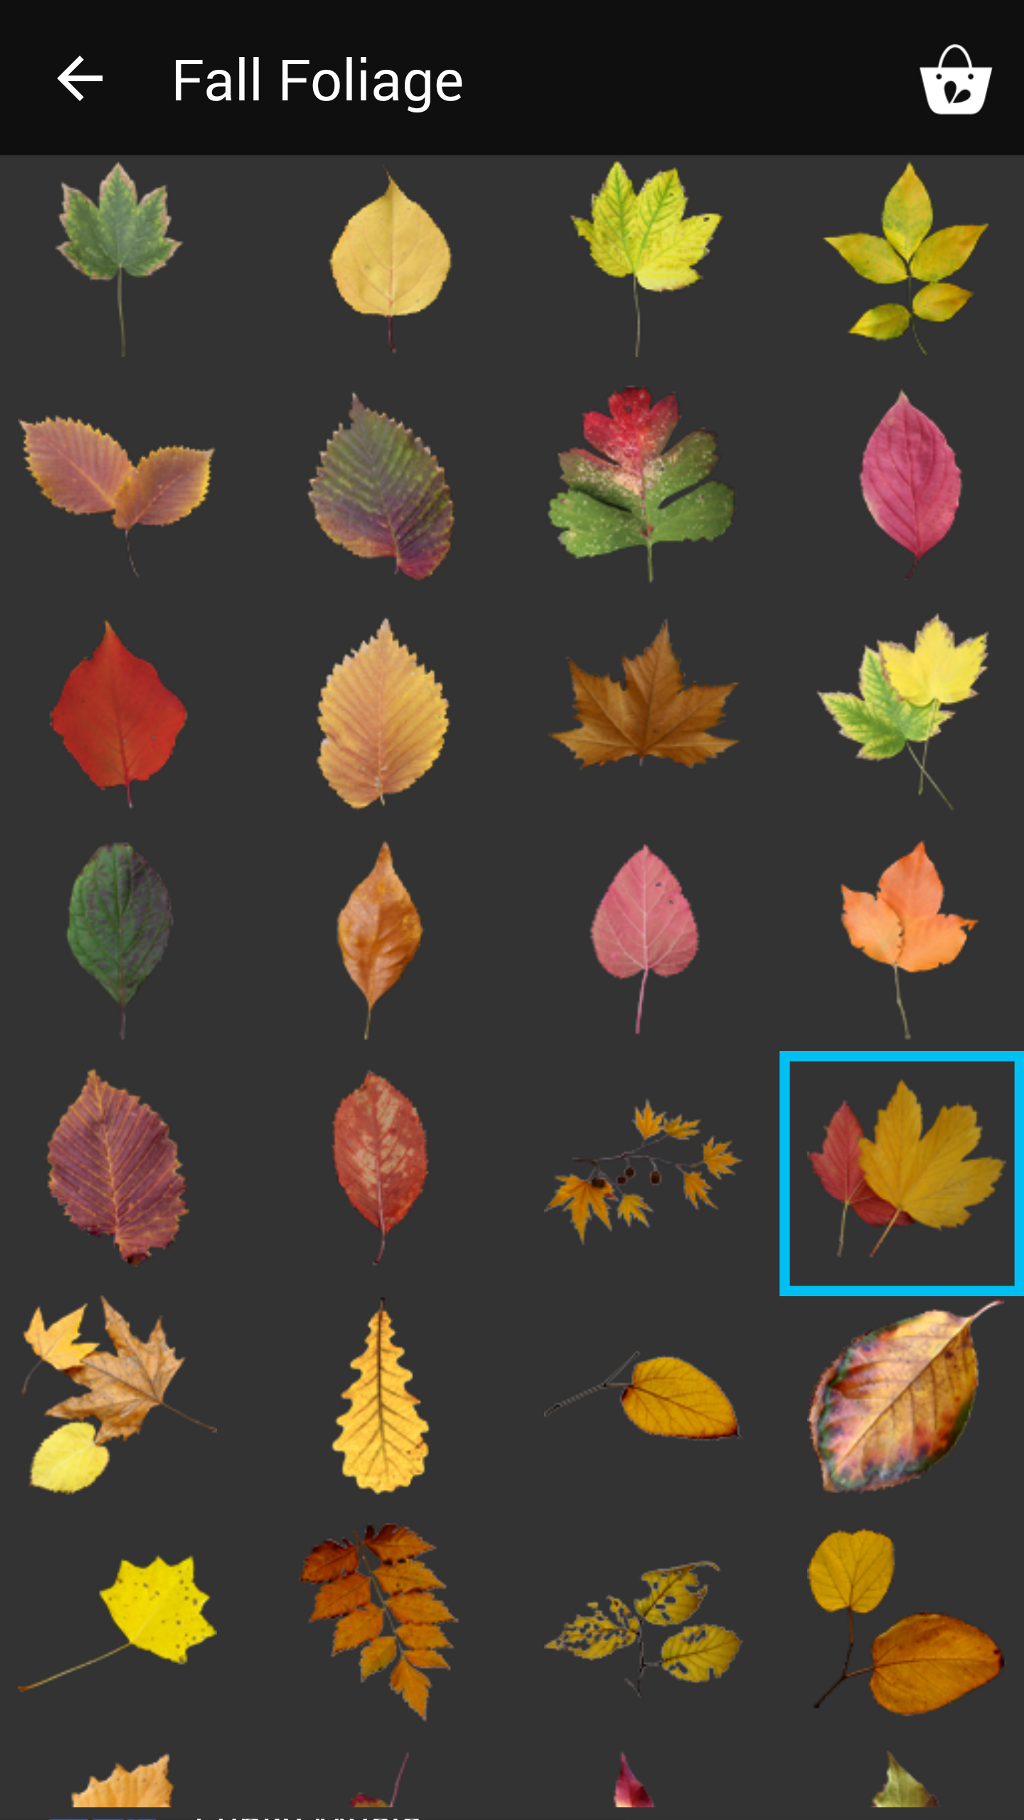
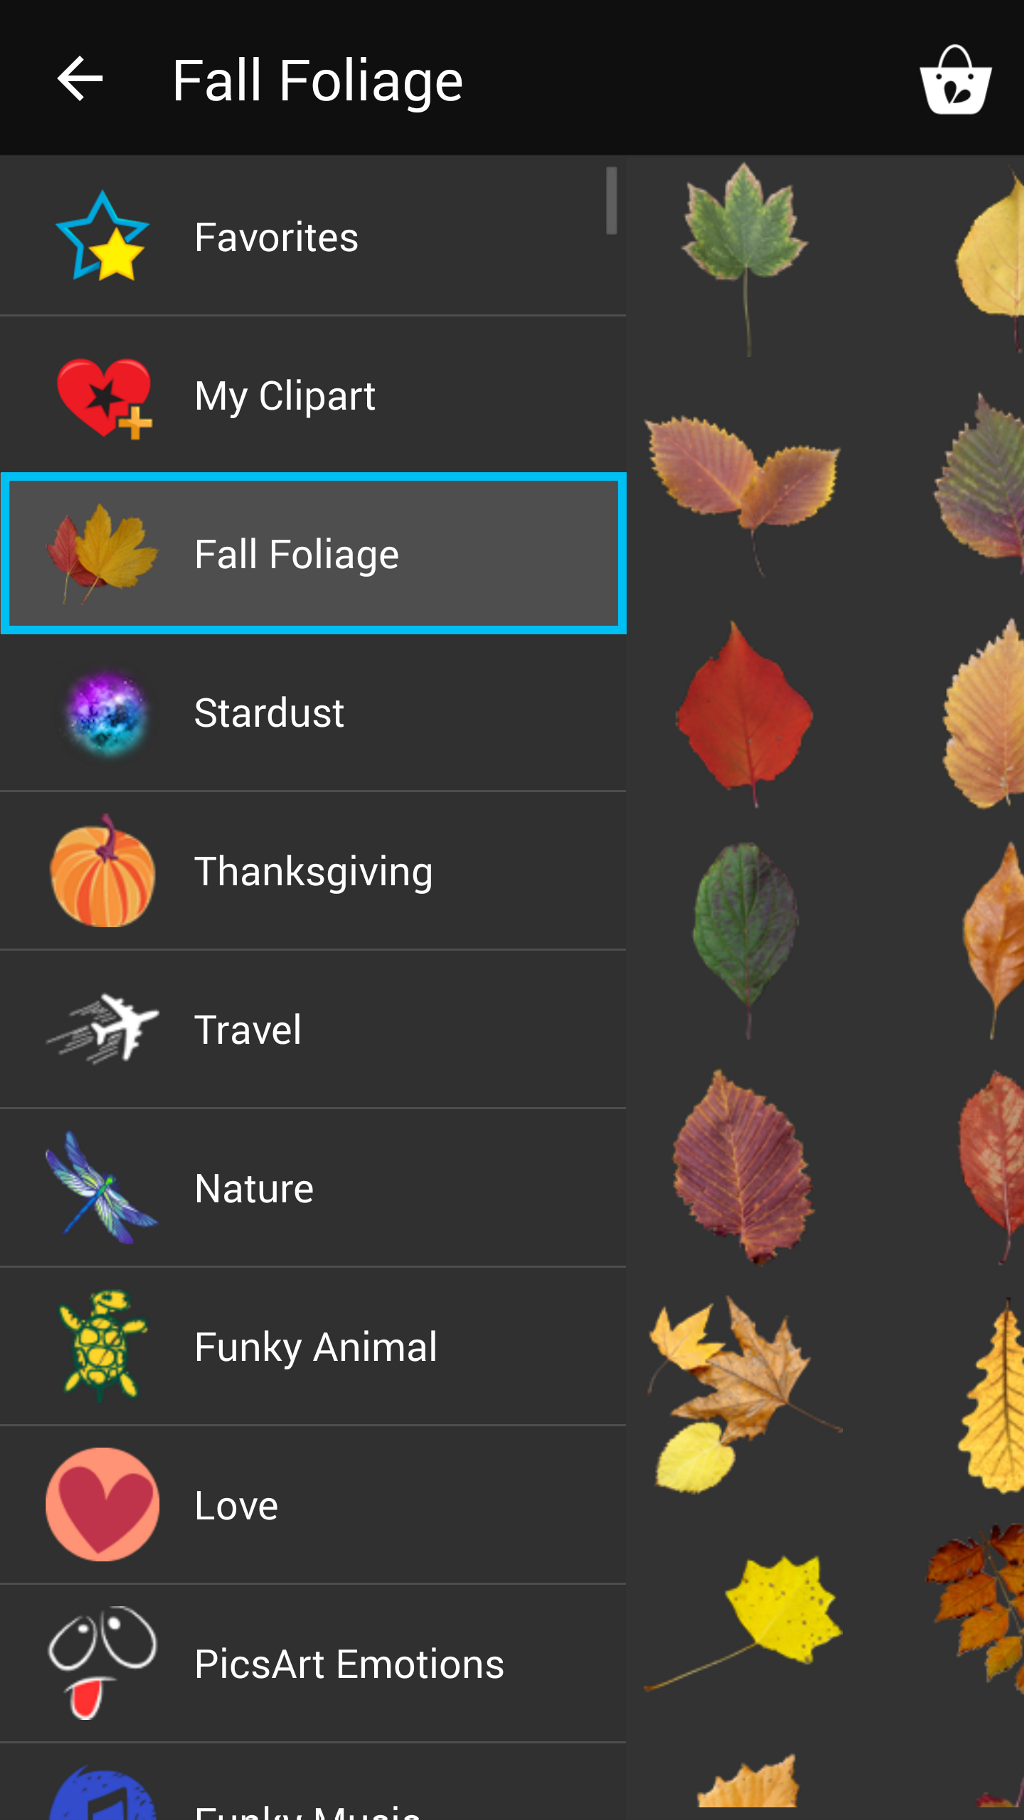
Step 2: Select Clipart
Select the Fall Foliage package and tap on the clipart image you’d like to add.
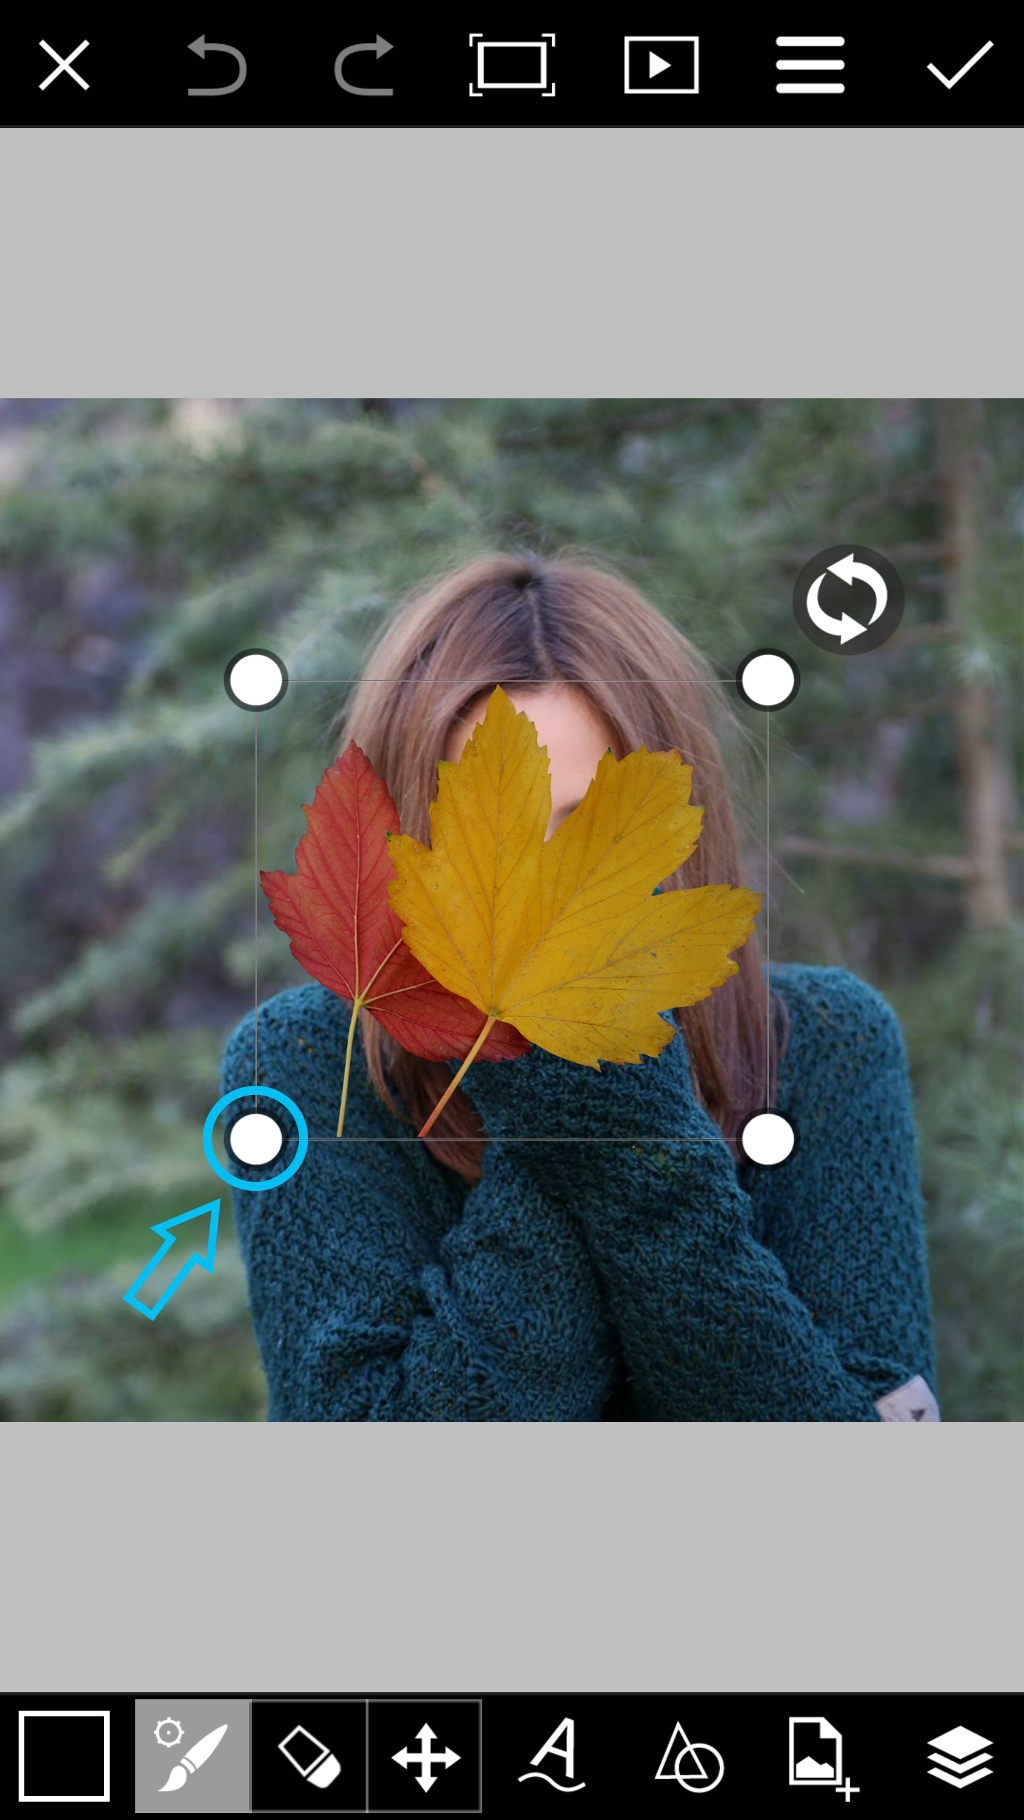
Step 3: Place Clipart Image
Drag the corners of the clipart image to adjust the size. Adjust the orientation with the arrows icon, and drag the clipart image to place it.

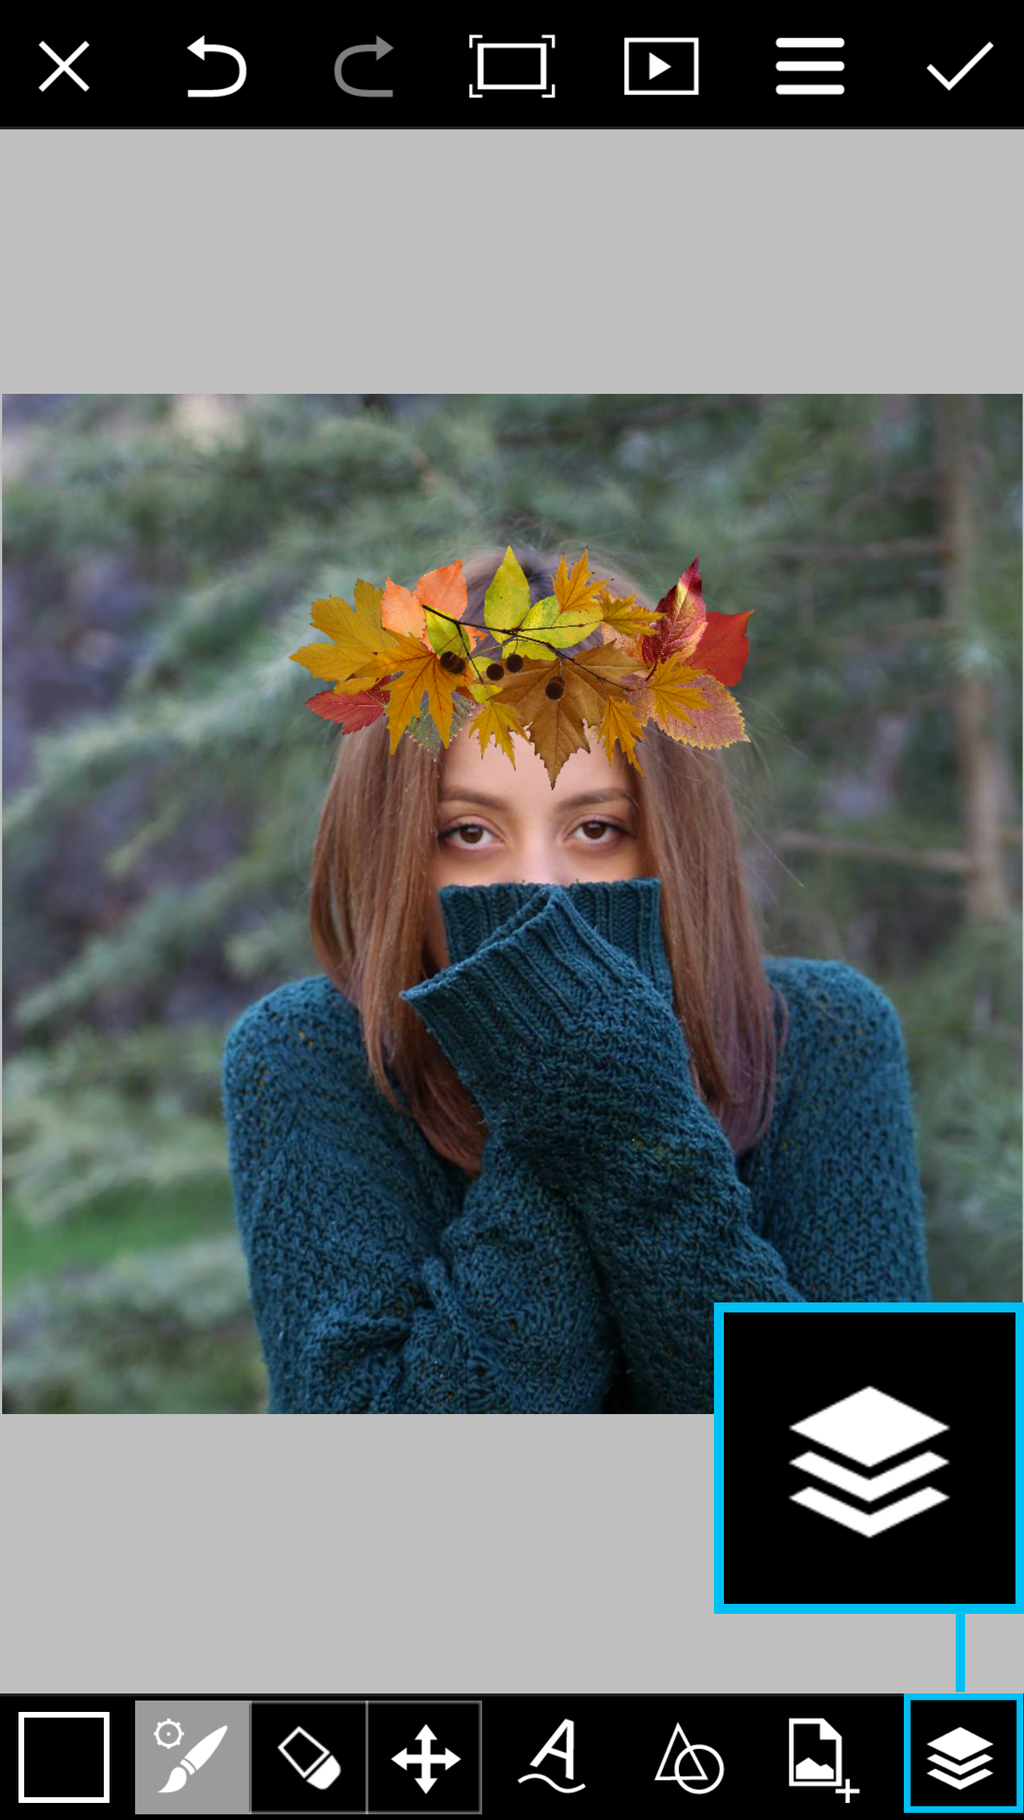
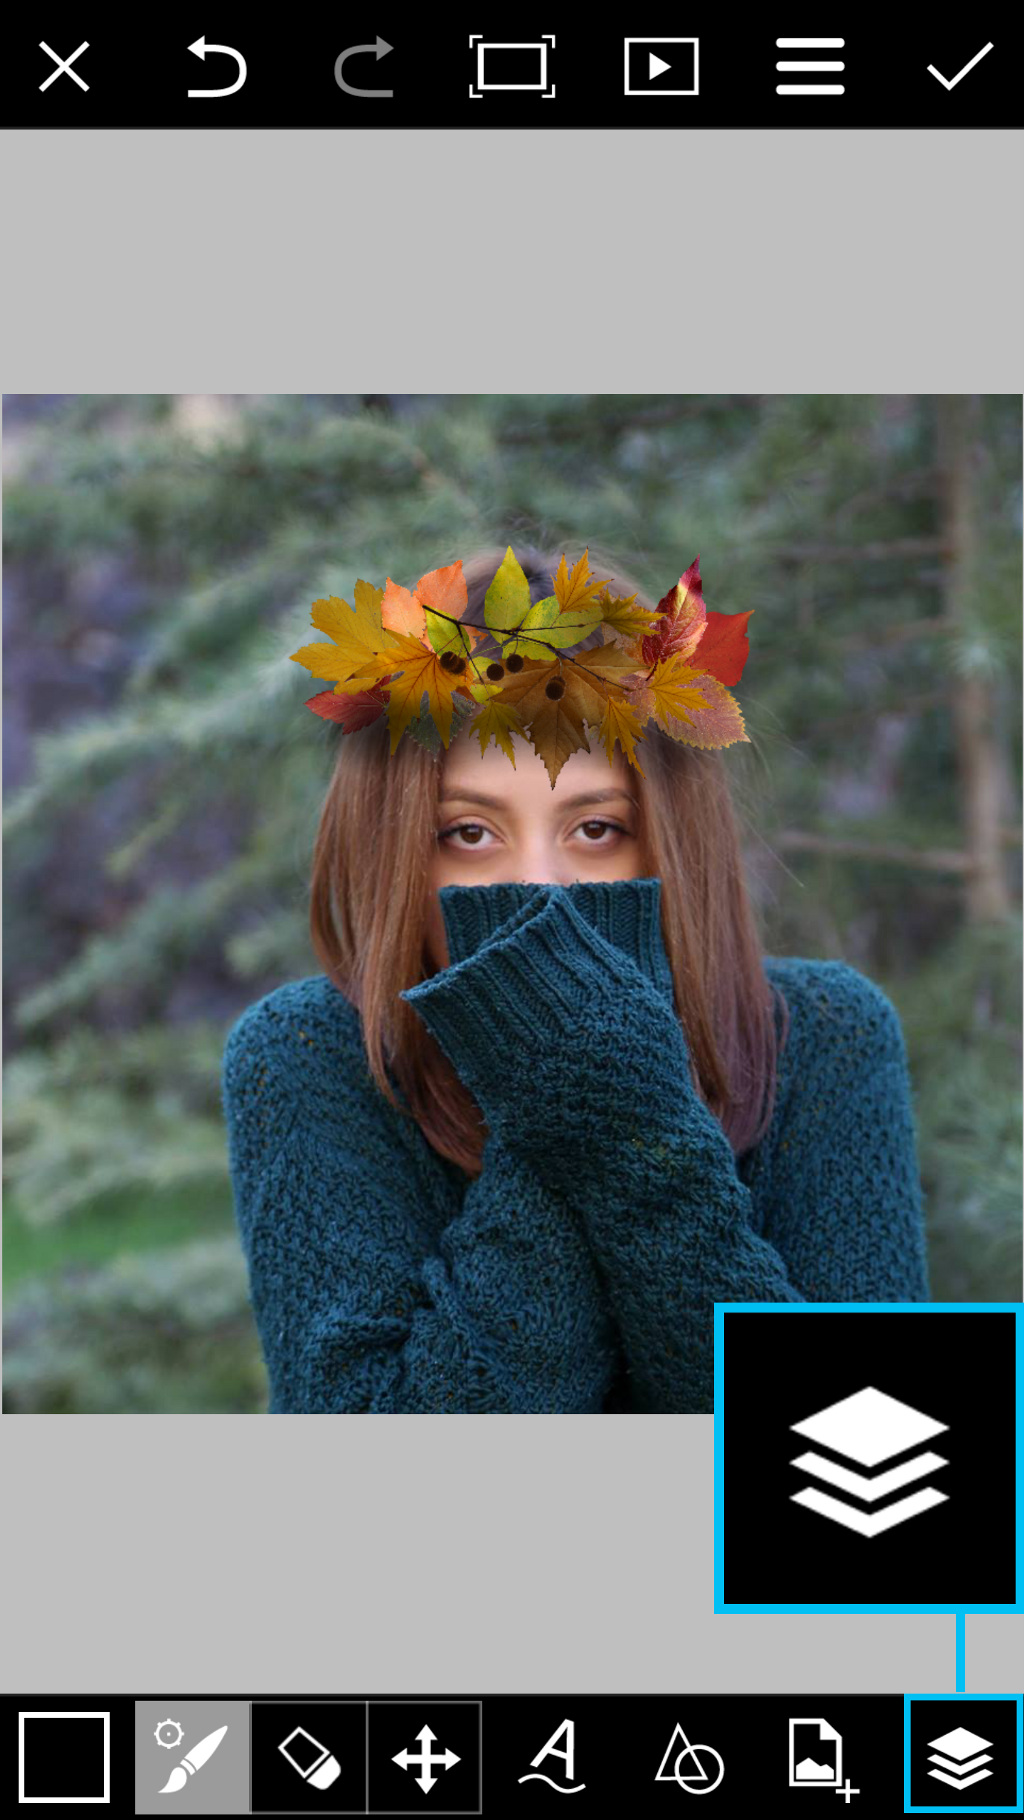
Step 4: Continue Adding Clipart
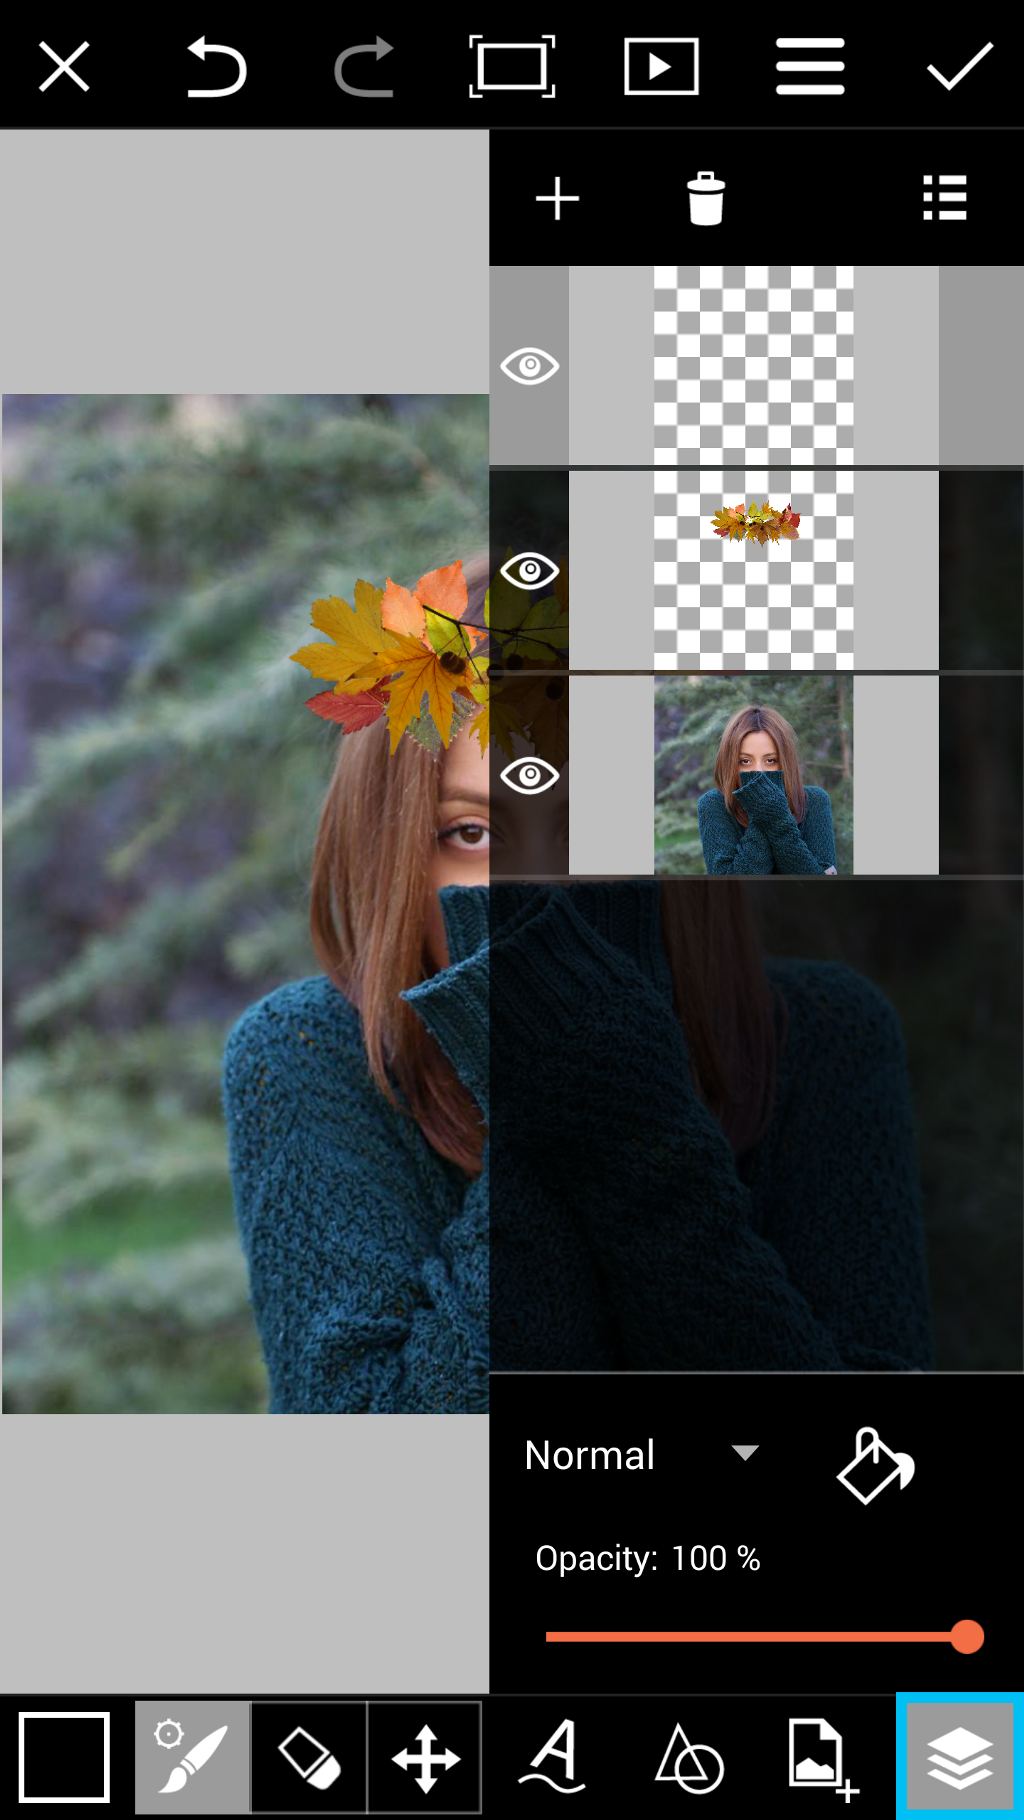
Continue adding clipart until you have created a crown of fall foliage. Tap on the layers icon to open the layers drawer.

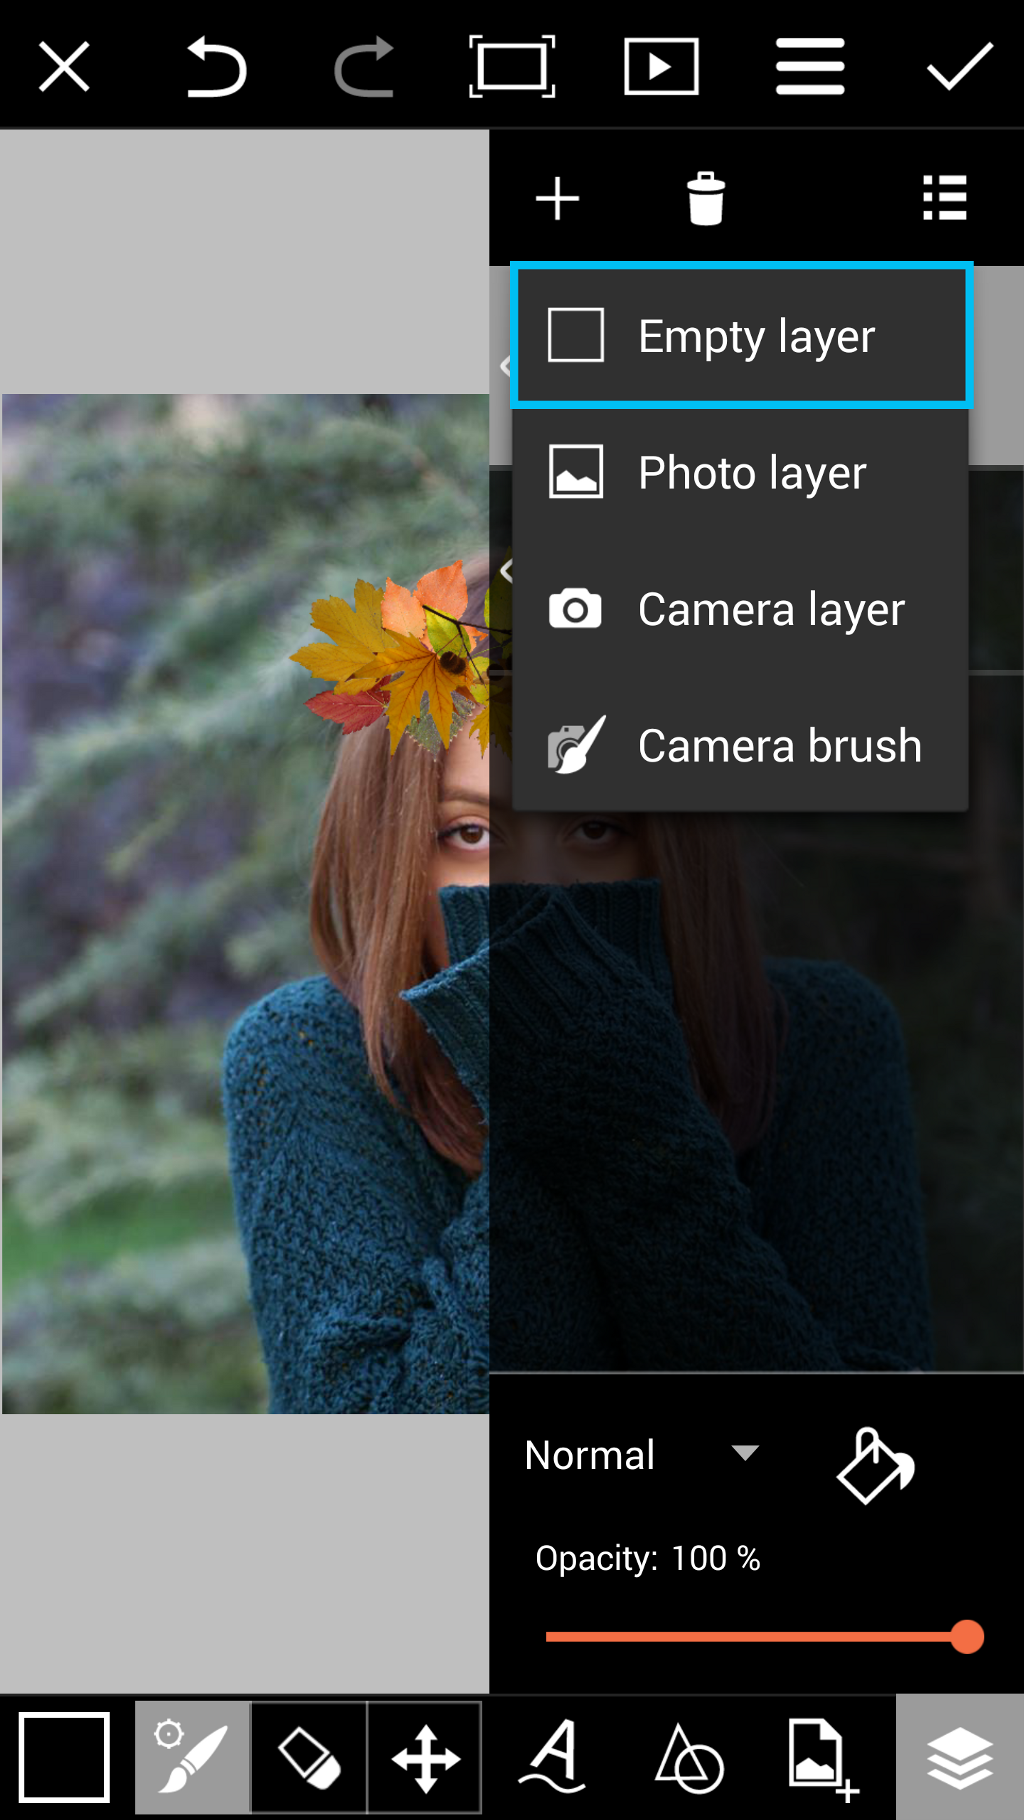
Step 5: Add New Layer
Tap on the plus sign and select “Empty layer.”
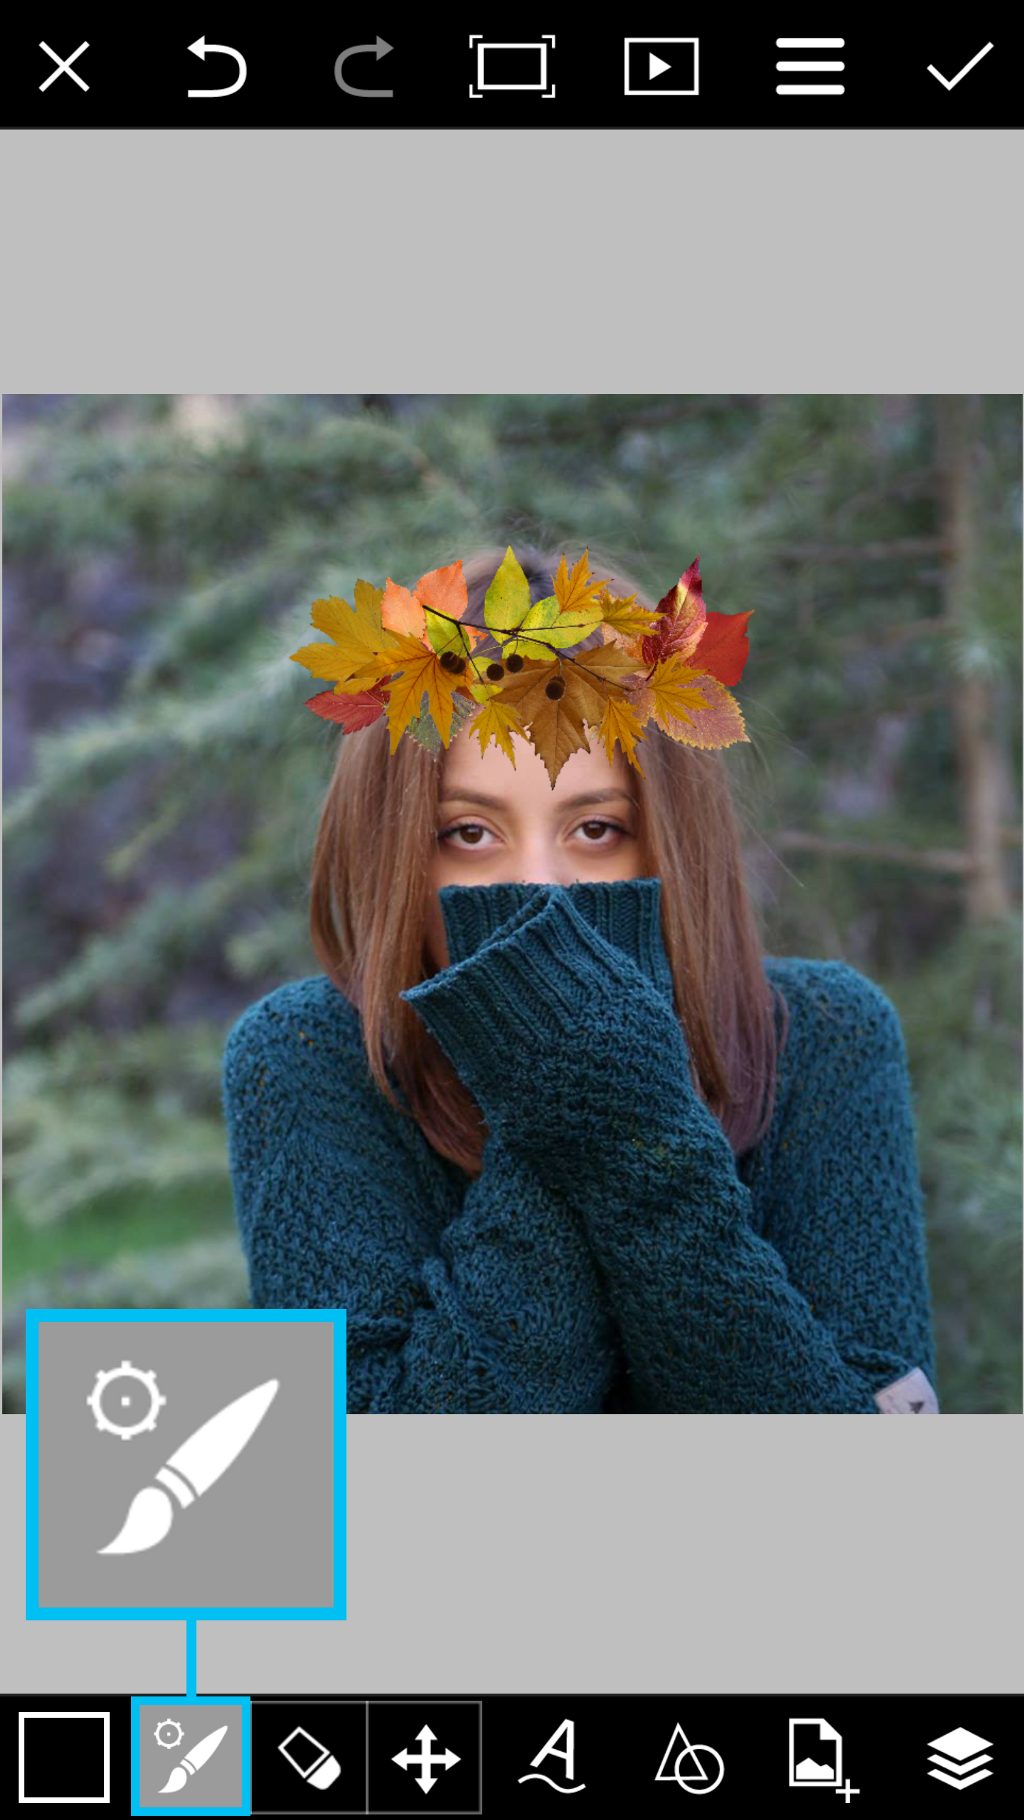
Step 6: Open Brush Tool
Tap on the layers icon to close the layers drawer. Tap on the paintbrush icon.
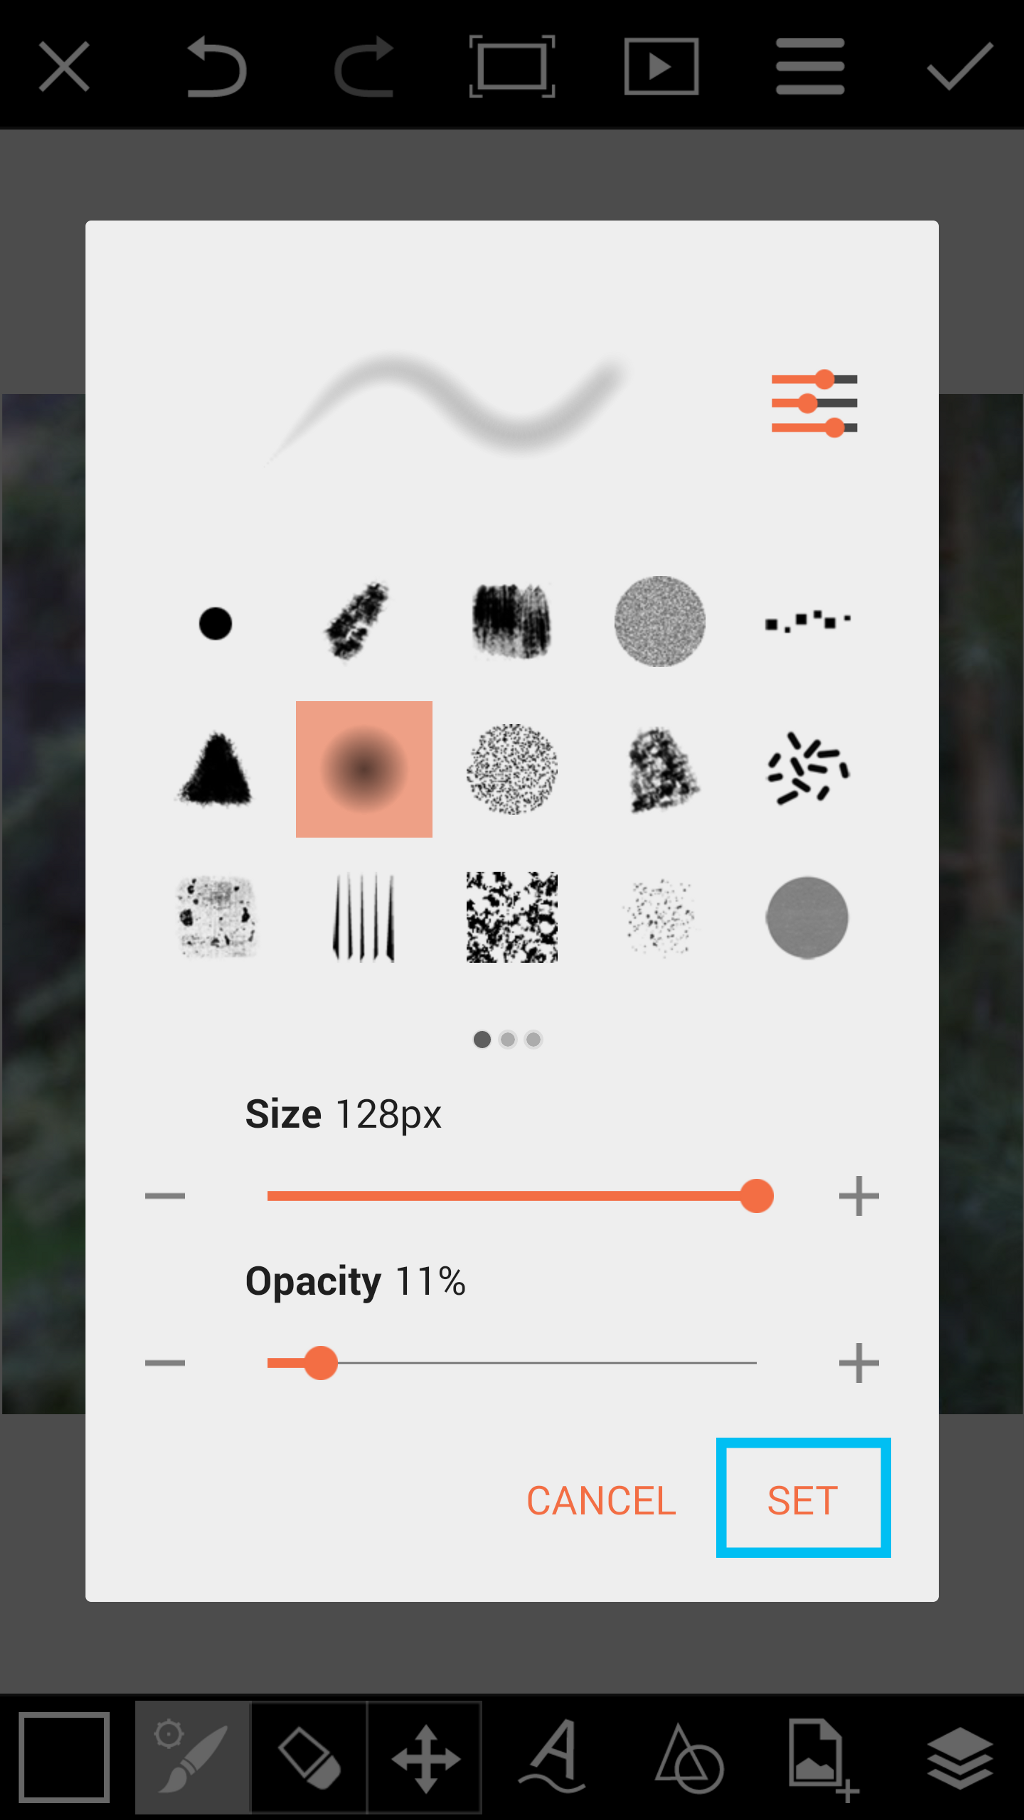
Step 7: Adjust Brush Settings & Draw Shadow
Tap on the paintbrush icon again to open your brush settings. Adjust your brush settings and tap on SET to confirm. Use your finger to draw a subtle shadow at the bottom of the leaf crown.

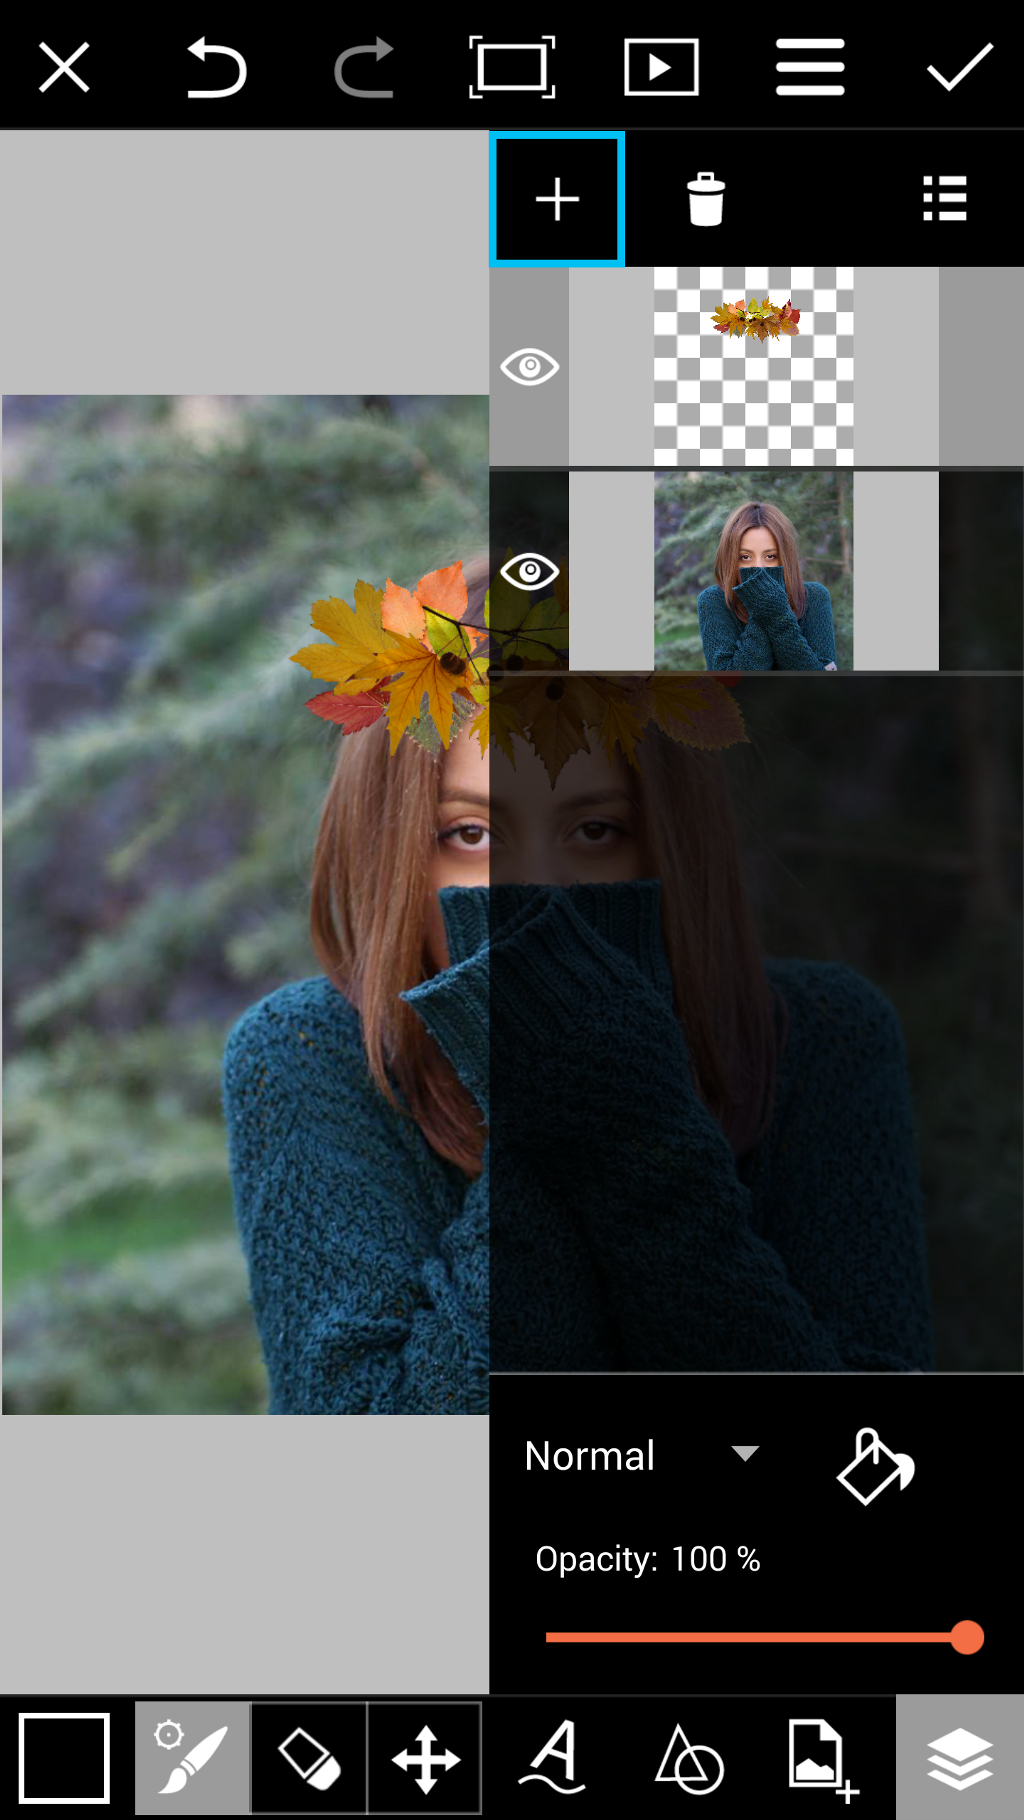
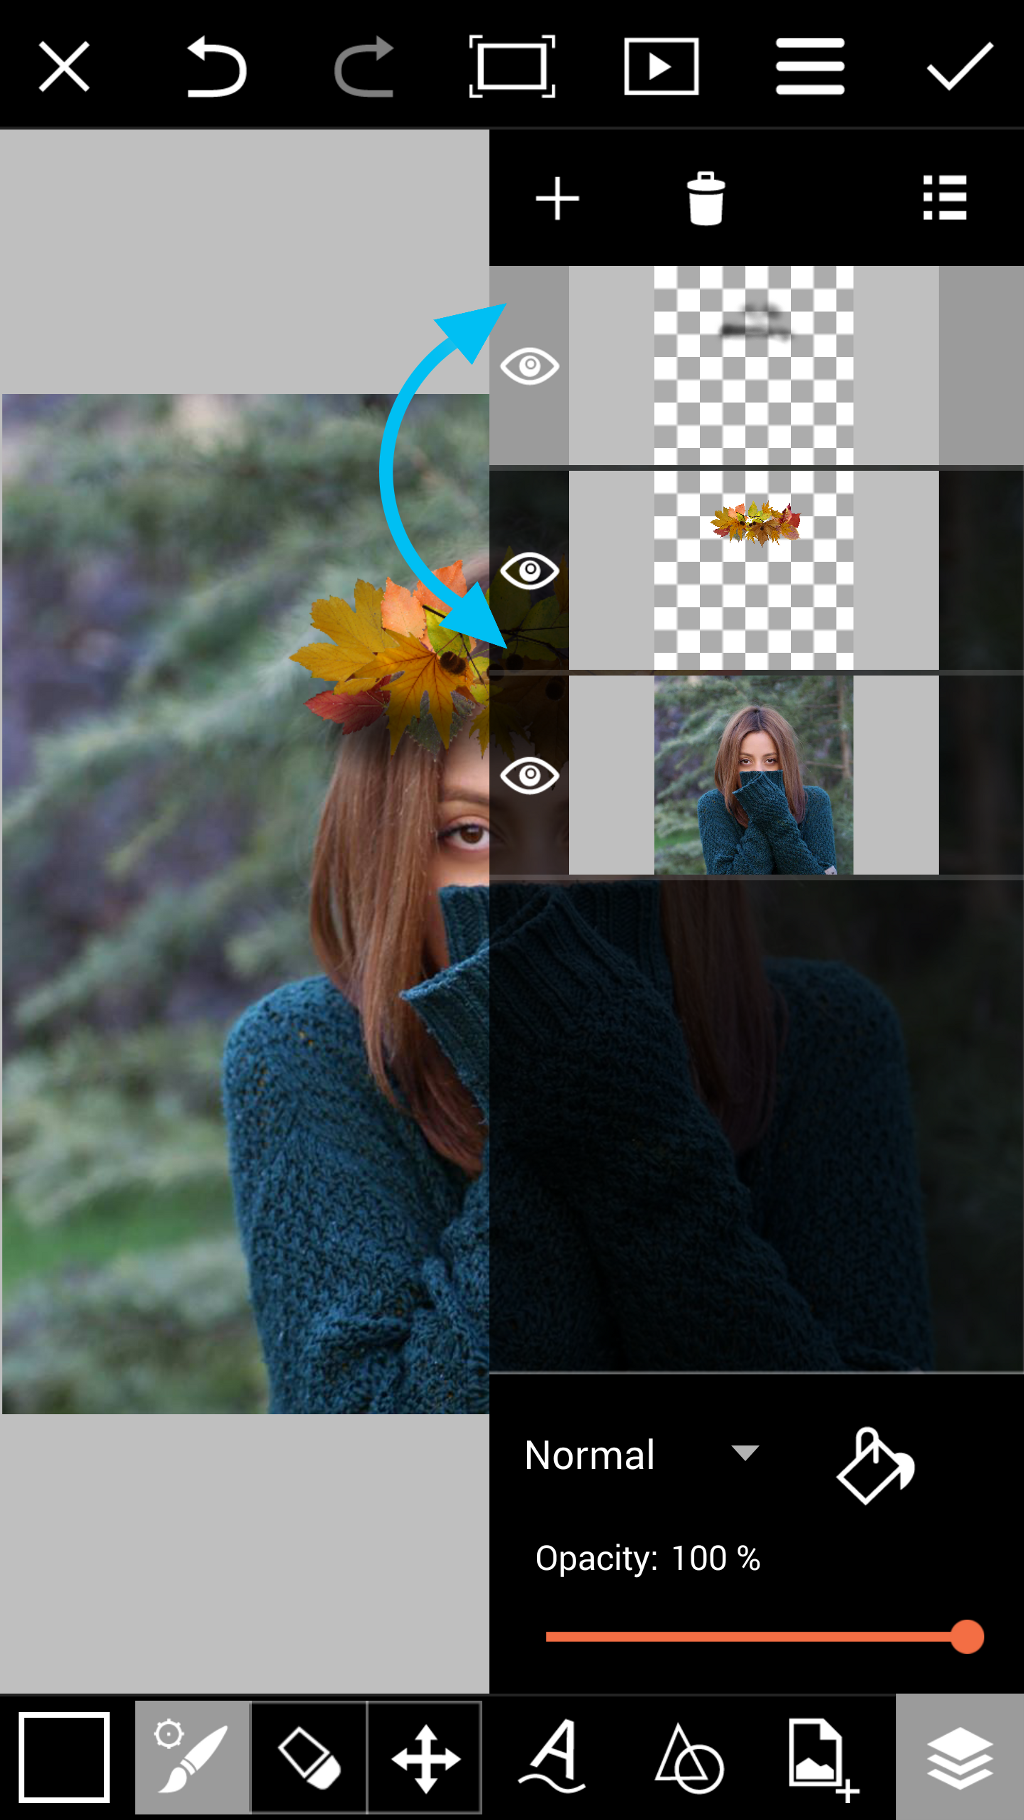
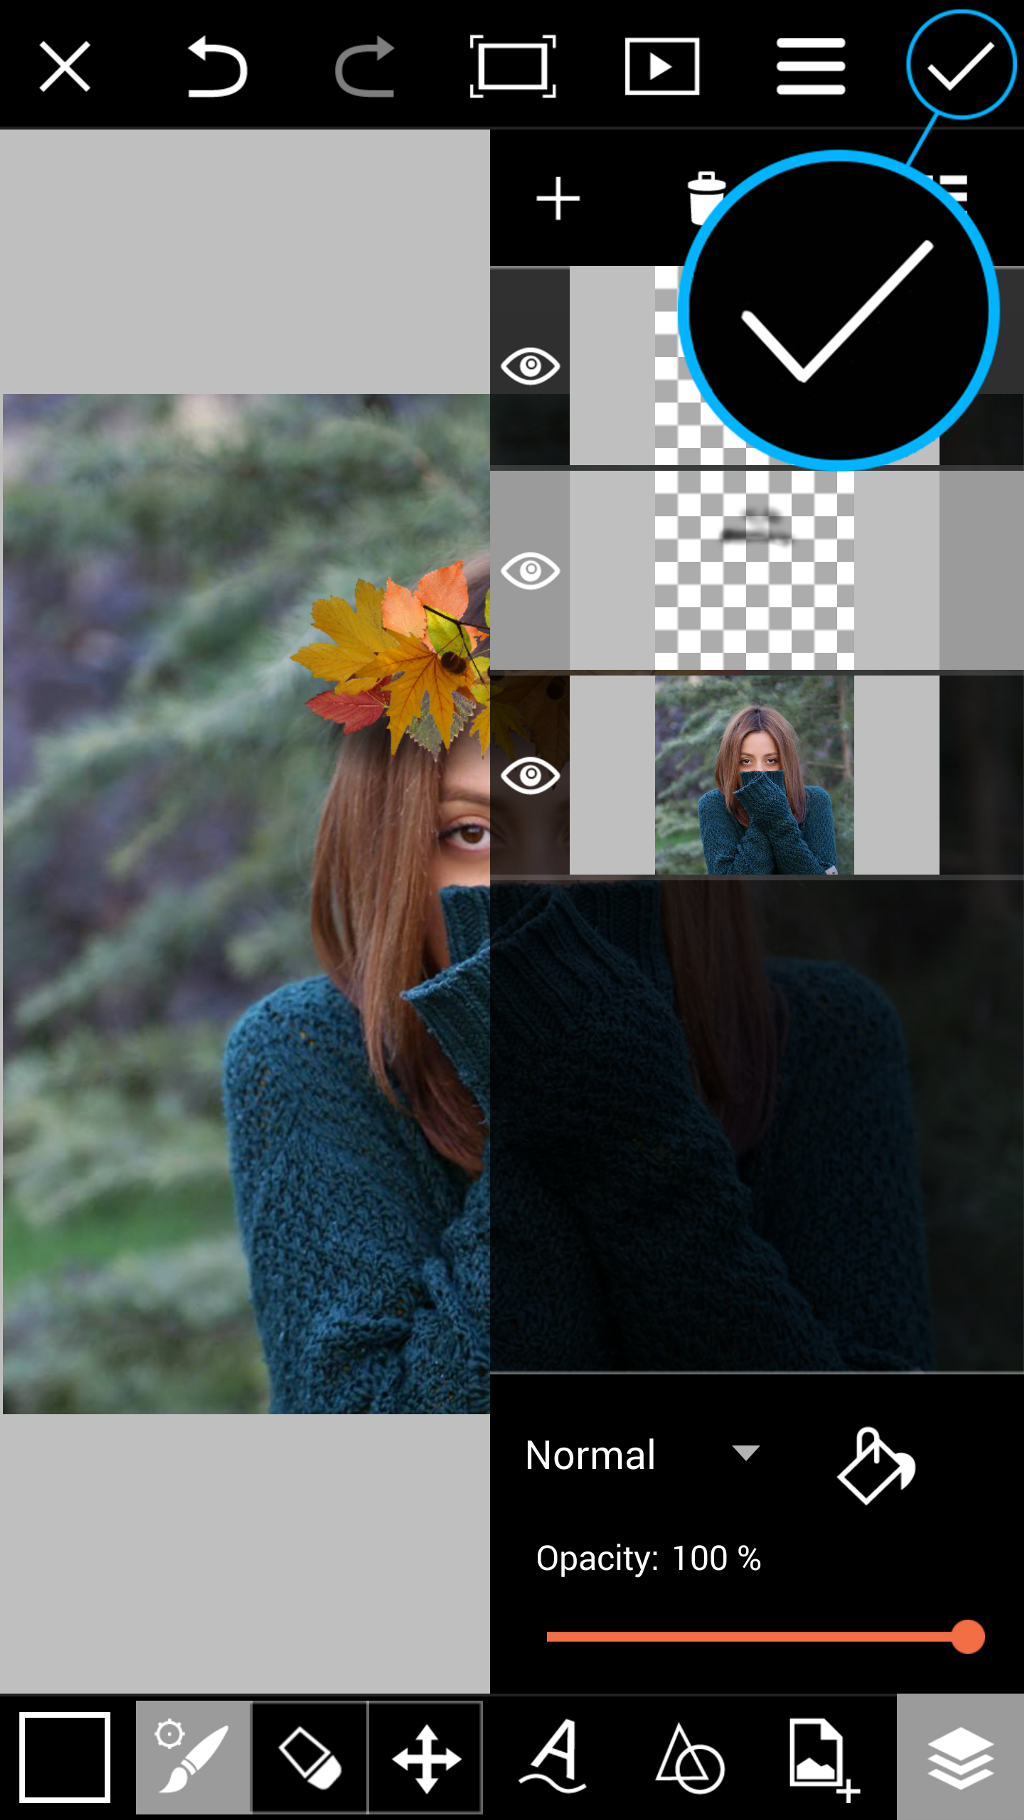
Step 8: Move Layers
Tap on the layers icon to open the layers drawer again. Drag your middle layer to the top so that the shadow appears below your clipart layer.
Step 9: Confirm
Tap on the check mark to close Draw and open your image in the photo editor. Tap on Effect to open the Effects menu.

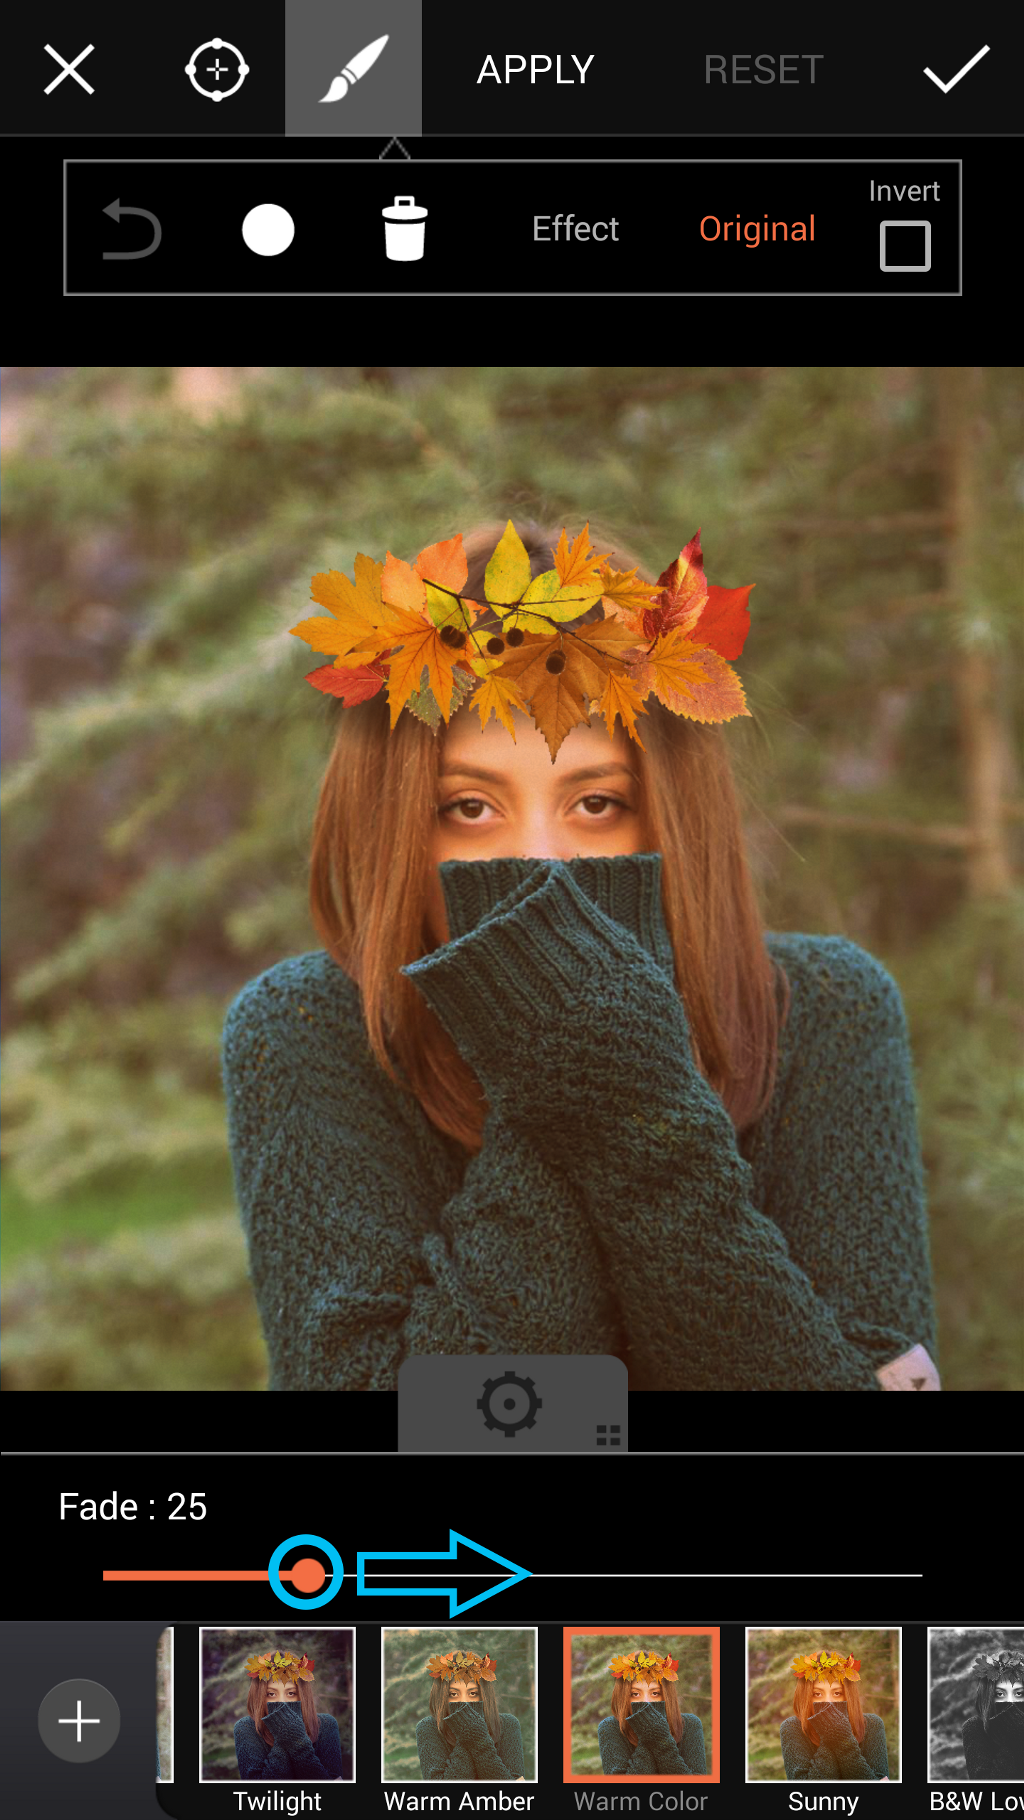
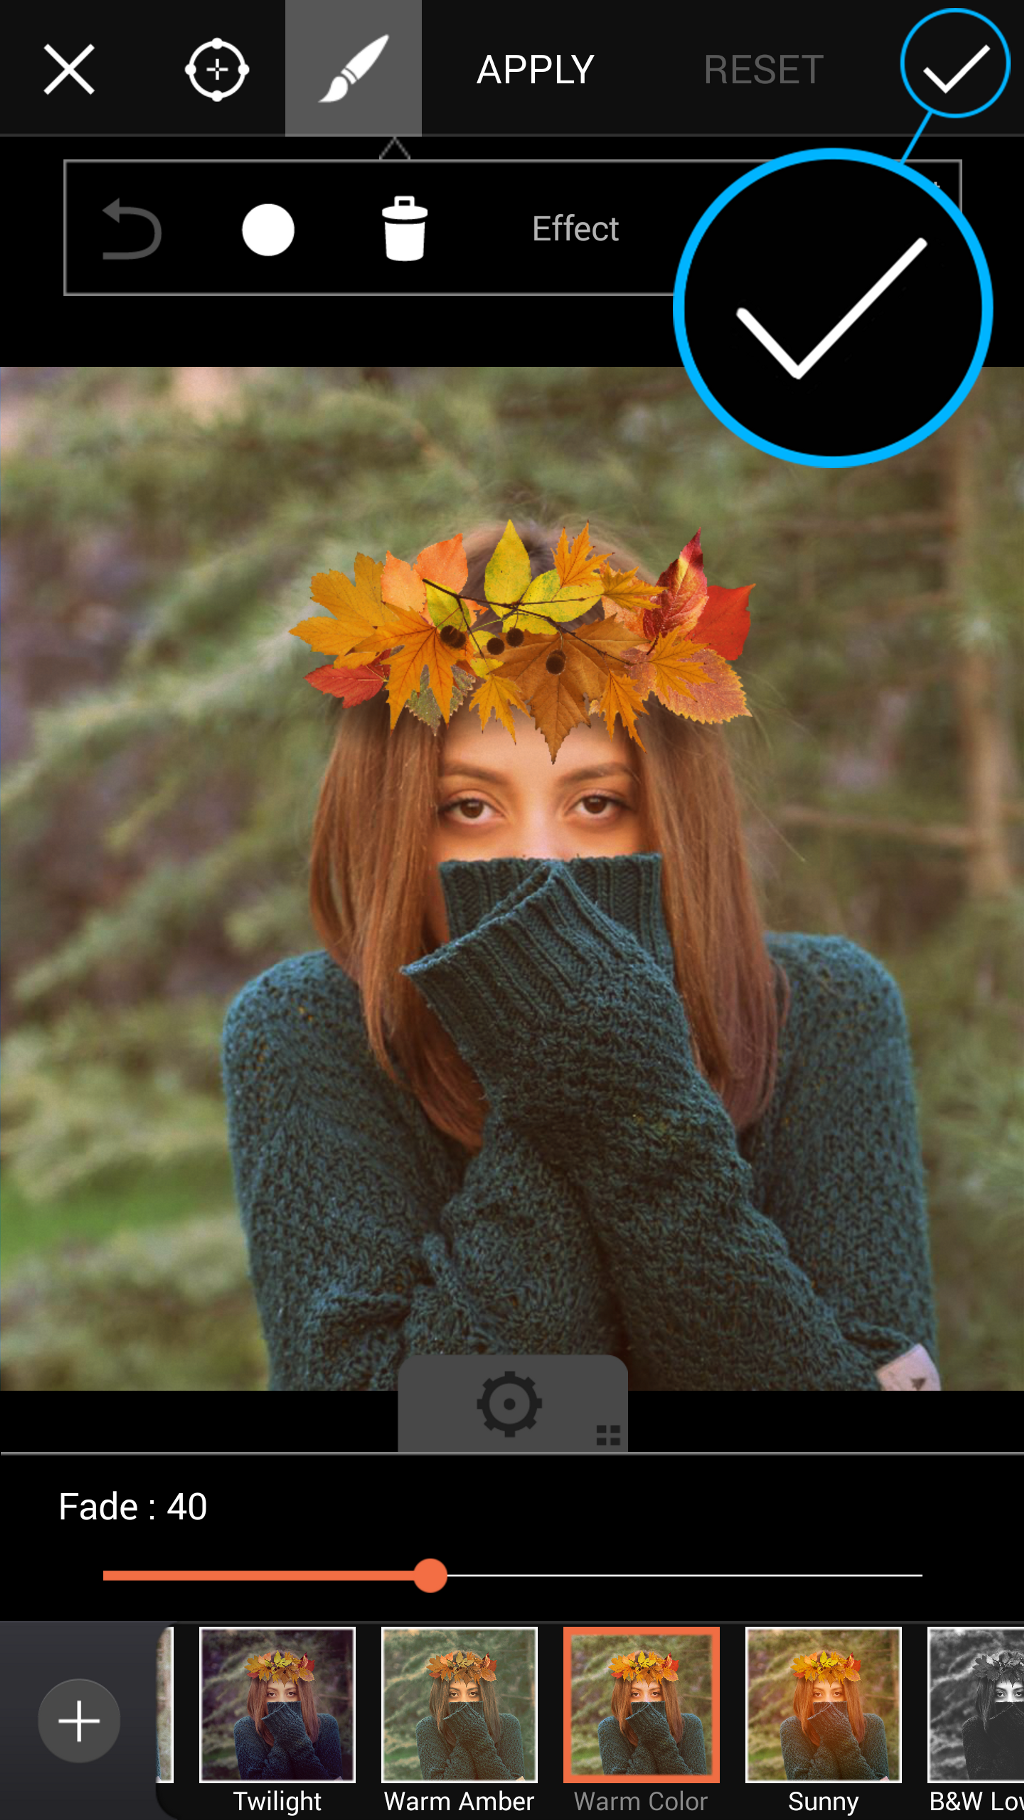
Step 10: Select Photo Effect
Select the Warm Color Effect, located in the Fx section. Tap on the gear icon to open the settings menu.

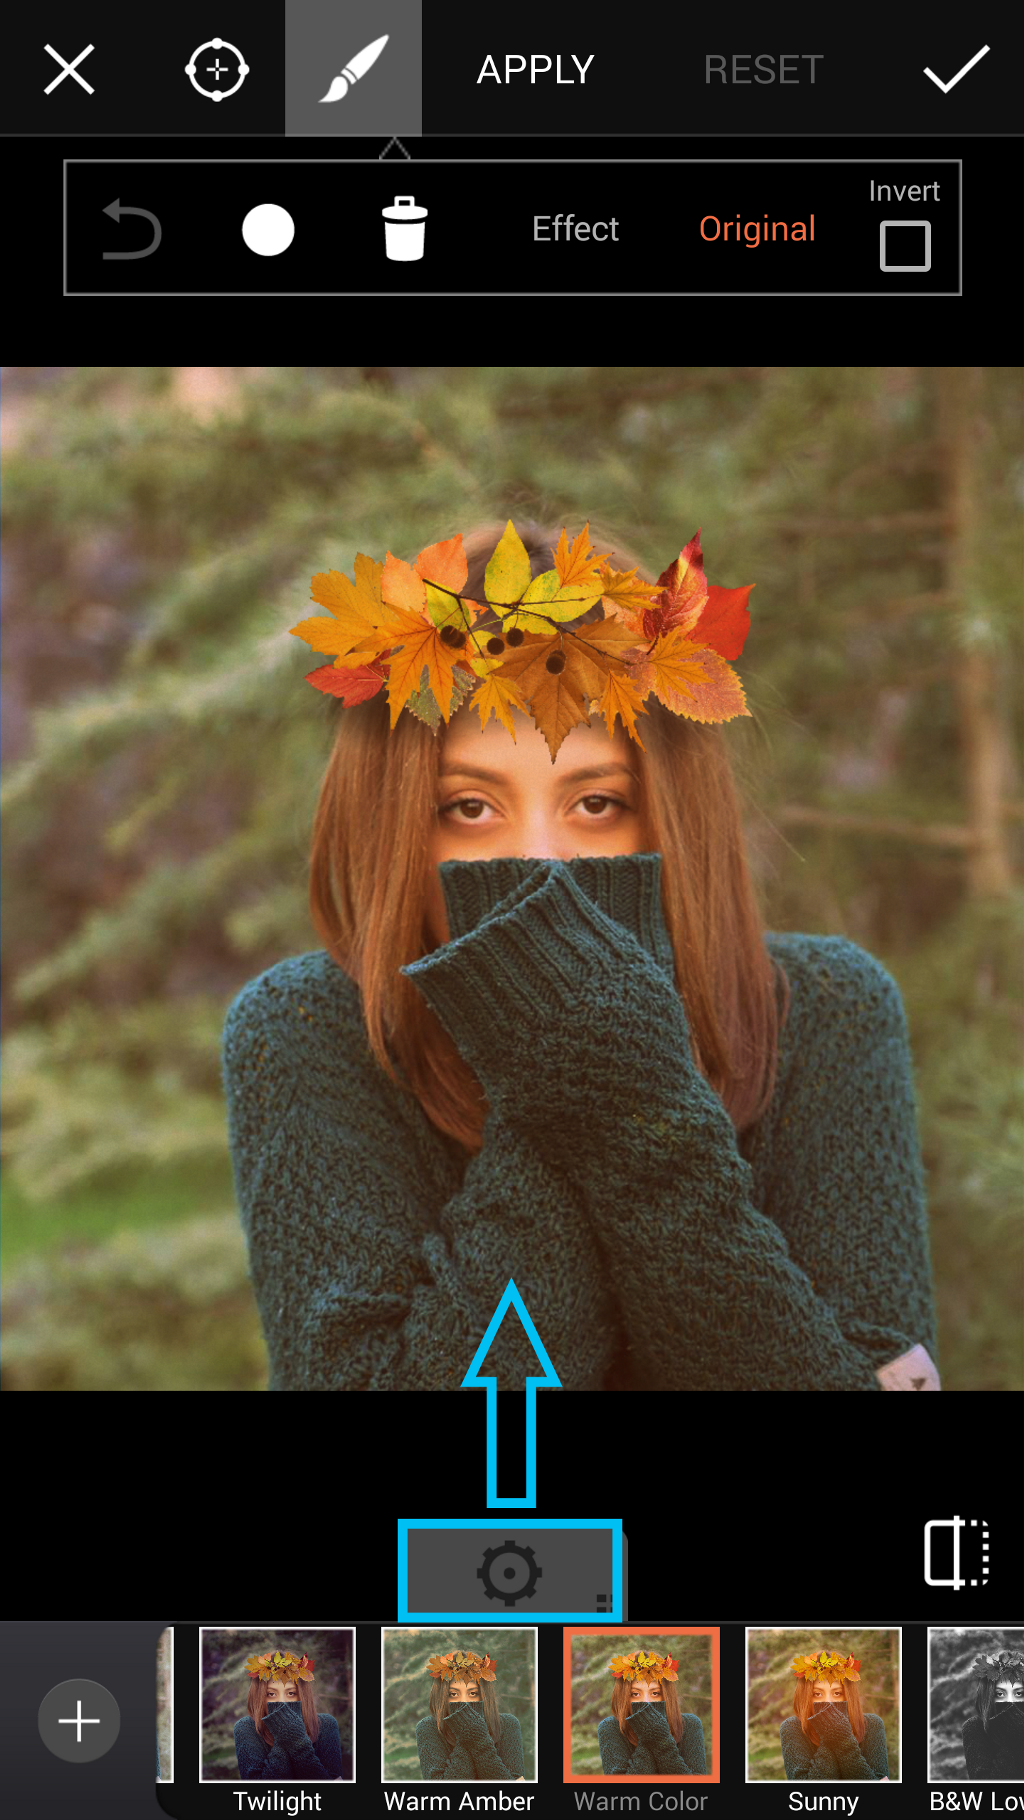
Step 11: Customize Effect
Use the slider to customize the photo effect. Tap on the check mark to confirm. You’re done—save your work and share it!