How to Apply a Texture Mask With the Photo Editor

In this photo editing tutorial, we’ll show you how to give your photos a makeover by using the photo editor to apply a Texture Mask. Read on to learn how to do it!
Step 1: Open Masks Menu
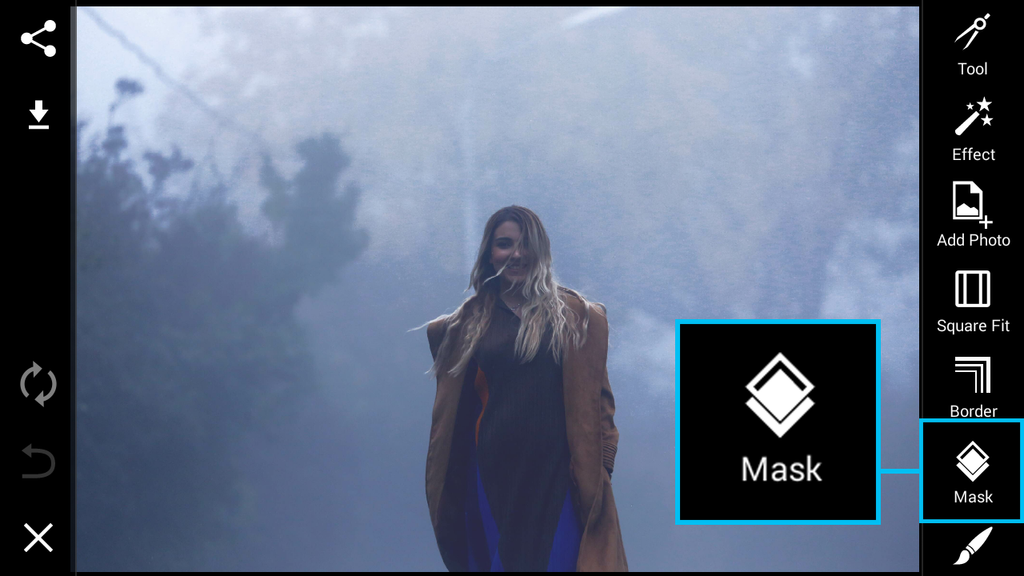
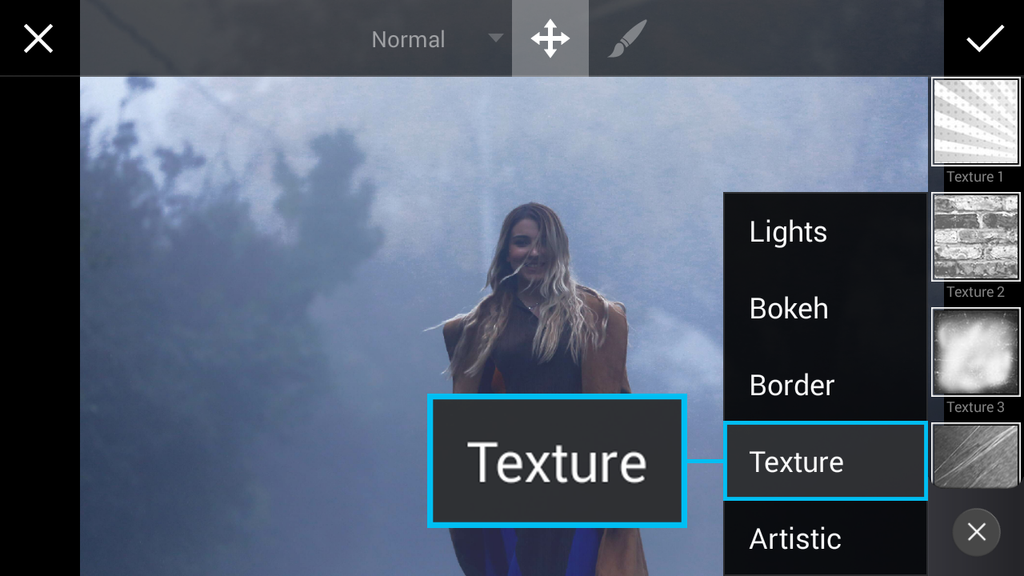
Open your image in the photo editor. Tap on Mask and select the Texture section.
Step 2: Select Mask
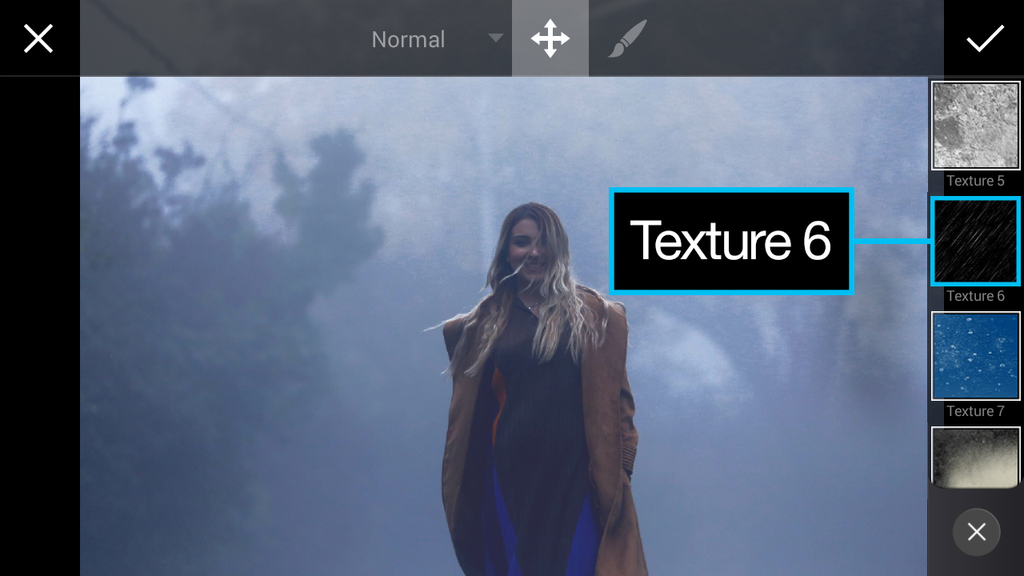
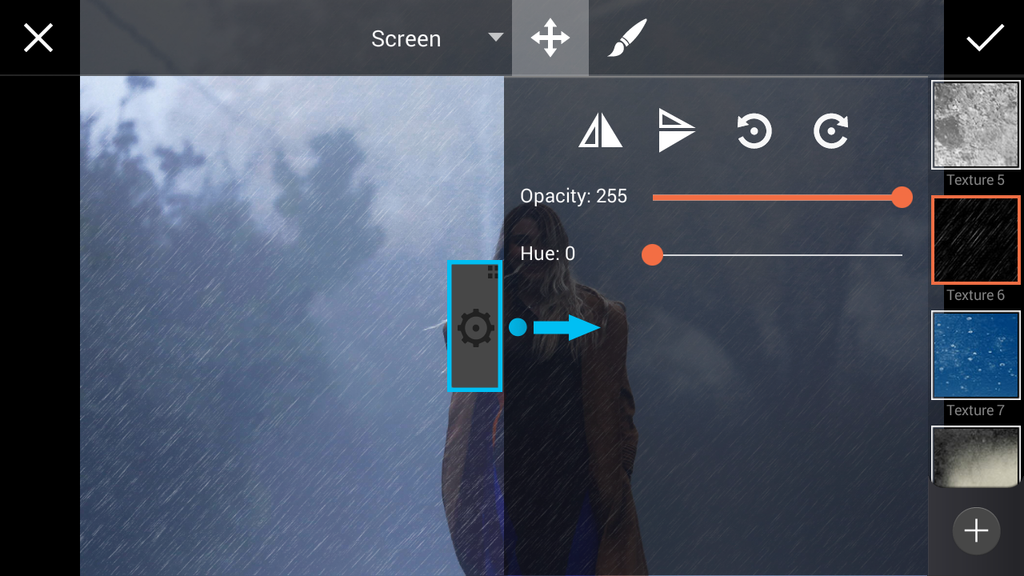
Scroll down and select the Texture 6 Mask. Tap on the gear icon to close the settings tab that pops up.
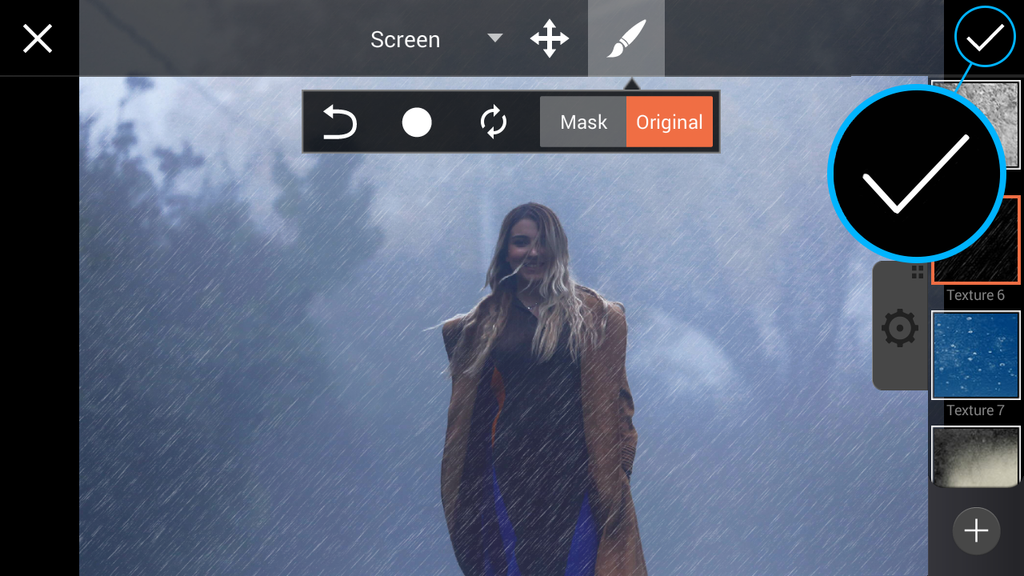
Step 3: Erase Photo Effect
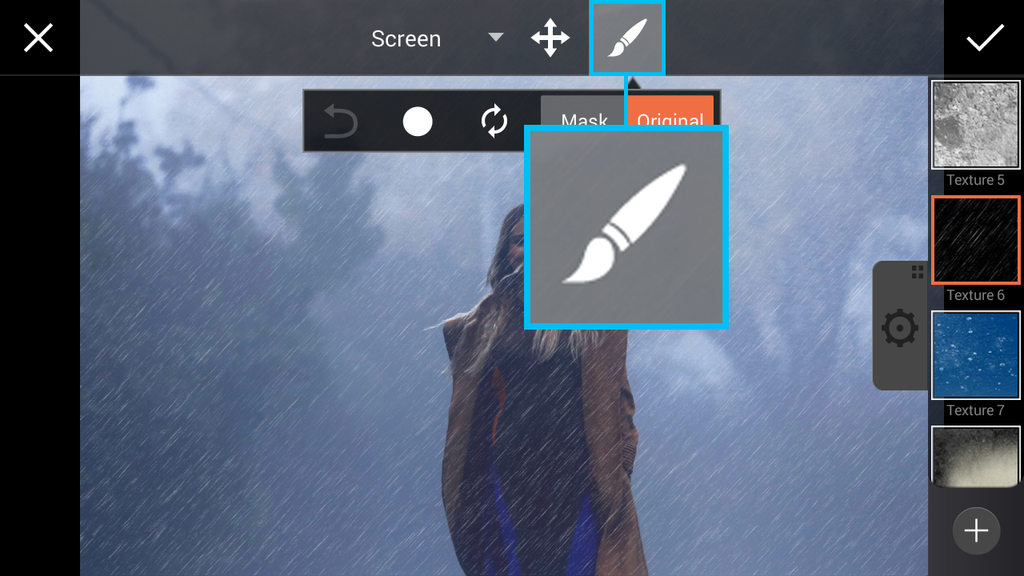
Tap on the paintbrush icon and use your finger to erase the Mask over part of your image.
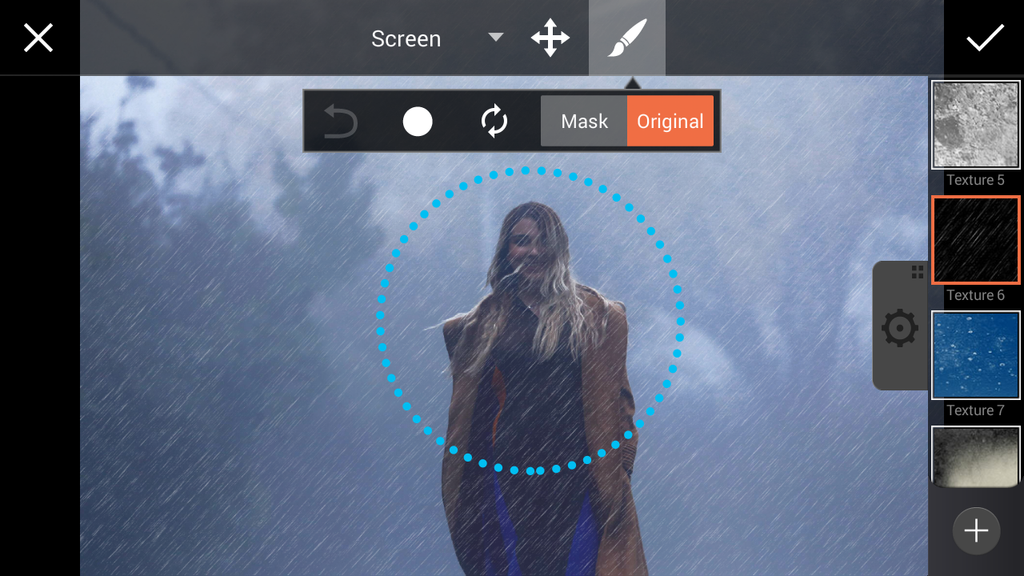
Tap on the check mark to confirm. Save your work and share it with the hashtag #TextureMask!
