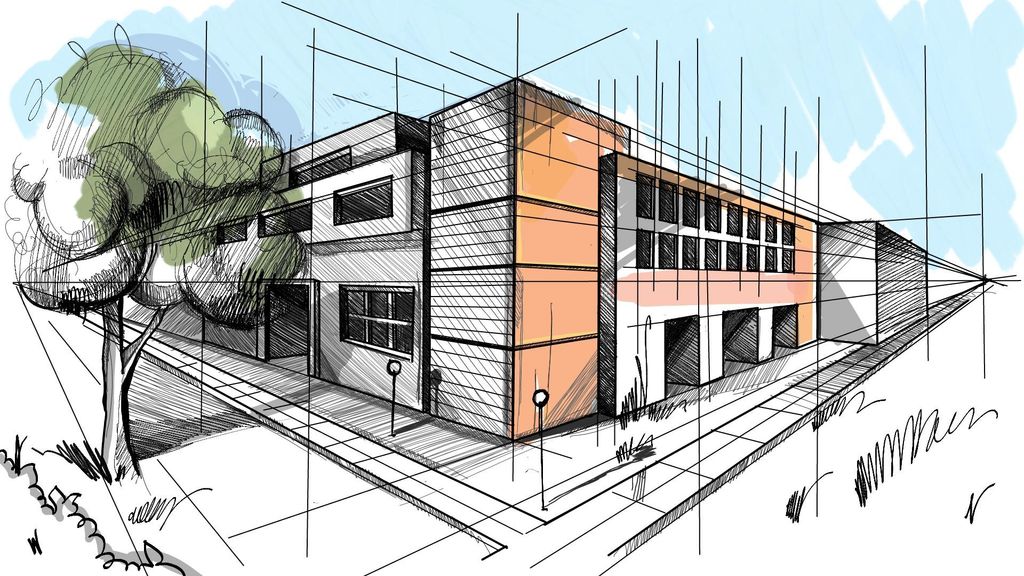
How to Create a Perspective Drawing With PicsArt
For this week’s Drawing Challenge, we’re asking you to create a perspective drawing. In this step-by-step tutorial, we’ll cover the basic principles for creating a perspective drawing, and show you how to use PicsArt’s drawing tools. Read on to learn more!
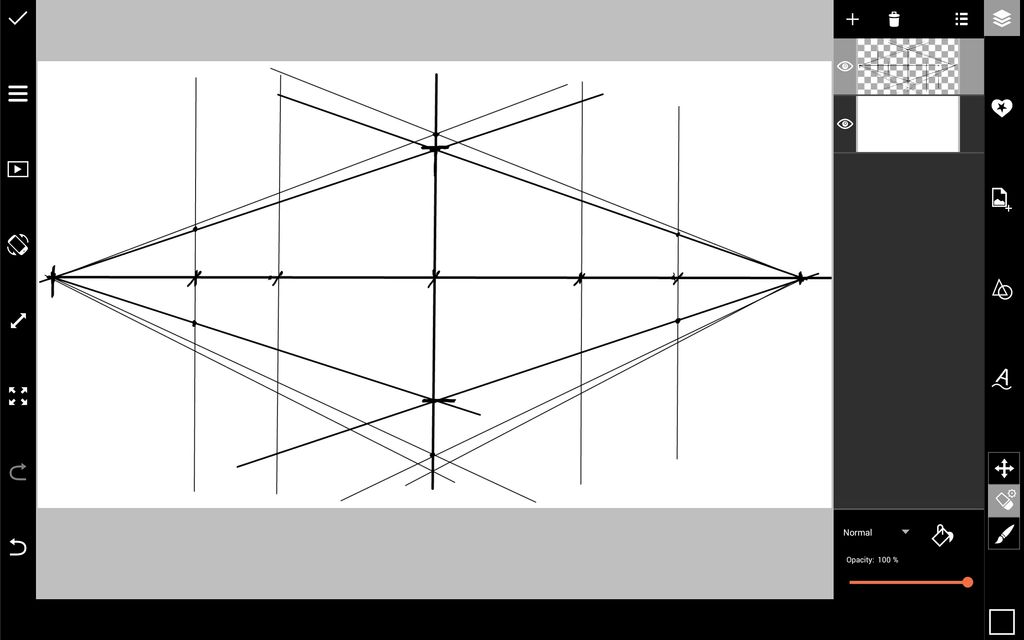
Step 1: Create Grid
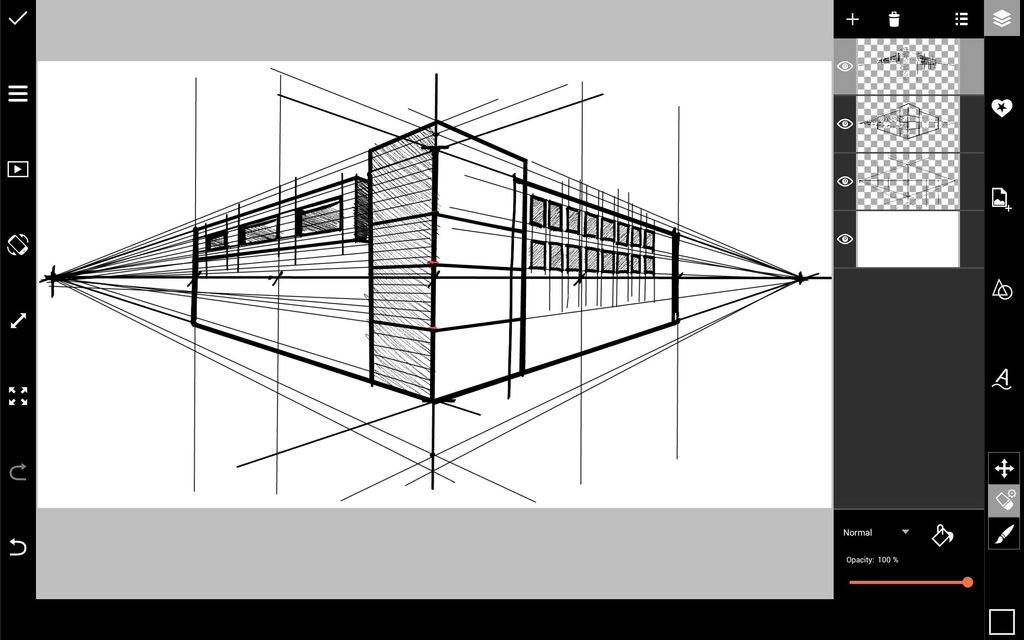
You can use the line option in the Shape Tool to create your grid, or draw it freehand using the Brush Tool. Start by selecting your center point and drawing a vertical and horizontal axis from there. Select your vanishing points on the horizontal axis, and the points that will mark the height of your building on the vertical axis. Draw diagonal lines connecting the two points (these are called orthogonals), as well as a few additional lines to guide you as you draw. When you’re done, create a new layer, increase the thickness of your line in the Shape Tool, and outline your building, using your grid as a guide.
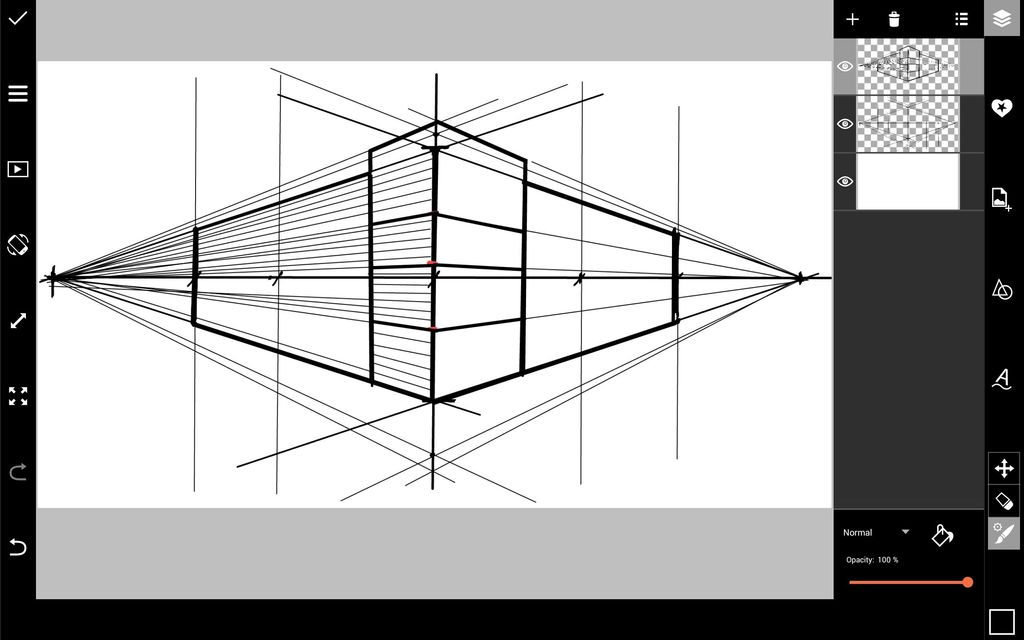
Step 2: Sketch Building Details
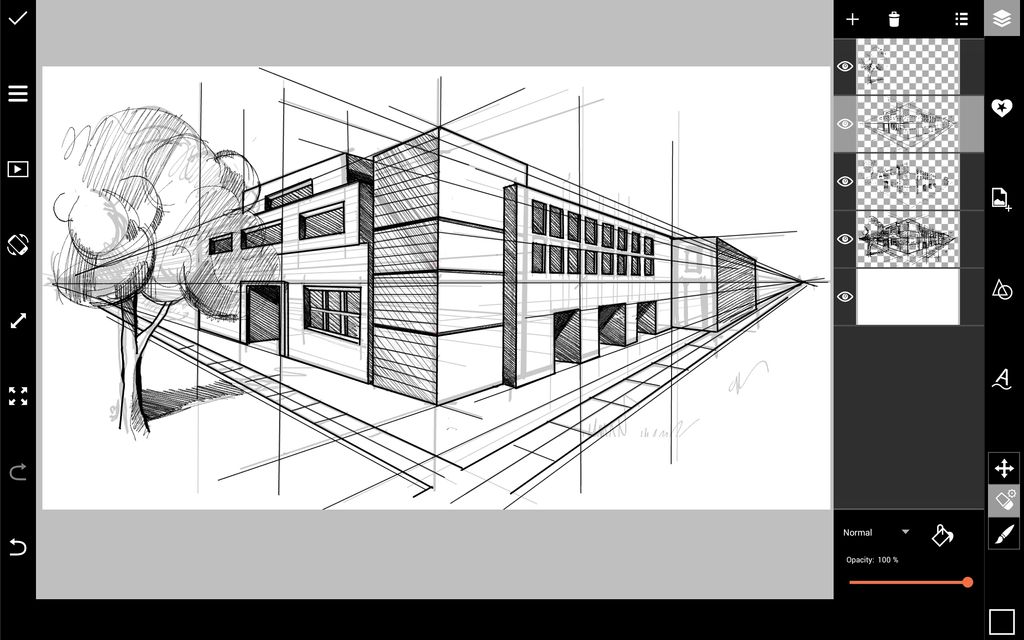
Create a new layer and select the Brush Tool. Continuing to use your grid as a guide, start adding architectural details like windows and doors. You might need to draw additional lines parallel to your vertical axes to guide you. Using a thin black brush with a reduced opacity, start adding in shading.
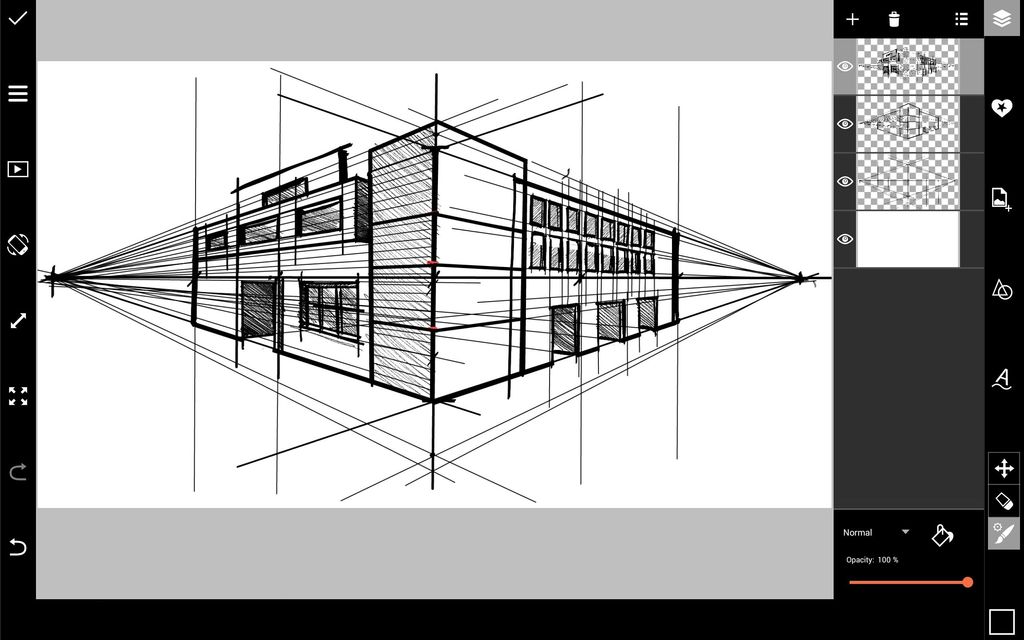
Step 3: Finalize Sketch
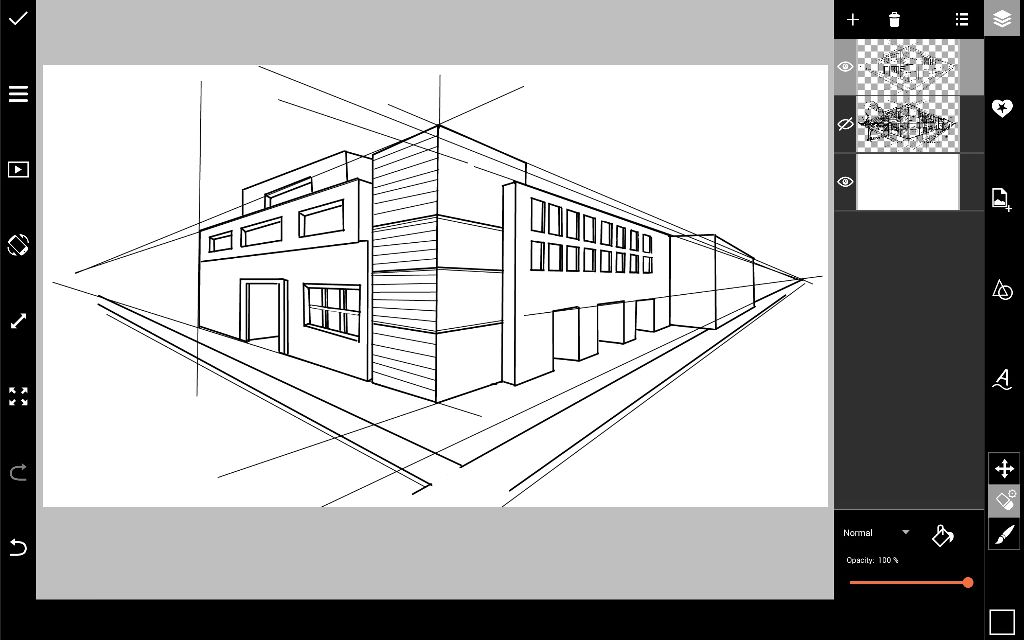
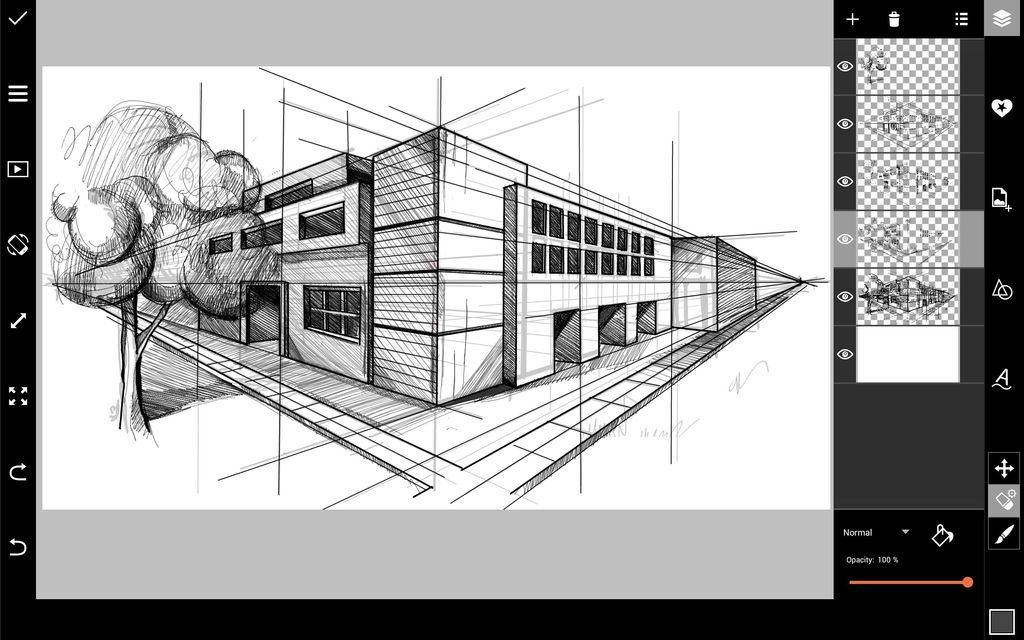
Merge all layers except your background layer. Create a new layer and trace a clean outline of your building. Don’t forget to retrace the grid lines from your original sketch; they will guide you as you continue with your drawing. When you’re done, hide your original sketch. In a new layer, add shading by drawing a series of parallel lines in the shaded areas. Sketch any other details you like to add into your scene.
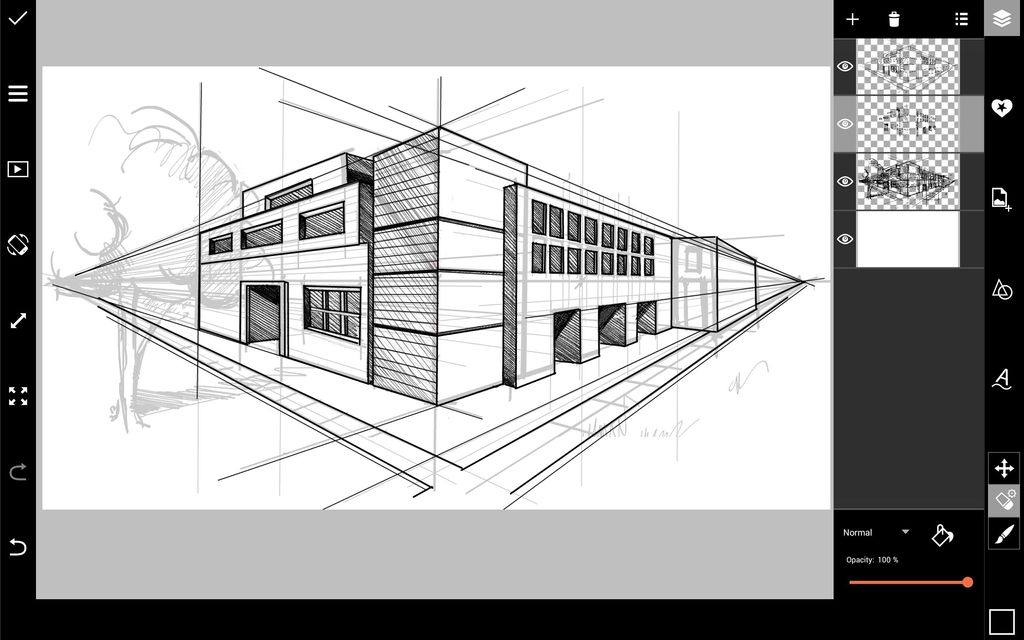
Step 4: Add Details
Adding layers as you go, use a thin black brush to add more shading and detail to your sketch.
Step 5: Finish Sketch & Add Color
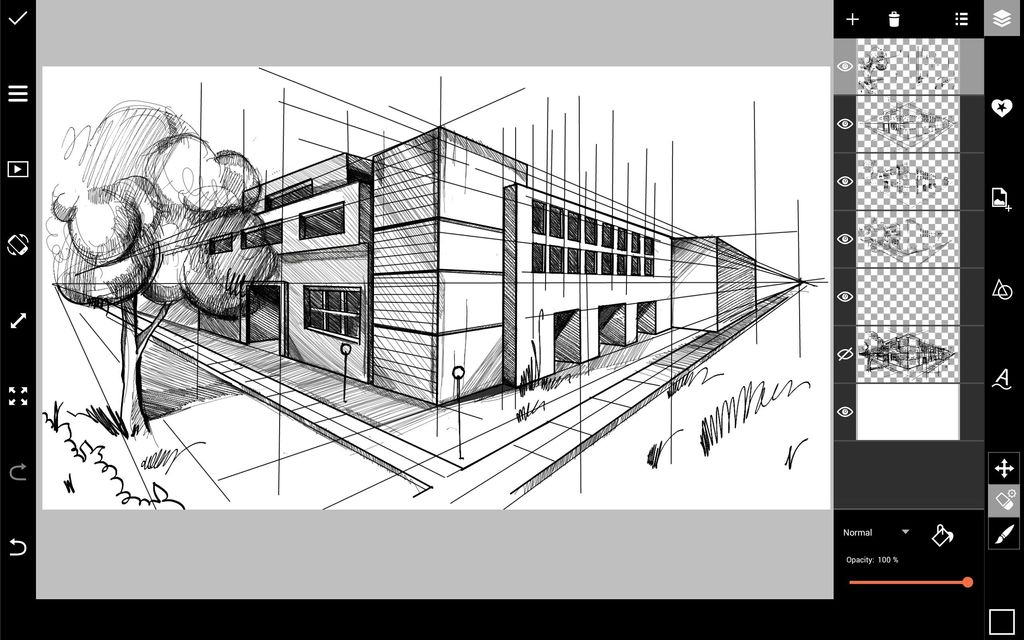
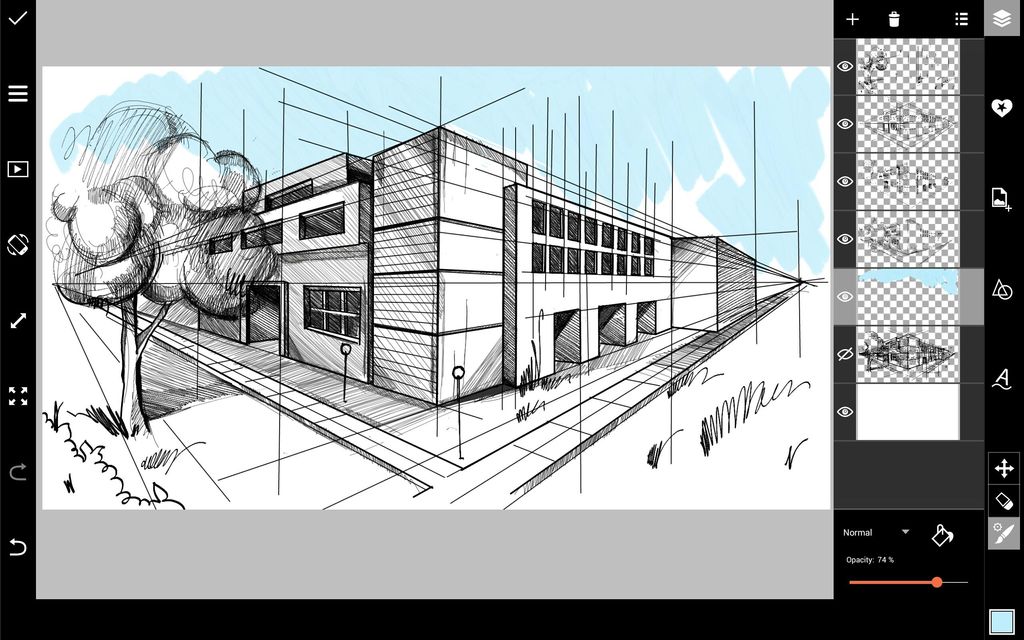
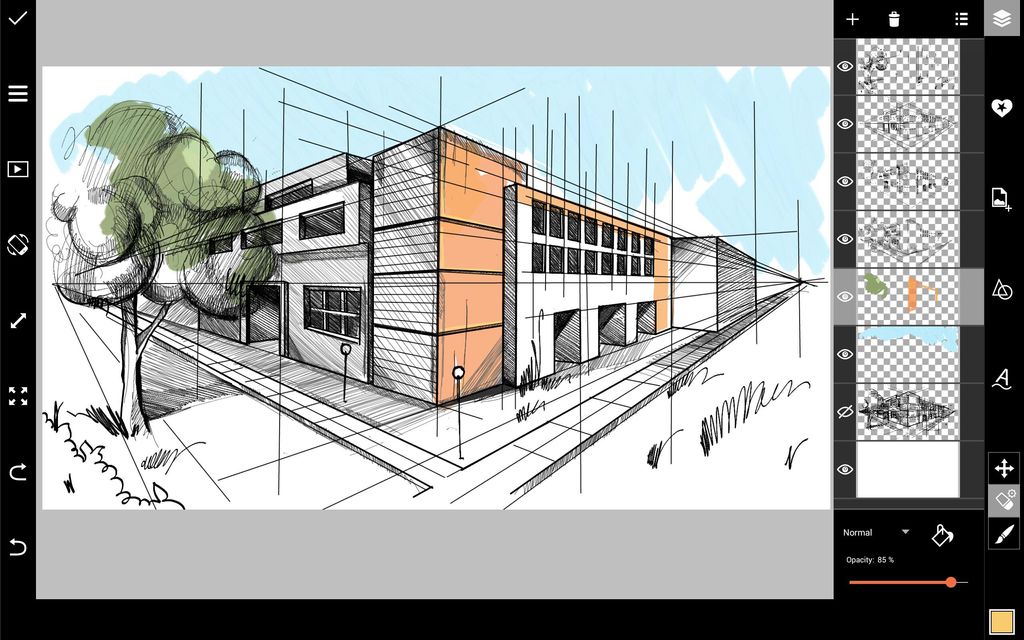
In a new layer, use a thin black brush to finalize your drawing, adding grid lines as you go to guide you. Use a thick, light blue brush with a reduced opacity to color in your sky.
Step 6: Add Color & Shading
Continue adding color to your drawing, using a brush with a reduced opacity. Add more shading using a thick, grey brush and a thin, black brush.
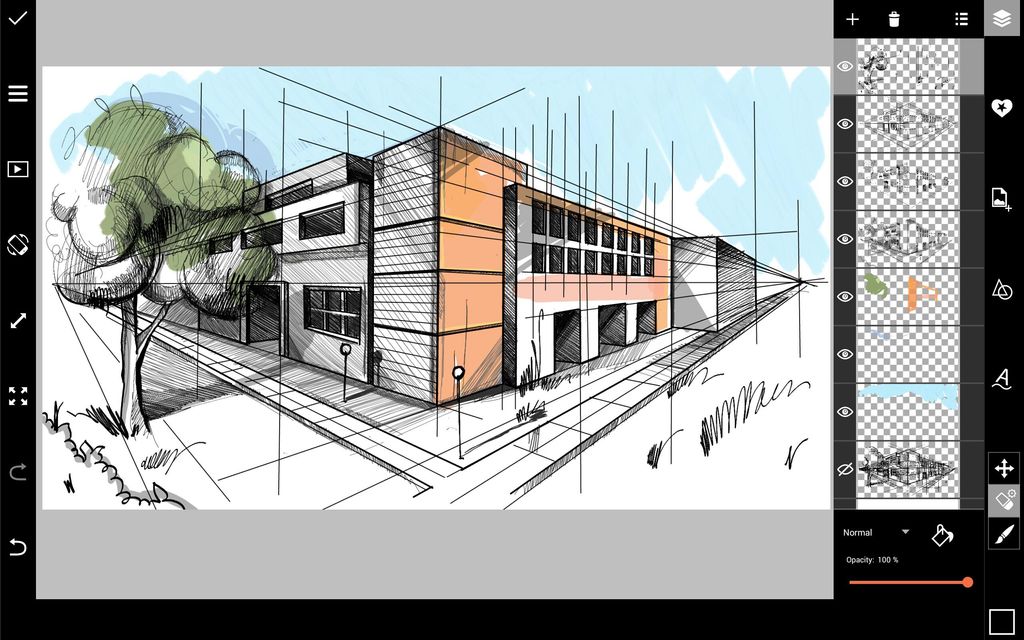
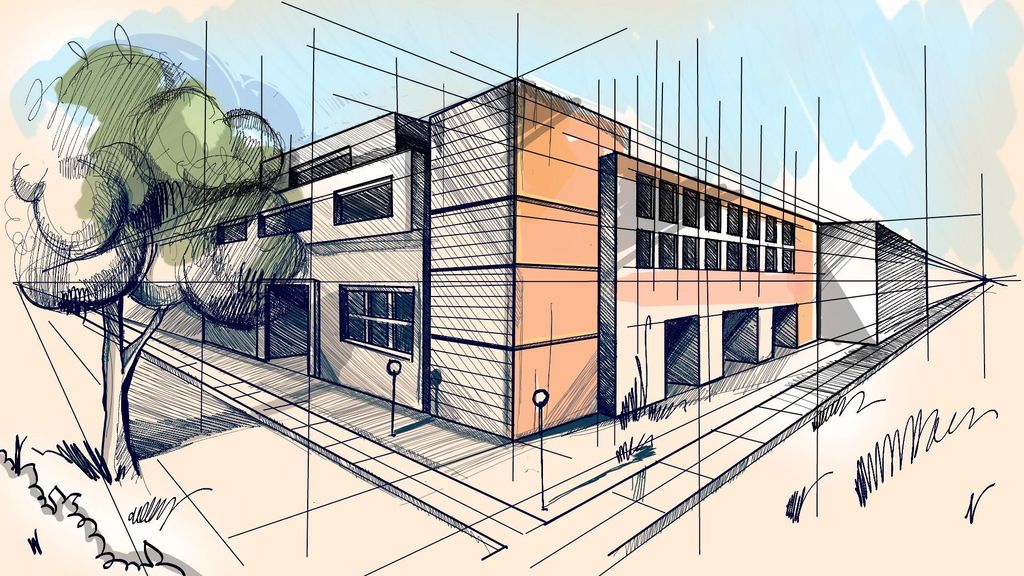
Step 7: Apply Effect
When you’re done with your drawing, open it in the Editor and apply a Photo Effect—we chose the Light Cross Effect. Then, save your work and share it!
