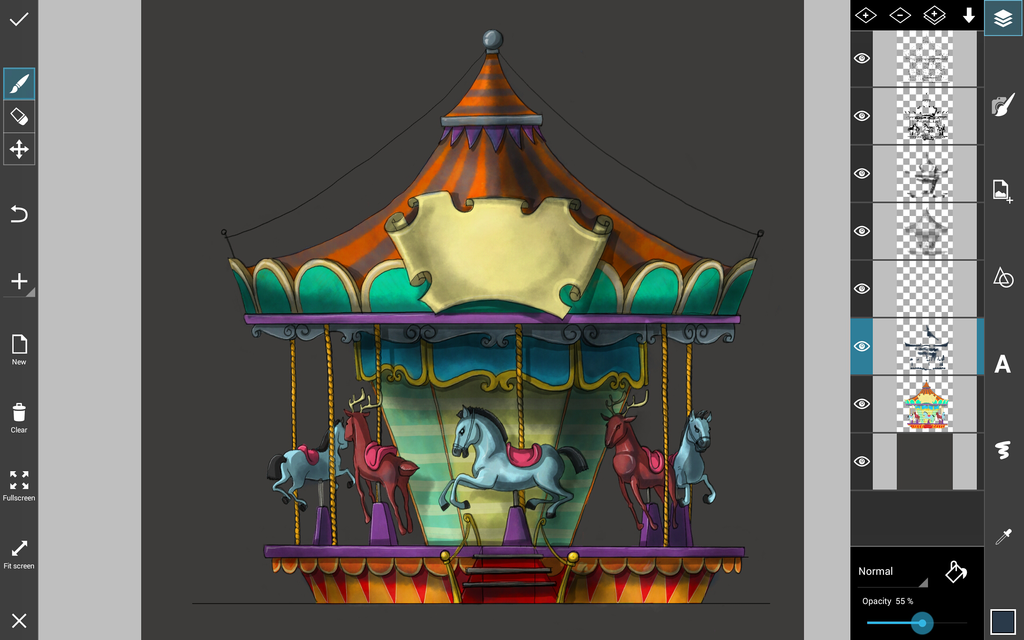
This week’s Drawing Challenge has asked users to do their best to draw carousels, the magical carnival ride that we’ve all enjoyed at some point in our lives. Here, we are sharing a step-by-step tutorial that shows you how to create the most stunning carousel using PicsArt Drawing Tools. Use this tutorial as a guide and source of inspiration, as you get ready to step up for a ride on this week’s challenge with your own entry.
Step 1: Prep
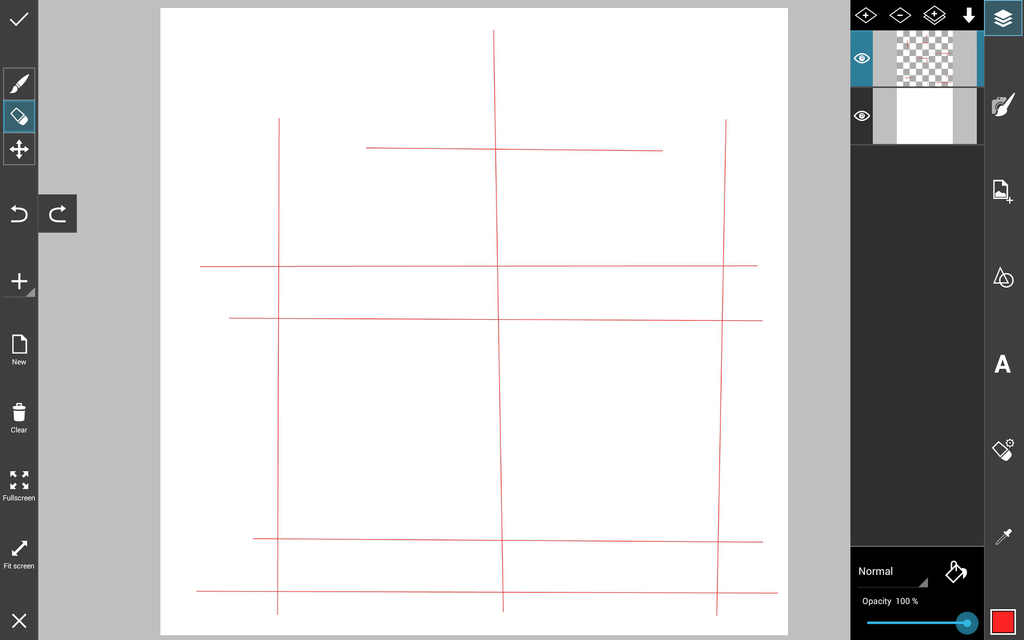
Create an off-color scaffolding, which is essentially a framework of lines to guide your outline while maintaining symmetry.
Step 2: Draw an Outline
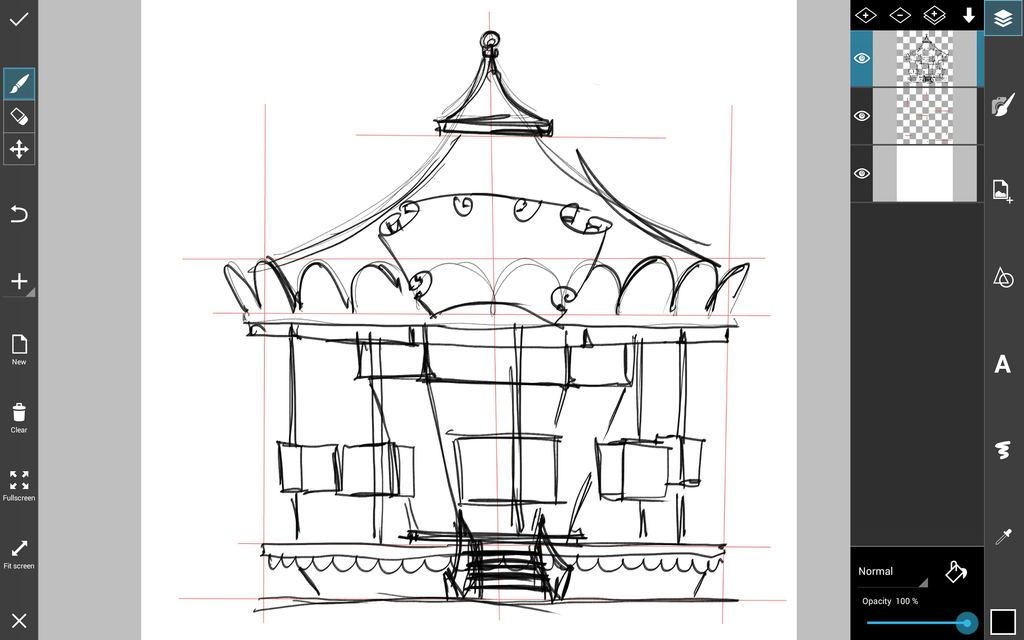
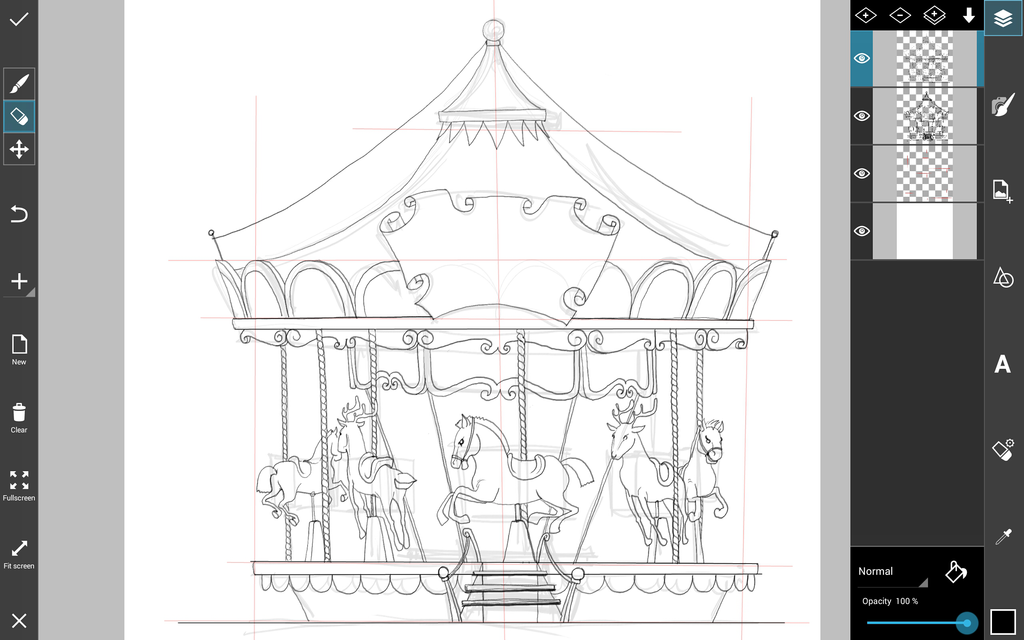
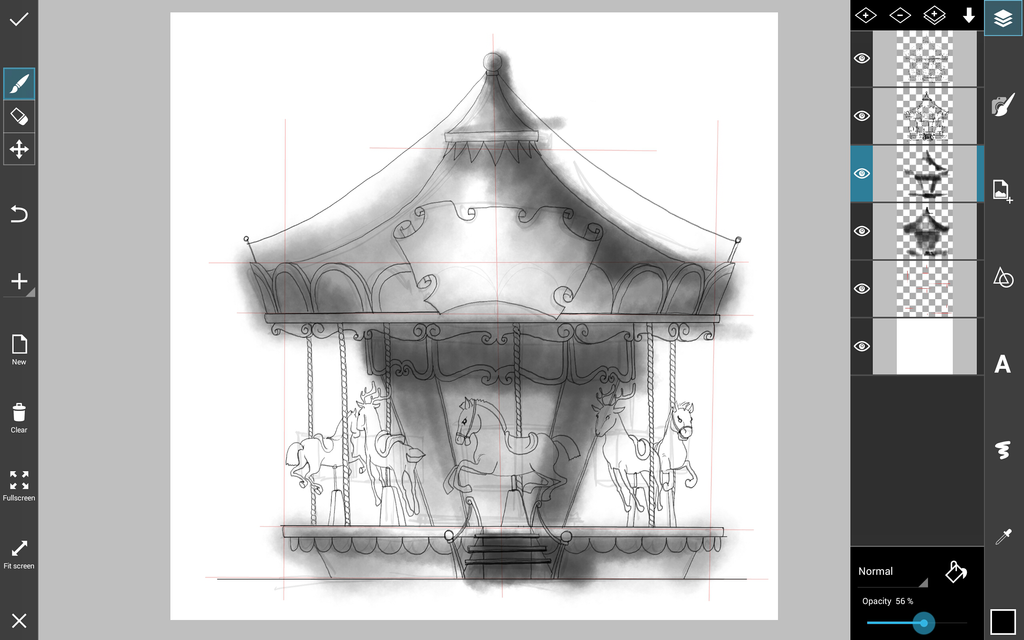
Draw a rough outline of your carousel using your scaffolding from before as a guide.Then reduce the opacity, add a new layer and trace a crisp final outline. Delete the first outline and scaffolding.
Step 3: Add Shading
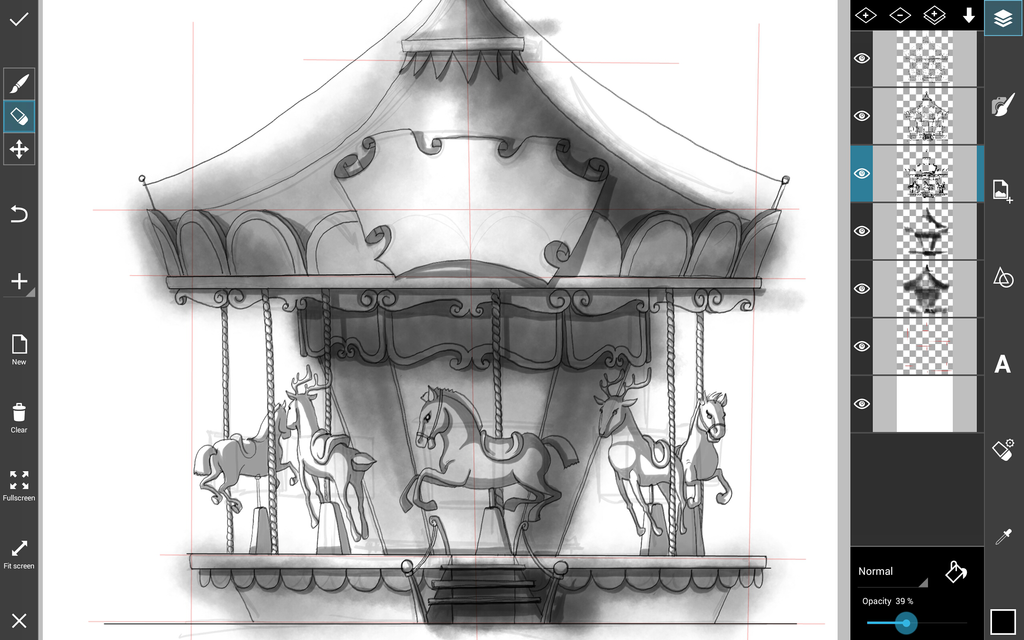
Use a wide dark grey spray brush to shade your carousel broadly in higher layers. Then use a light grey brush to finely shade the nooks and crannies of your carousel.
Step 4: Background & Lighting
Add a layer to the bottom for your background. Use a light or white spray brush to add lighting the same way you did with the shading.
Step 5: Add Colors
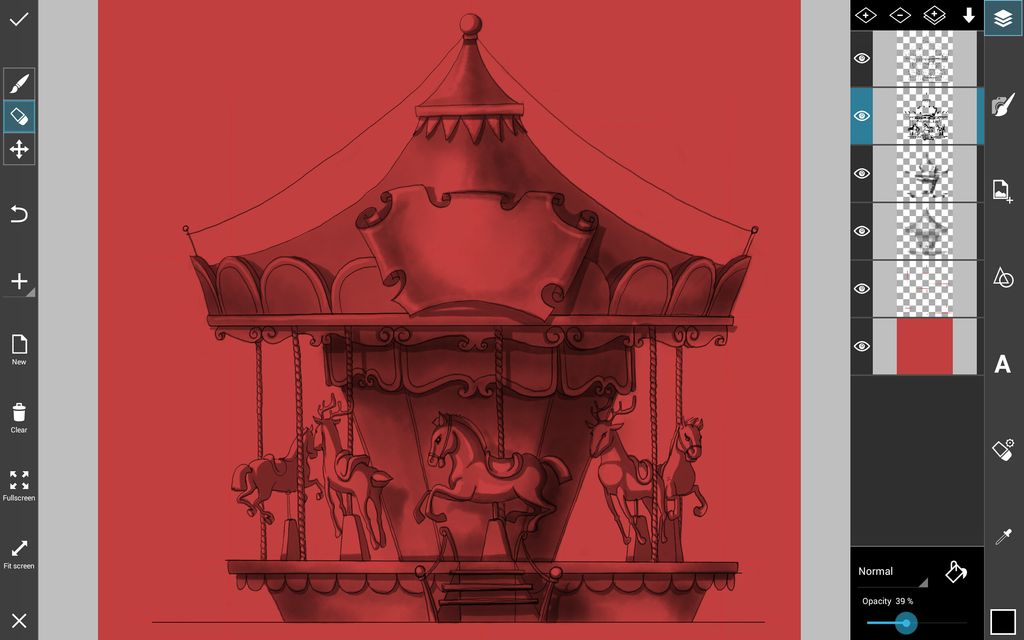
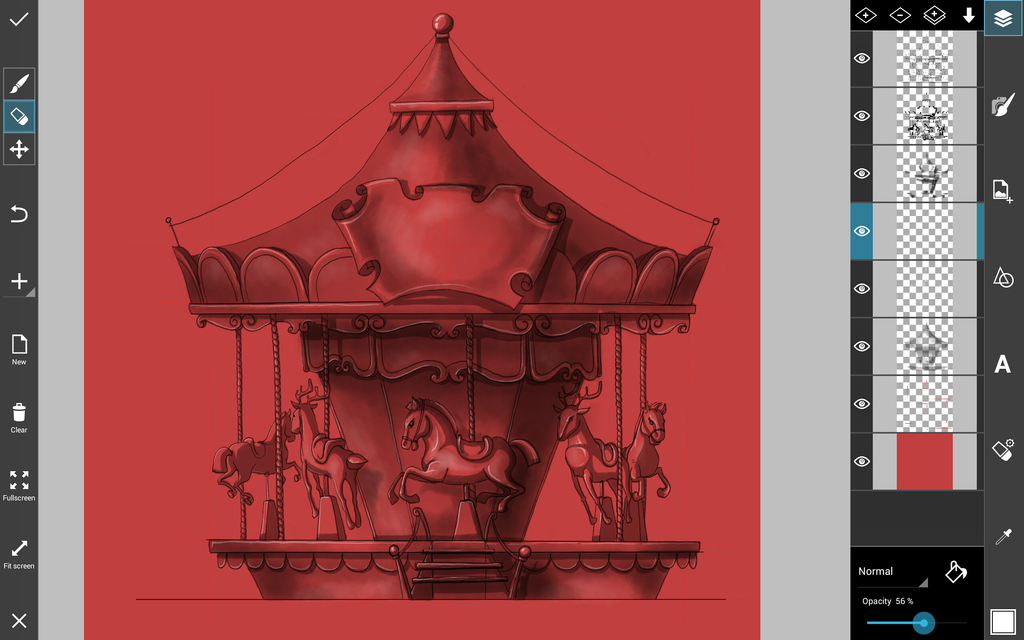
Change your brush colors and brushes to color in your carousel. You can also add fun patterns like circus stripes that you often find on carousels, and experiment with different layers to try different color schemes.
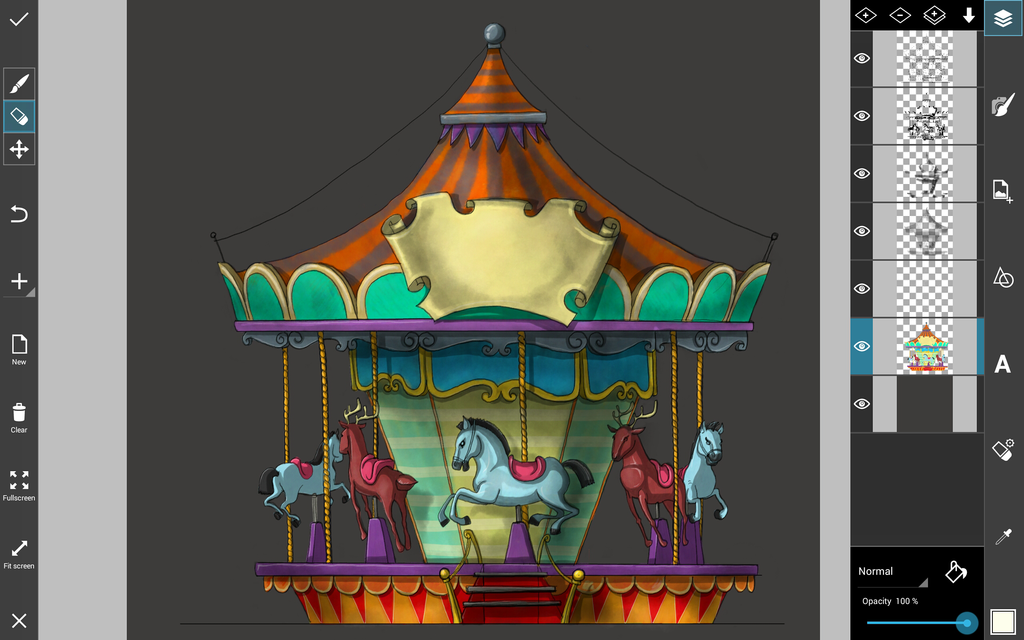
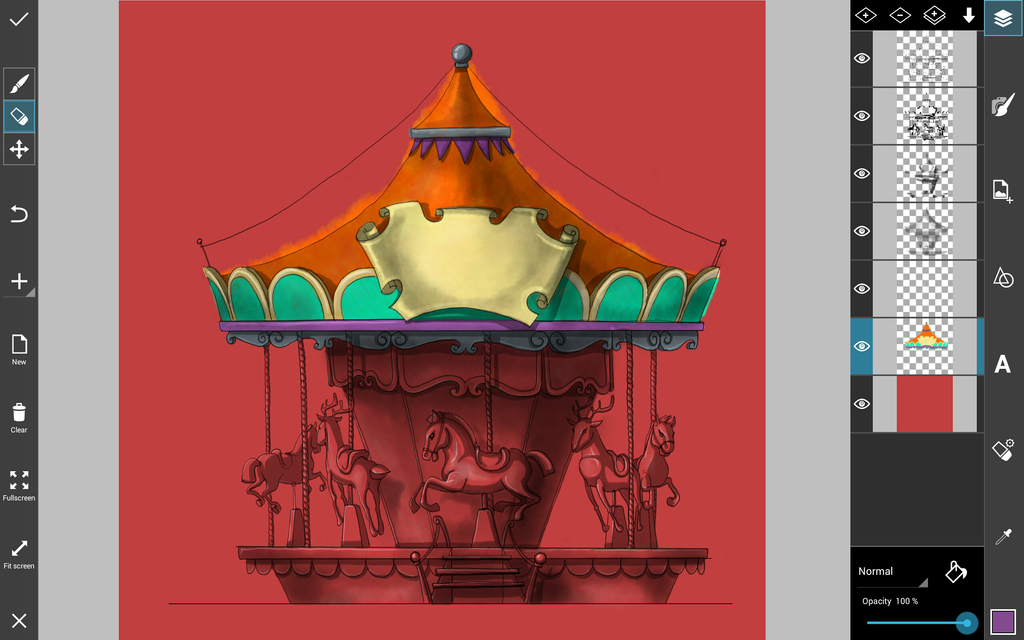
Step 6: Final Shading
Finish your drawing by adding a final layer on top to perfect your shading. Darken the centers of shaded spots to heighten contrast and give your drawing a bolder presence.
