
Do you need to update your passport photo but don’t want to leave home?
No problem. You can take your passport photo at home. It’s simple, takes very little time, and can be done using a high-quality camera like the one on your smartphone.
In this guide, we’re going to walk you through how to take a passport photo at home, as well as some passport photo tips.
Passport photo tips
There are a number of things you can do to make your passport photo look great. Here are a few tips to keep in mind:
Choose the right background
The background of your passport photo should be plain and light-colored, such as white or off-white. Avoid busy backgrounds or patterns that can distract from your face. Remember, your face is the main star of the photo. Don’t have anything in the background that could detract from your face.
Wear appropriate clothing
Your passport photo should show you wearing everyday clothing. Avoid hats, uniforms, or anything that covers your head (unless for religious reasons). Also, avoid glasses (unless they can’t be removed for medical reasons) and make sure any jewelry is not too flashy.
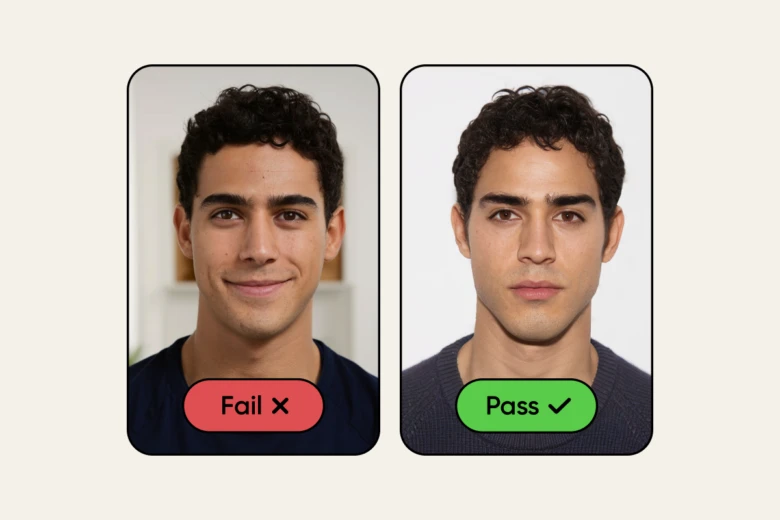
Keep a neutral facial expression
You want to have a relaxed and natural look in your passport photo. Make sure you don’t smile too widely or frown, as both can be considered expressions that may alter your appearance. Keep a neutral facial expression and try to relax your muscles.
Take the photo in good lighting
Lighting is key for any photo, including a passport photo. Make sure you have enough light so your face is clearly visible and evenly lit. Avoid shadows or harsh lighting that could obscure your features.
Some tips for good lighting include:
- Take photos during the day rather than relying on interior light sources
- If taking photos indoors, stand near a window or use multiple light sources to create an evenly lit area
- Turn your face toward the light rather than away from it
- Diffuse the light if possible
- Only use a flash if absolutely necessary as it can cause shadows on the face
Use a high-quality camera
While most smartphones these days have good-quality cameras, it’s important to make sure the camera you use for your passport photo is of high quality. Your camera should be at least 5 megapixels. Most recent smartphones will meet this requirement. This will ensure that the final product meets the required standards and looks professional.
Make sure all requirements are met
Before taking your own passport photo, make sure to research the specific requirements for your country. This may include the size of the photo, background color, and facial expressions allowed. It’s important to follow these guidelines to ensure your photo is accepted and avoid any delays in obtaining your passport.
Consider hiring a professional
If you are unsure about taking your own passport photo or want to ensure it meets all requirements, consider hiring a professional photographer. They will have experience with taking passport photos and can provide guidance on meeting specific requirements for different countries.
How to take a passport photo at home: 5 steps
The good news is that you can take a passport photo in a few simple steps. It’s not complicated and it doesn’t require any specialized equipment other than your smartphone (assuming it’s relatively new and has a good camera).
Step 1: Make the necessary preparations
There are just a few preparations you need to make in order to ensure your passport photo turns out great. These include:
- Finding a good location with proper lighting
- Making sure your camera is set up correctly
- Ensuring you are well-groomed and dressed appropriately
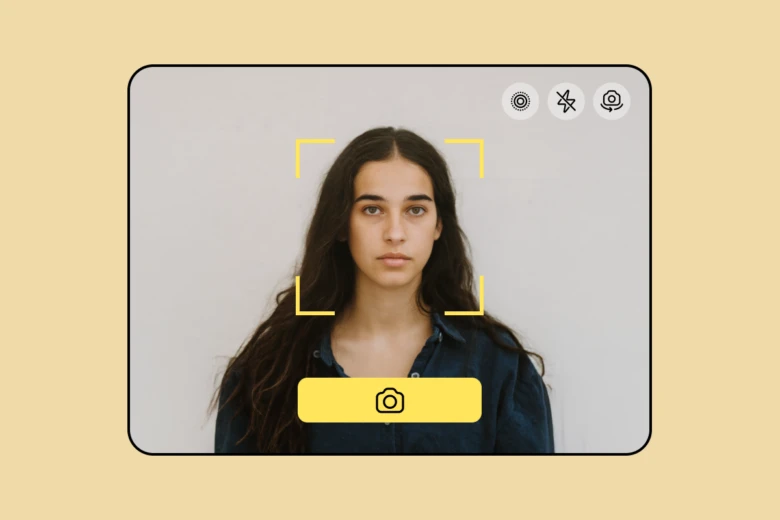
Step 2: Set up the camera
Mount your phone on a tripod (if available) or prop it up securely at eye level. This will ensure that the photo is taken from the correct distance and angle required for a passport photo. Make sure to check the settings on your phone’s camera app and adjust them as needed.
Step 3: Choose the right background
As mentioned earlier, it’s important to have a plain, light-colored background for your passport photo. You can either use a blank wall or hang up a sheet behind you to achieve this. Make sure there are no distracting objects or patterns in the background. Alternatively, you can use Picsart to remove the background from your photo (more on that in a second).
Step 4: Pose correctly
Stand straight and face the camera with a neutral expression, ensuring that your entire head is visible. Your shoulders should also be straight and squared towards the camera.
Step 5: Take multiple photos
It’s always best to take multiple photos to have options to choose from. Take a number of photos to increase your chances of getting the perfect one. If you don’t have anyone to help you take the photos you can set a timer on your phone or even use a Bluetooth shutter button.
How to add a white background to a passport photo
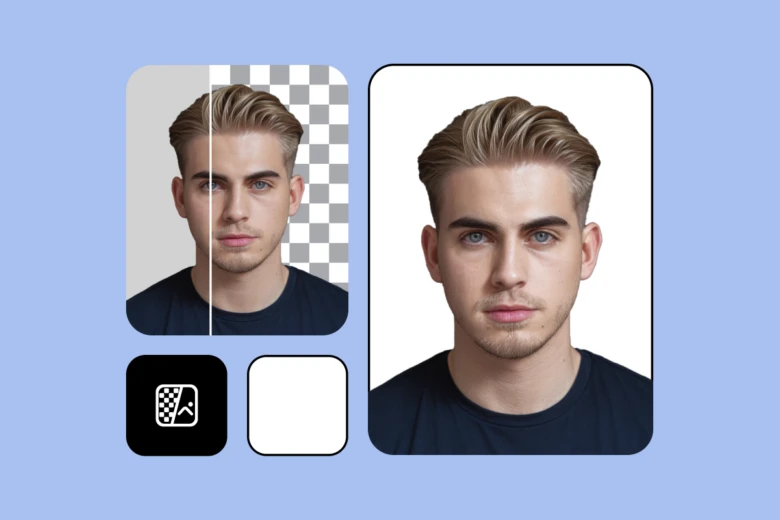
Do you want to add a white background to your passport photo? The good news is that Picsart makes it incredibly simple to do so.
Simply upload the passport photo that you took at home to Picsart’s white background tool. Picsart will automatically remove the background and replace it with a white one. The tool works the same both on desktop and mobile devices.
How to resize and enhance your image
If you need to resize your image or enhance it to make it look better, Picsart has you covered there as well.
To resize your image, go to the Picsart resizing tool and upload your image. Once you do that you can easily change the image size in whatever what you would like.
If you need to improve your image, use our AI image-enhancing tool. Upload your image and let the magic of AI improve the overall quality.
Conclusion
Taking your own passport photo at home can save you time and money. By following these simple passport photo tips, you can ensure that your photo meets all the necessary requirements and is of good quality. Remember to check the specific guidelines for passport photos in your country to avoid any issues. And if you need a white background, let Picsart handle it for you.


