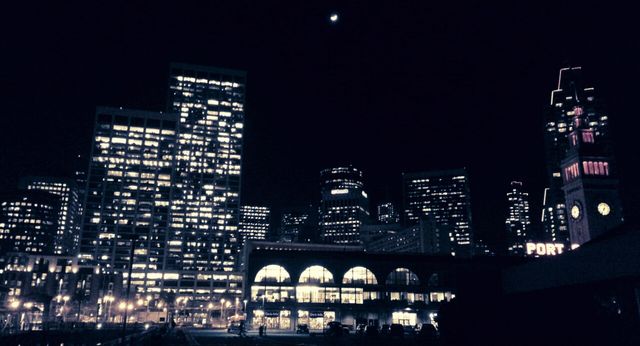
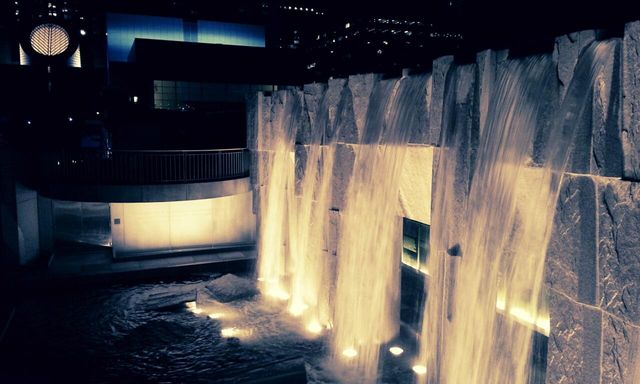
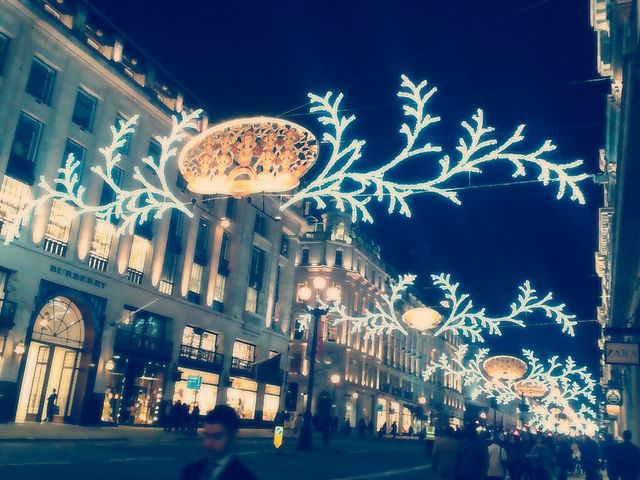
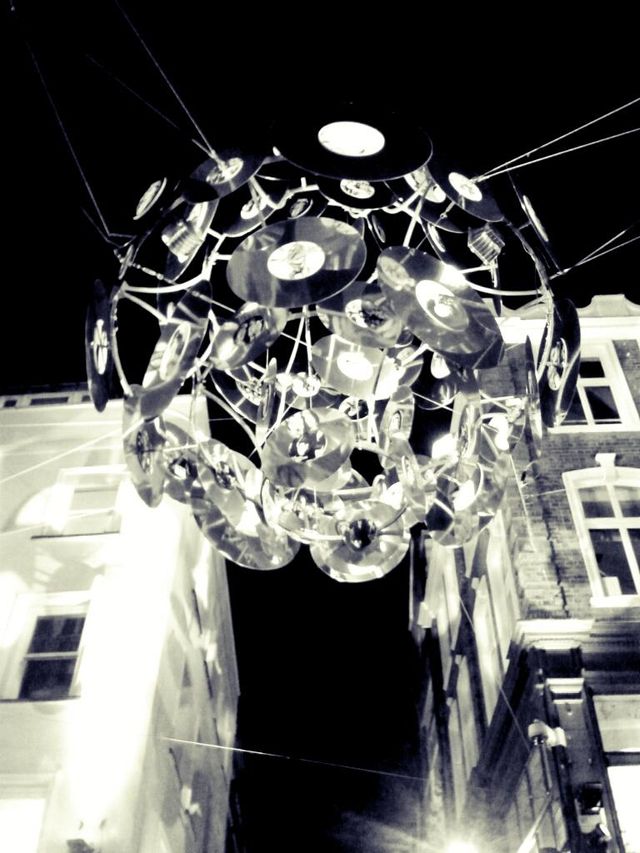
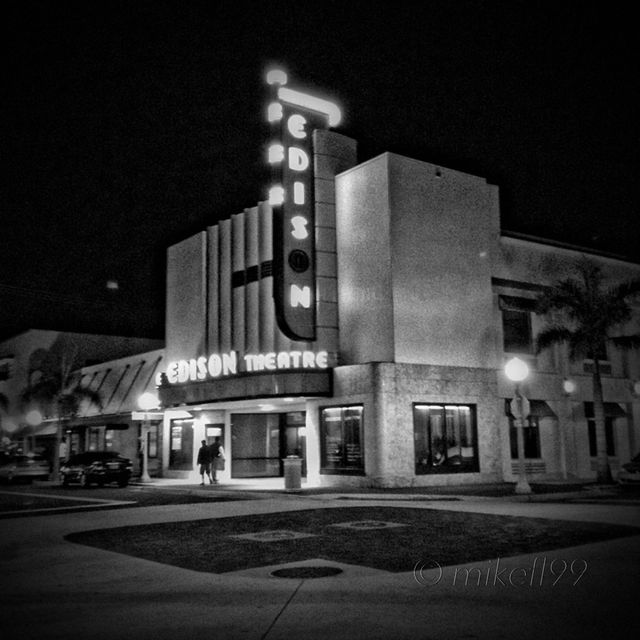
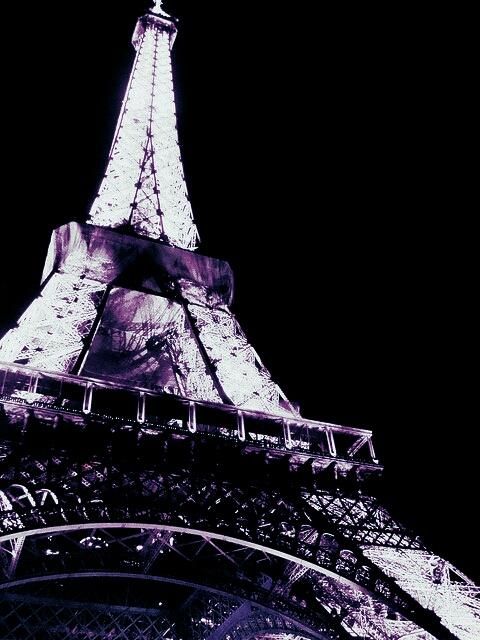
As any aspiring photographer knows, taking night shots can be of the most challenging aspects of photography. Nevertheless, with just a few little tips and tricks under your belt, you can branch out into low-light photography with surprising success.
Lighting Set up
The main challenge with nighttime photography is creating light where there is none, or enhancing what little light is there. To do this, you have to think about how your camera works: what controls how much light is in your photograph?
Aperture and shutter speed control how much light is allowed to hit your camera’s sensor, while ISO controls how your sensor reacts to that light. However, ramping up the ISO (your sensor’s sensitivity to light) can cause the resulting photo to be grainy and of lower quality, so shooting at the lowest possible ISO is very much recommended.
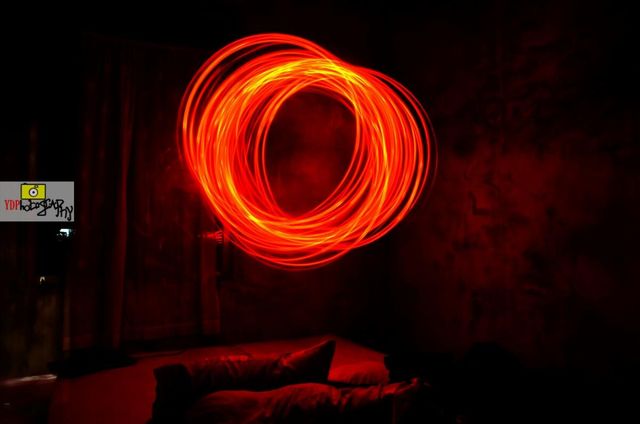
This leaves you with aperture and shutter speed to play around with. Your aperture will most often be dictated by the depth of field you would like your shot to have, so often, it’s shutter speed that is the most easily changeable factor. The longer your shutter is open, the more light there will be in your finished photo.
Photo Set up
Usually, we can see what a shot will look like before we take it. When there is little light in a scene, this can present a few issues. Firing off a few test shots, however, will help you to see what’s going on through your lens, so that you can reposition your camera to get the picture just perfect.
Try a few different shutter speeds to see which one allows the correct amount of light for the shot you want. Whilst a shutter speed of 1/30 won’t allow much at all, leaving the shutter open for a full second will allow for a plethora of light in the photograph. Eventually, you’ll find the perfect amount of light.
Use Tripod
With any shutter speed slower than 1/30, you will need to ensure that your camera doesn’t move; any small shake or movement will cause the photo to be blurry. If you have a tripod, this will be easy for you, but if not, don’t worry. Any flat surface on which you can place your camera or phone will be fine for this. For extra stability, you can utilize the self timer; sometimes your camera can move slightly when you press the shutter release button, so the self timer can help ensure that this doesn’t blur your photo.
Photo Editing in PicsArt
Once you’ve captured a few great low-light shots, import your favorites into the PicsArt app to really bring out the beauty of the shots. You might find that editing the photo using the B&W Cross effect, found in the FX menu, can help to enhance the difference between light areas and dark areas; adjust the contrast with the sliders provided and see what works best for your shot. Once you have chosen which one is your very best, share your photo with the community!