
The new Color Gradient effect gives your photo a new trendy look. It covers your photo with a gradient from one color tone to another, which can be customized to your preference. It adds a dream like haze of mixing colors that can look awesome if used properly. This tutorial will show you how to use it, so that you start having fun right away!
Step 1: Find the Effect
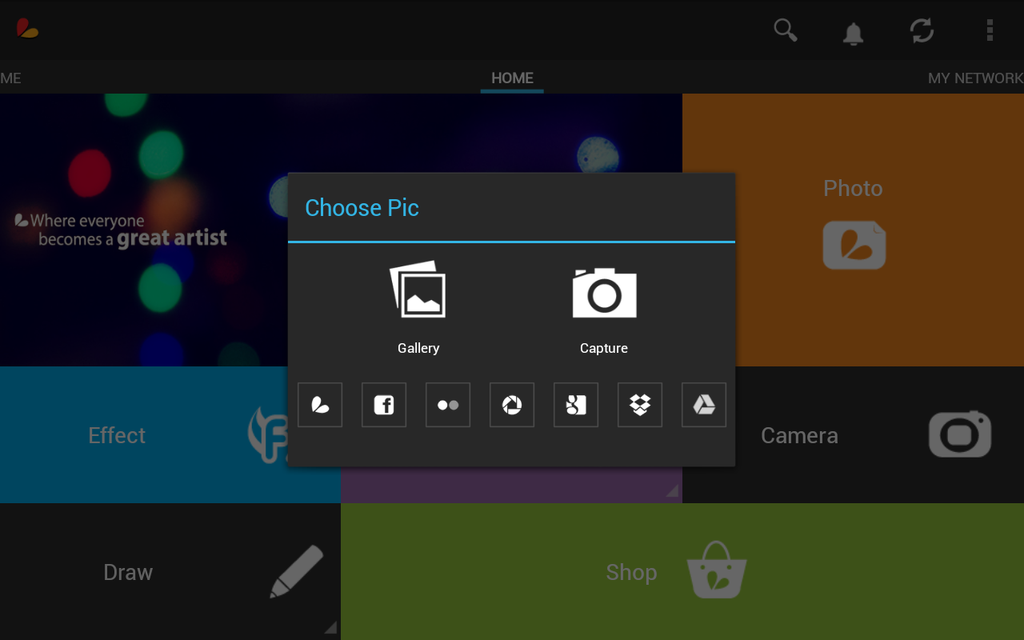
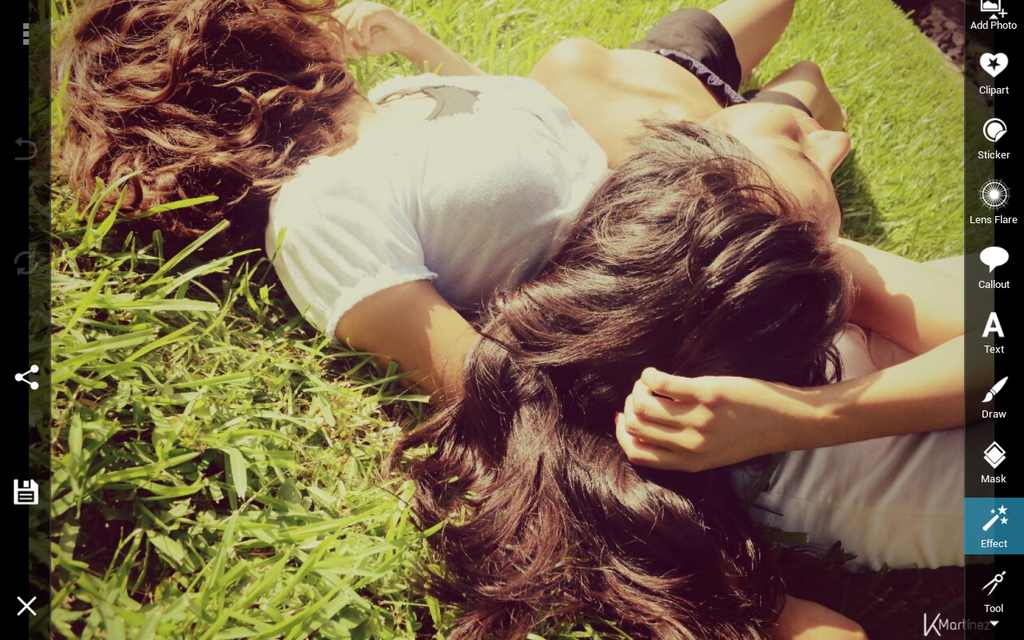
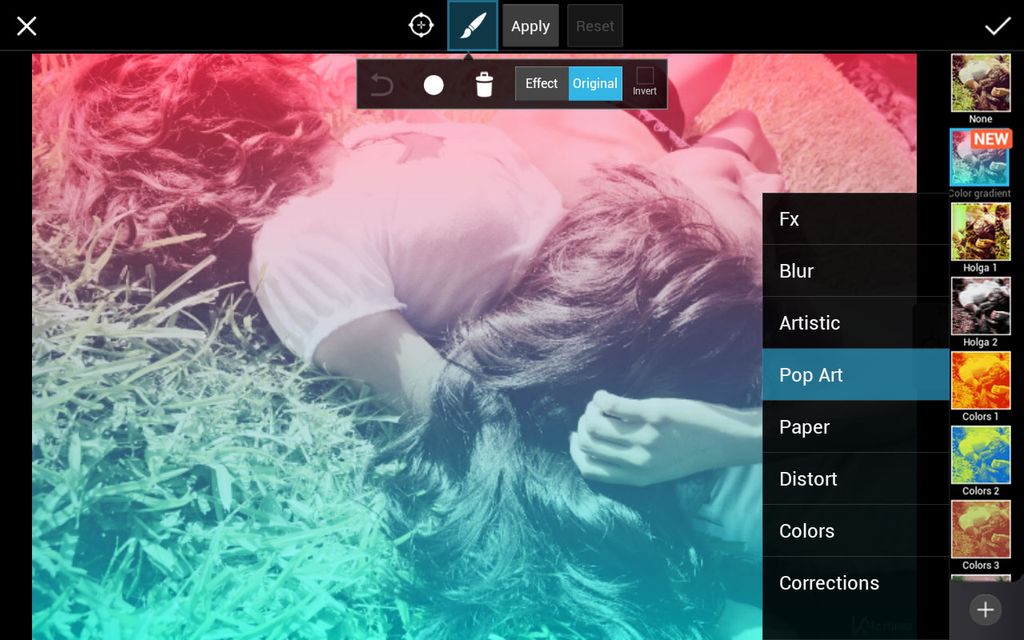
Choose the photo you want to edit. Open the Pop Art category from the effects menu, and select the Color Gradient effect. Your photo should now change from one color to another color from end to end.
Step 2: Use the Presets
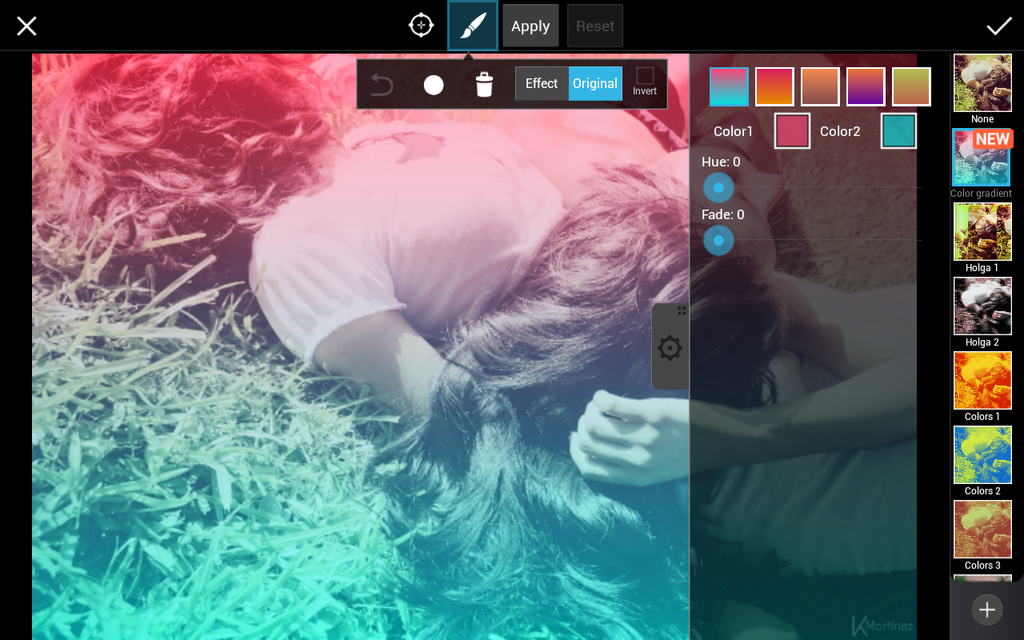
You can change the color in several ways. Switch between the presets to scan through various color gradient options quickly.
Step 3: Customize the Colors Manually
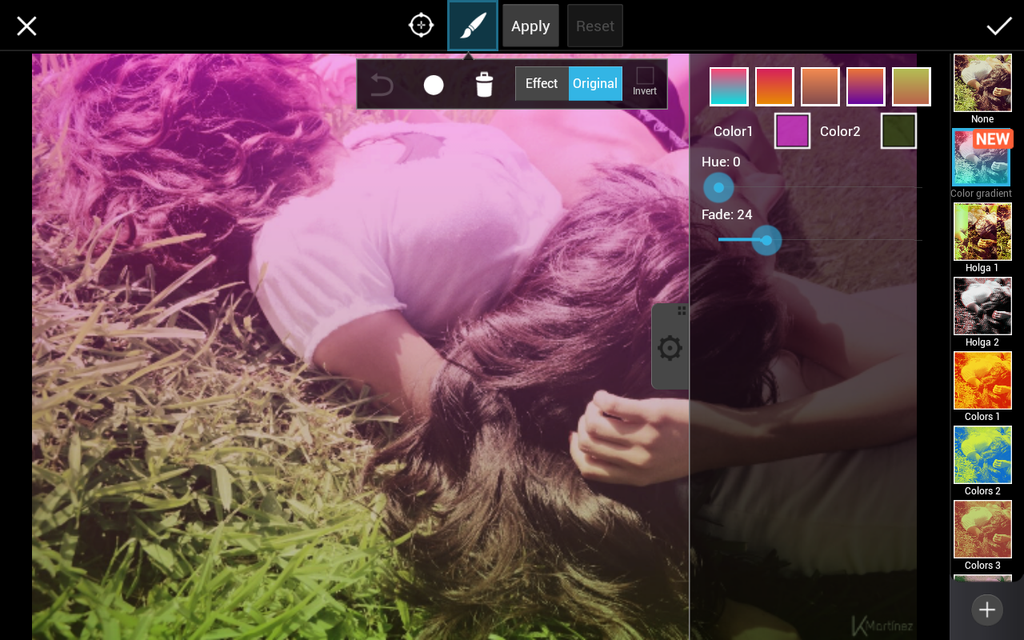
Customize the colors manually by pressing the boxes labeled Color1 and Color2, and choosing any color tones you like to combine in a gradient.
Step 4: The Hue Slider
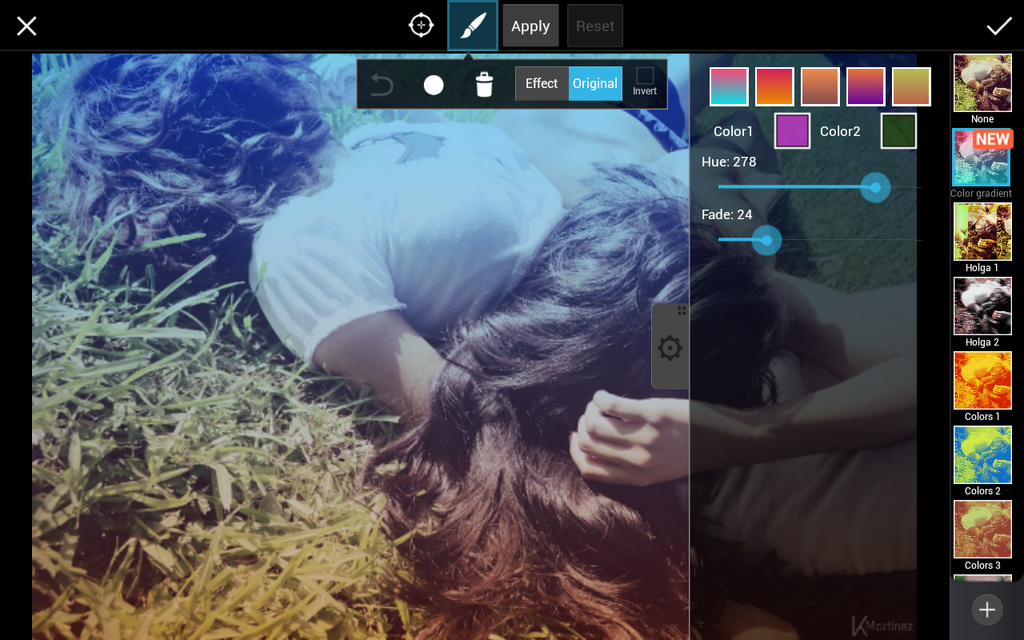
Another way to change the colors is to move the Hue slider across the color spectrum.
Step 5: The Fade Slider
Use the Fade slider to make the effect more or less visible over your photo.
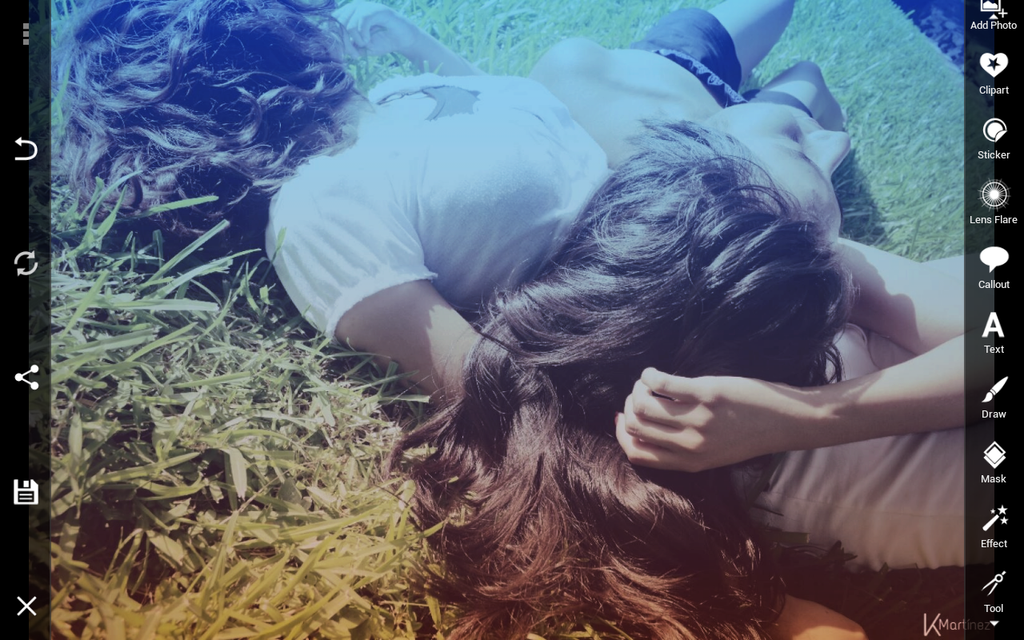
A tip: You can mix original photo and the effect. To do so, click on the Original button and scrub off the effect wherever you want to just keep the original image. You can switch the button from Original to Effect to paint the effect back on.


