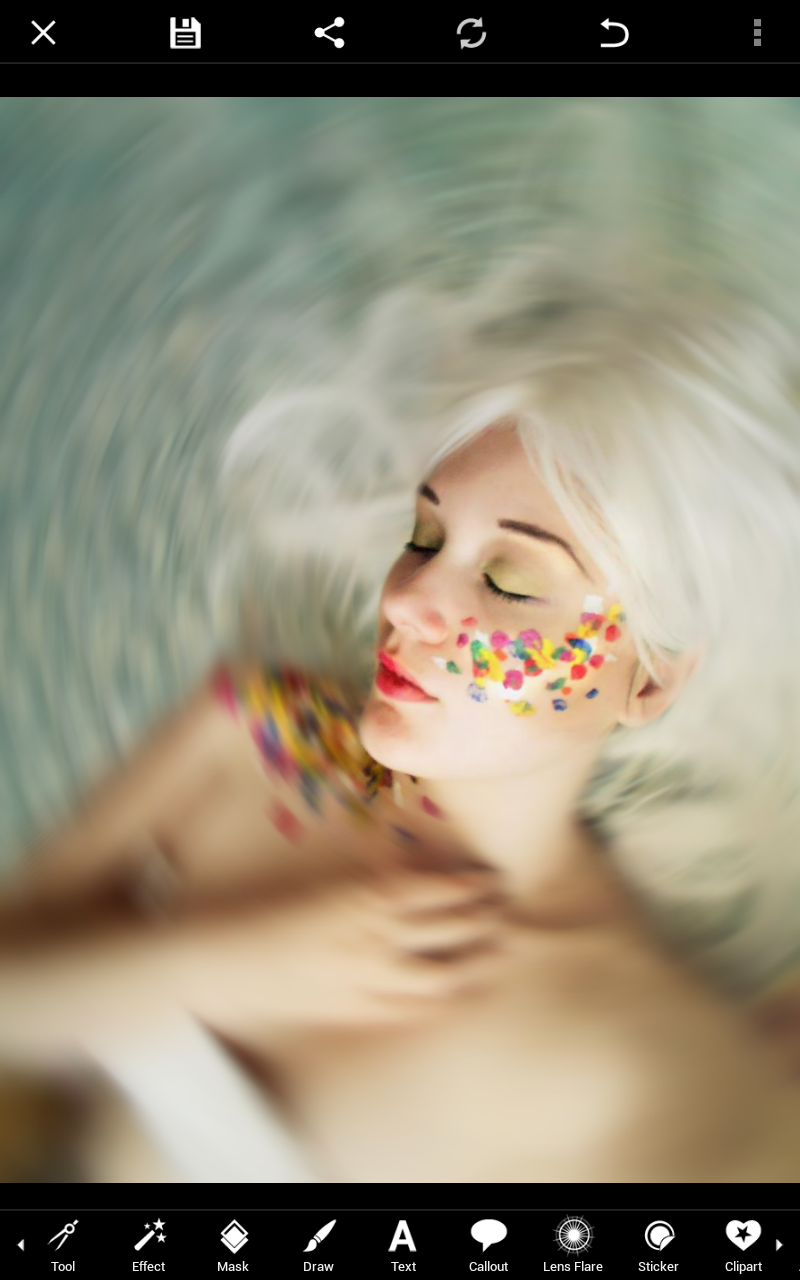
The Radial Blur effect creates a circle of blur around a focal point in your photo, making everything around it roundedly blurred. Objects in your image bend with the curve of your blur, and whatever lies at the center of your circling blur becomes a greater point of focus. This is one cool effect that you’ll love once you get the hang of it, so to get you started we prepared a brief tutorial. This tutorial will guide you step by step on how to use the radial blur effect to twist your images into spiraling masterpieces!
Step 1: Find the Effect
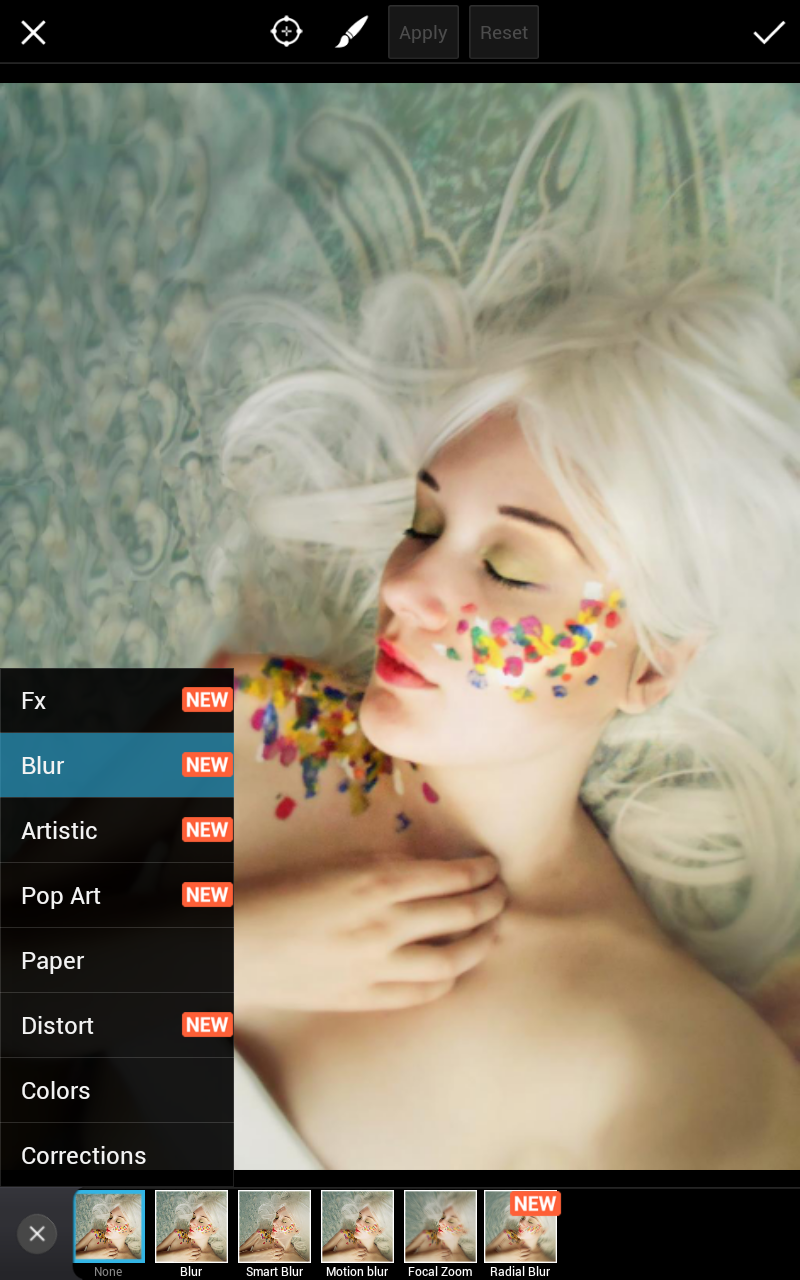
Select the effect labeled “Radial Blur” from the blur category of the effects menu.
Step 2: Customize Intensity
You can make your image more or less blurry my moving the Blur slider in the effects settings popup menu. 20 is the maximum blur strength, while 0 is the minimum.
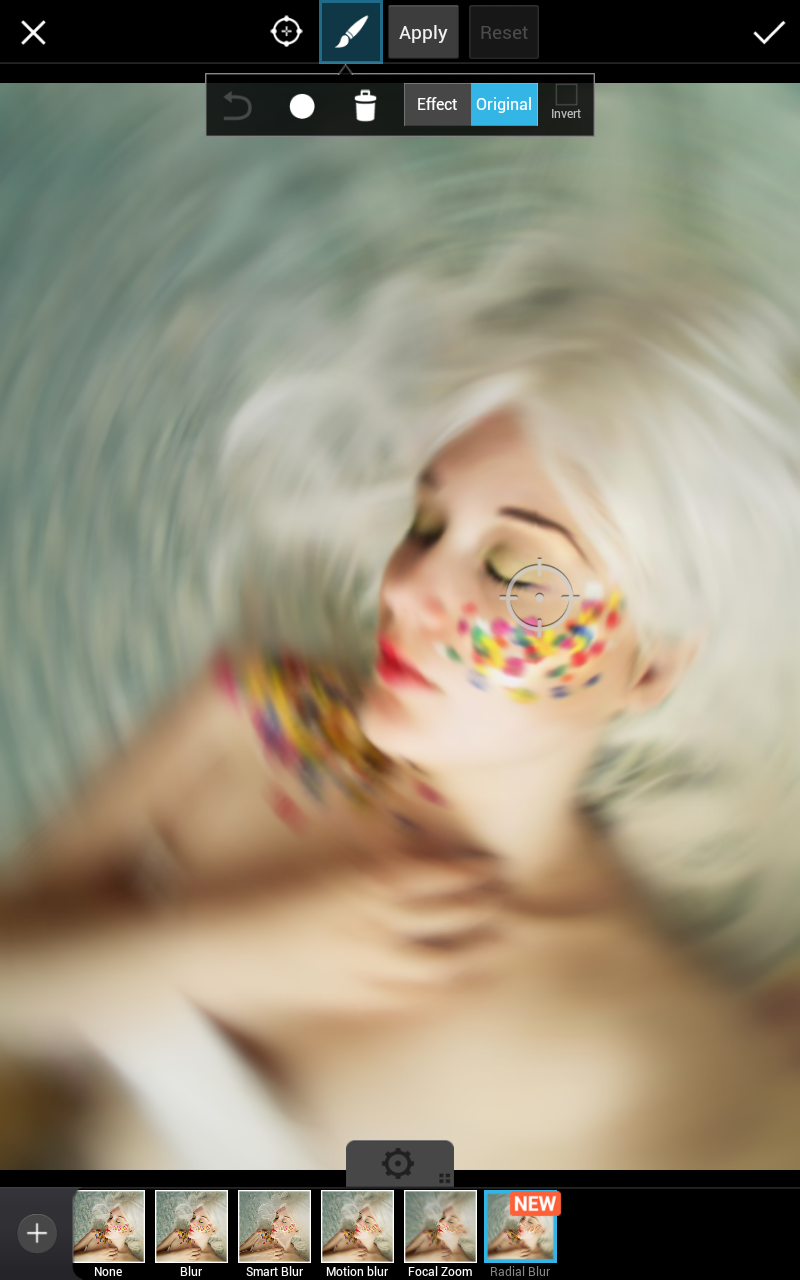
Step 3: Choose a Focal Point
Radial Blur creates a circular blurring effect, but every circle has a central focal point. Move the center of your blur by dragging the crosshairs in the middle of your blur.
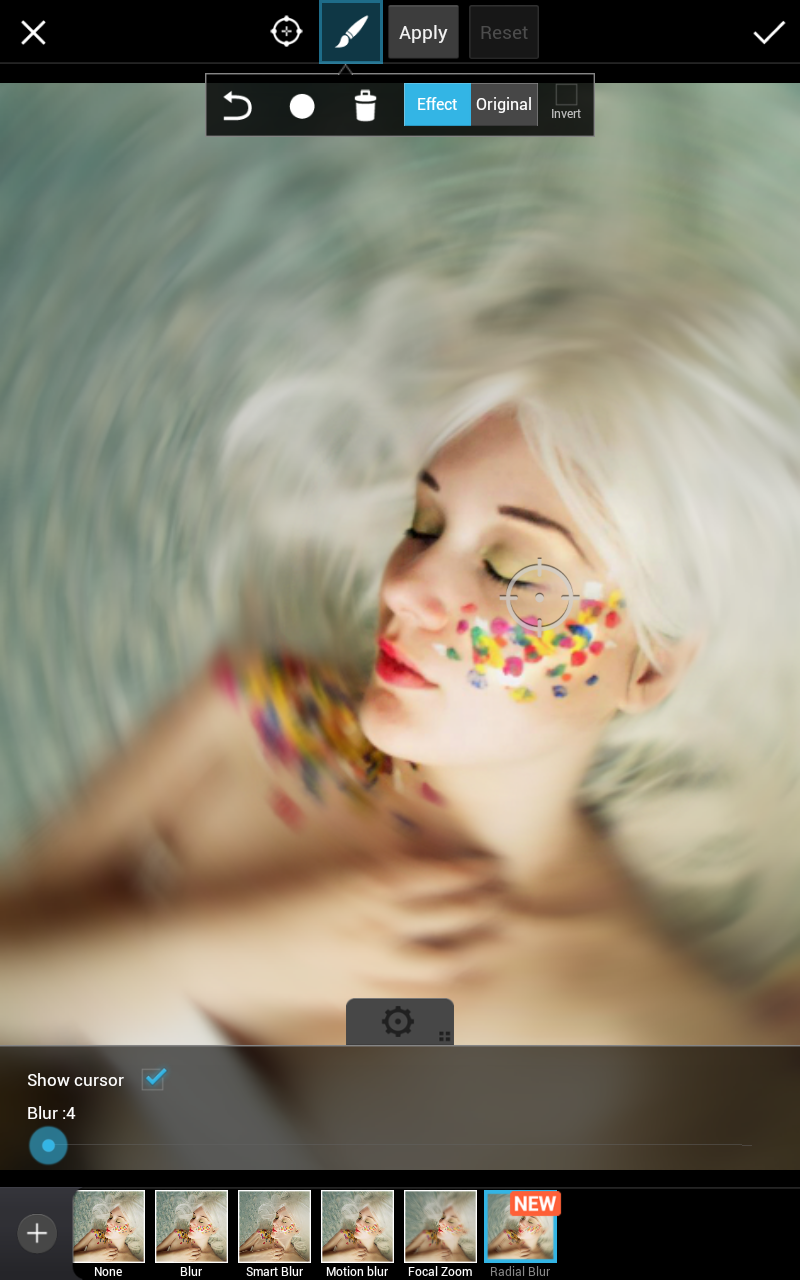
Step 4: Confirm
Confirm your edits by selecting the checkmark at the top of the screen.
