Paolomore (@paolomore) has gone from editing phenom to PicsArt’s favorite peer teacher. He regularly posts his coolest photo-editing tricks for others to enjoy, and today we’re sharing his video tutorial on how to make a psychedelic portrait.
This is a great tutorial because it encompassed so many of PicsArt’s features, and found highly imaginative ways of putting them to use. You’ll not only impress your friends with a finely crafted surreal image, but the techniques you learn here will be powerful resources for your work going forward.
Check out Paolo’s video tutorial and follow the steps below to master the art of psychedelic portraiture.
Step 1: Upload Photo
Upload a portrait of a face into the editor
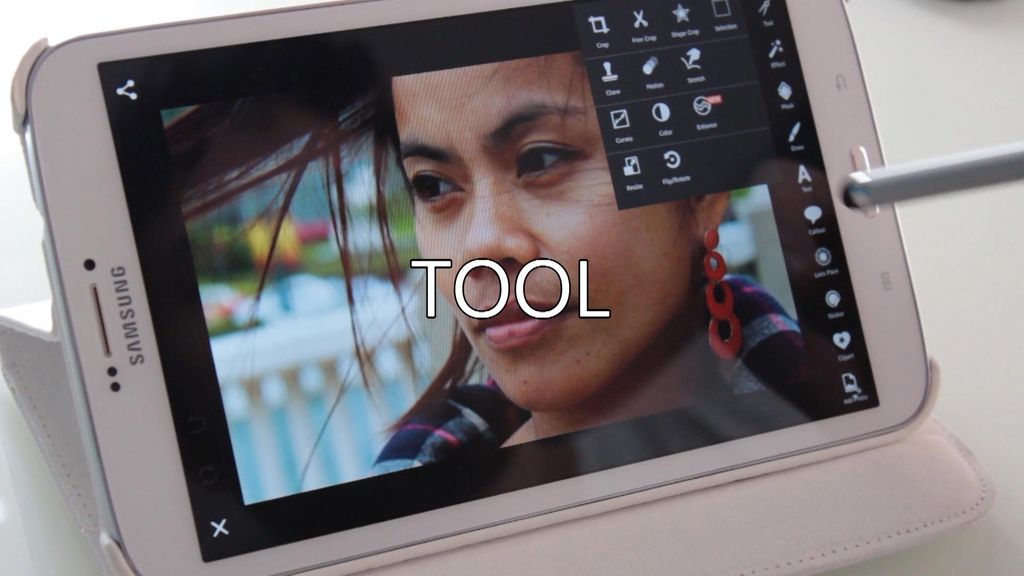
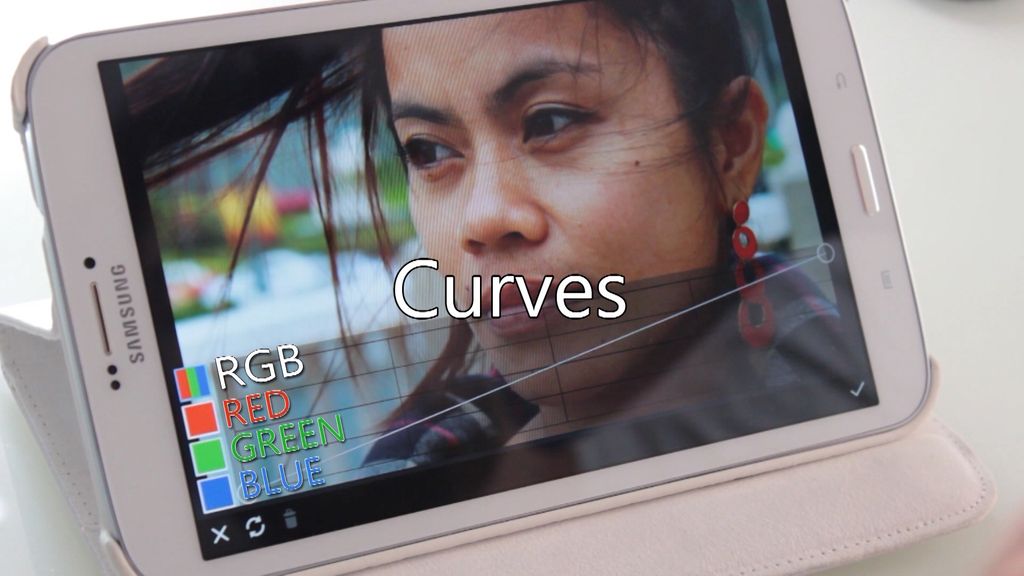
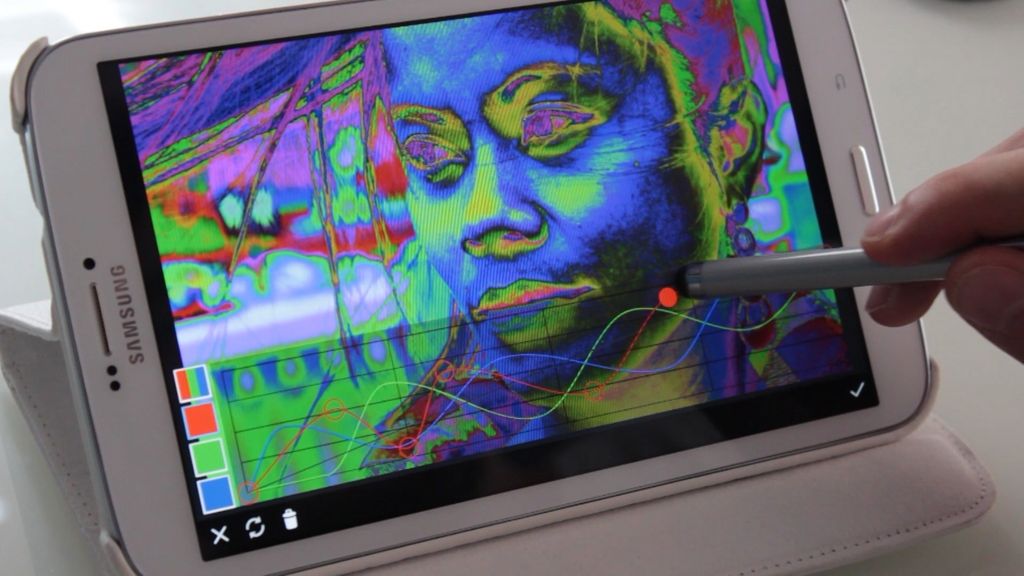
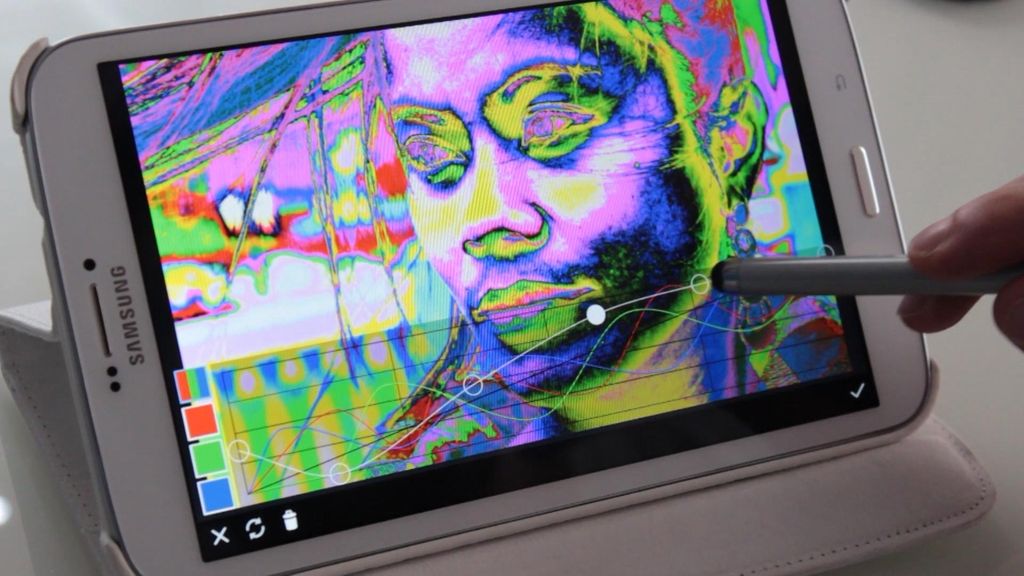
Step 2: Curves
Select the Tools icon and choose the Curves Tool. Adjust the Red, Green and Blue curves independently to alter the tones of the respective color within your photo. Alter the RGB curve to adjust brightness. Confirm.
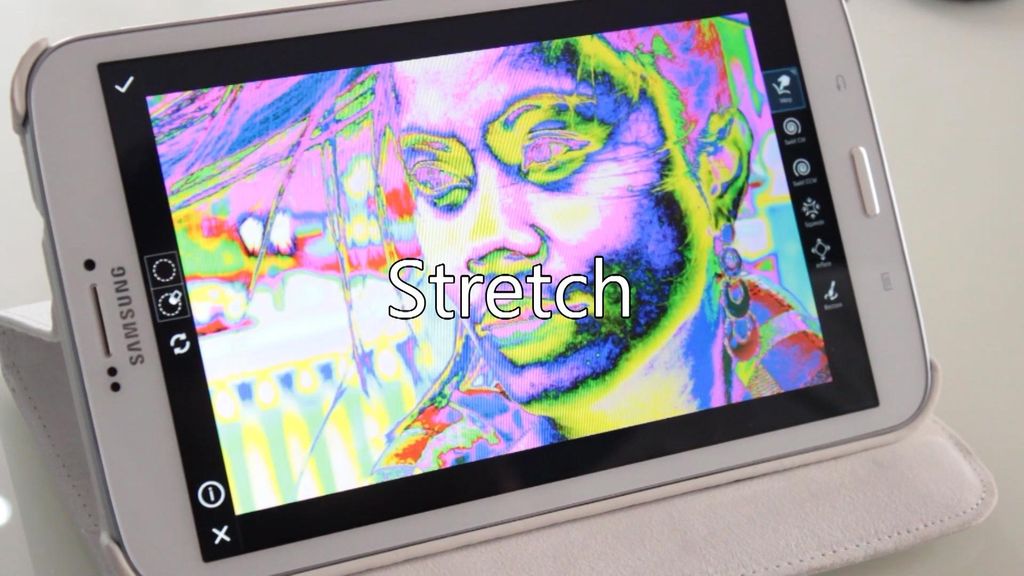
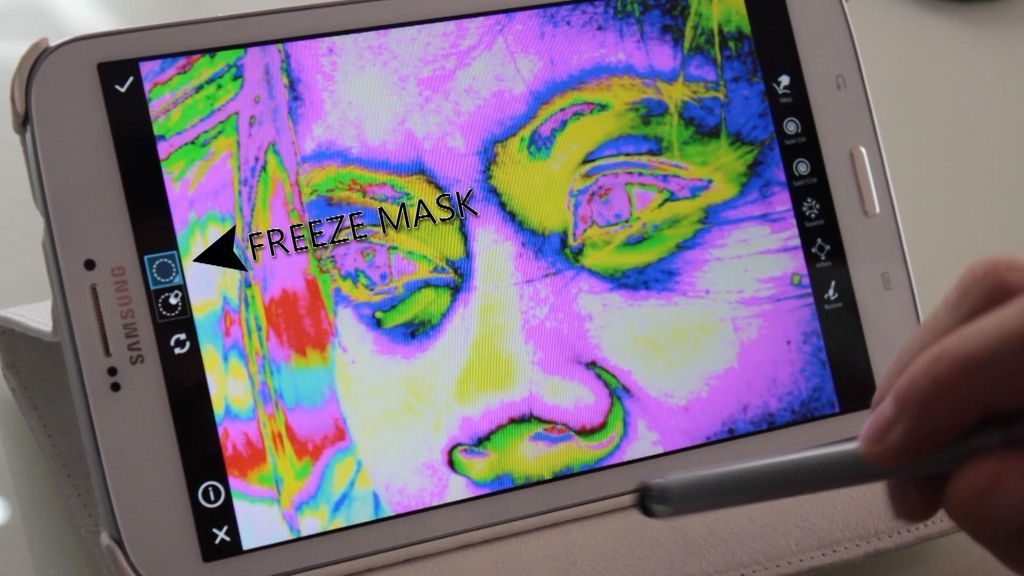
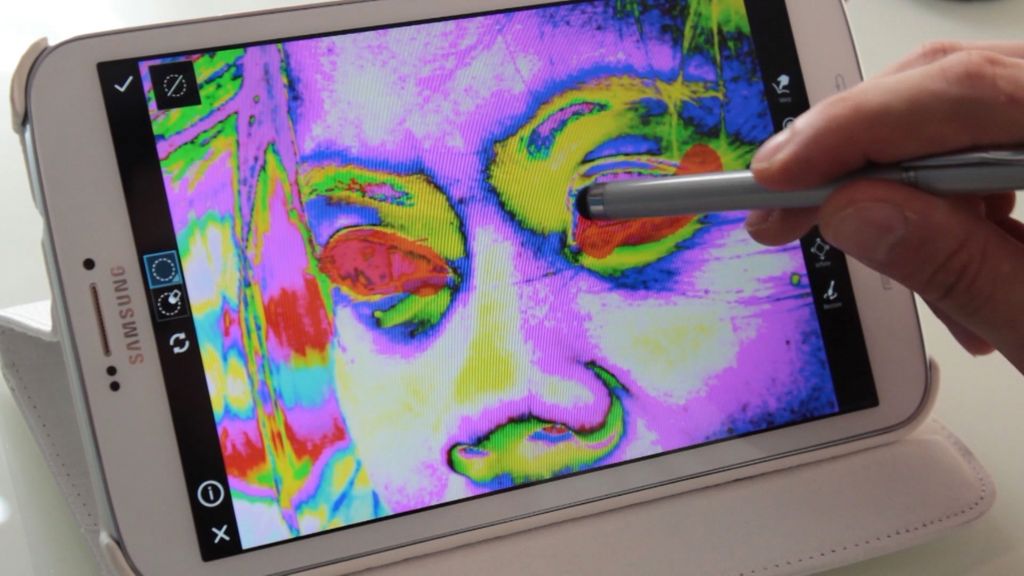
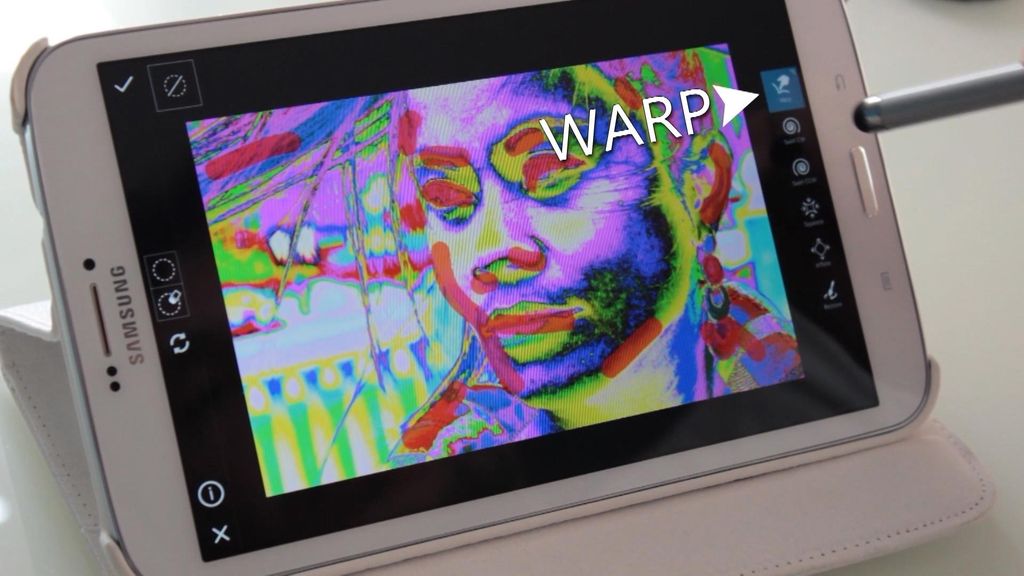
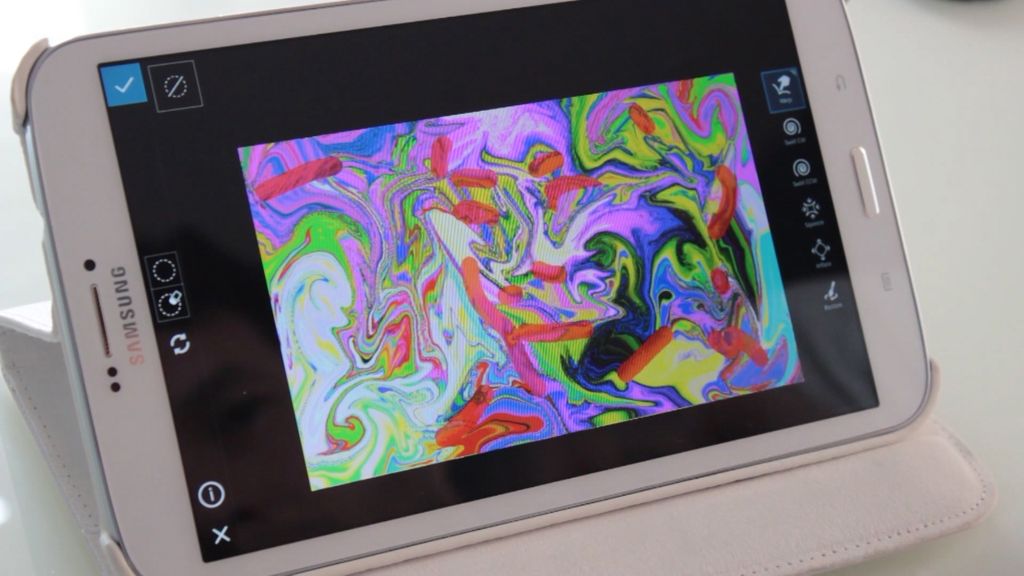
Step 3: Stretch
Select the Tools icon again and choose the stretch tool. Select the dotted circle to paint freeze masks over the eyes, nose, mouth, and outline of the face. This will prevent these areas from being affected. Select Warp and distort your photo as much as you can.
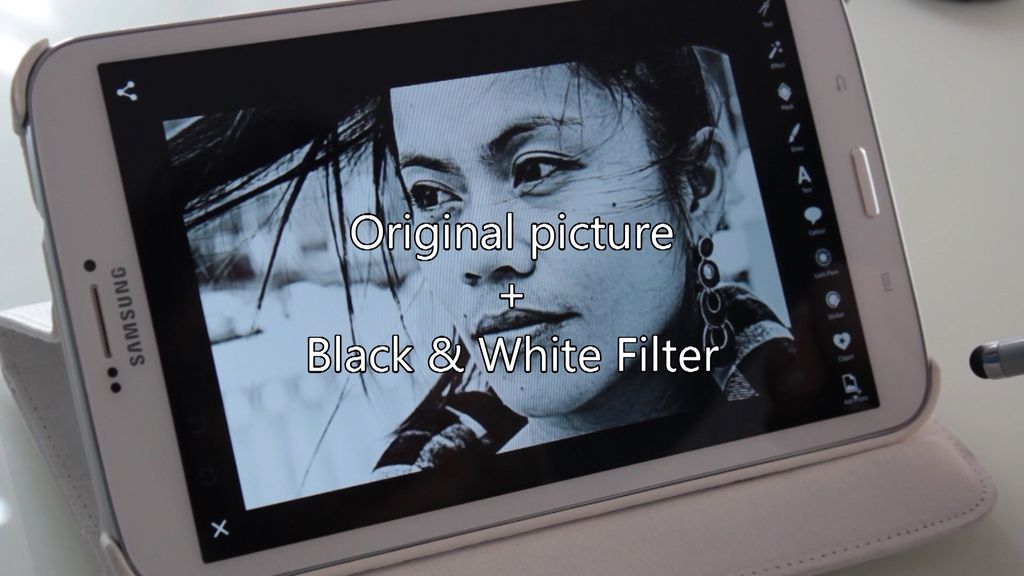
Step 4: B&W
Quit and upload a black and white(B&W) version of your original Portrait (use effects to make it B&W if you haven’t already). Open drawing tools, add a Photo Layer and import your colorful stretched version. Switch the layer setting to Darken.
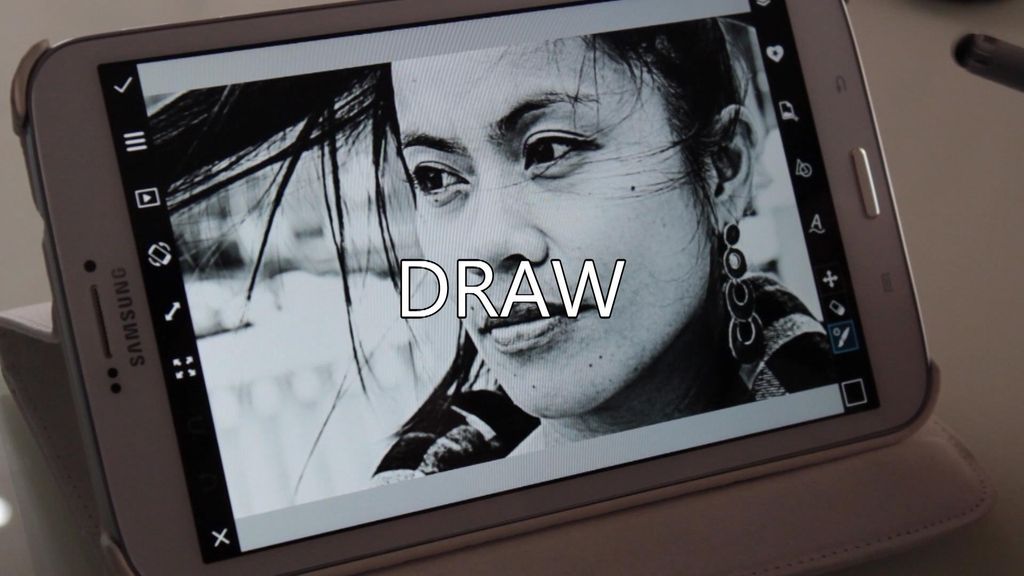

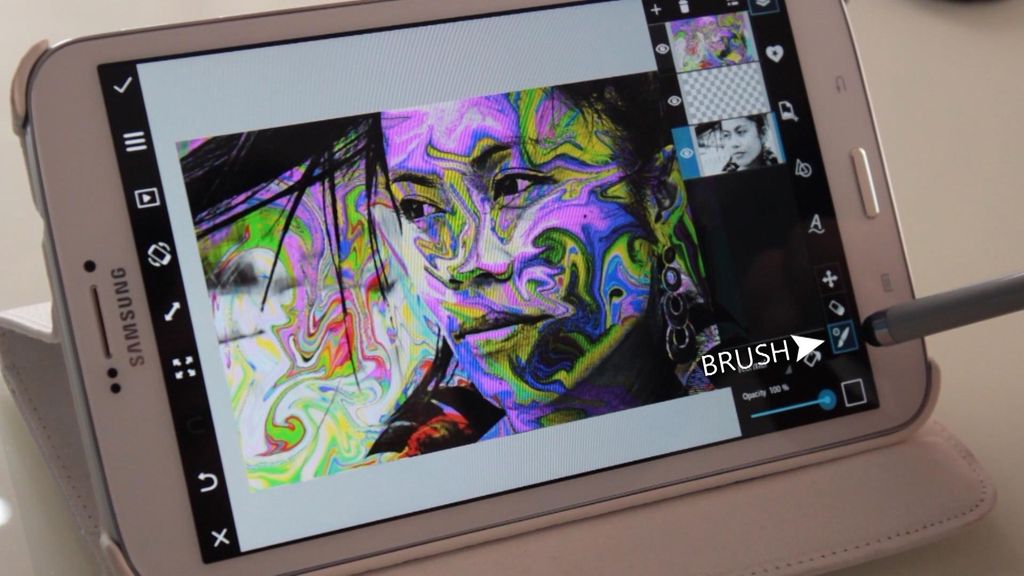
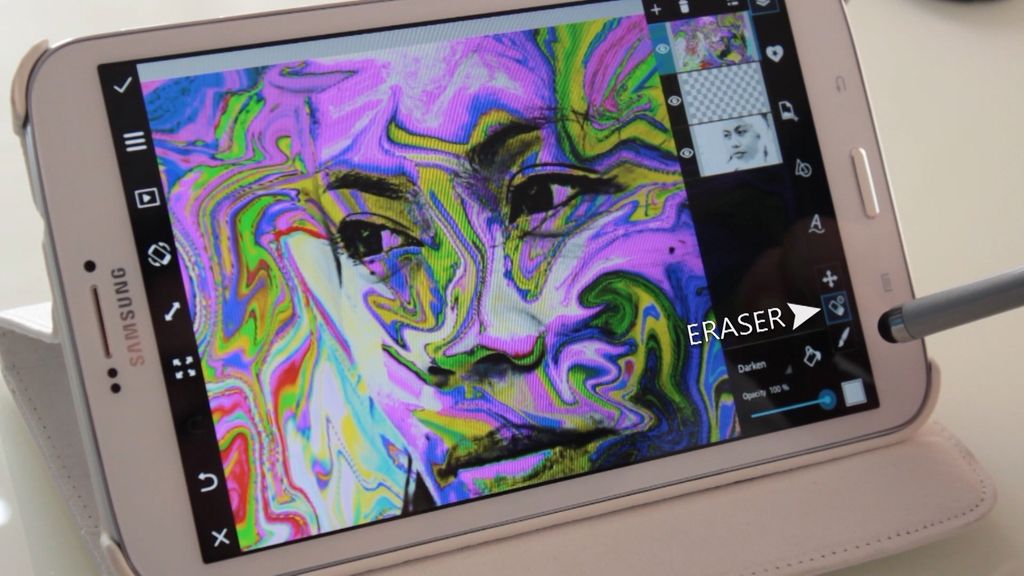
Step 5: Brushes
Use a white brush in your B&W layer to remove dark spots around the edges of the frame. In the colored layer, erase the eyes. Add a layer between your two layers, and switch the setting to overlay. Select a black brush and add shading where necessary. Reduce opacity.

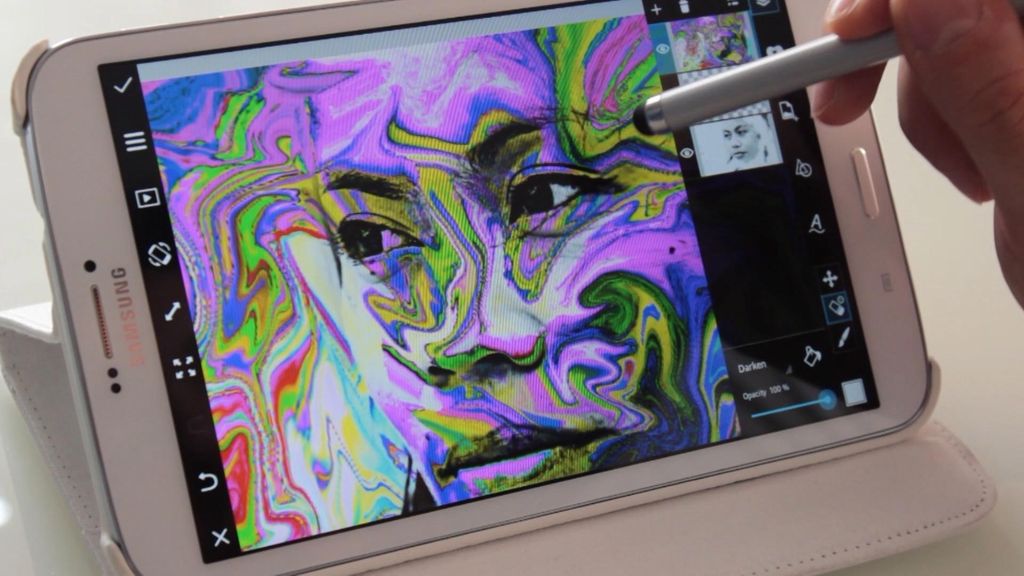
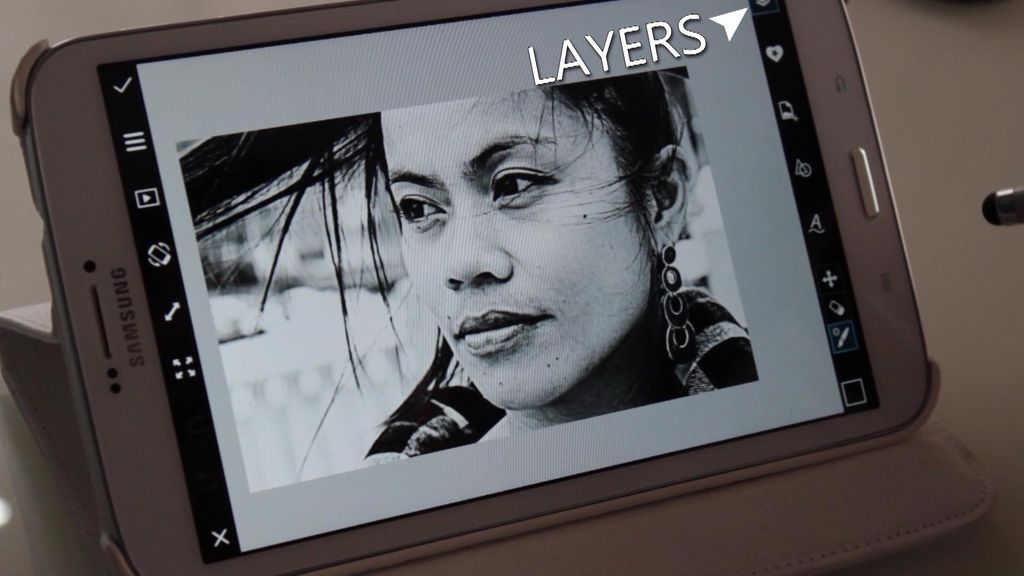
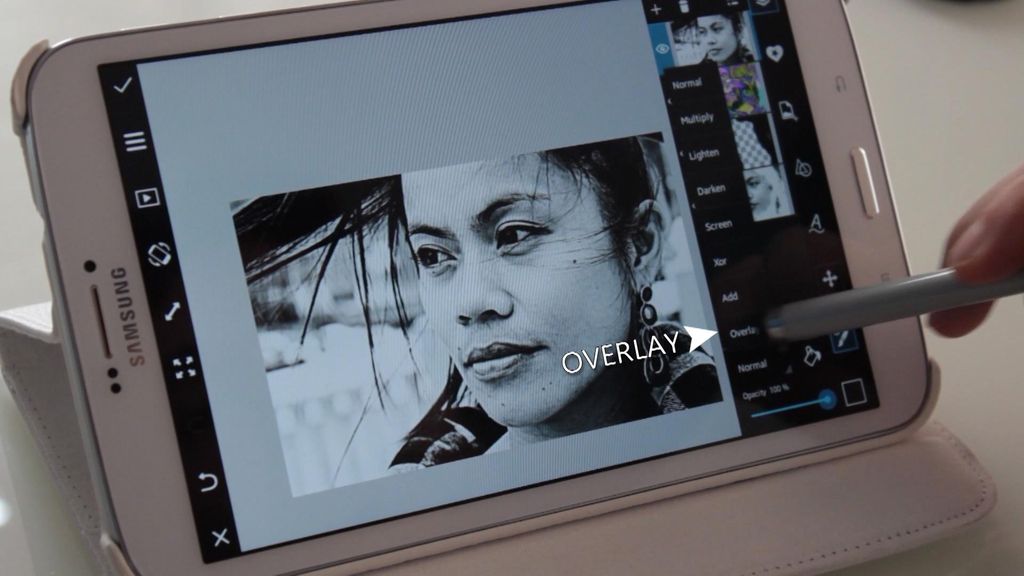
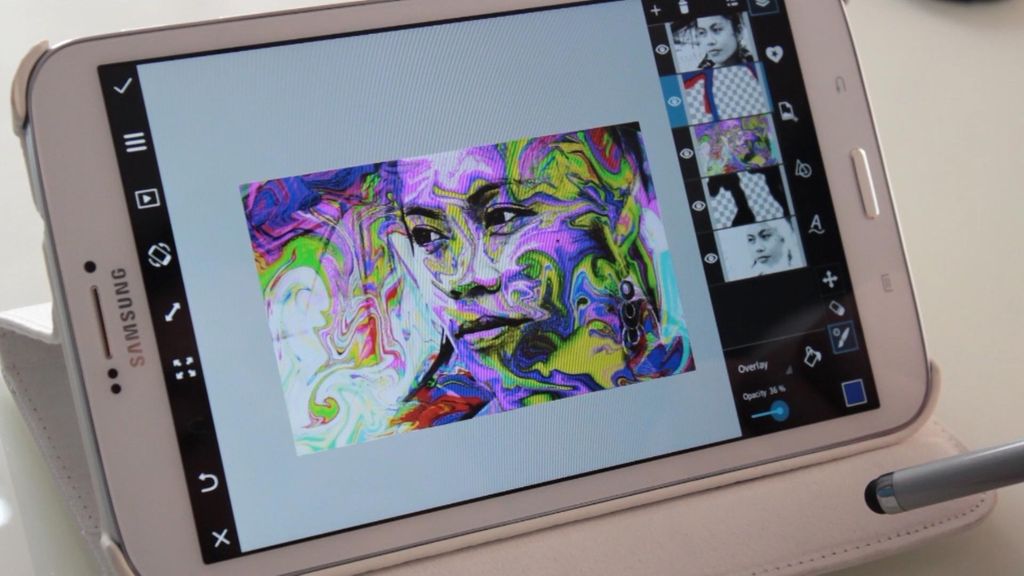
Step 6: Final Touches
Add a Photo Layer on top and import the B&W version of the photo again. Change the layer setting to overlay to emphasize the darker features of your face and reduce the opacity. Add a layer underneath your top layer, change the setting to overlay, and use colored brushes to infuse your drawings with extra colors.
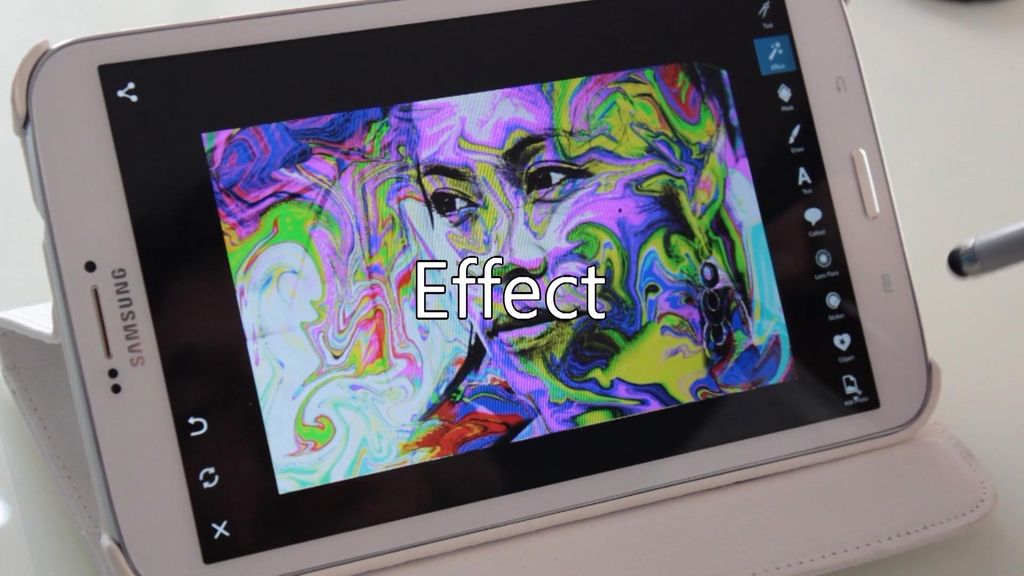
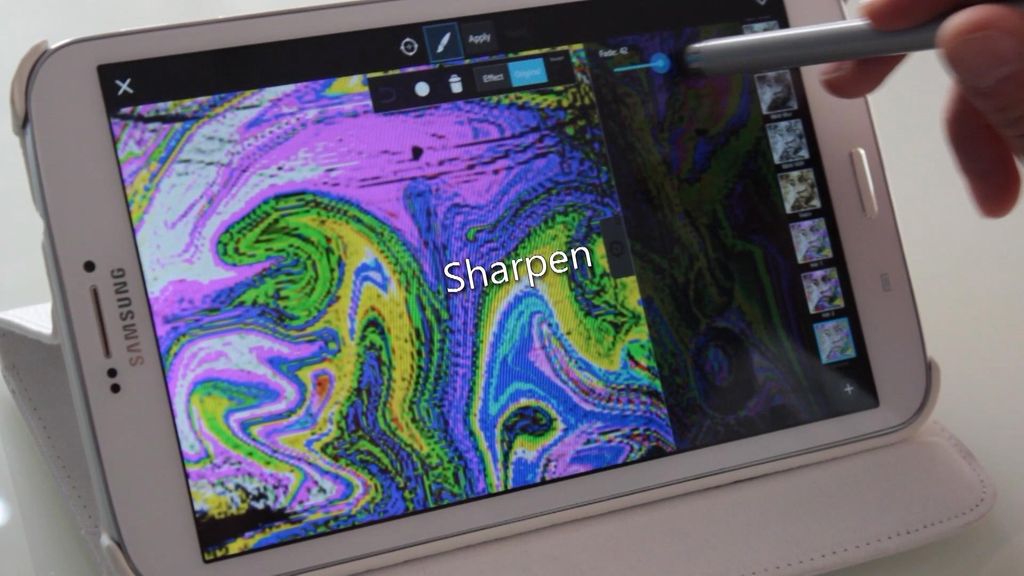
Step 7: Effect
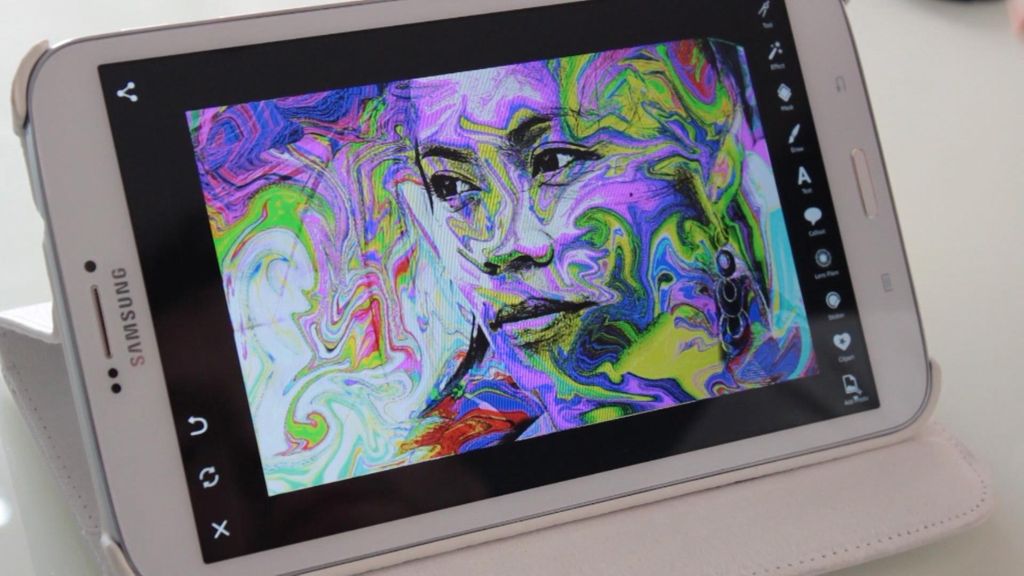
Confirm and select the Fx icon from the main menu. Select the Sharpen effect and apply it to finish your work