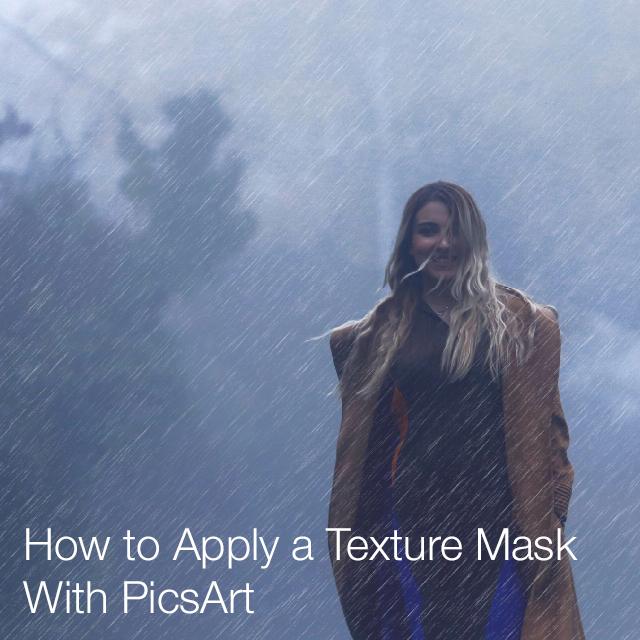
In this photo editing tutorial, we’ll show you how to give your photos a makeover by using the photo editor to apply a Texture Mask. Read on to learn how to do it!
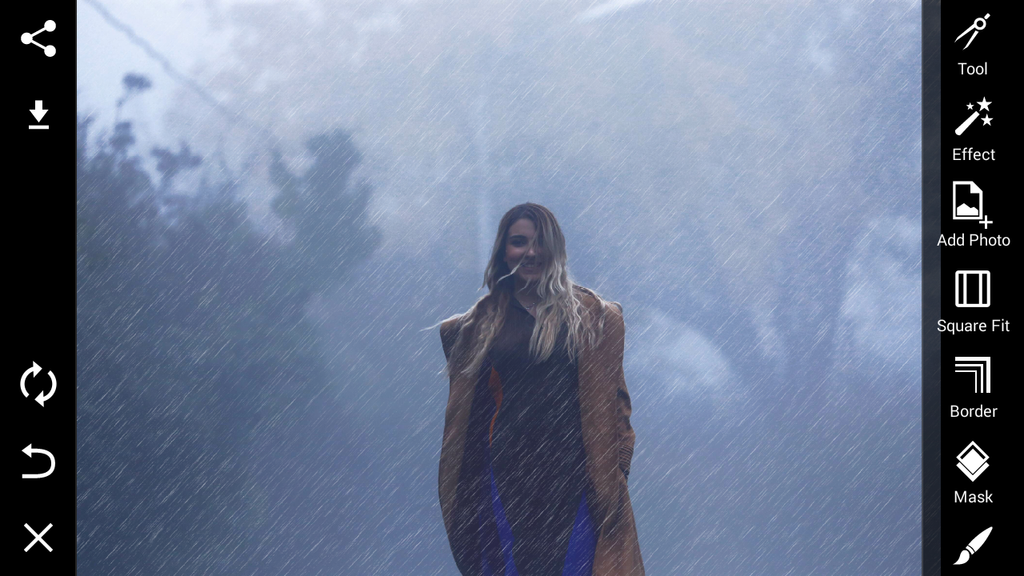
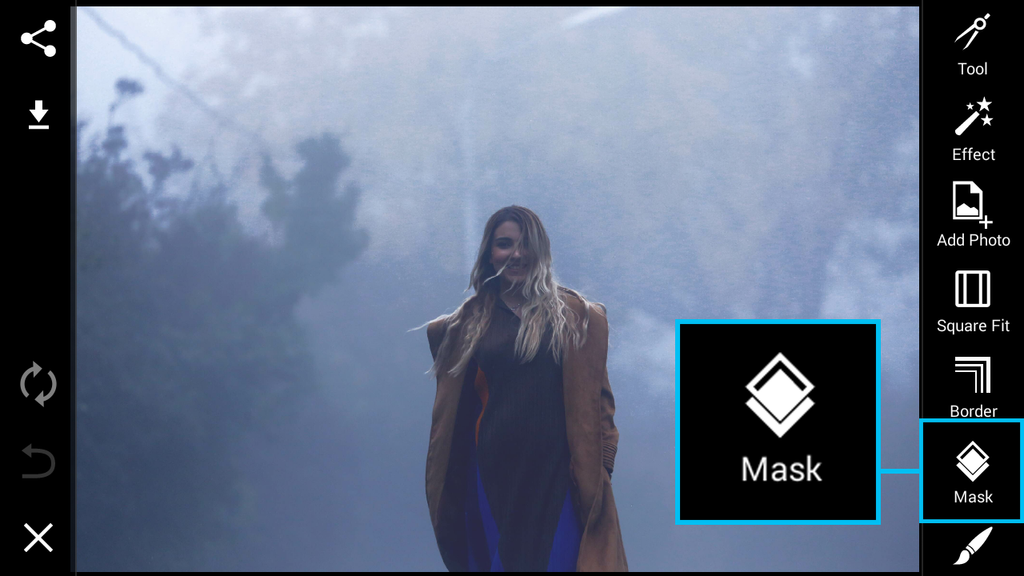
Step 1: Open Masks Menu
Open your image in the photo editor. Tap on Mask and select the Texture section.
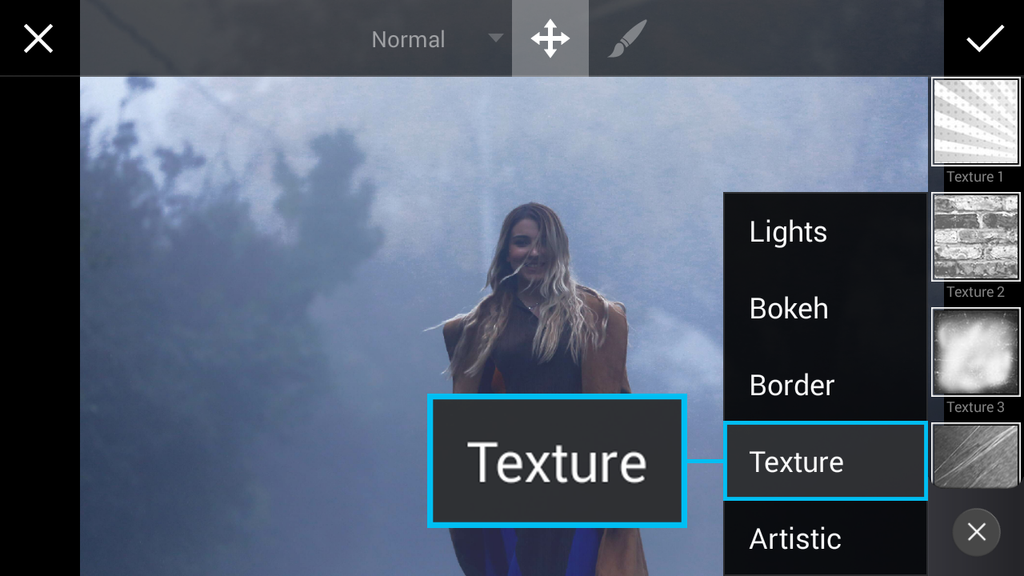
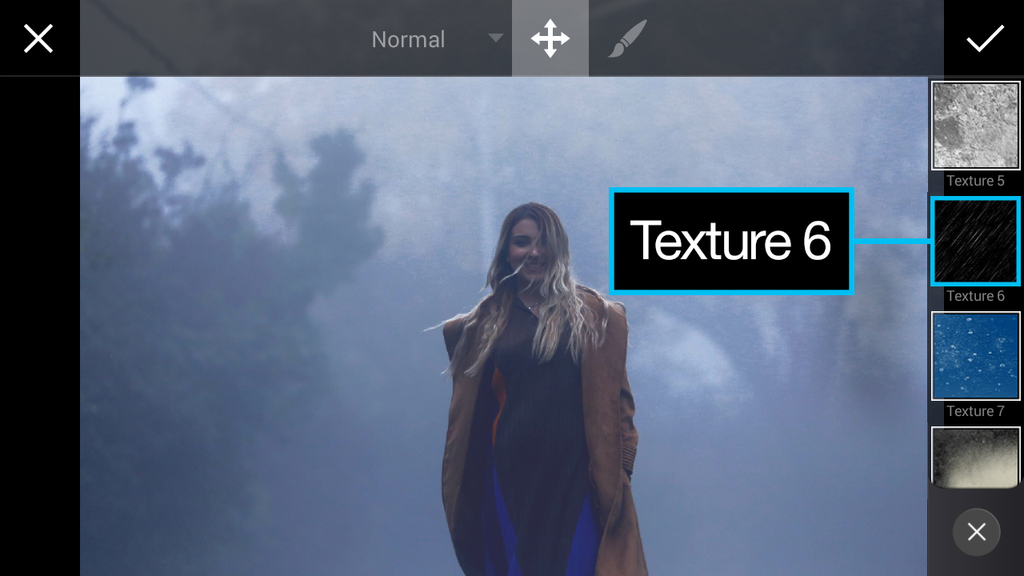
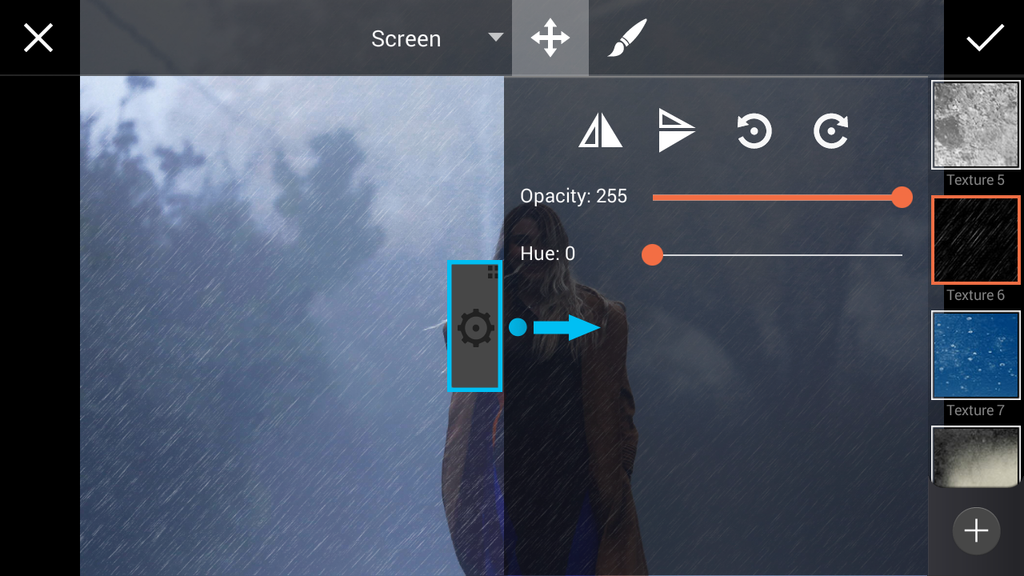
Step 2: Select Mask
Scroll down and select the Texture 6 Mask. Tap on the gear icon to close the settings tab that pops up.
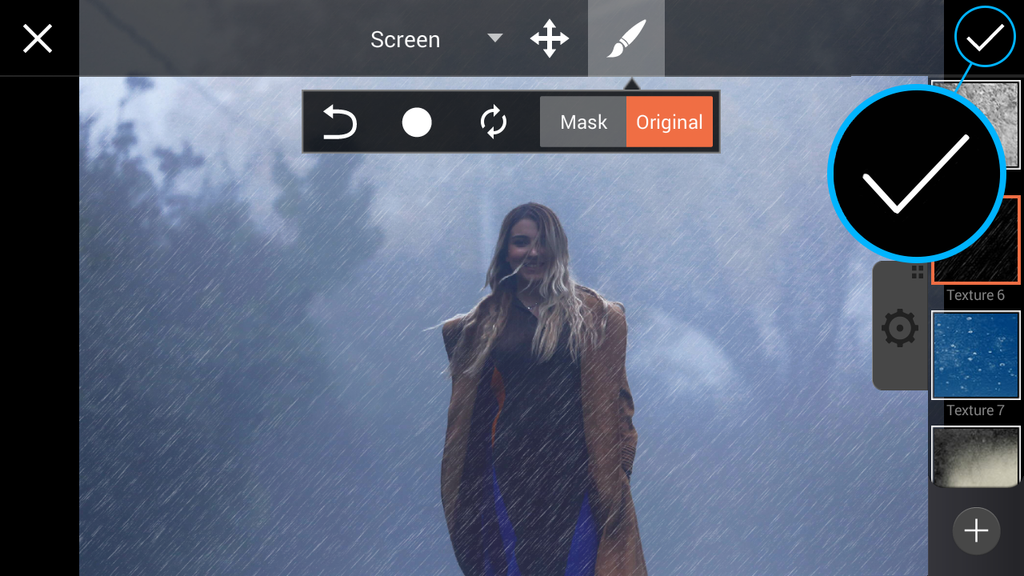
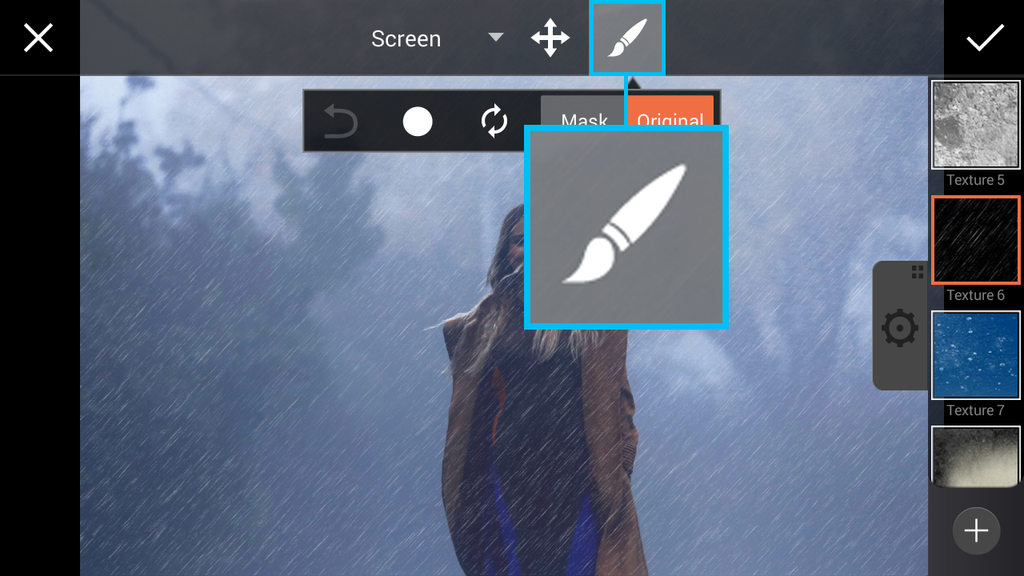
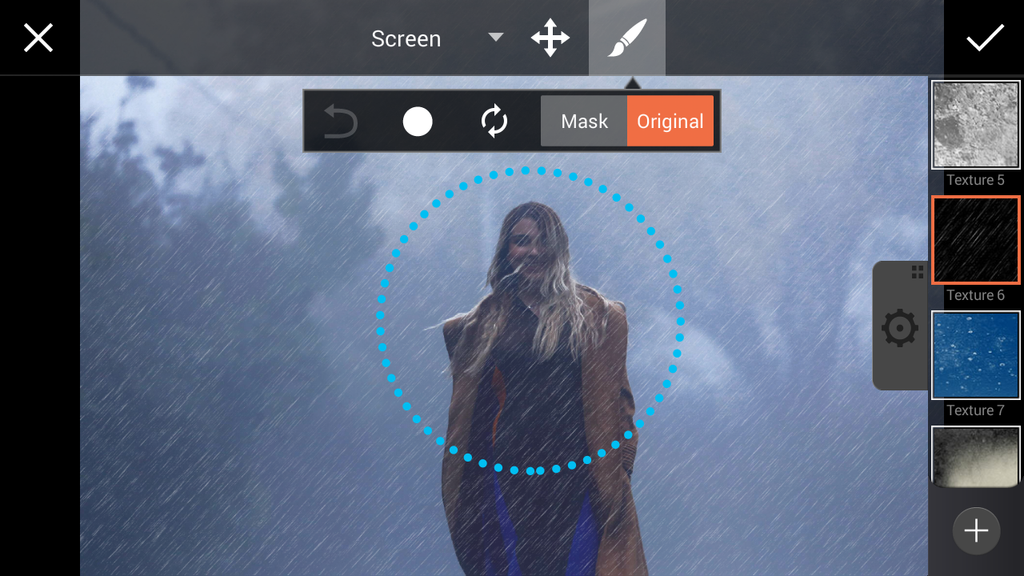
Step 3: Erase Photo Effect
Tap on the paintbrush icon and use your finger to erase the Mask over part of your image.
Step 4: Confirm, Save, & Share!
Tap on the check mark to confirm. Save your work and share it with the hashtag #TextureMask!