This week’s Drawing Challenge is a contest to see who can draw the most marvelous hat using PicsArt’s drawing tools. Users can take a wide variety of approaches to this challenge, as there are countless hats from which to choose from for every different climate and occasion, be it desert heat or arctic tundra, a dinner party or a baseball game. We have prepared a step by step tutorial on how to draw a hat for this week’s drawing contest.
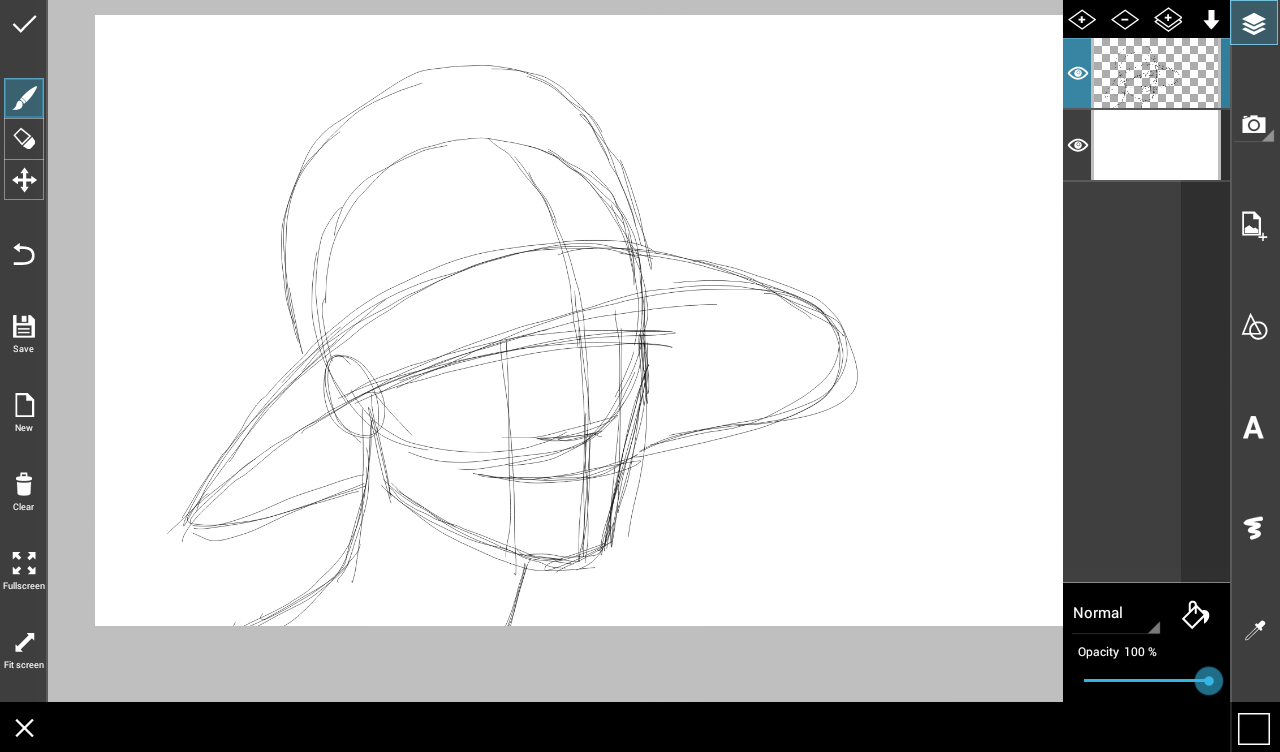
Step 1: Draw the Basic Shapes
Draw a basic geometric skeleton of your hat and head. Make a circle for the skull, then sketch the basic shape of the jaw, neck, and hat, as well as lines down and across the middle of the face for symmetrical reference.
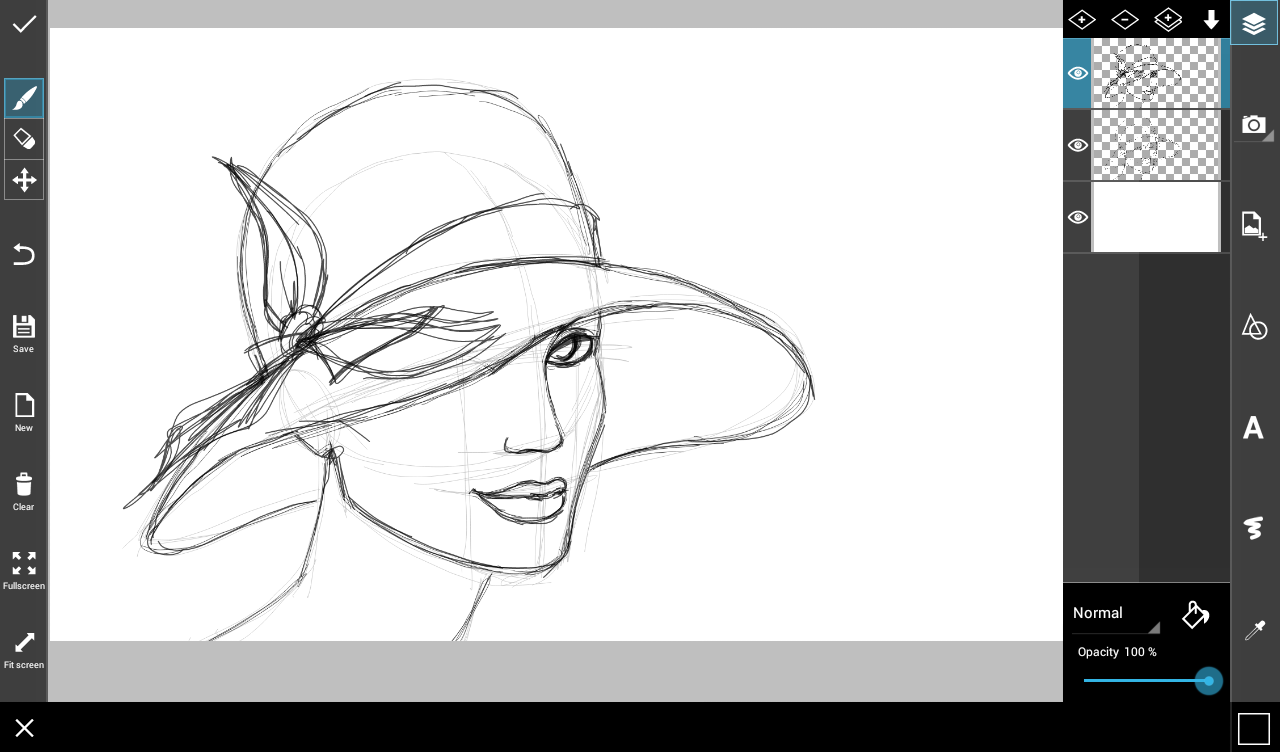
Step 2: Add New Layer
Reduce the opacity and create a new layer. In your new layer roughly sketch your face and hat, outlining details like the nose, eyes, and any decorations on your hat.
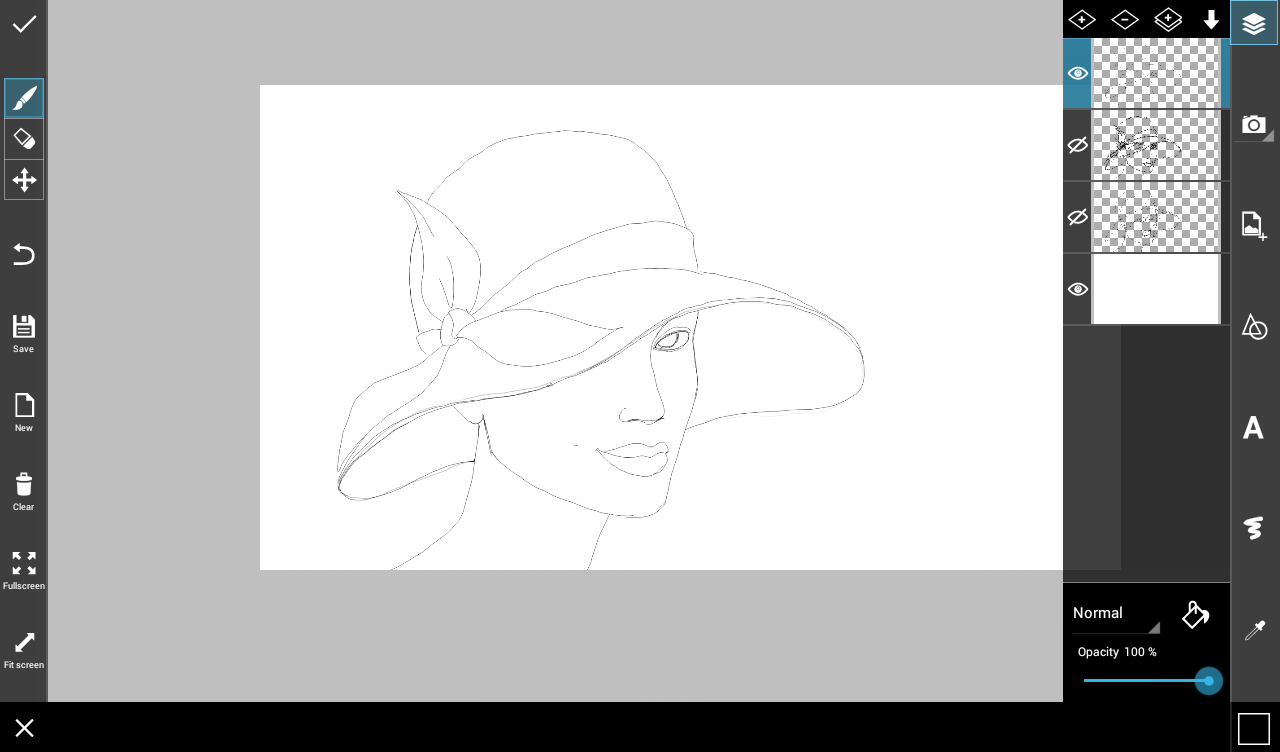
Step 3: Final Outline
Once again, reduce the opacity and create a new layer. In this layer, draw clean deliberate lines. When you’re done, disable the previous layers to view your final outline.
Step 4: Color the Drawing
In a new layer, color in your drawing, just filling in the base colors.

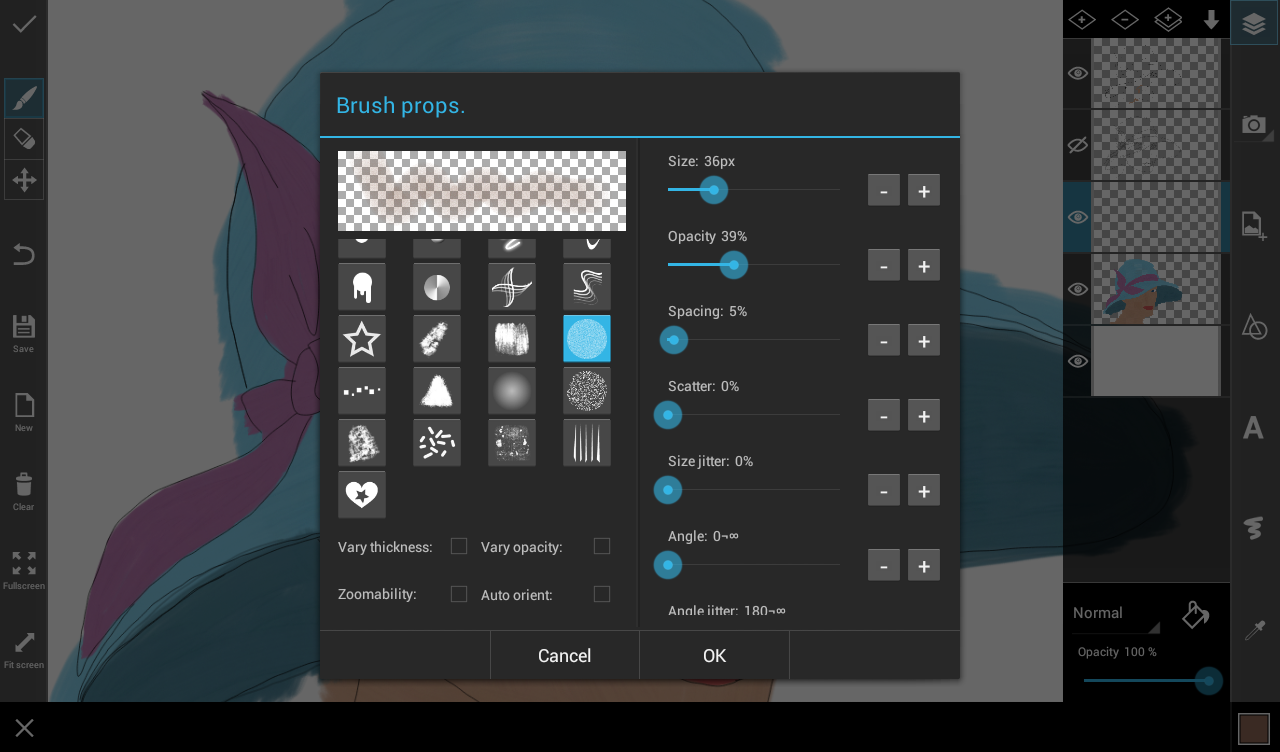
Step 5: Color Shades
Before adding color shades to your drawing, customize your brush for shadows by reducing its opacity, and choosing a brush with a spray effect.
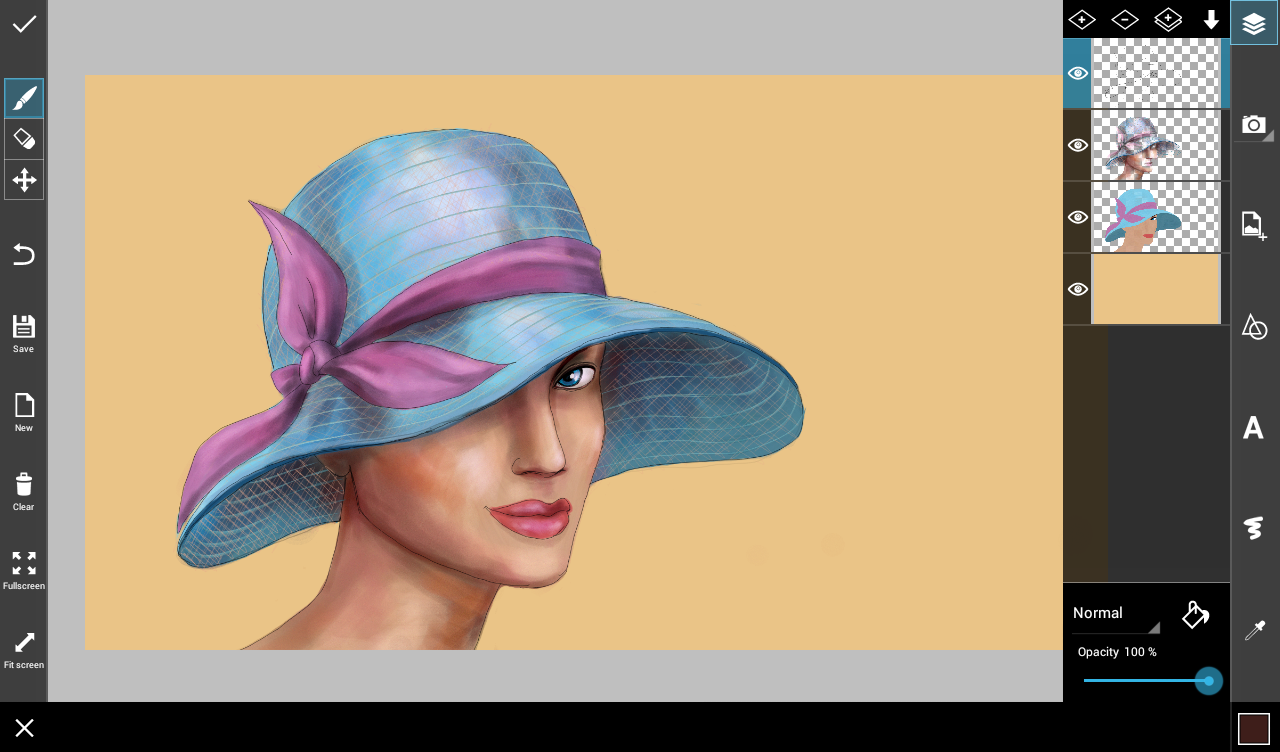
Step 6: Background Color
Use dark tones to add shadows and brighter tones to add reflections. Add a new layer at the bottom to color your background.
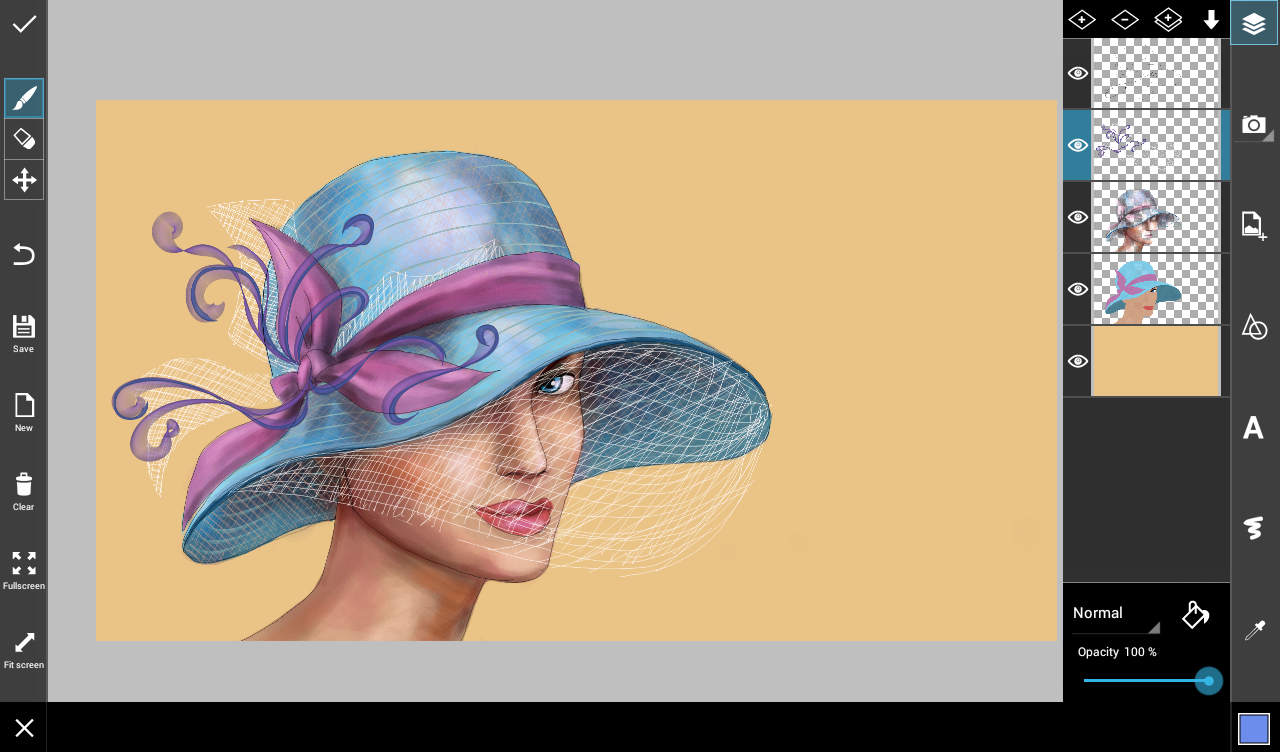
Step 7: Add Final Details
Finally, add the most delicate details like fine lace to complete your drawing.