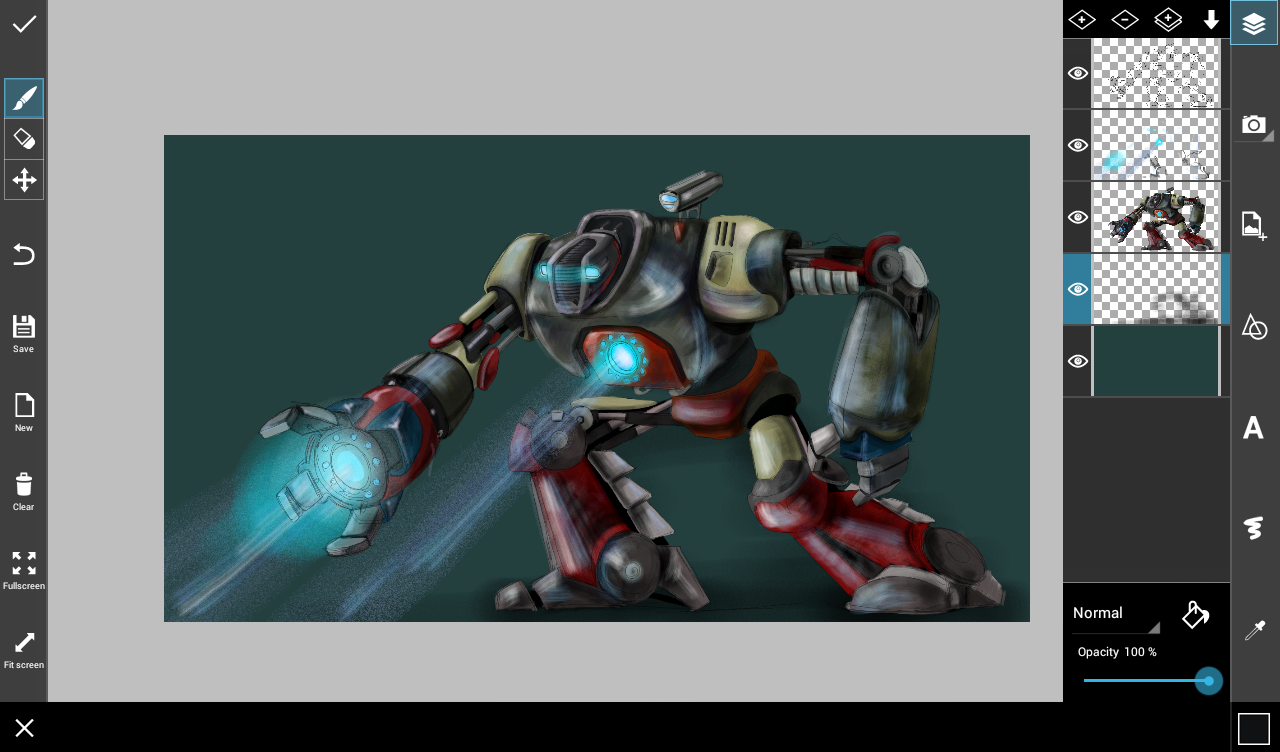
For this week’s Drawing Challenge, we’ve asked our users to strap on their welding helmets and engineer their own robots using PicsArt drawing tools. Drawing a robot can be tough, however, so we have broken down the process into 7 steps to give users an animatronic leg-up.
Step 1: Draw the Basic Shape
Imagine the basic elements, the size and shape of the robots head, torso and limbs. Then, sketch out a very crude outline.
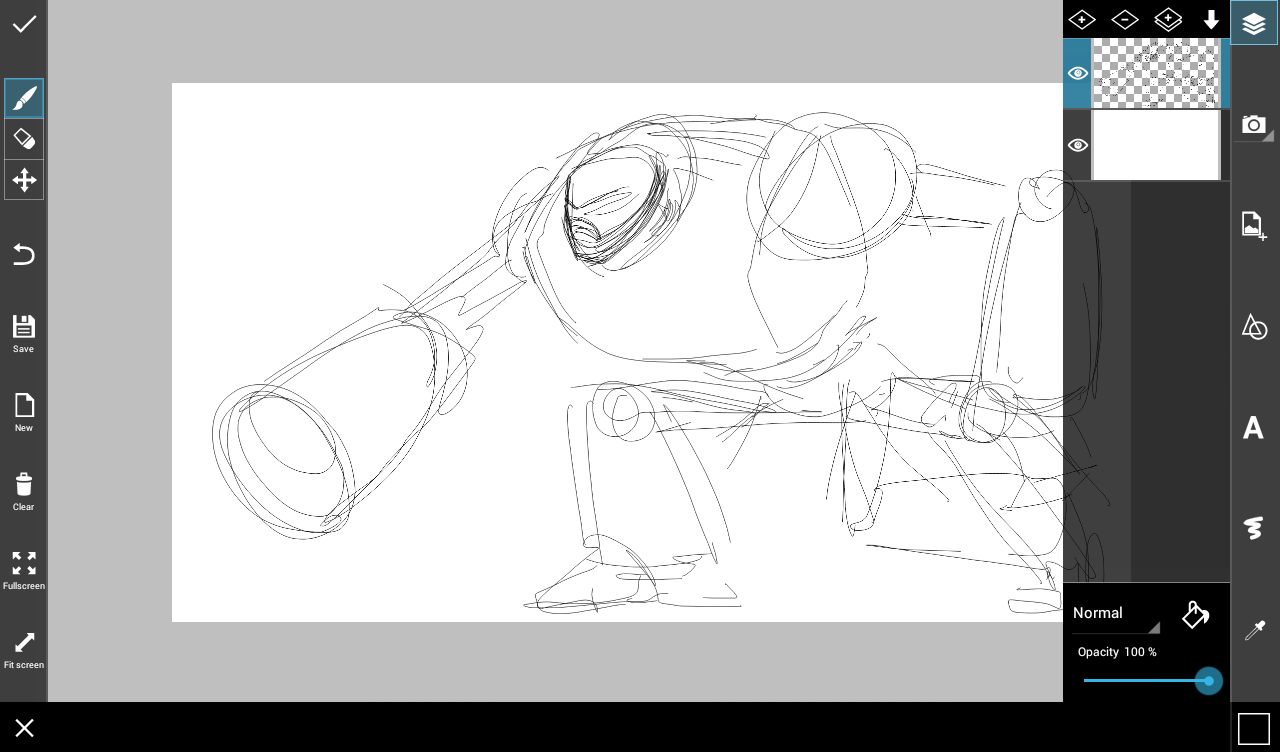
Step 2: Add a New Layer
Reduce the opacity, add a new layer, and use your rough outline as a basic guide to trace a more solid robot image and flesh out the details.
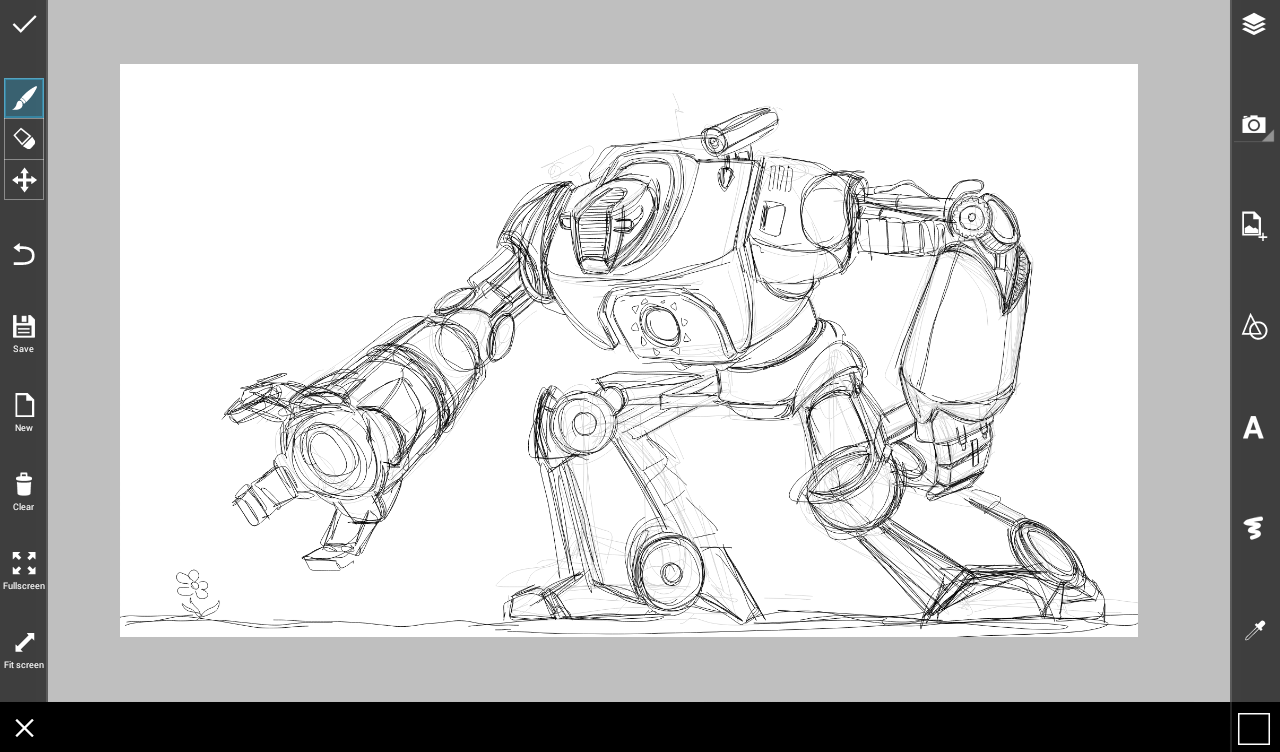
Step 3: Draw the Final Outline
Reduce the opacity and add a new layer again, but this time, draw with clean deliberate lines. This should be your final outline.
Step 4: Color the Drawing
Add new layers to work on your robot’s colors. You can adjust the color, width, and style of your brush to suite your needs.
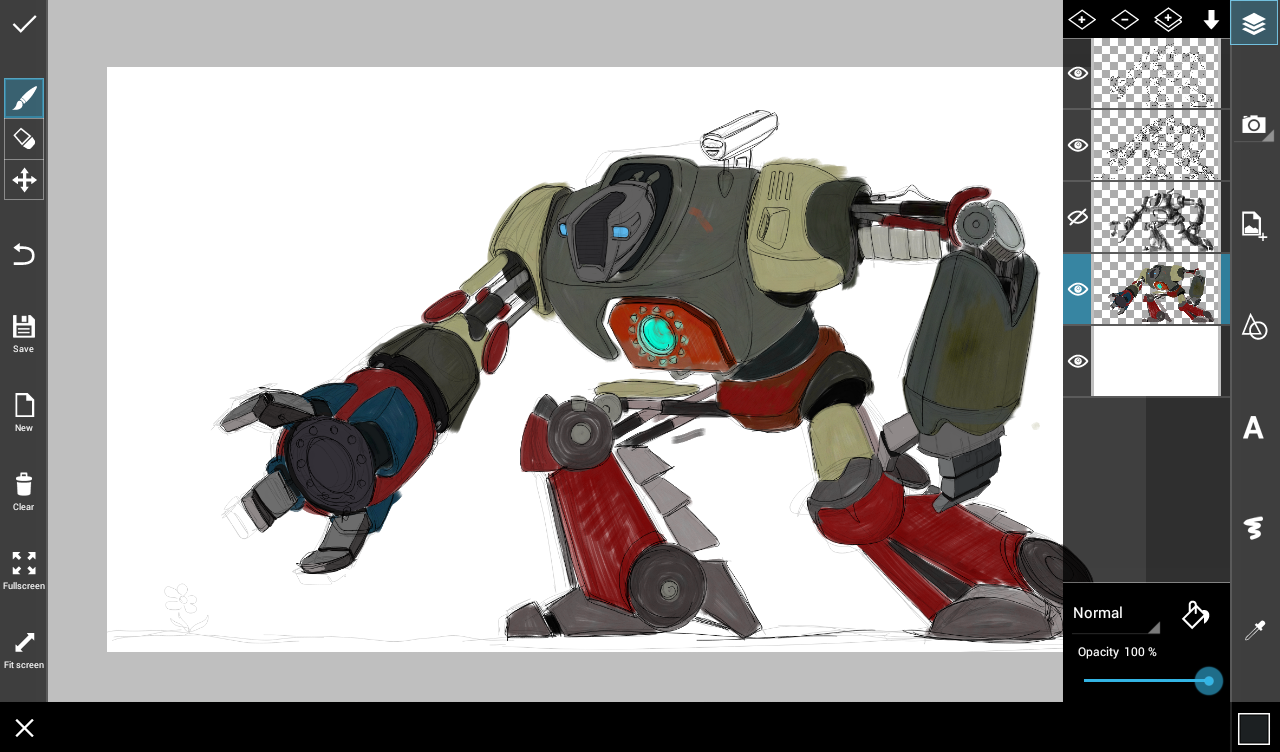
Step 5: Background Color
Erase the outlines from your back layer, and fill it in to create a background. Go over your robot with slightly darker brush tones to begin shading.
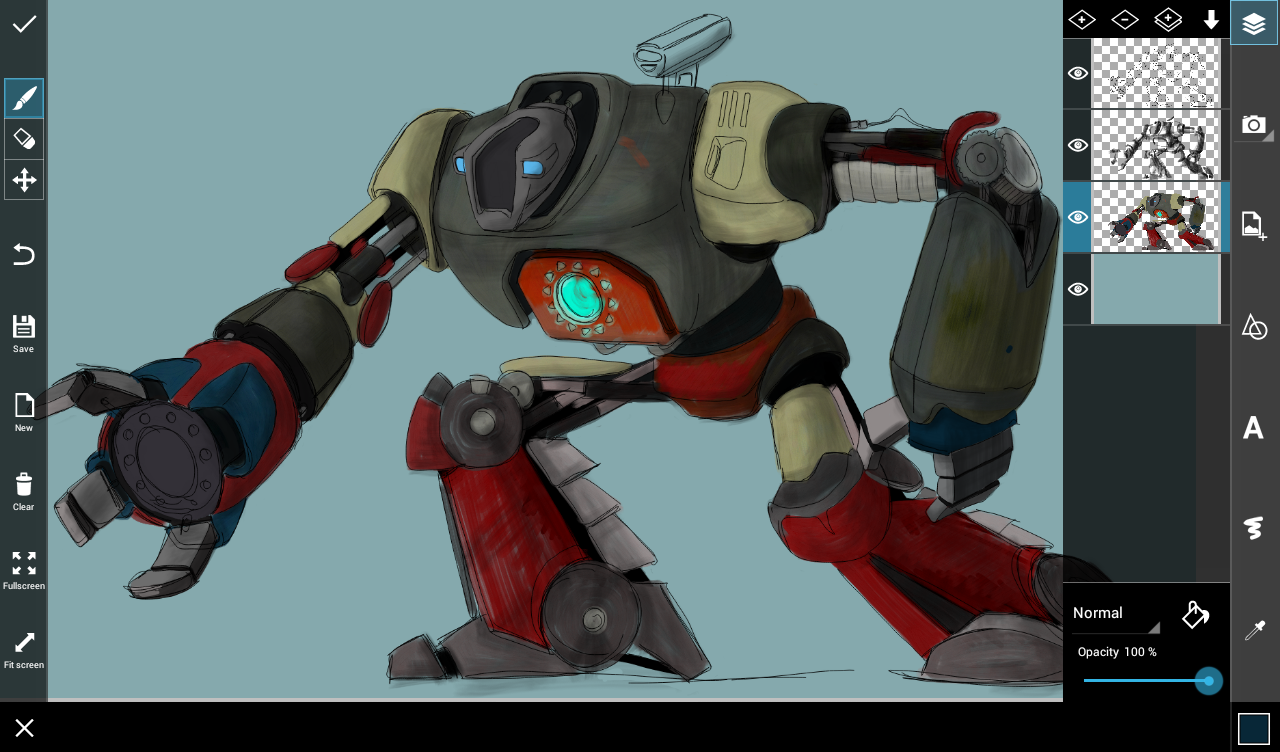
Step 6: Color Shades
Now it’s time to boot up your robot by adding lighting. Use bright, transparent brushes to add reflections and light up electronics, use darker tones to reinforce the deeper shadows. 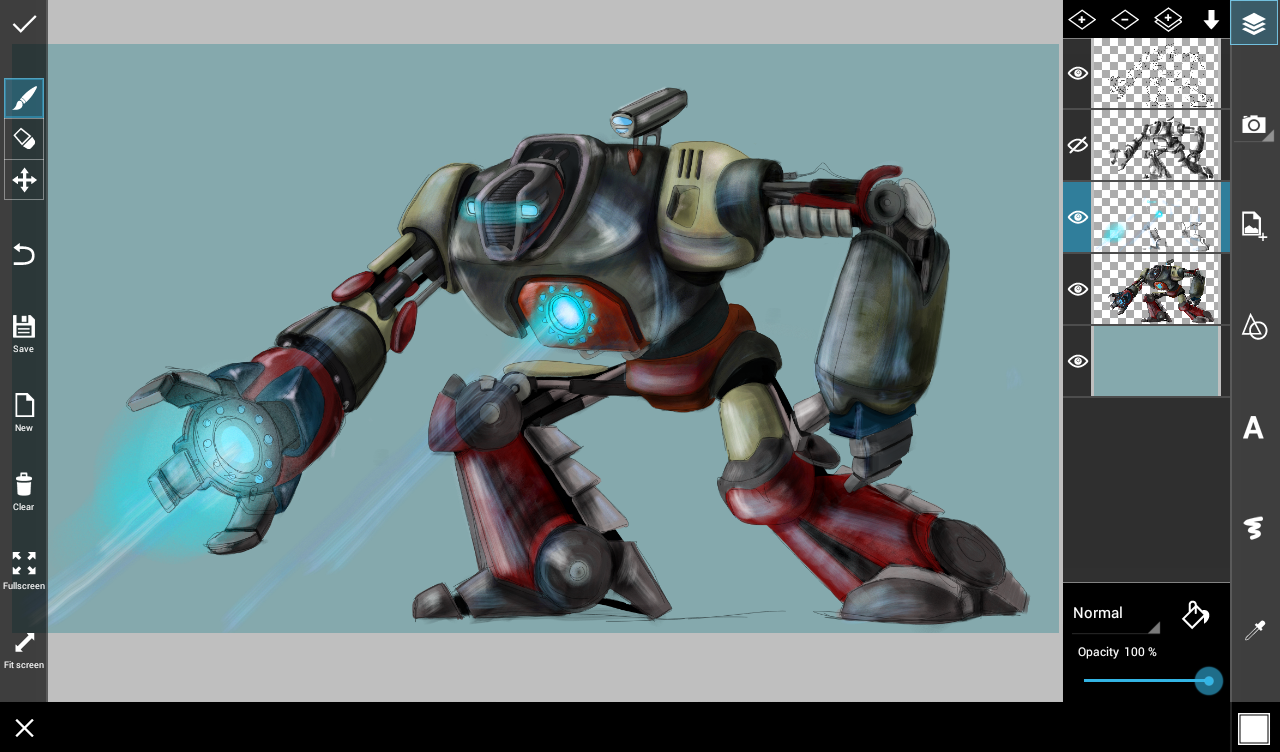
Step 7: Add Final Details
Finish your drawing by adding a shadow on your backdrop. You can also choose to darken your backdrop to really make your robot’s lighting standout.
