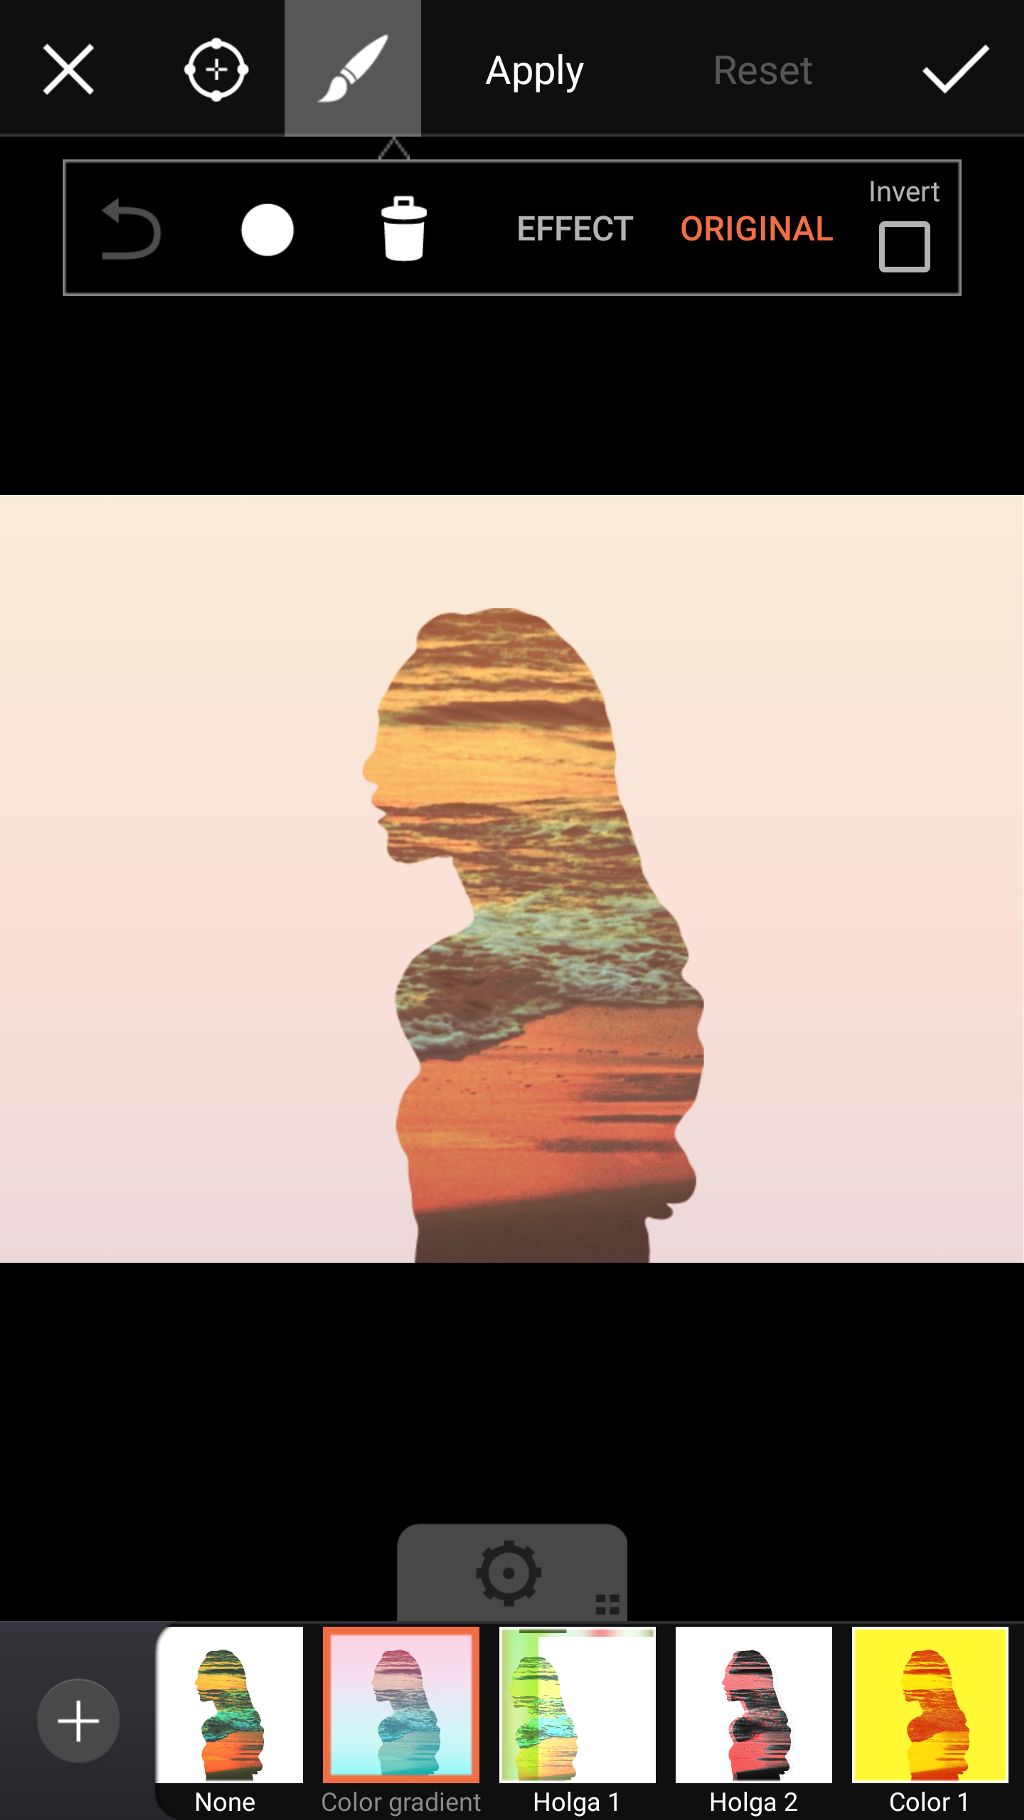
How to Create a Custom Stencil With PicsArt
In this tutorial, we’ll show you how to create a custom stencil with PicsArt. This technique can be used to create all sorts of cool edits, so scroll down to learn more!
Part One: Create Custom Clipart
Step 1: Open Image
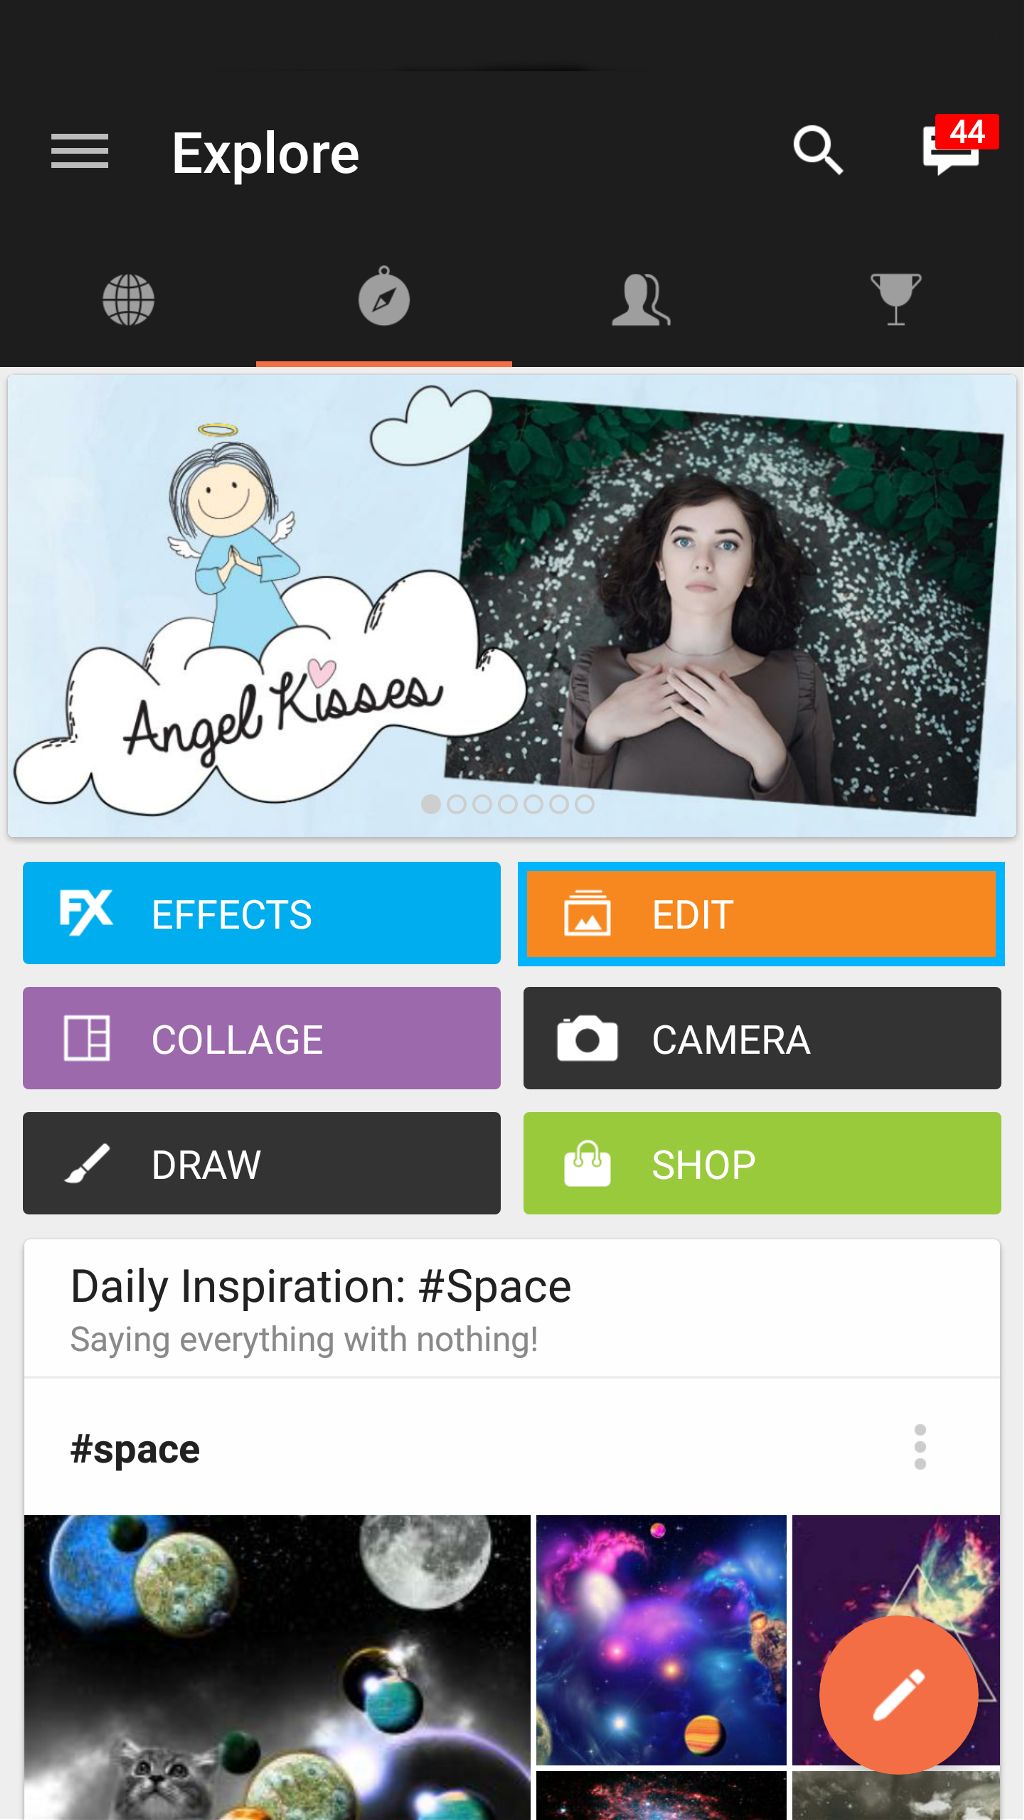
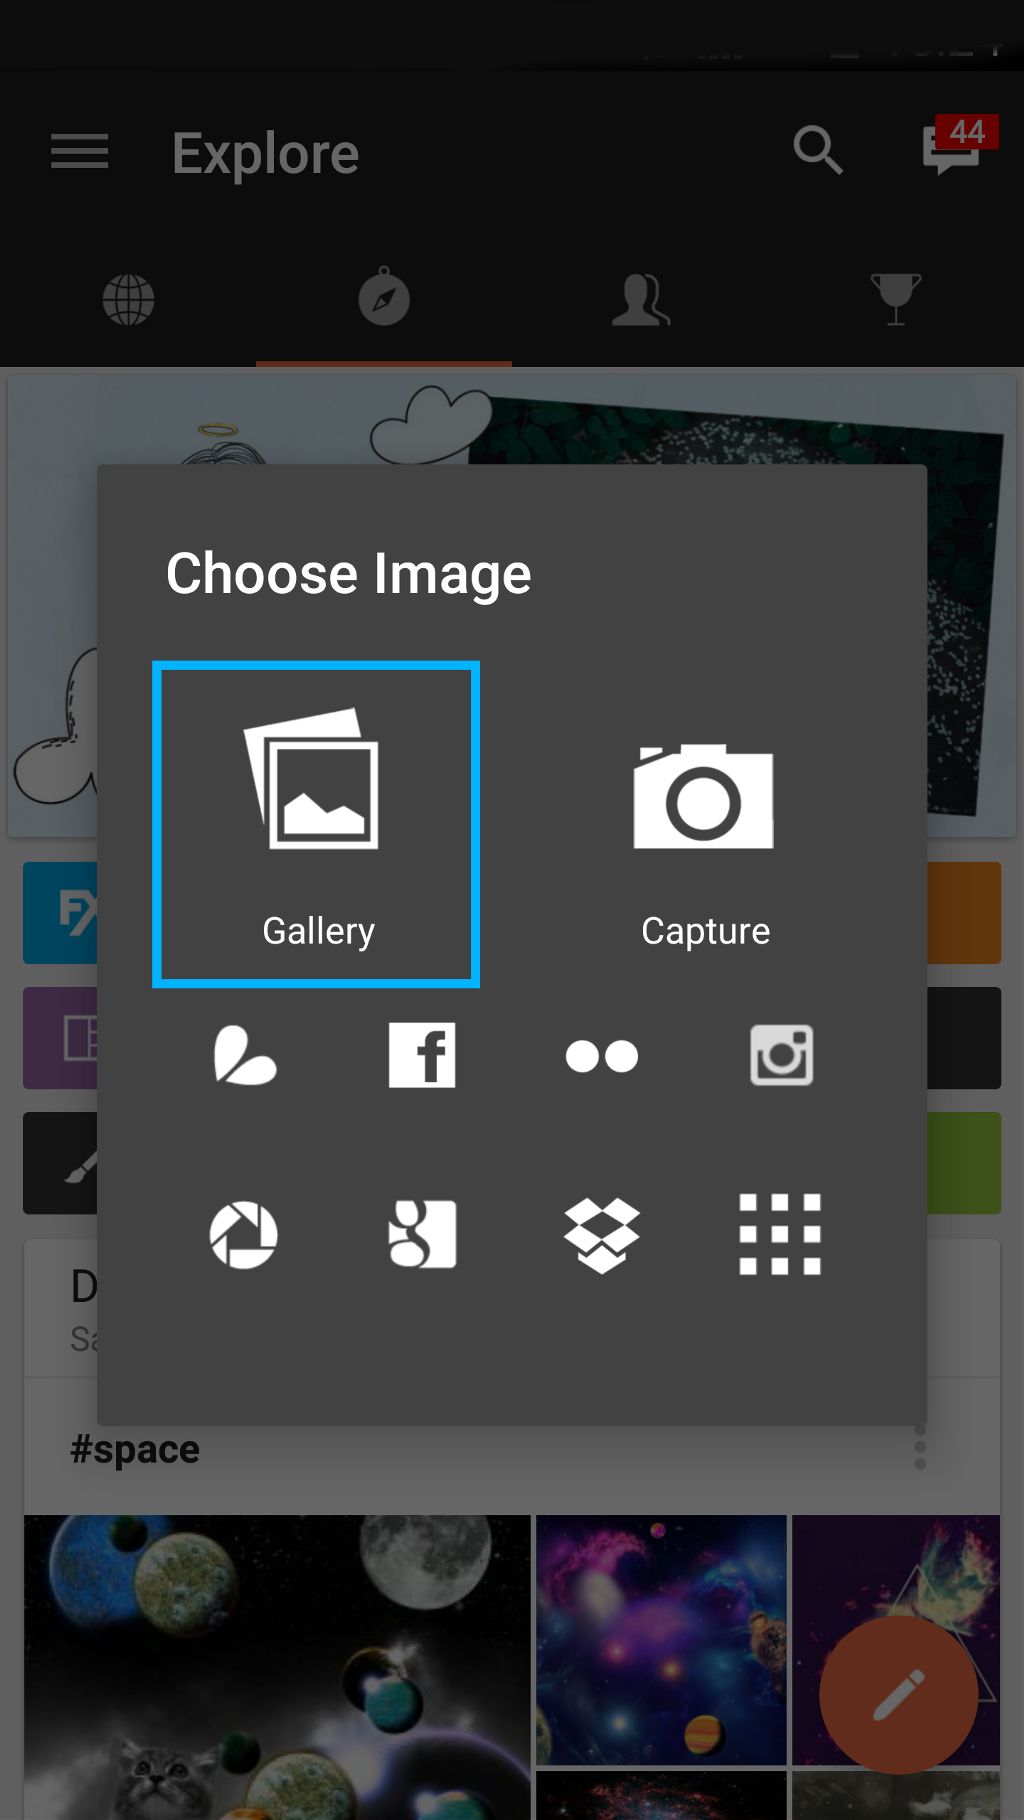
Tap on Edit and select your image. We recommend using a shot of a person in profile view.
Step 2: Open Free Crop Tool
Tap on Tool and open the Free Crop Tool.
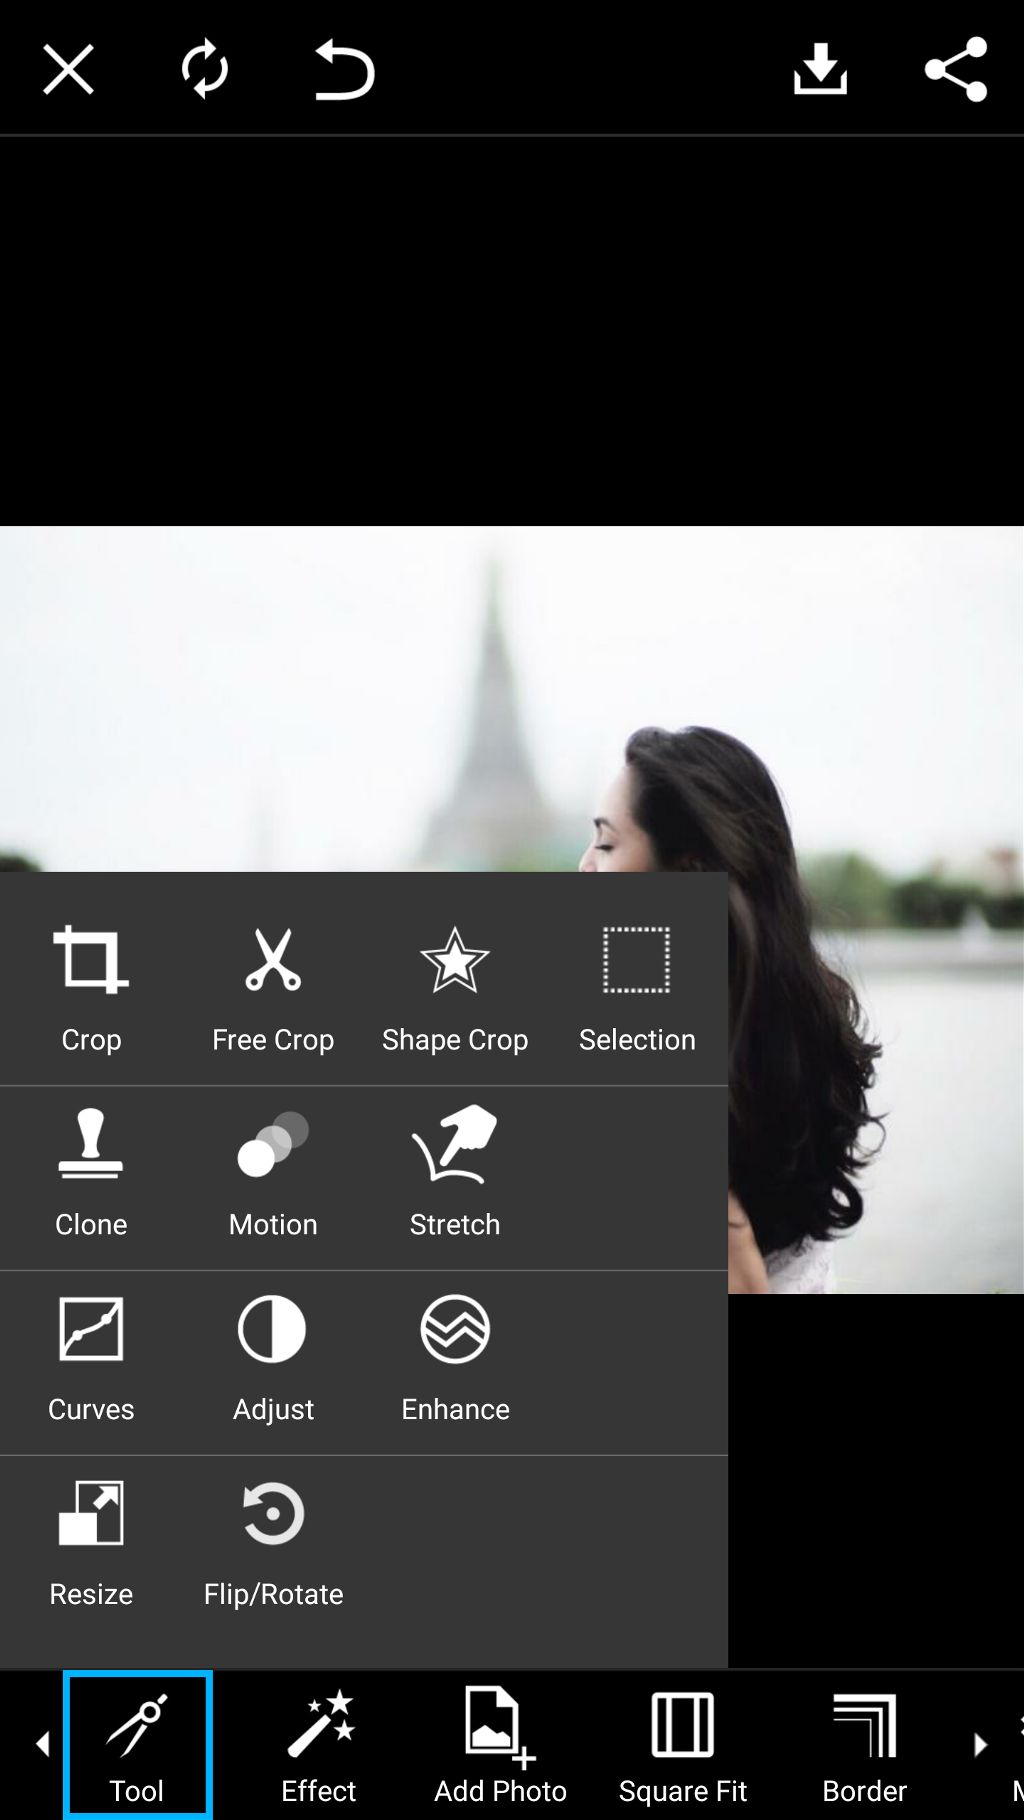
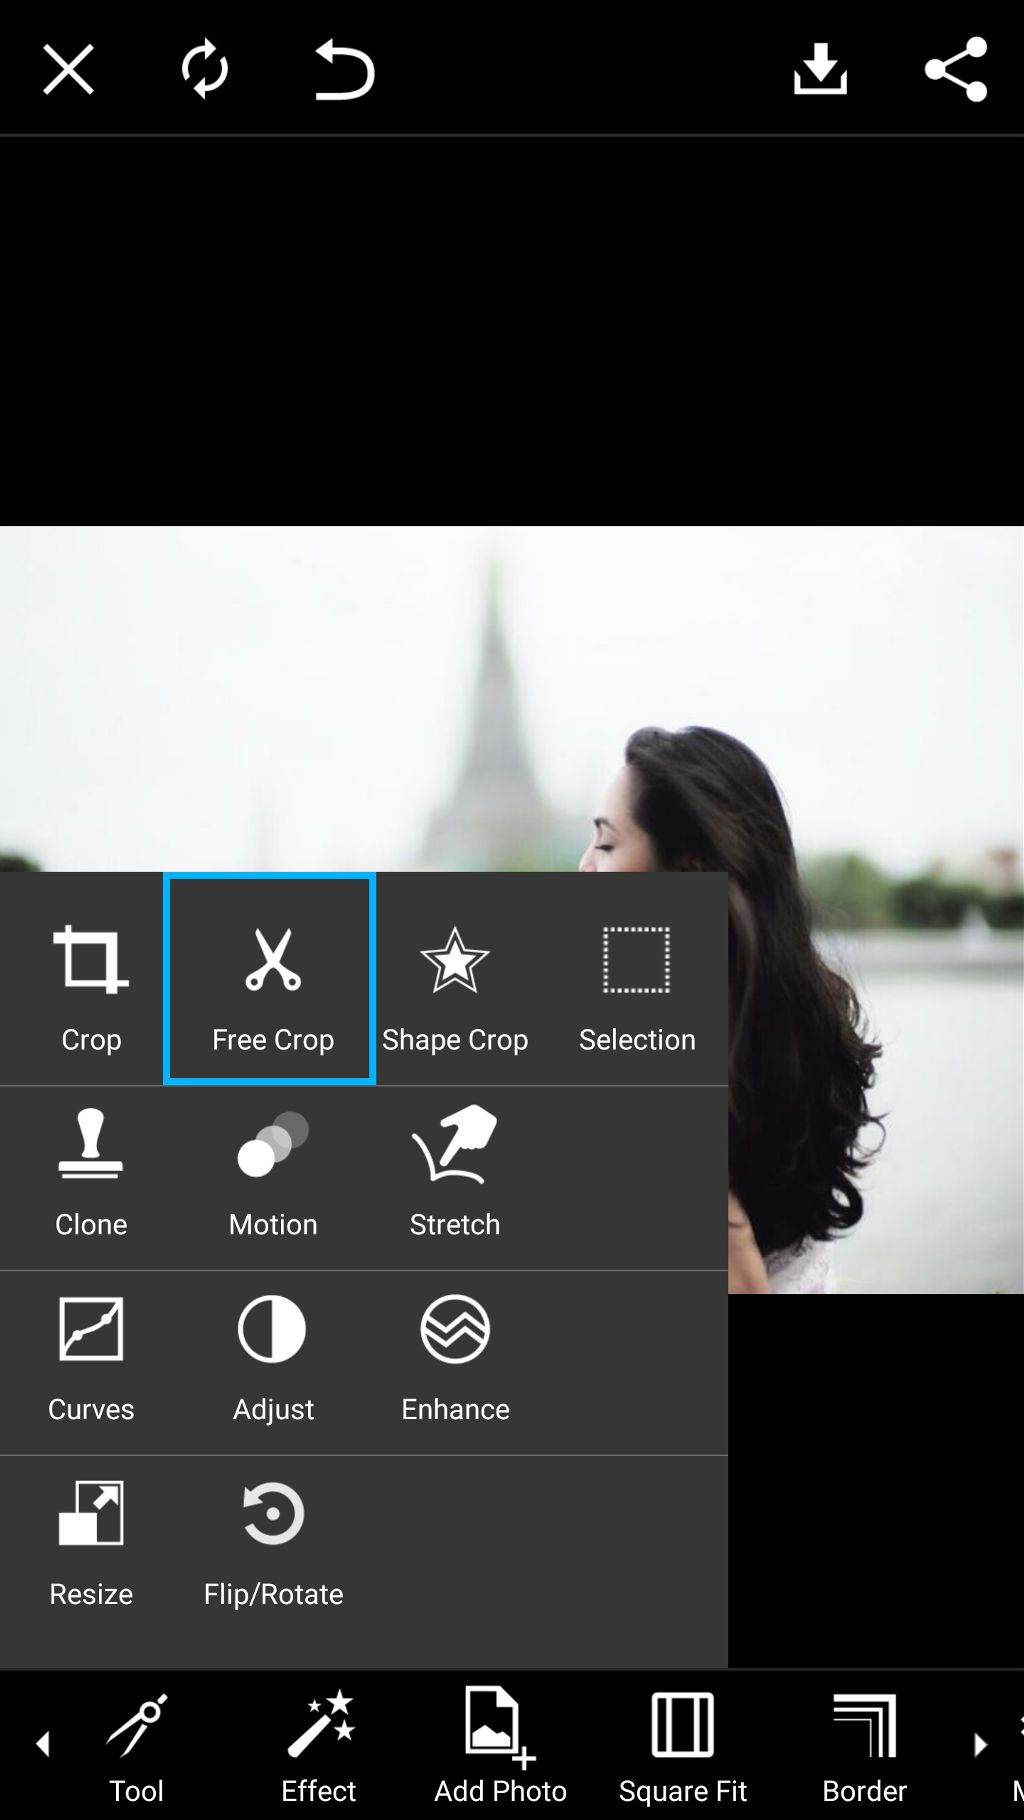
Step 3: Select Lasso Tool.
Tap on the paintbrush icon and select the Lasso tool.
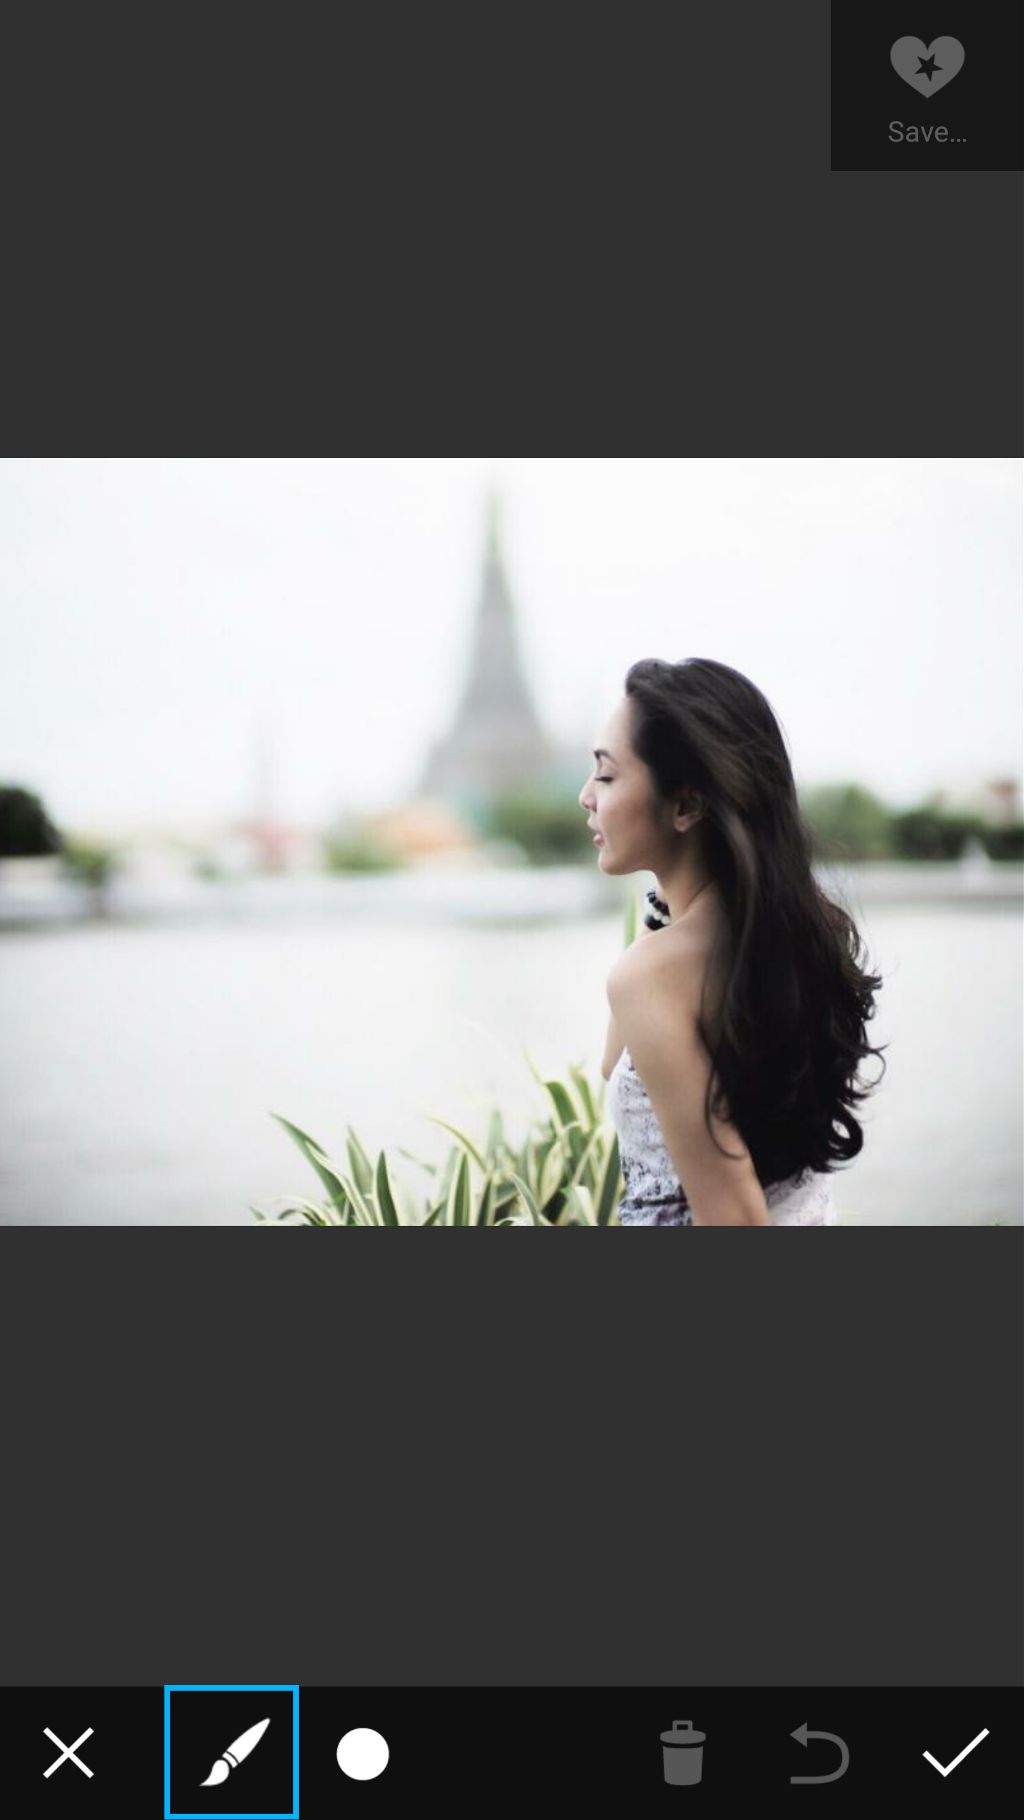
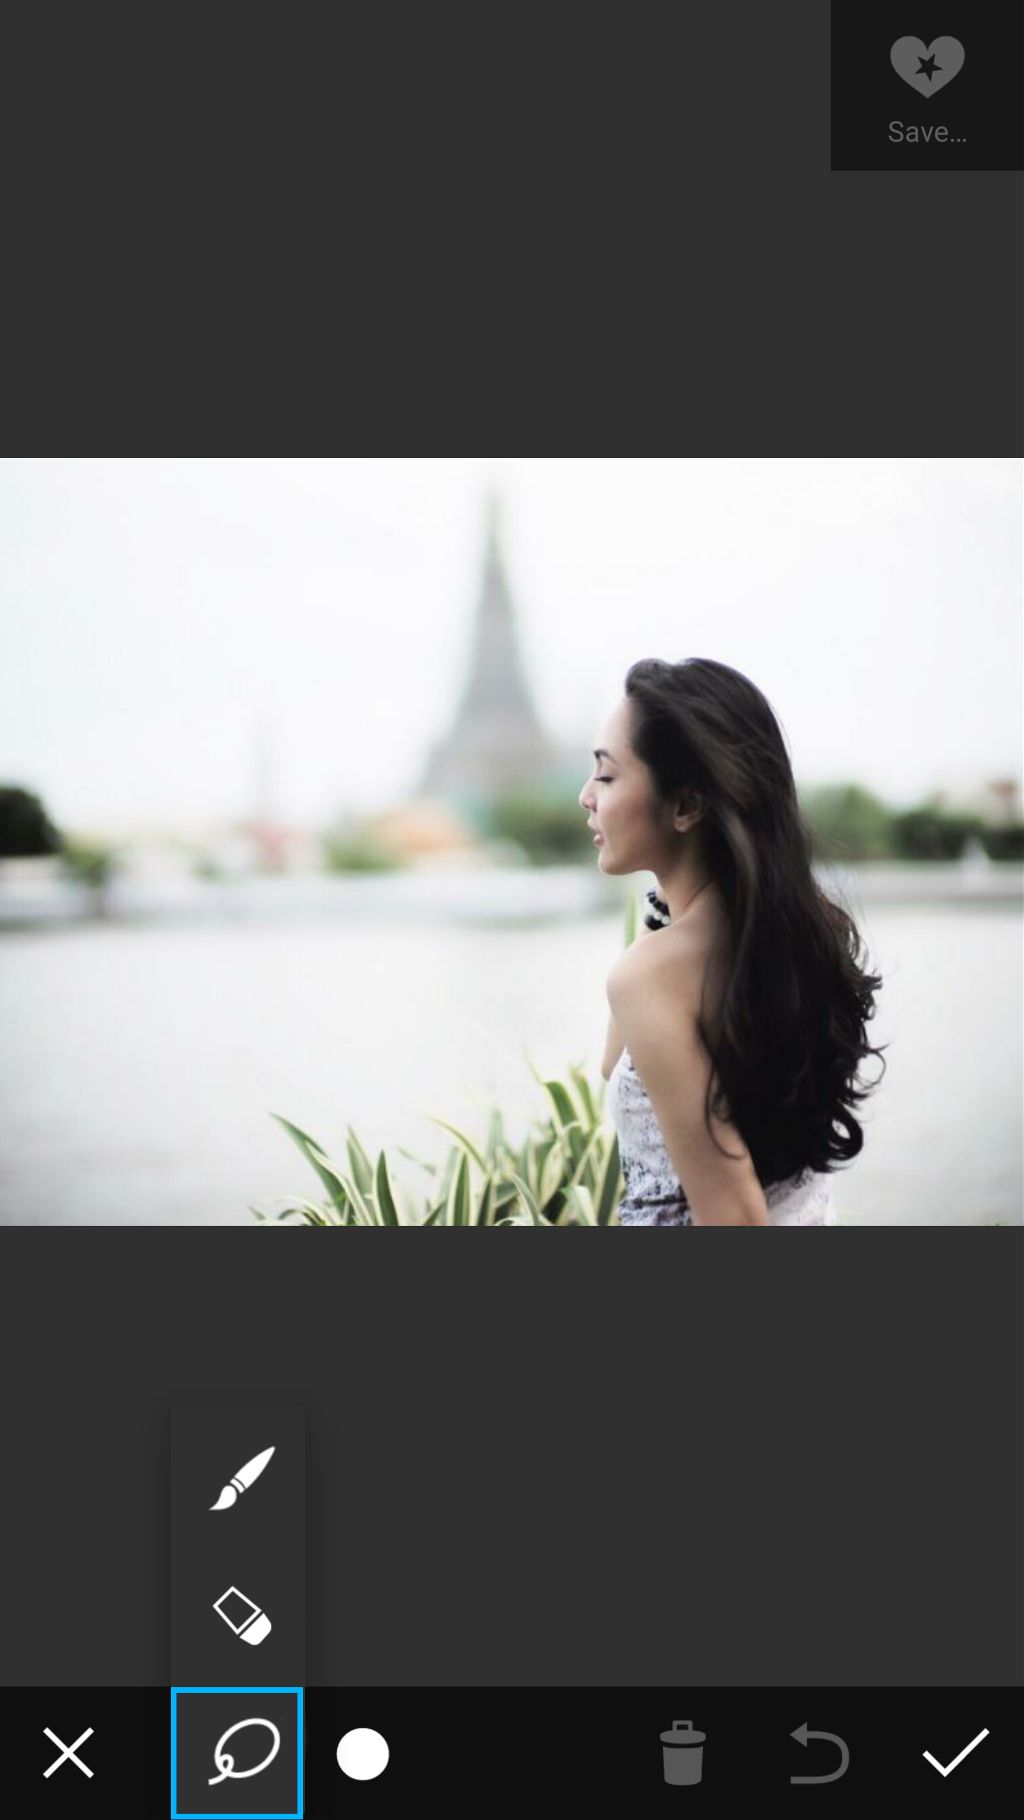
Step 4: Make Selection
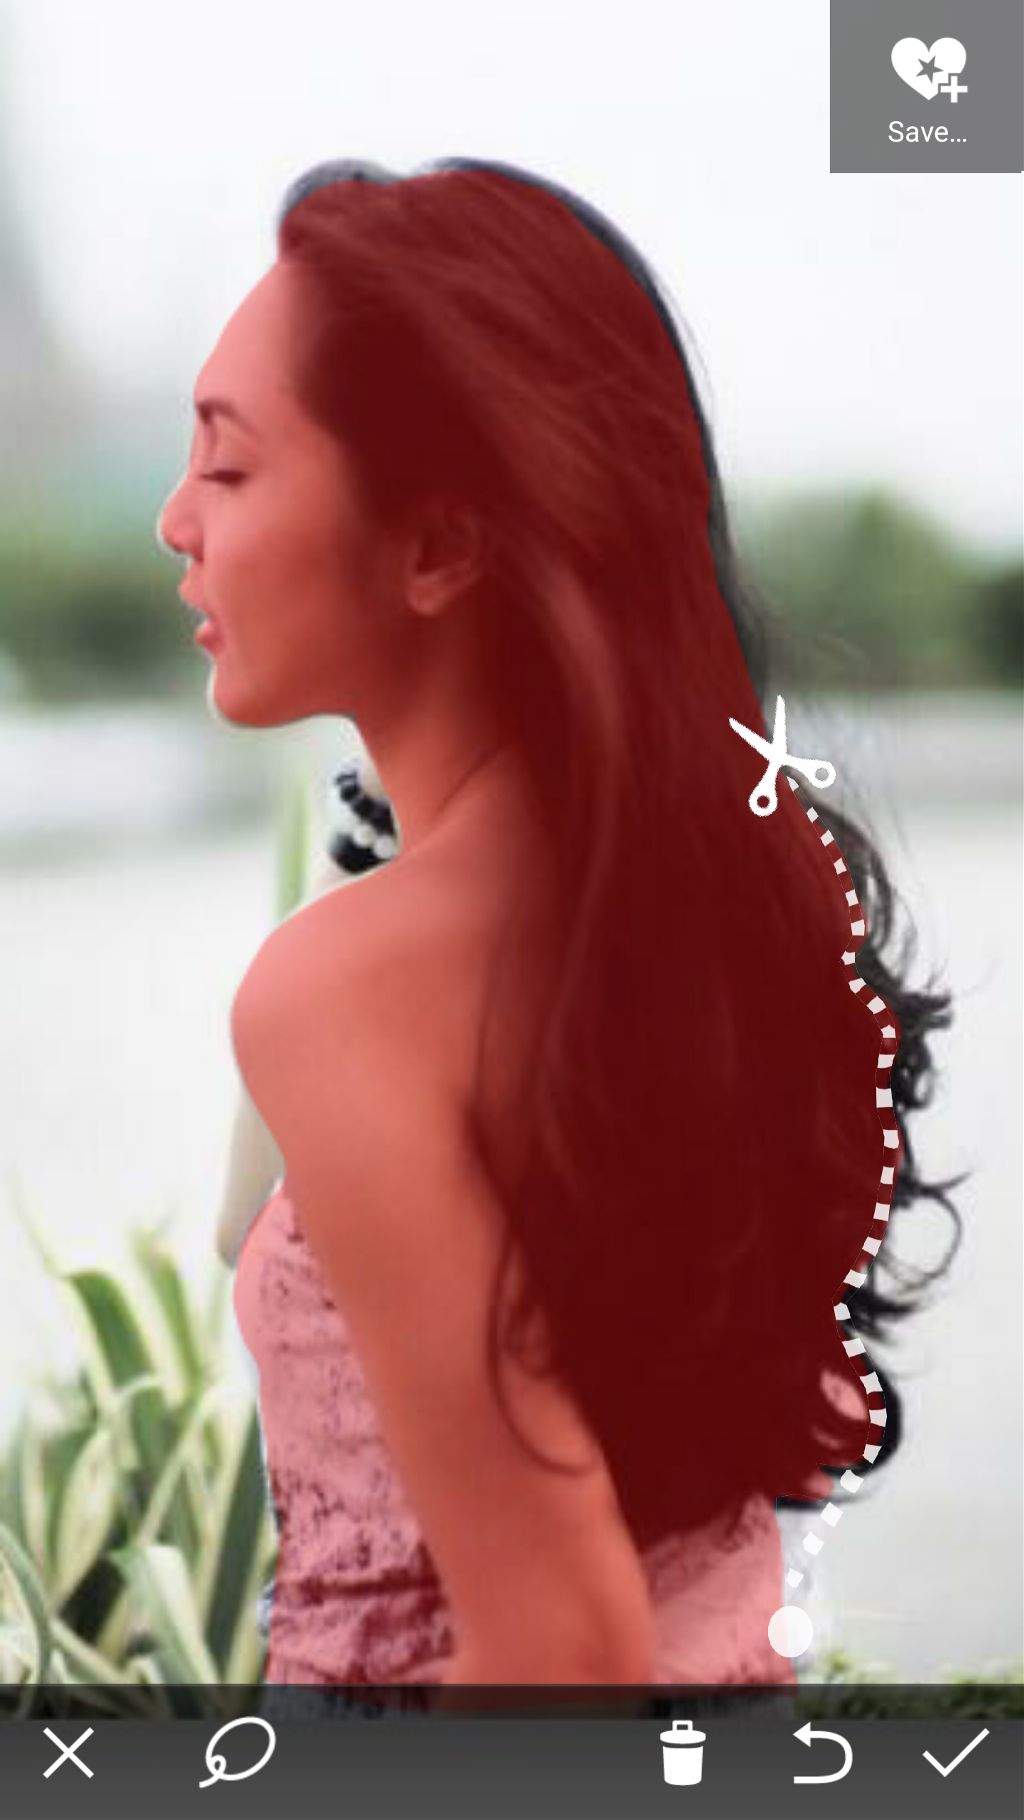
User your finger to select part of your image. Once you’ve made your selection, tap on the heart icon to save it as a clipart image. Close your image.

Part Two: Apply Clipart in Draw
Step 1: Select Image
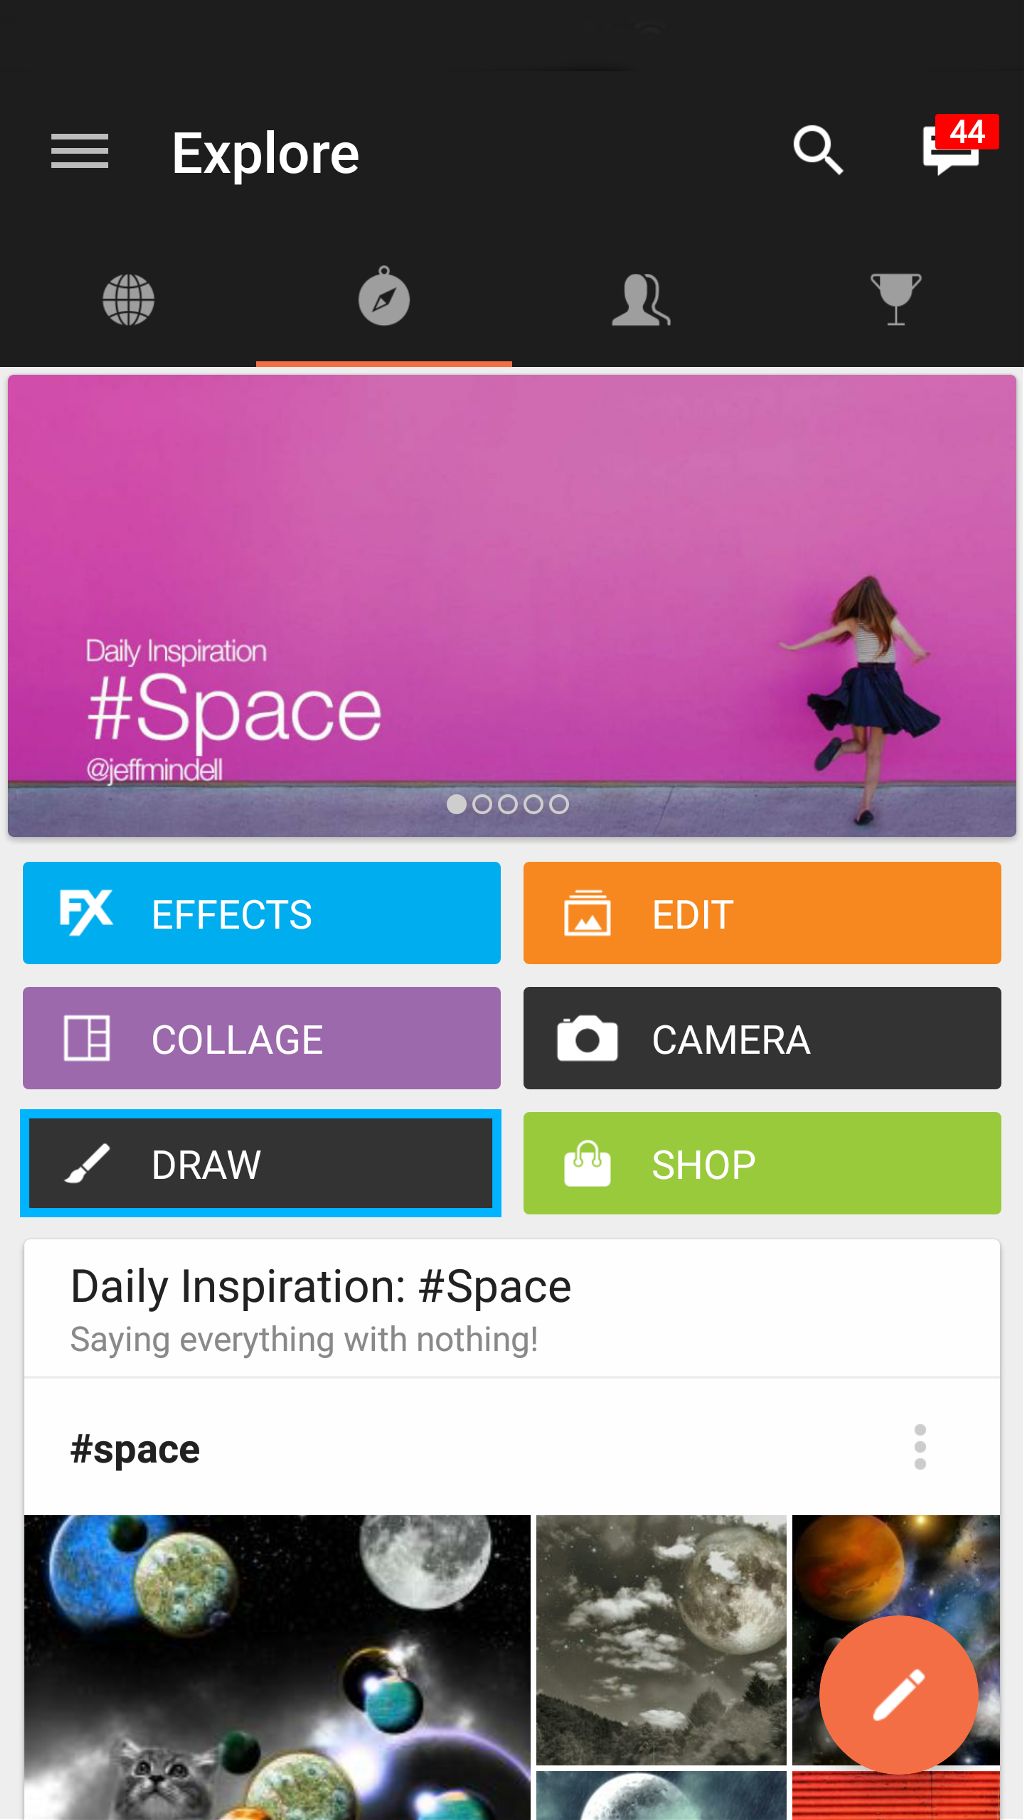
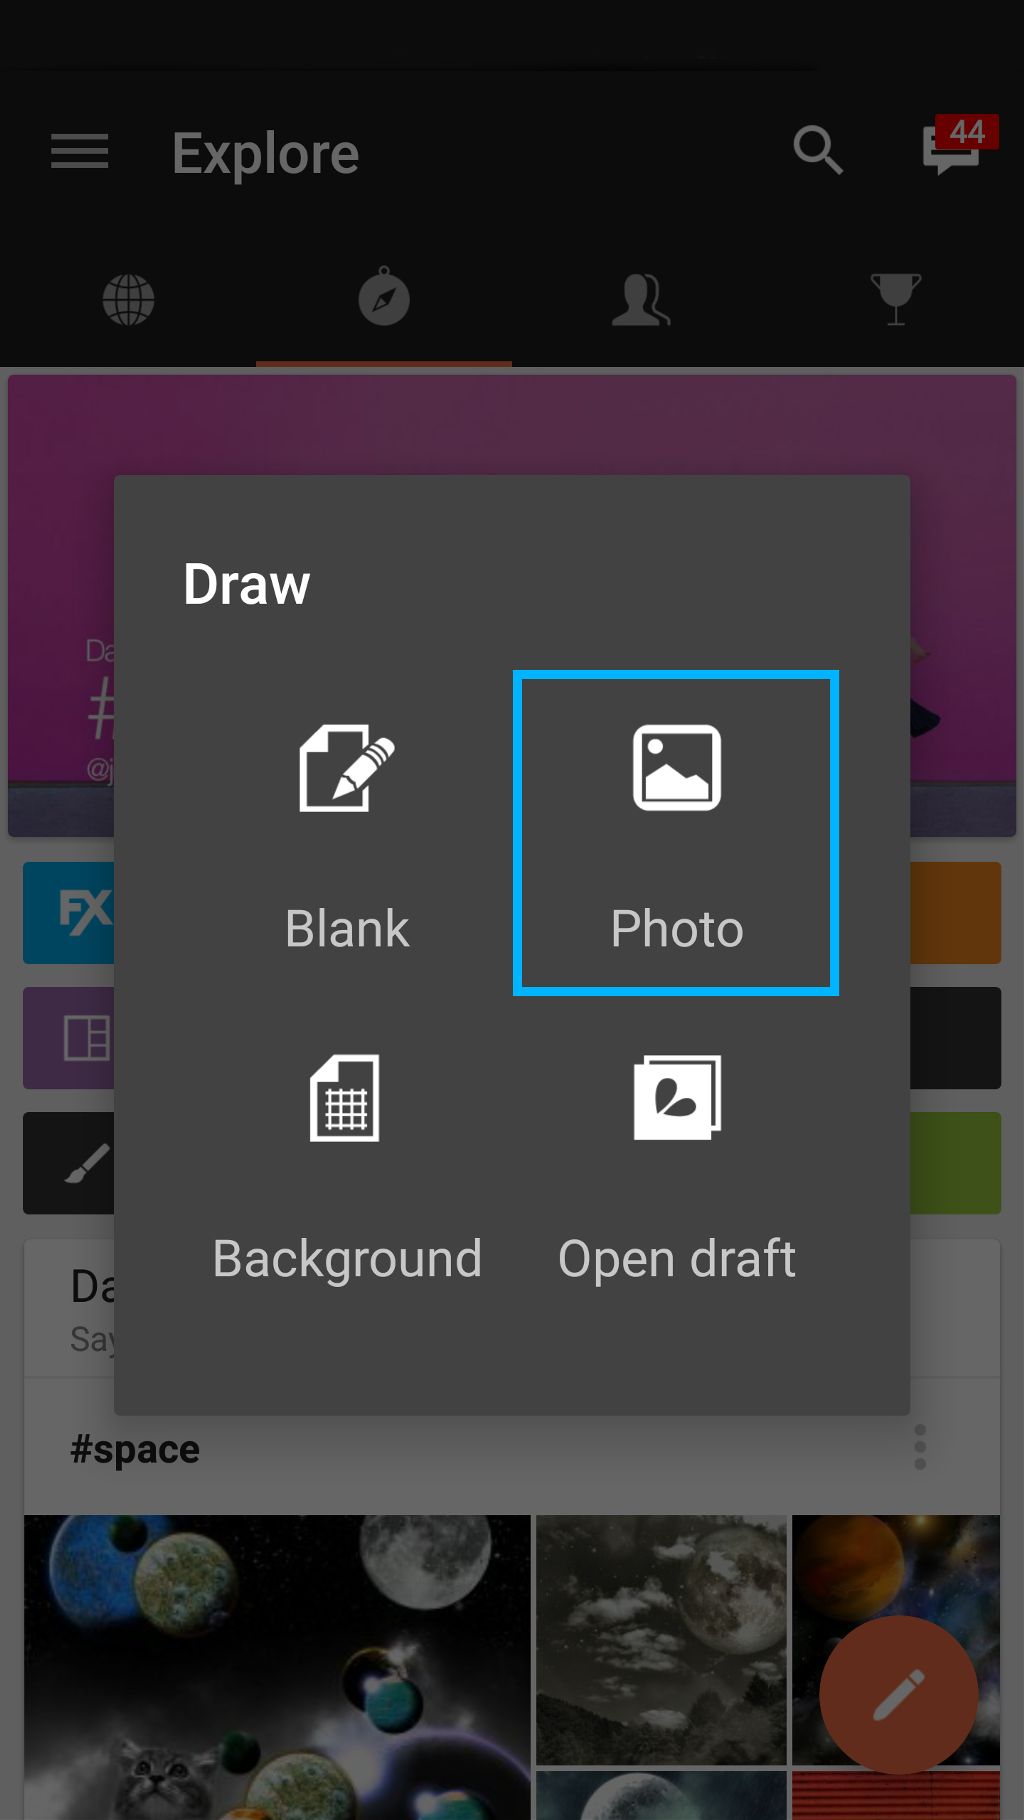
Tap on Draw and select Photo. Select a photo of a sunset.
Step 2: Open Image in Draw
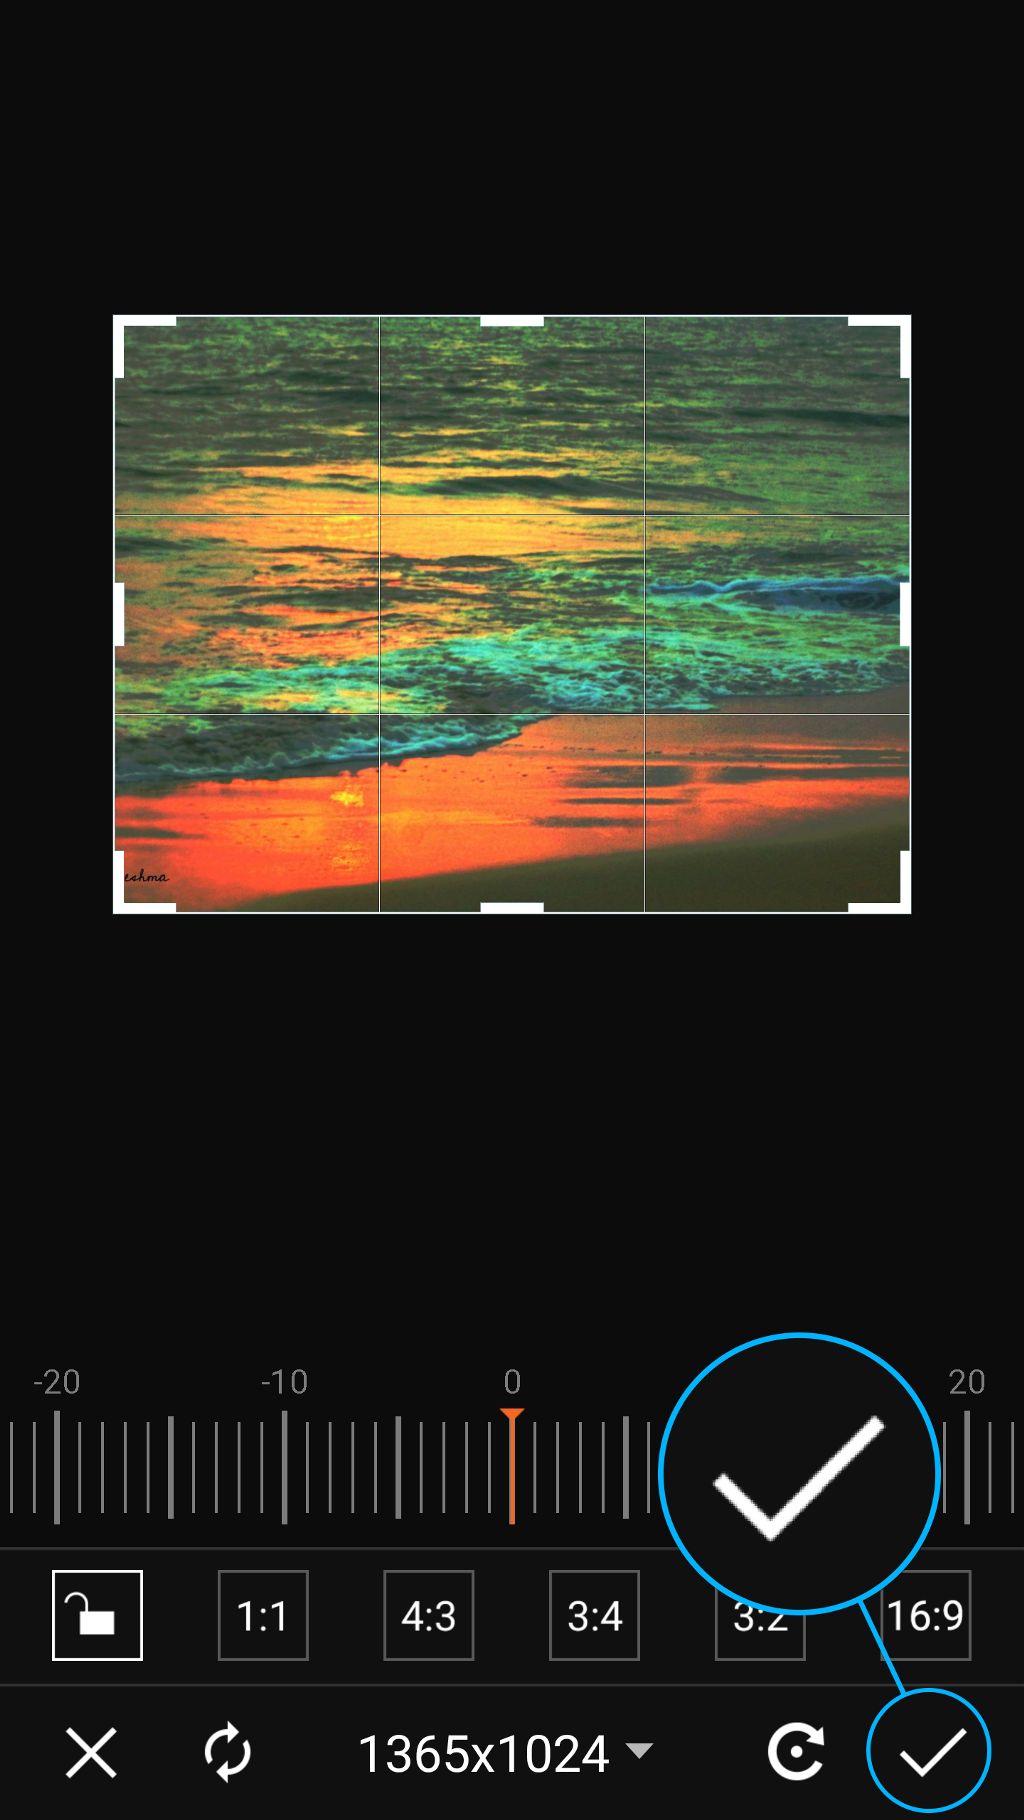
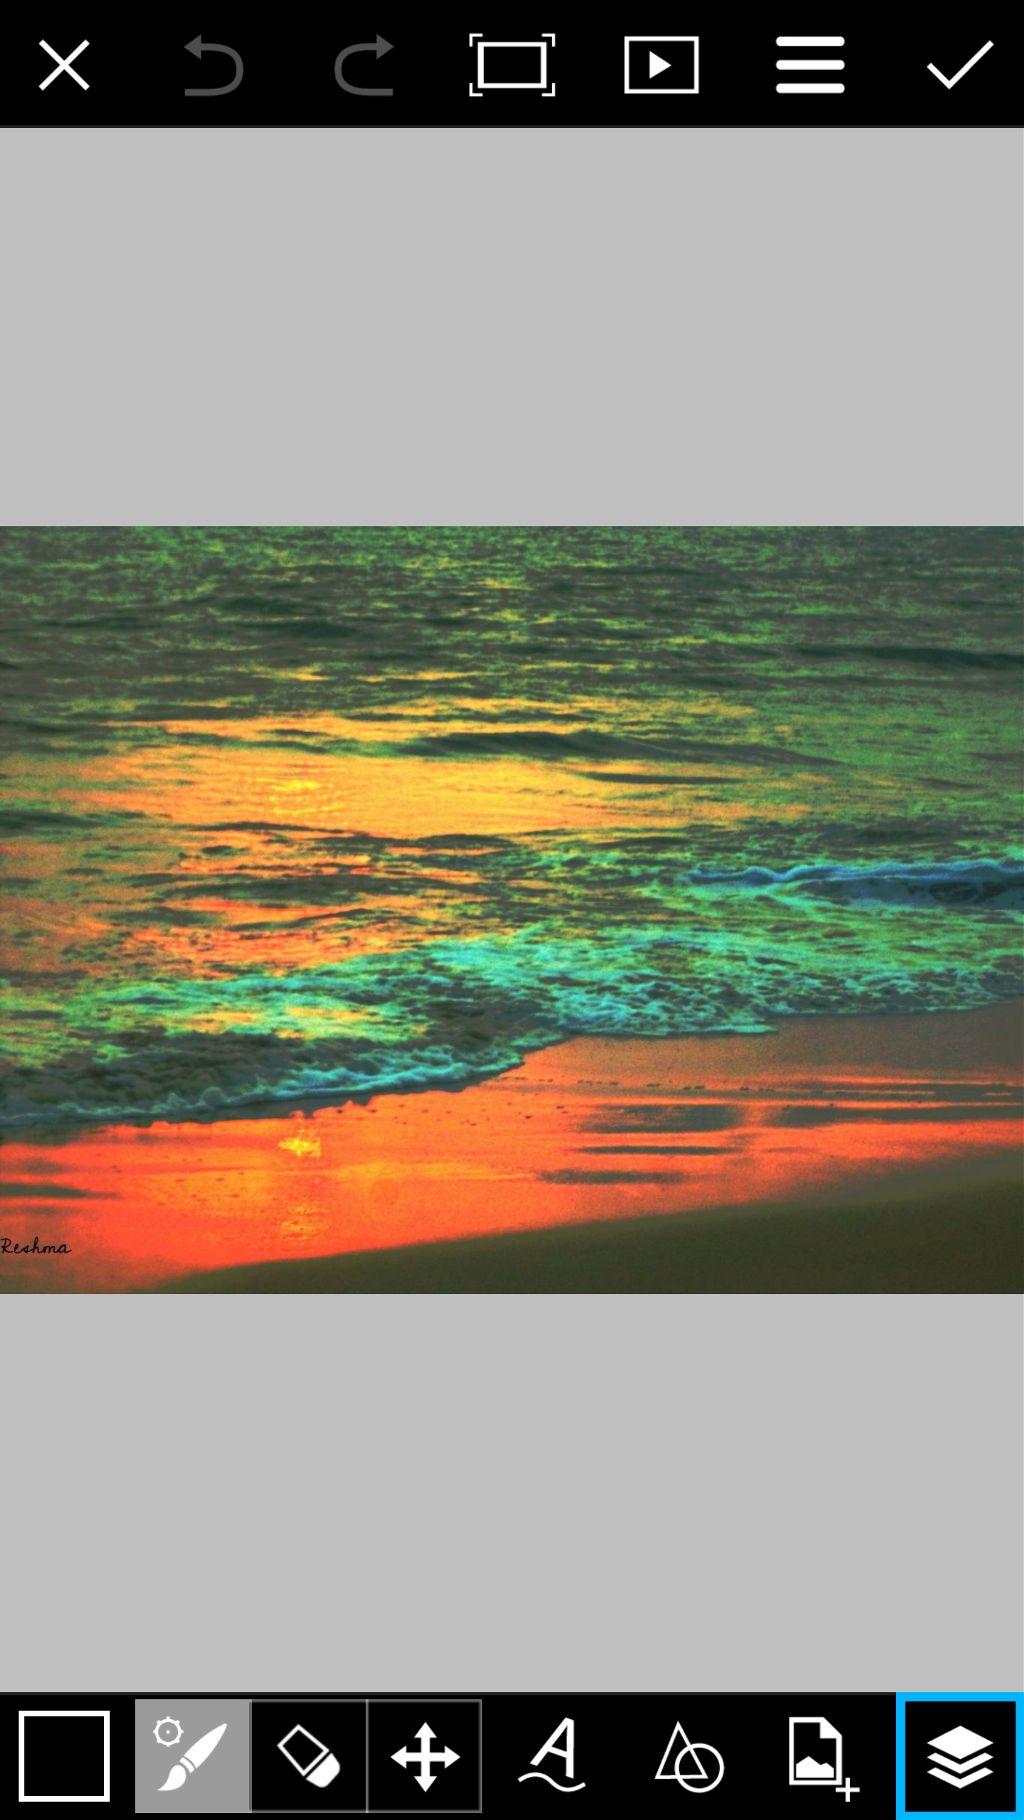
Your image will automatically be opened in the Crop Tool. Once you’re happy with your selection, tap on the check mark to open the image in Draw. Tap on the layers icon to view your layers.
Step 3: Create New Layer
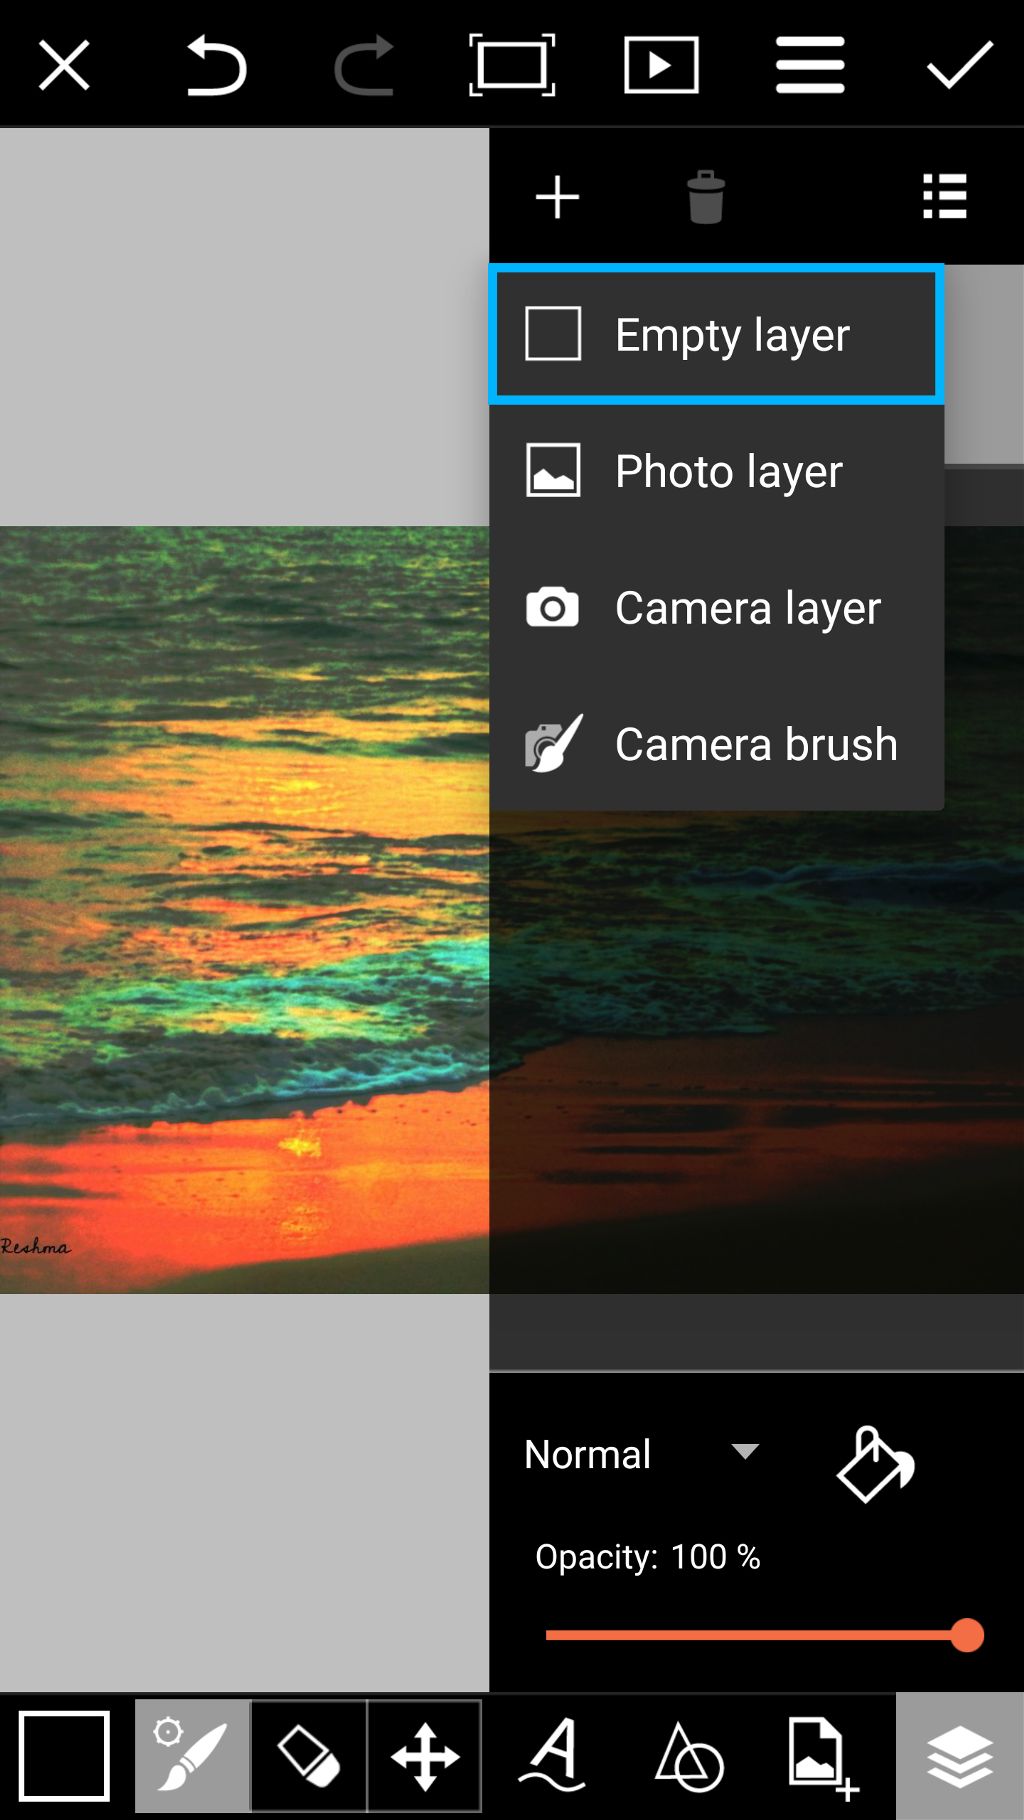
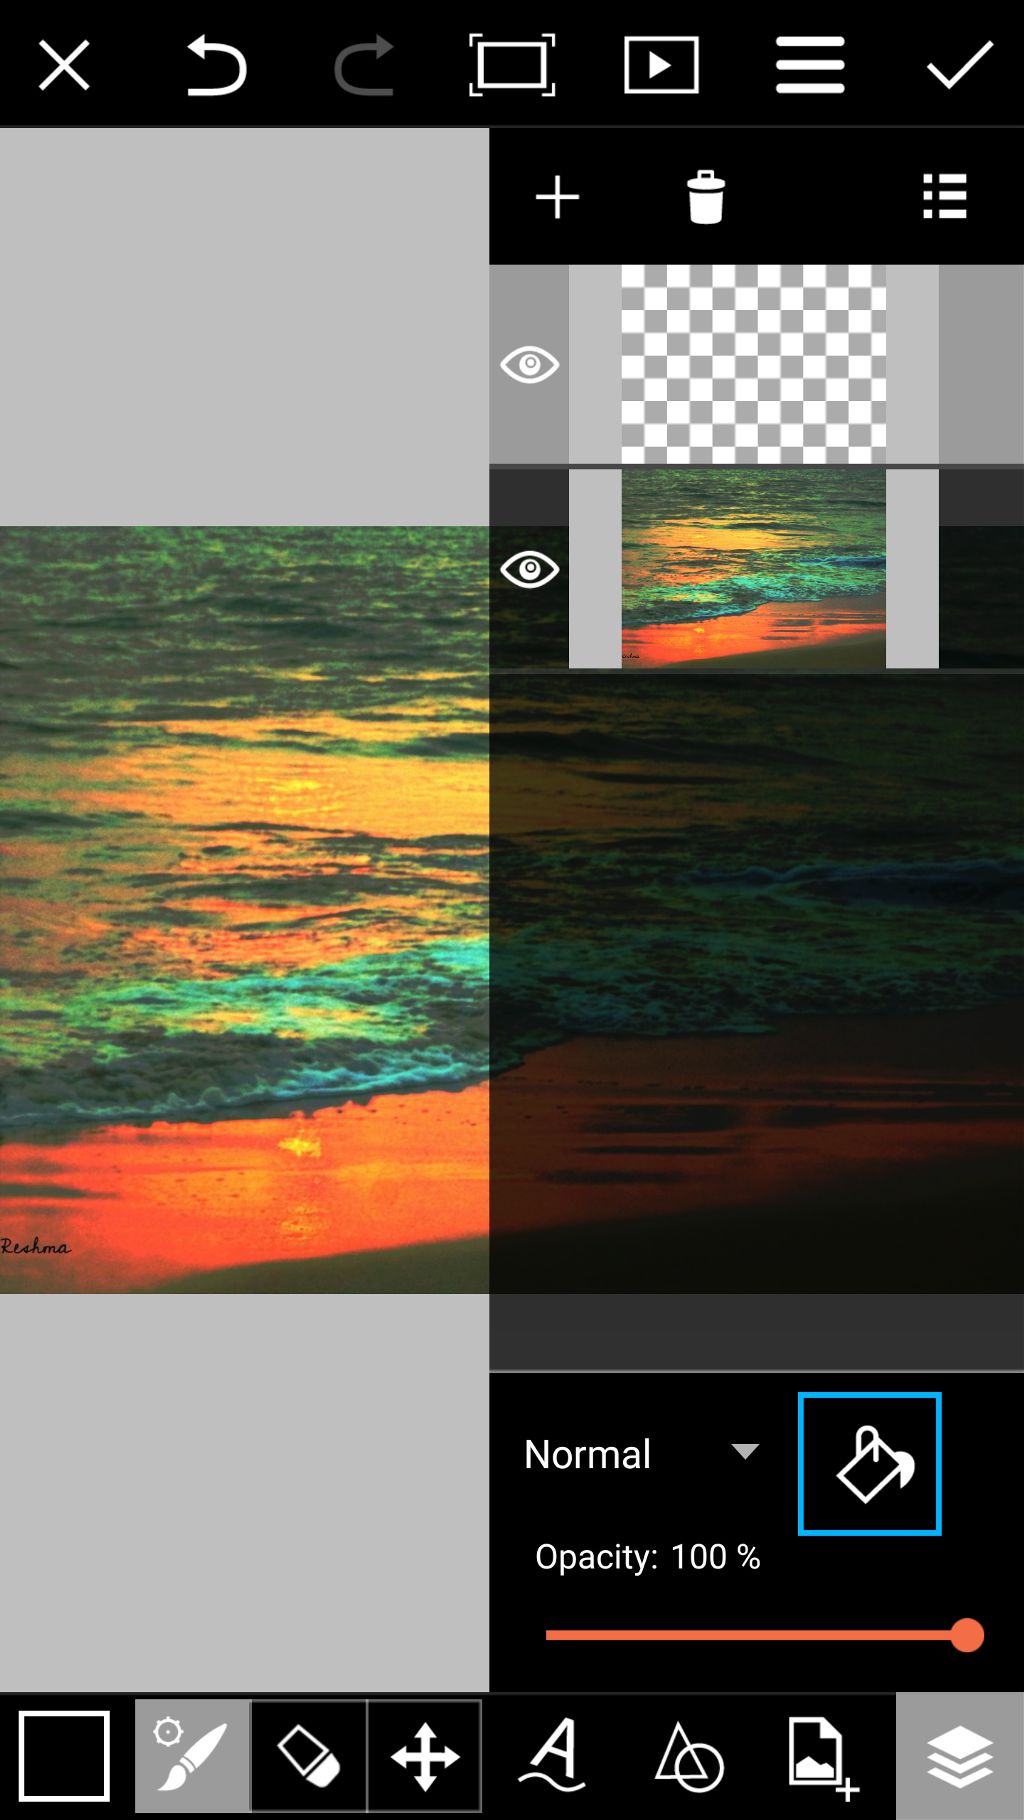
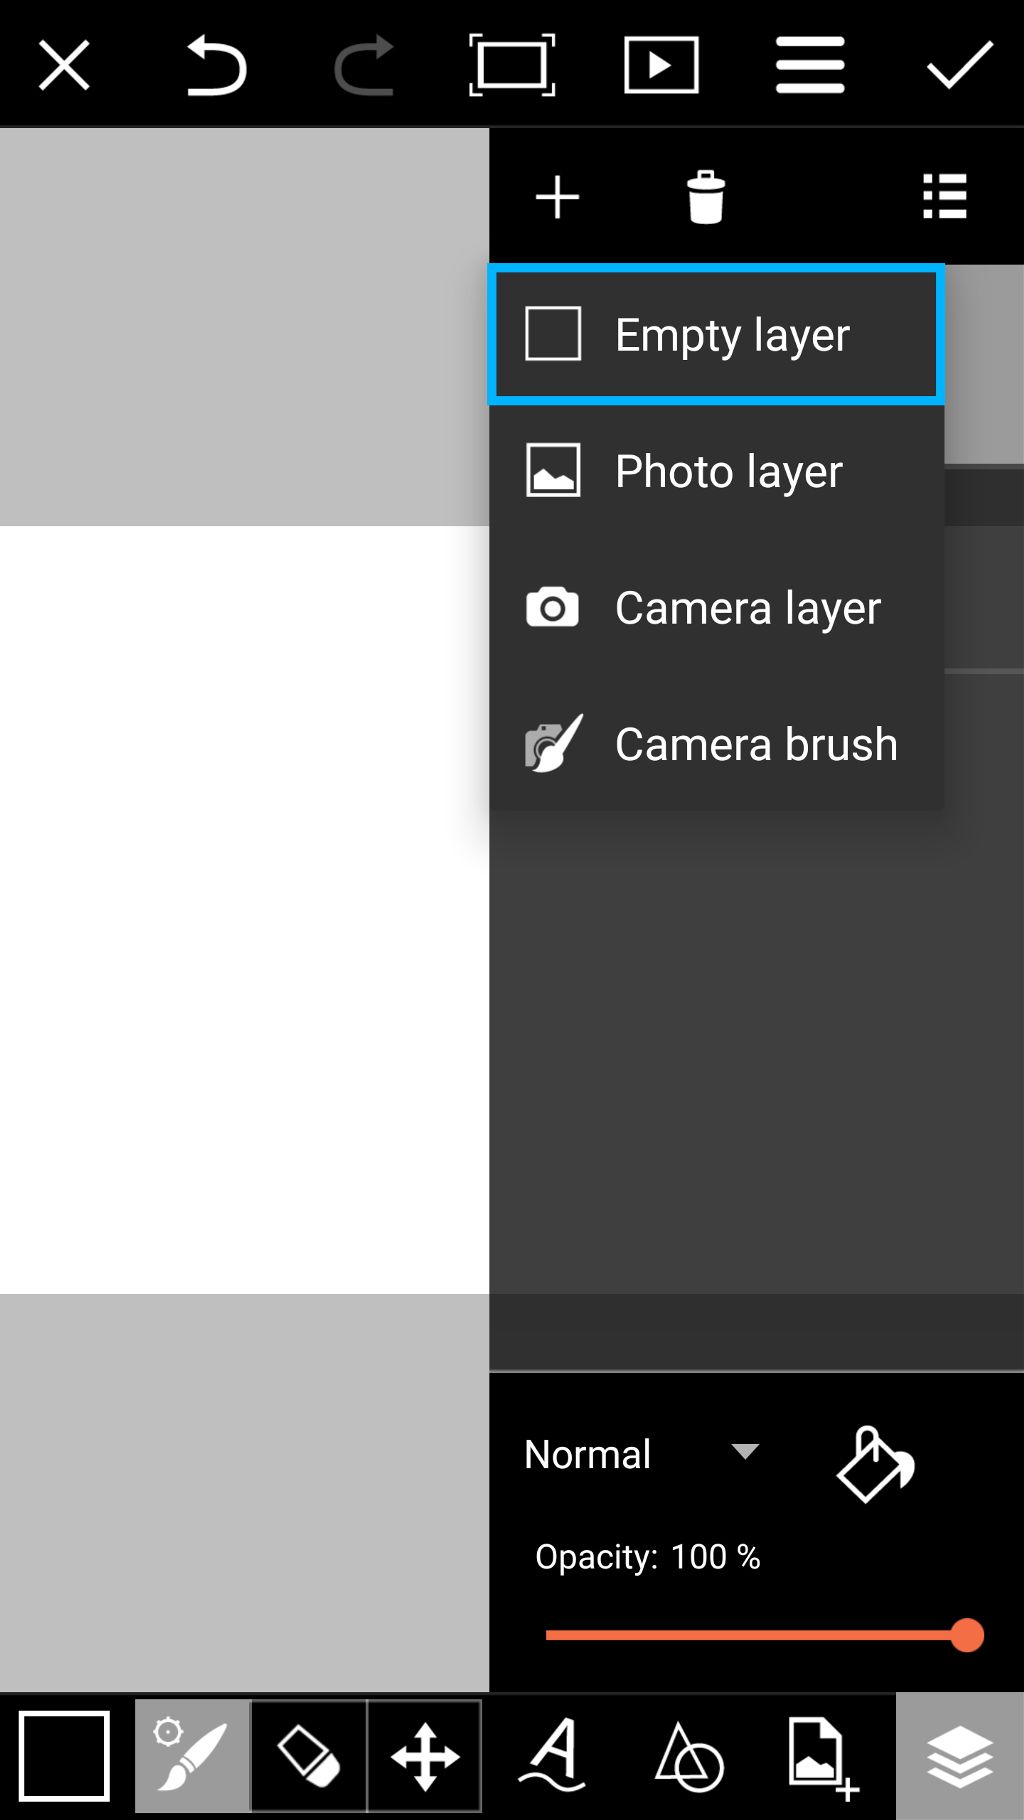
Tap on the plus sign and select Empty Layer. Tap on the paint bucket icon to open the Color Chooser.
Step 4: Select Color & Add Layer
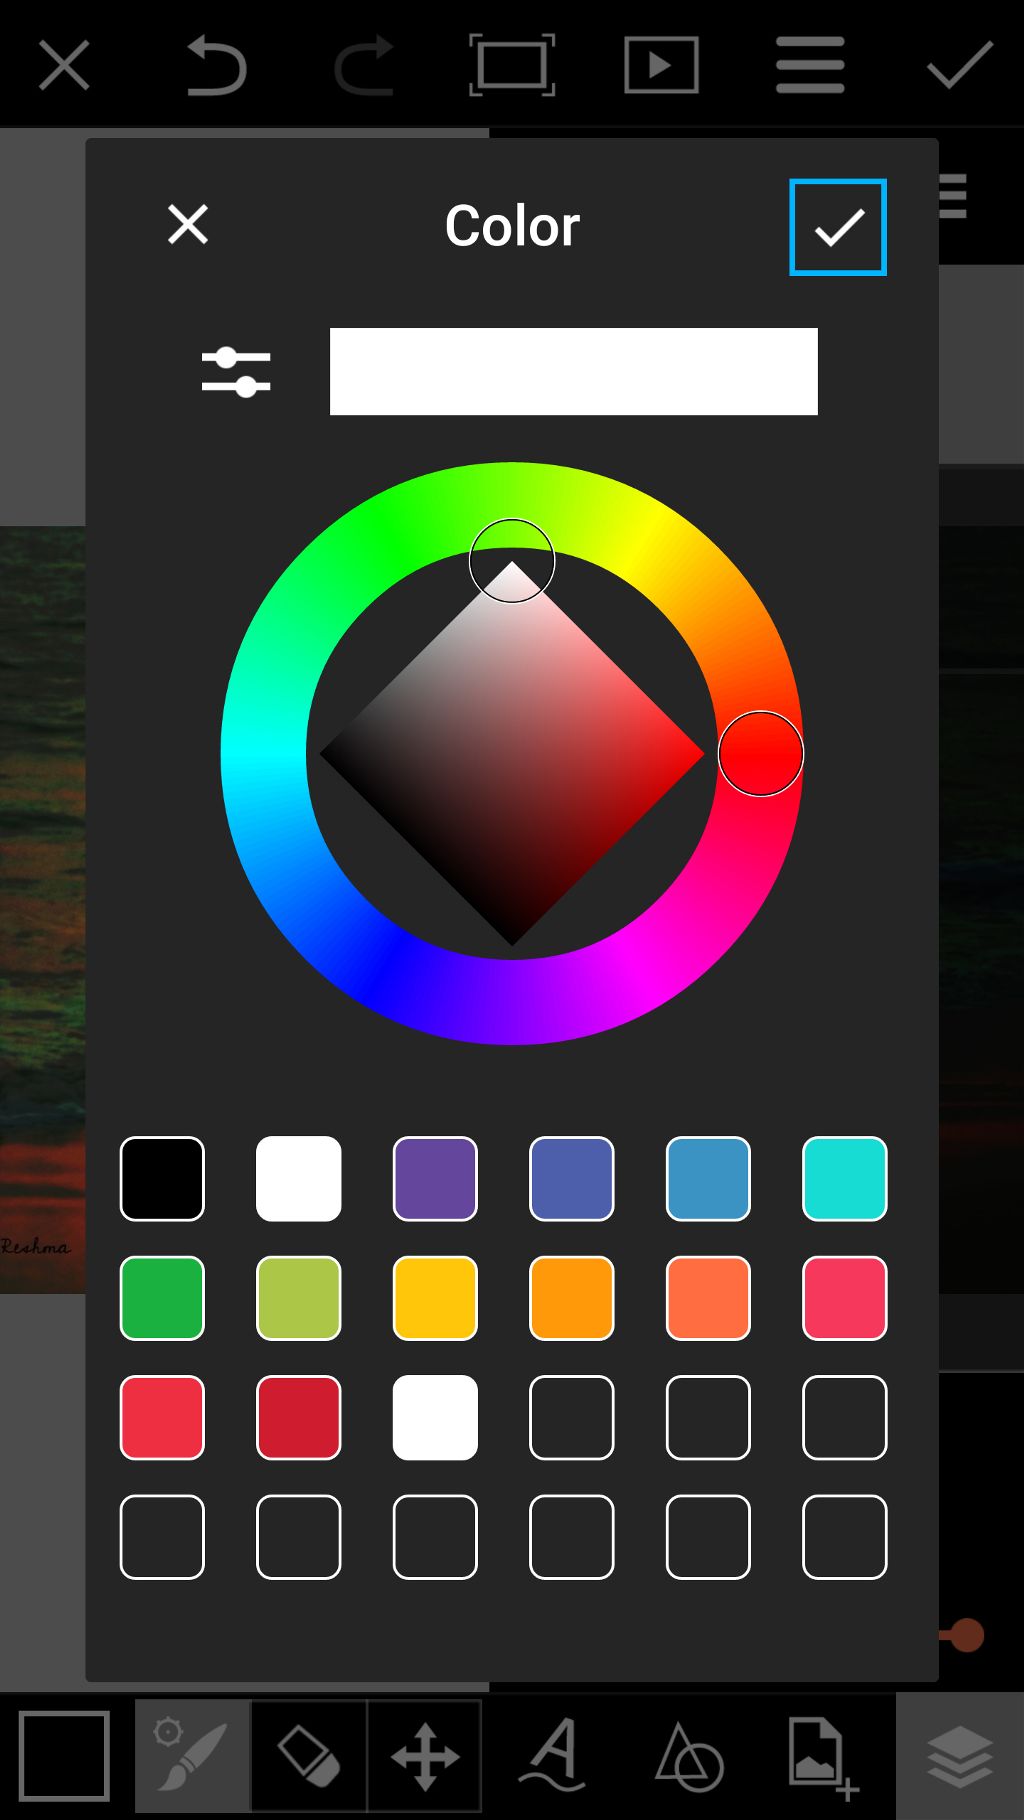
Select white and tap the check mark to confirm. Repeat the same process to create another empty layer.
Step 5: Open Clipart
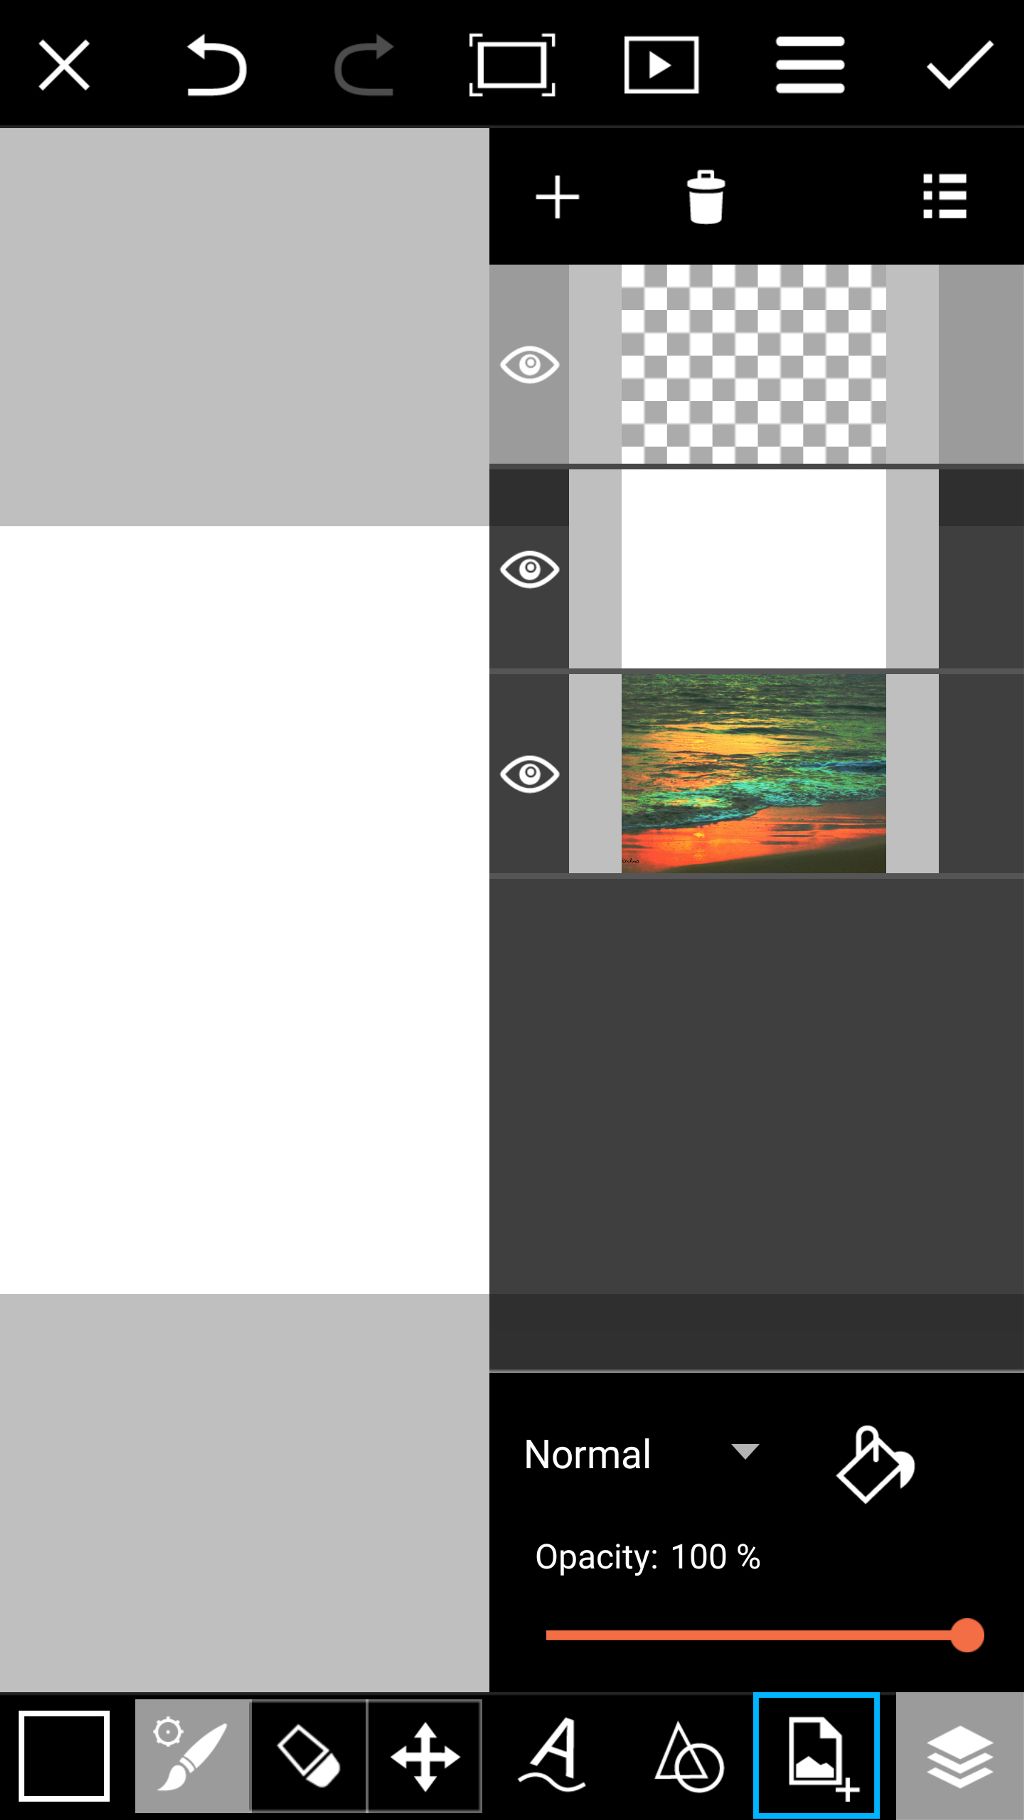
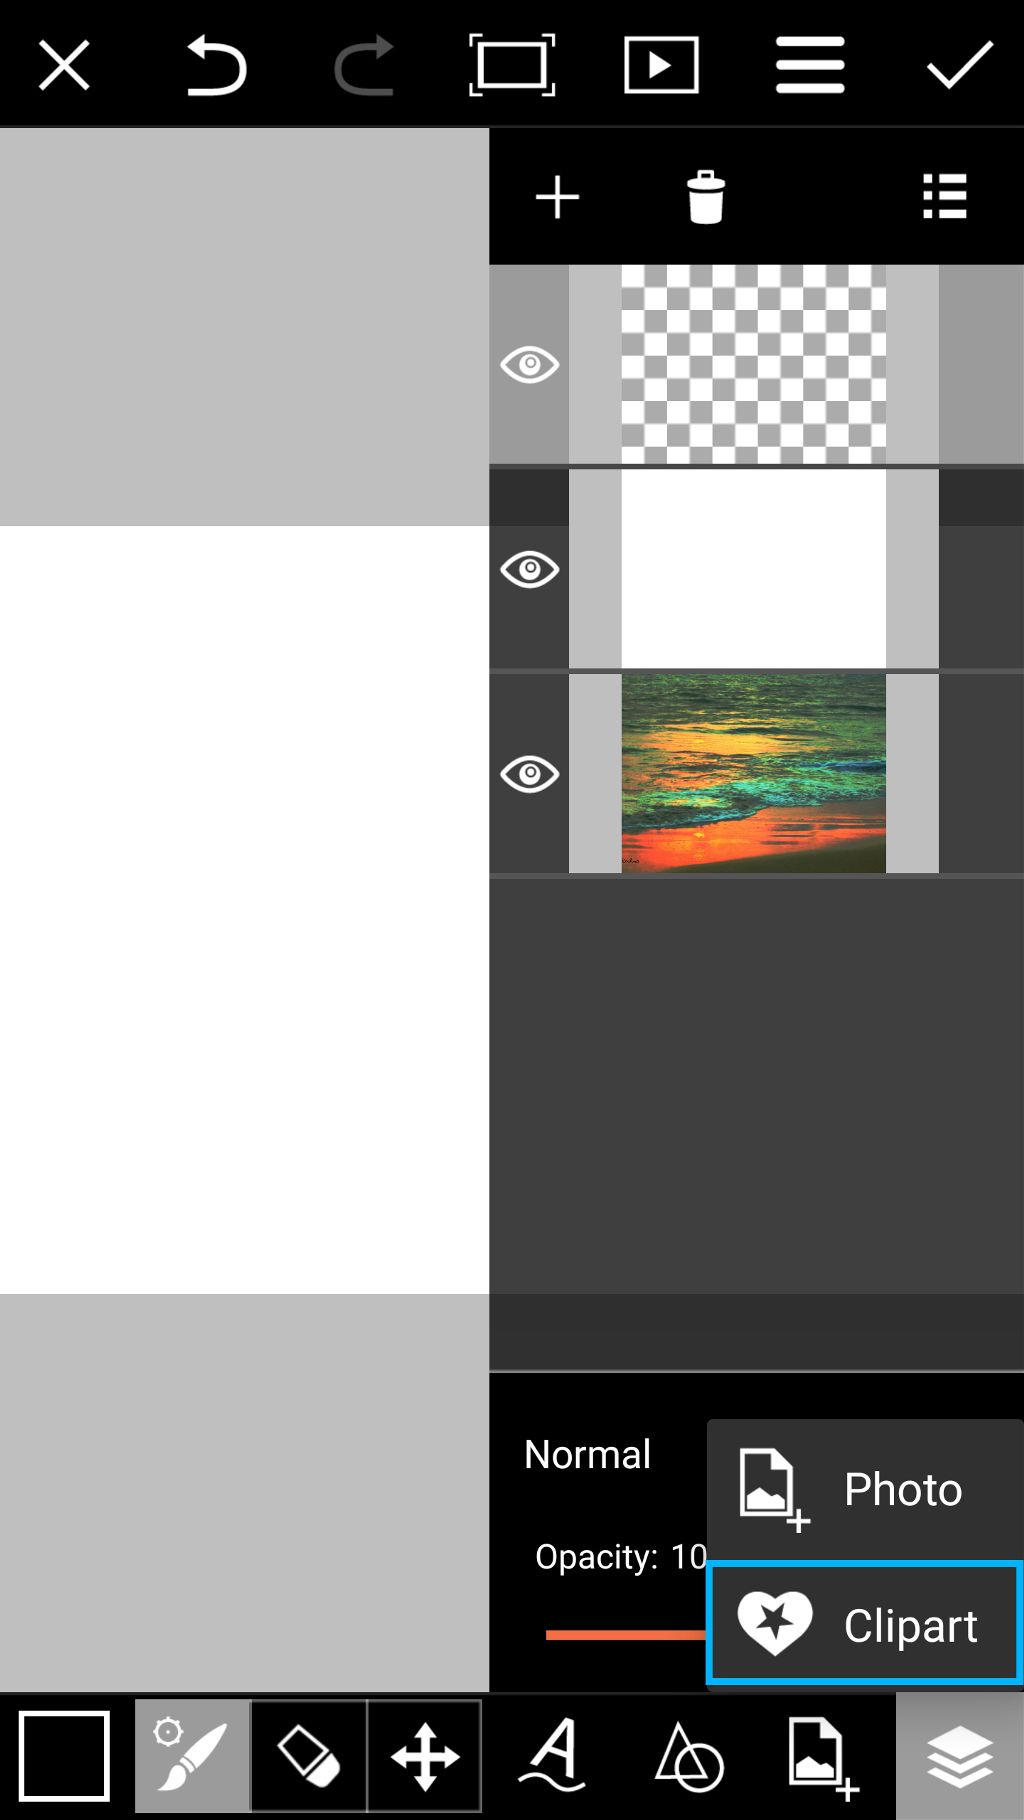
Tap on the Add icon and select Clipart.
Step 6: Select Clipart
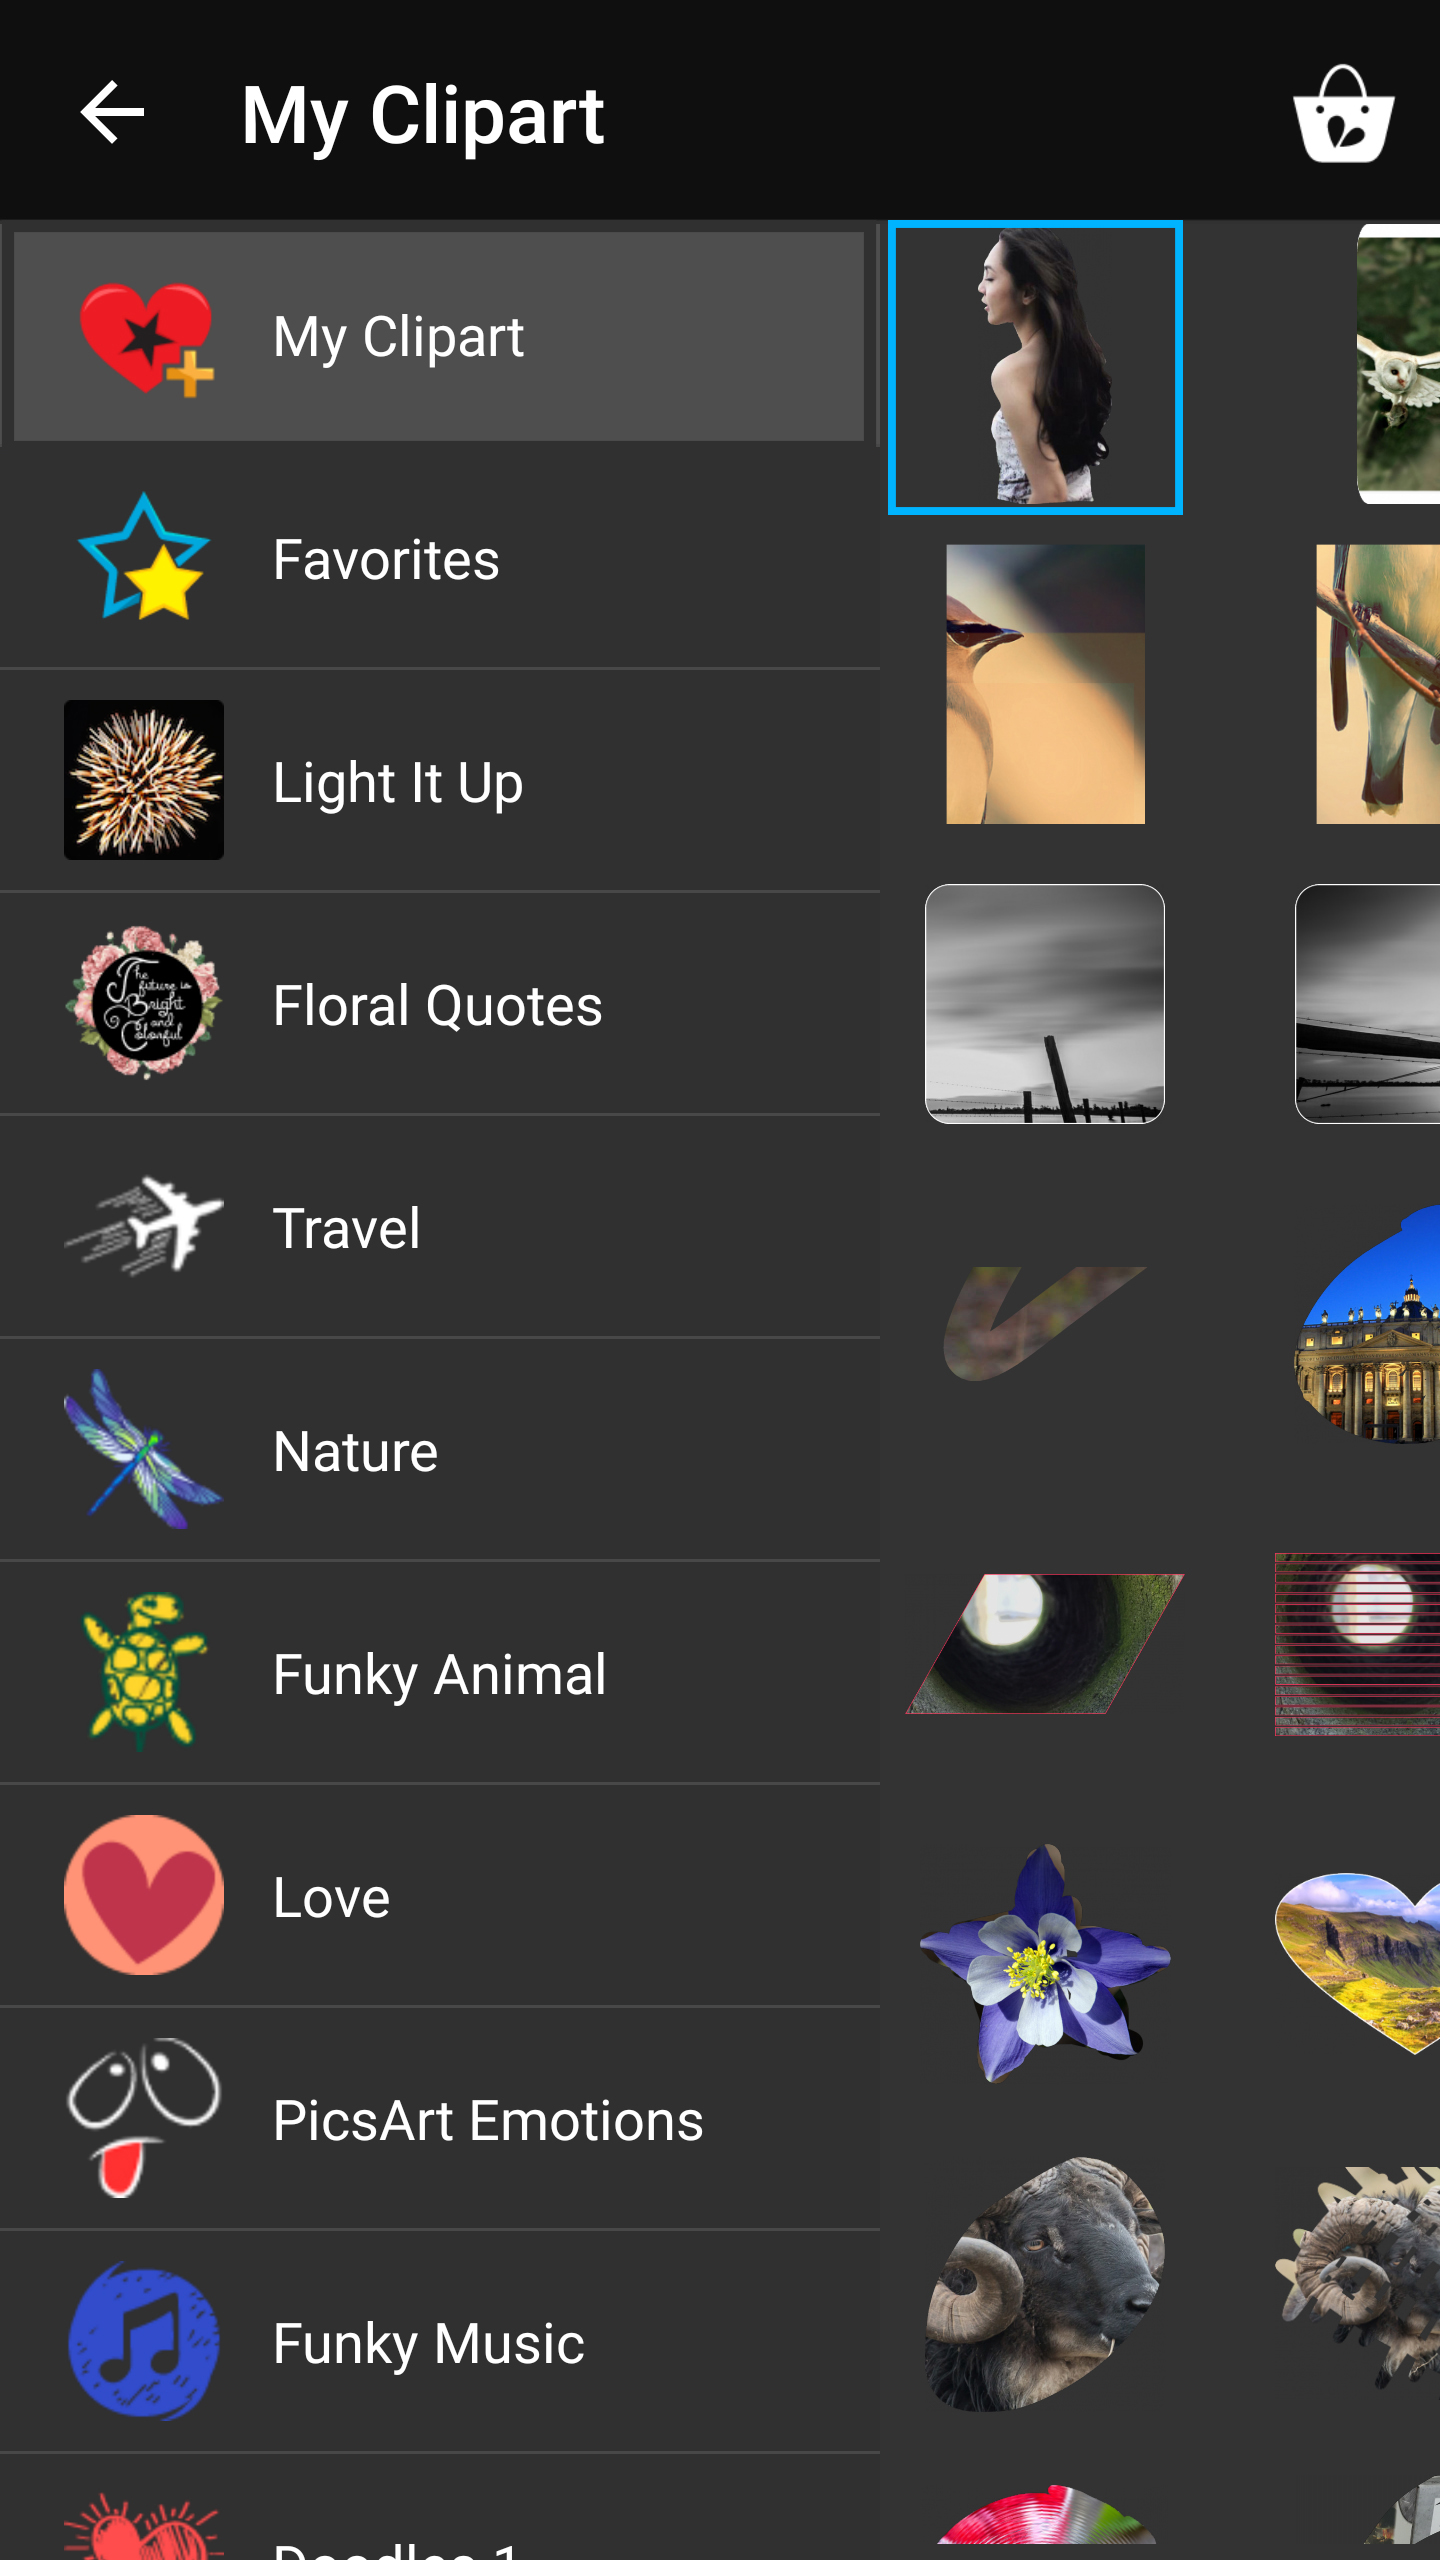
Tap on My Clipart and select the clipart image that you created in Part One. Adjust the size and place it in the center of your canvas.
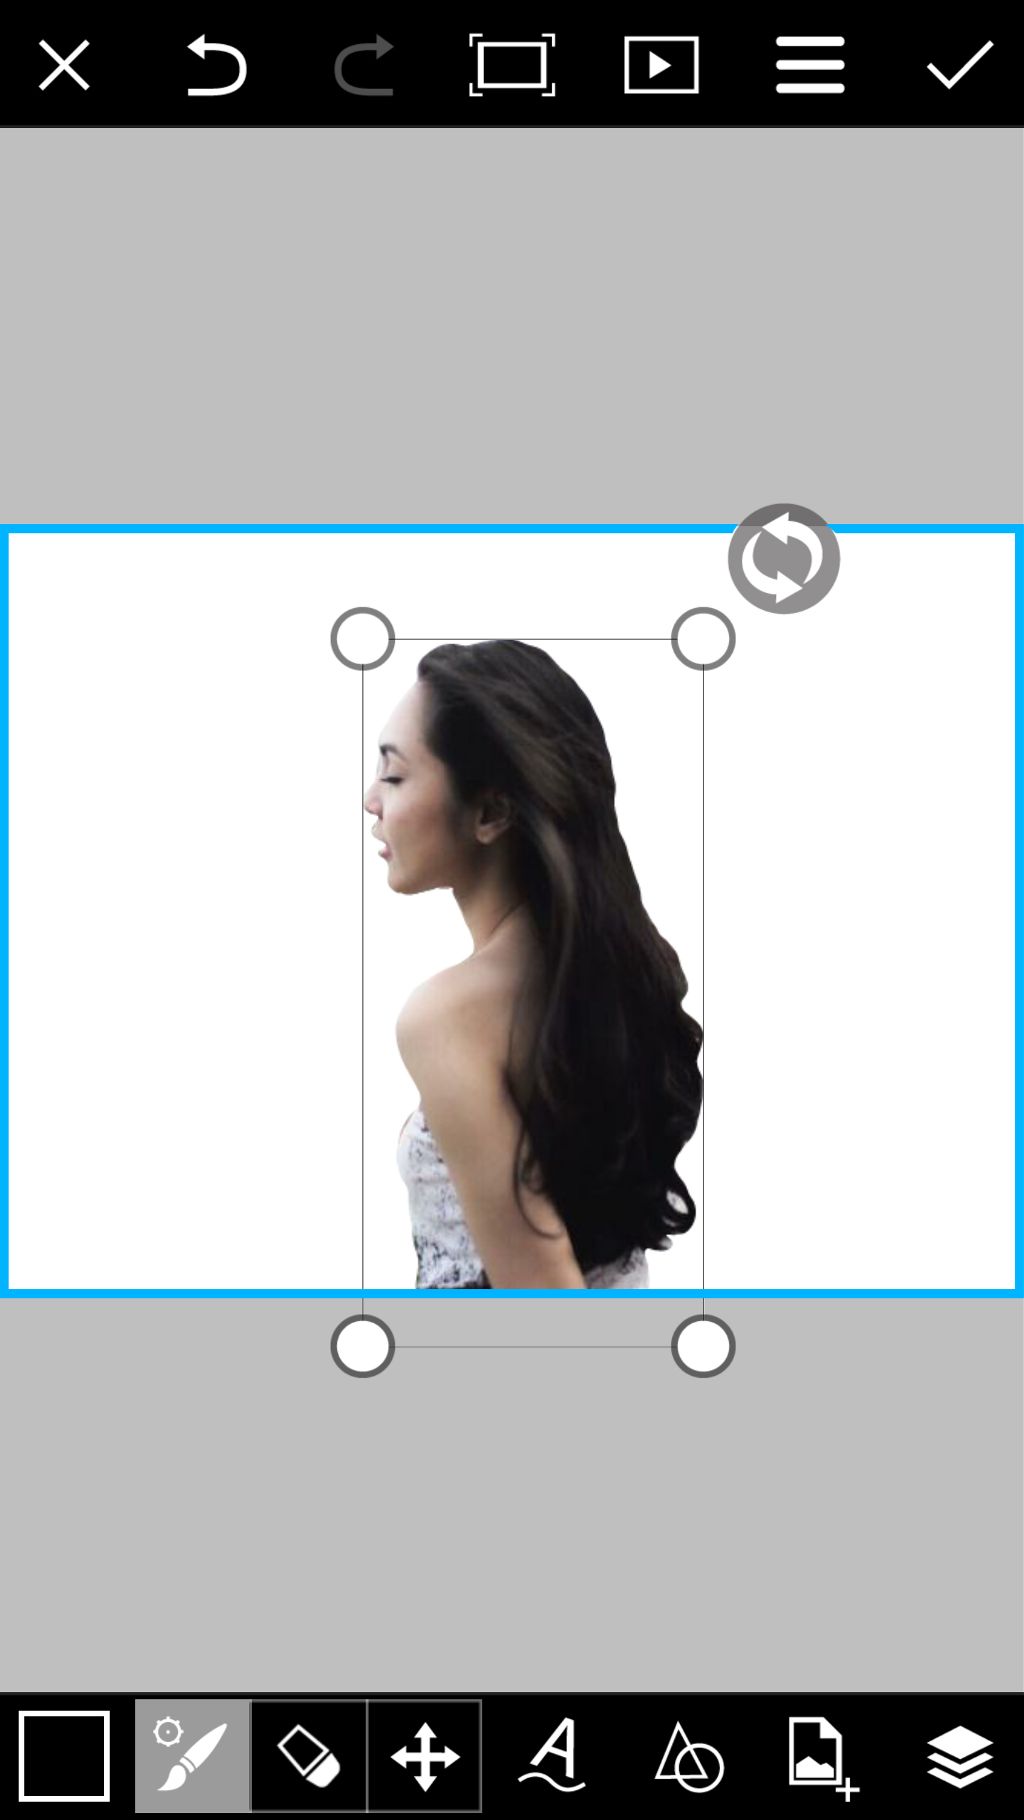
Step 7: Select Blending Mode
Tap on the layer icon to view your layers. Make sure that you have selected your top layer. Tap on Normal to open the list of layer blending options, and select Xor.
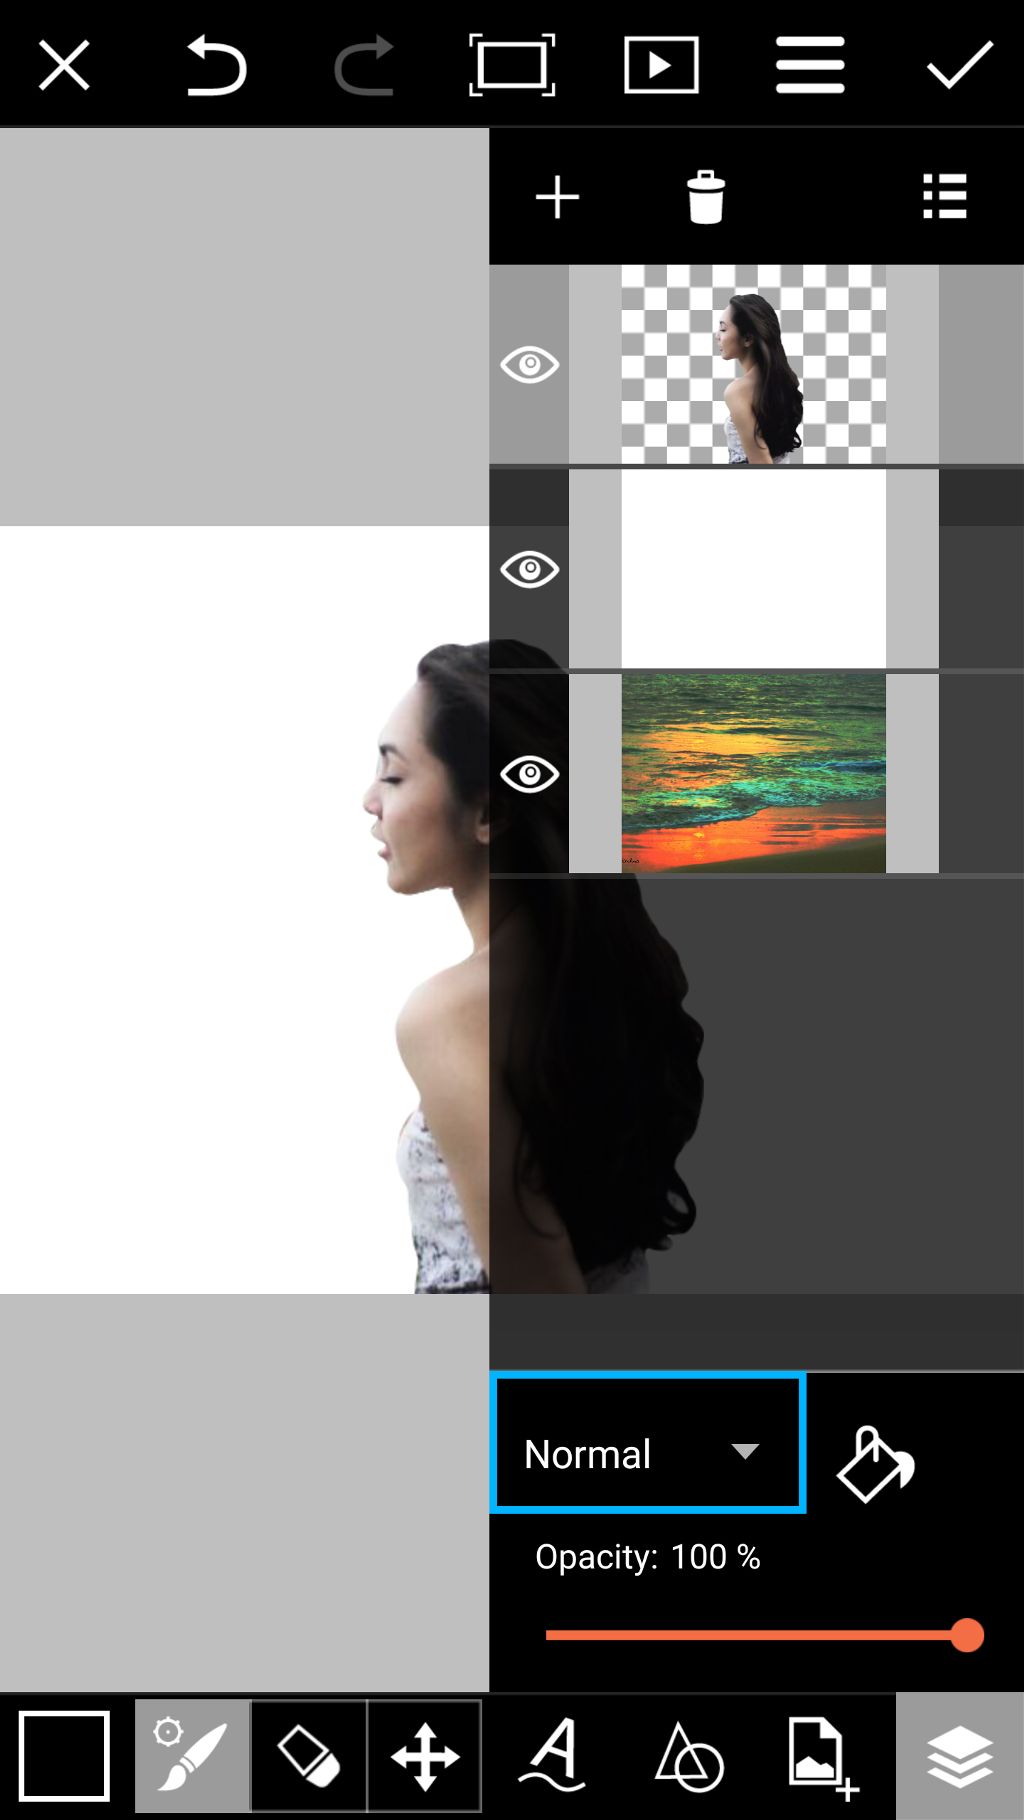
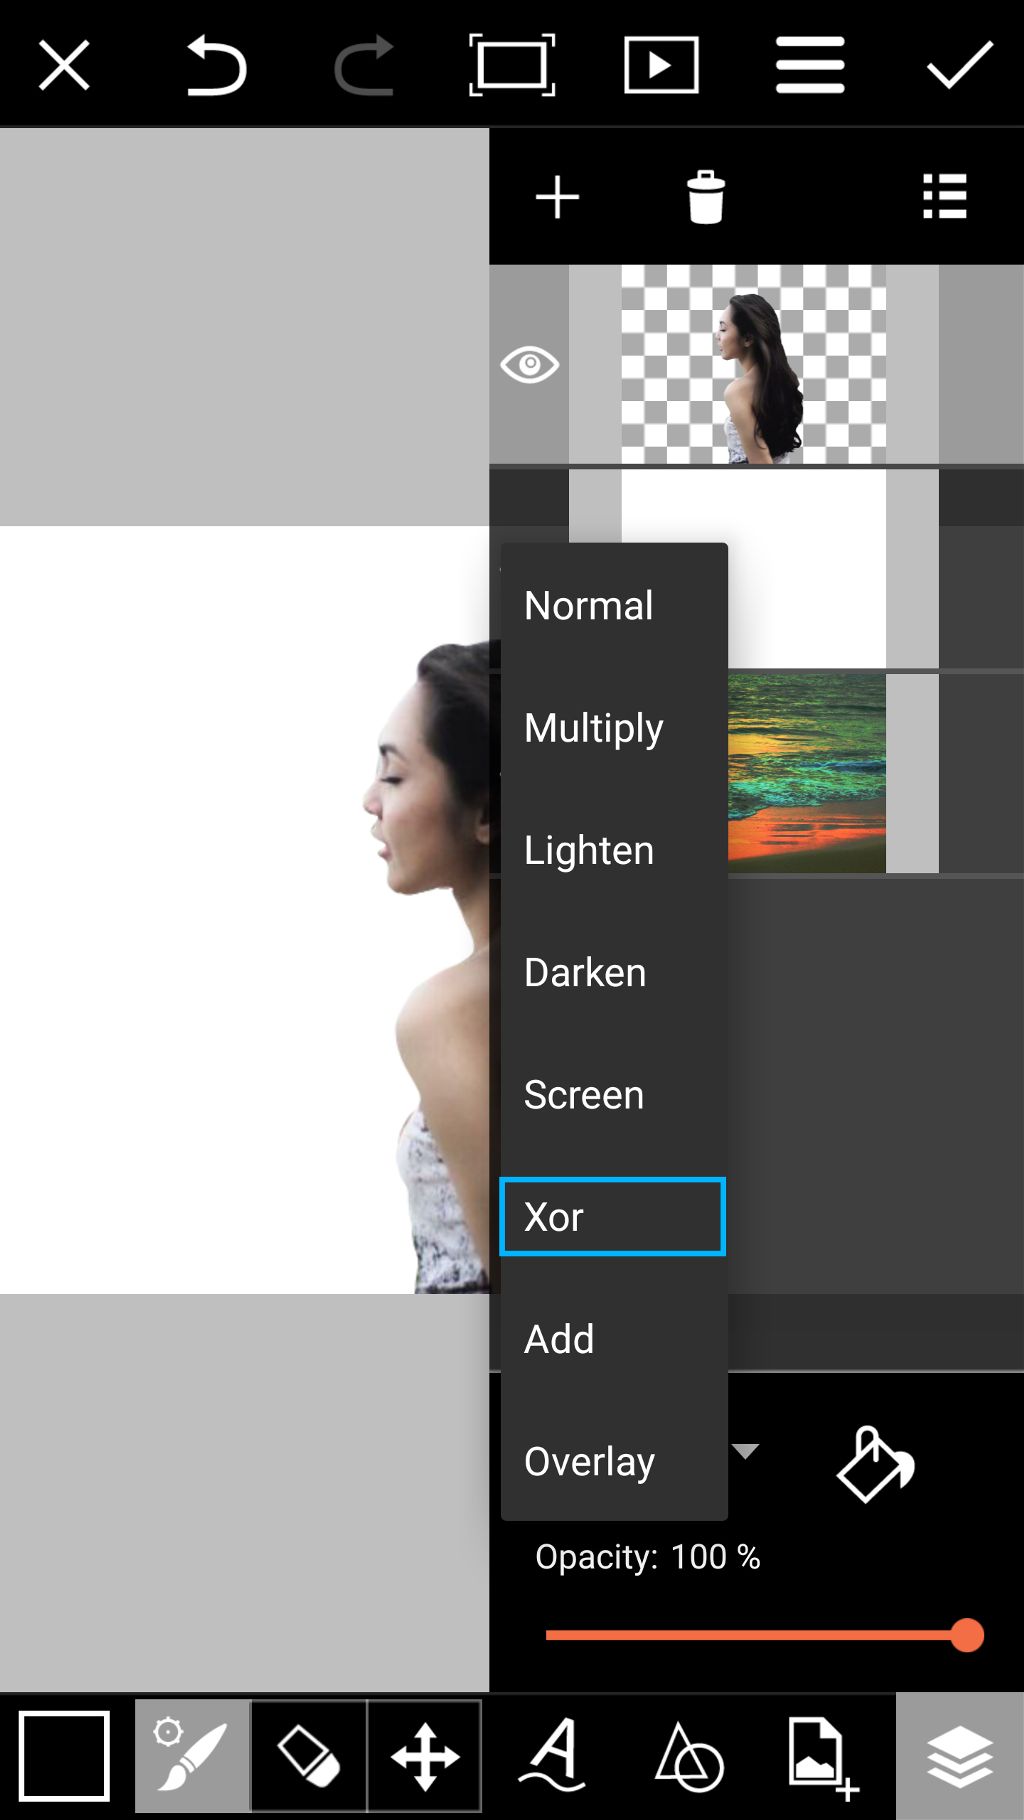
Step 8: Merge Layers
With your top layer selected, tap on the layer actions icon and select Merge.
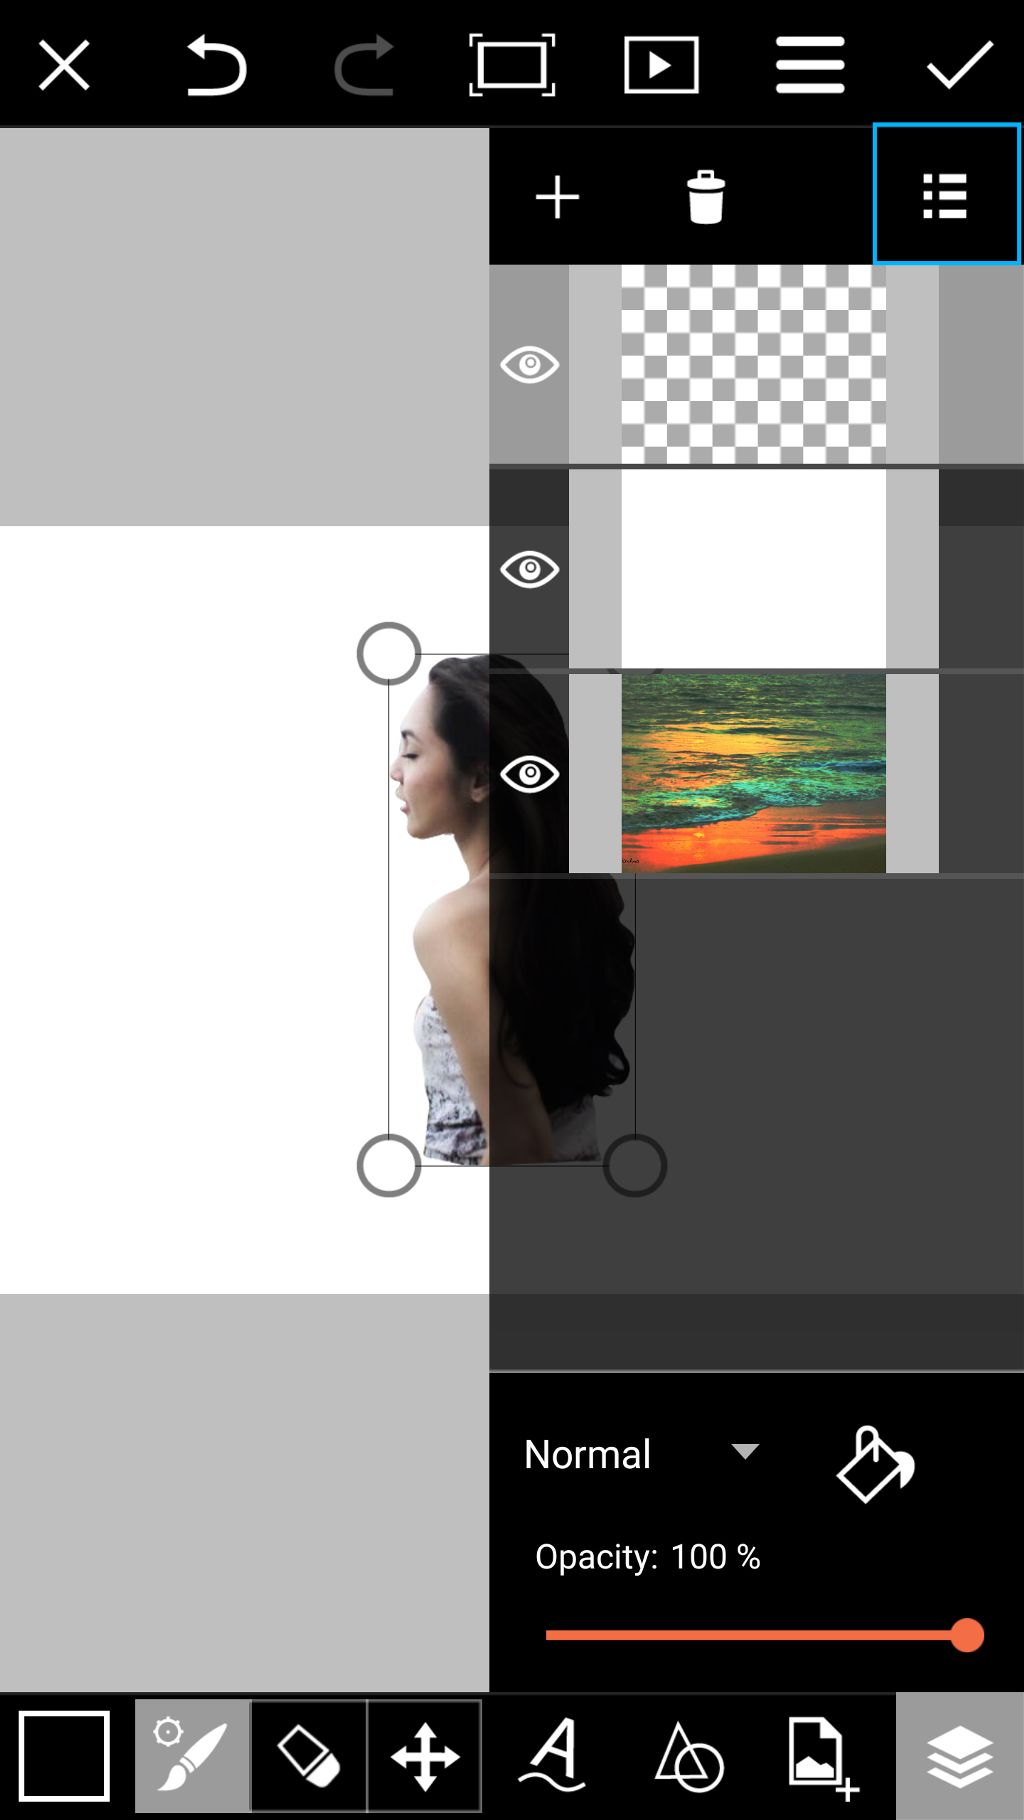
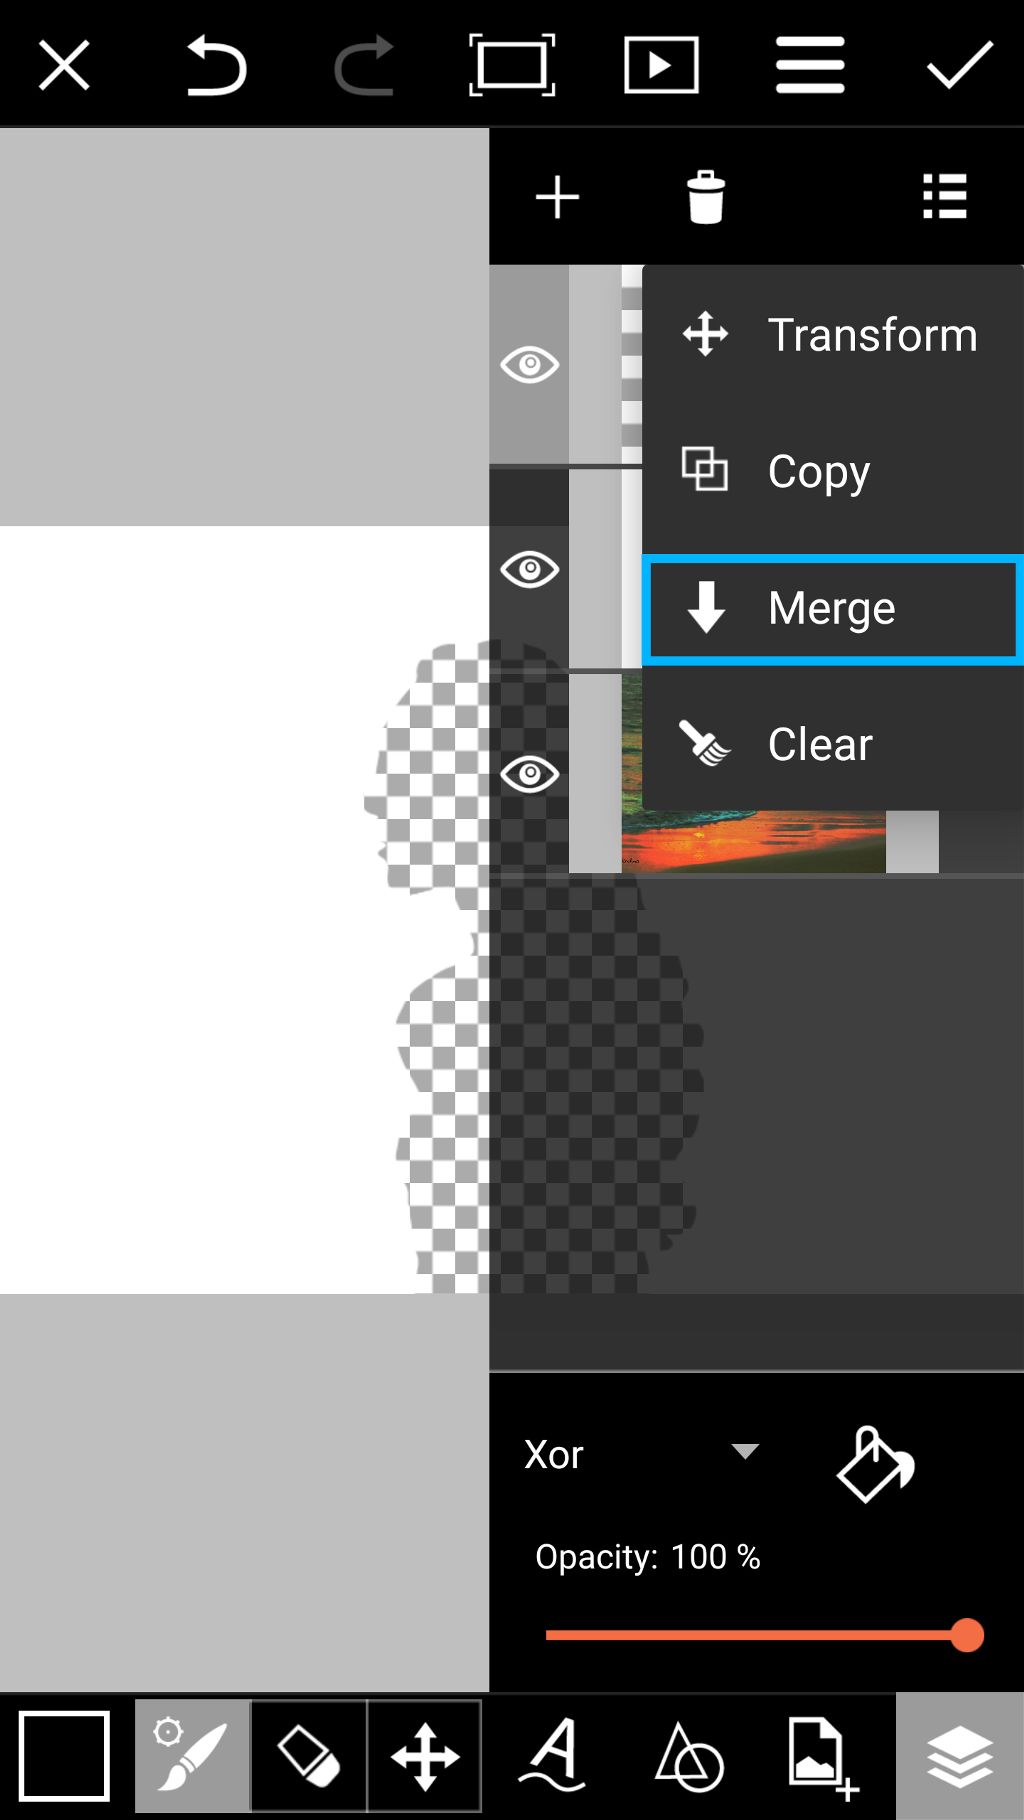
Step 9: Confirm Change
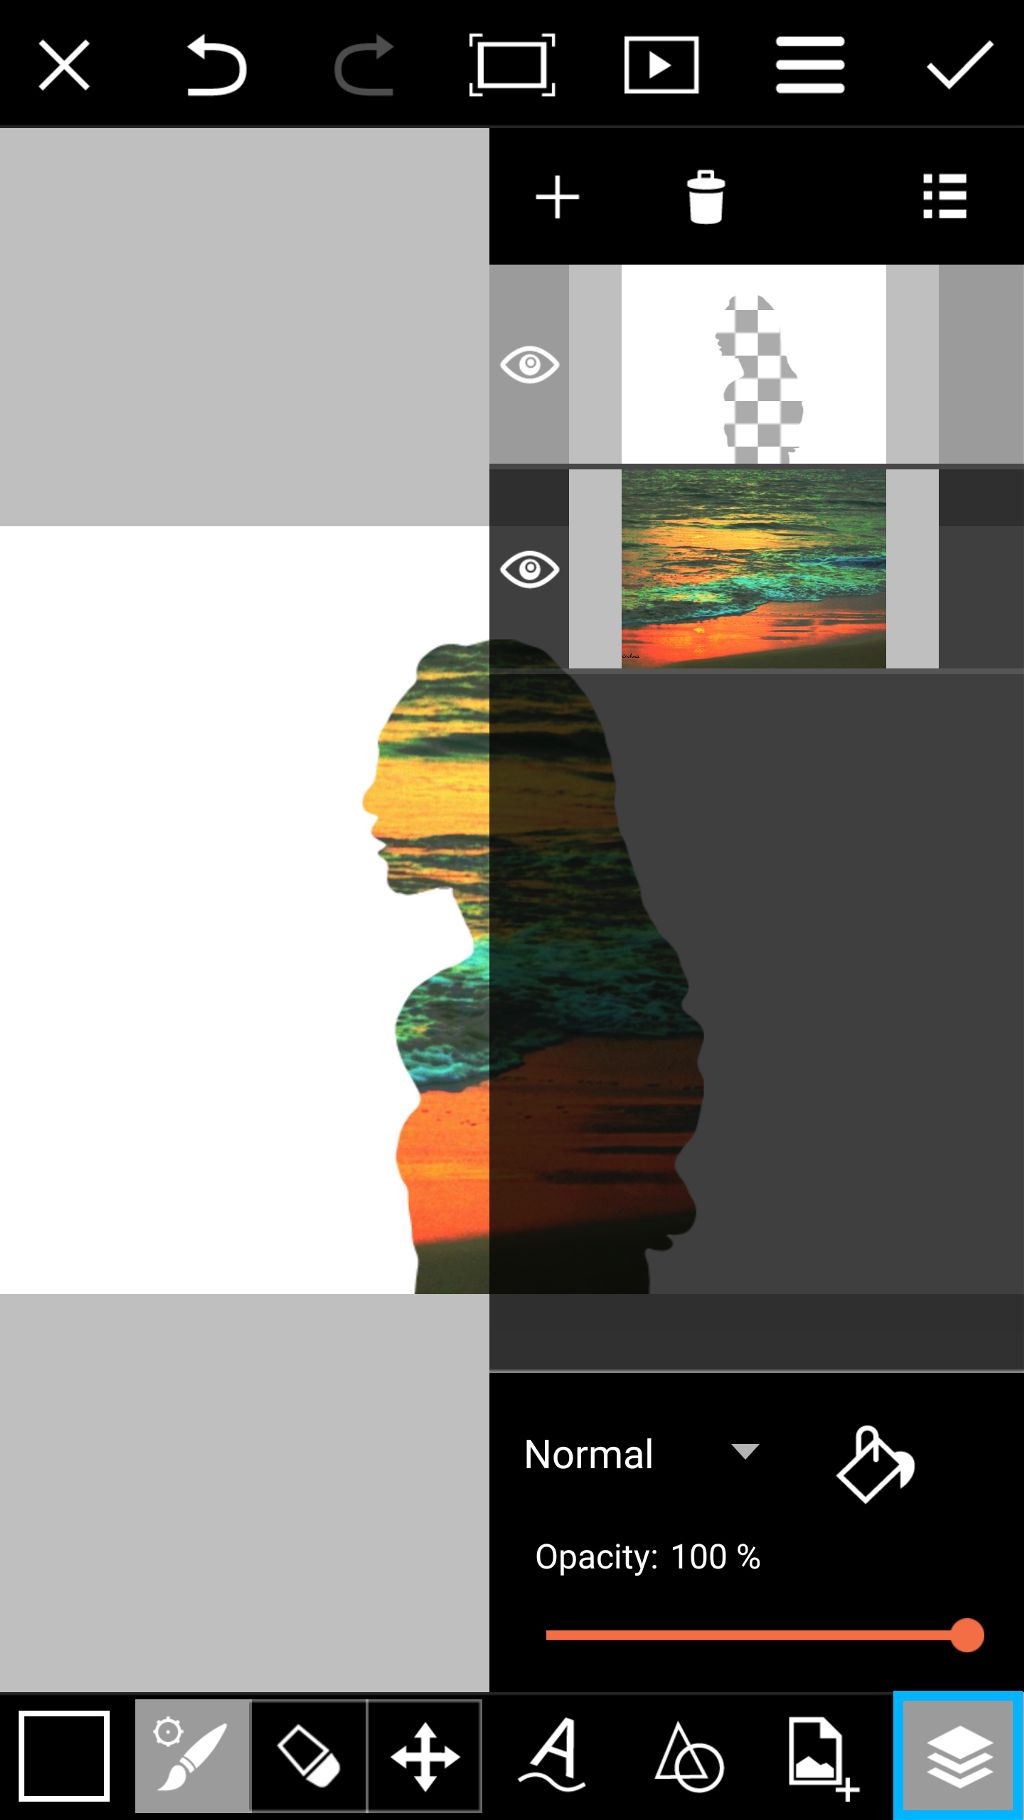
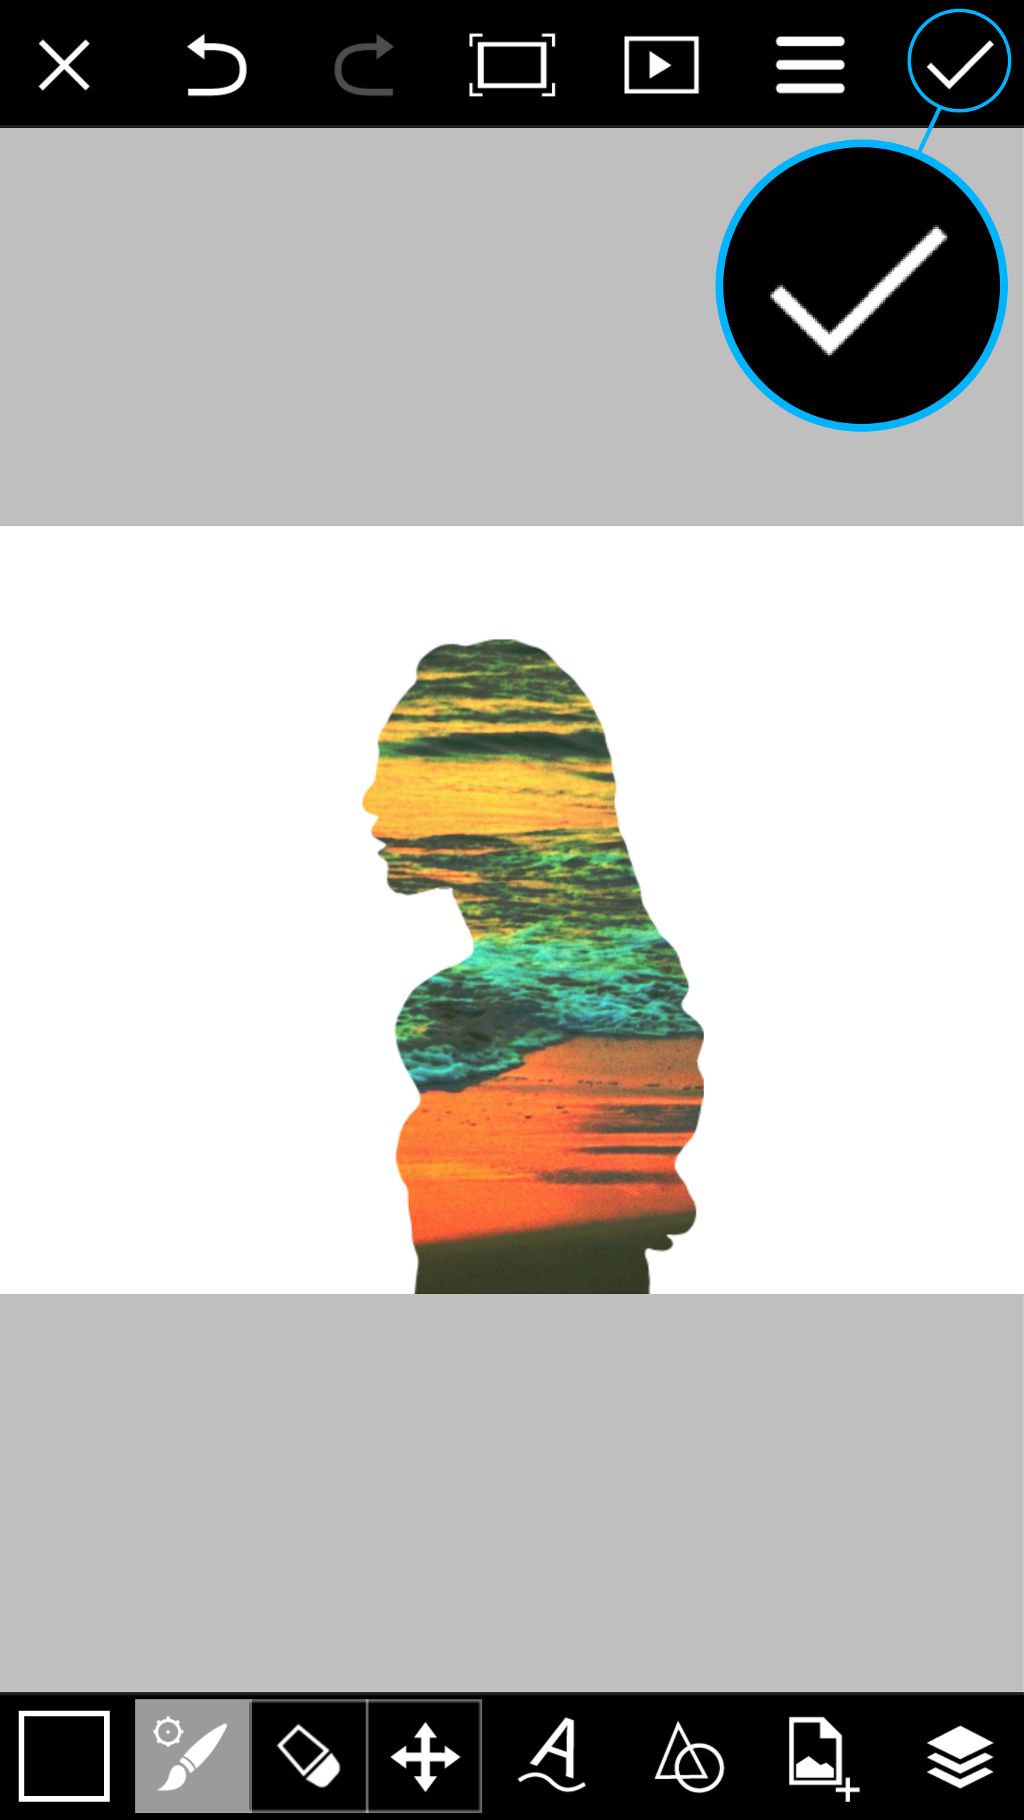
Tap on the layer icon to hide the layer drawer. Tap on the check mark to confirm. Your image will automatically be opened in the Editor.
Step 10: Select Effect
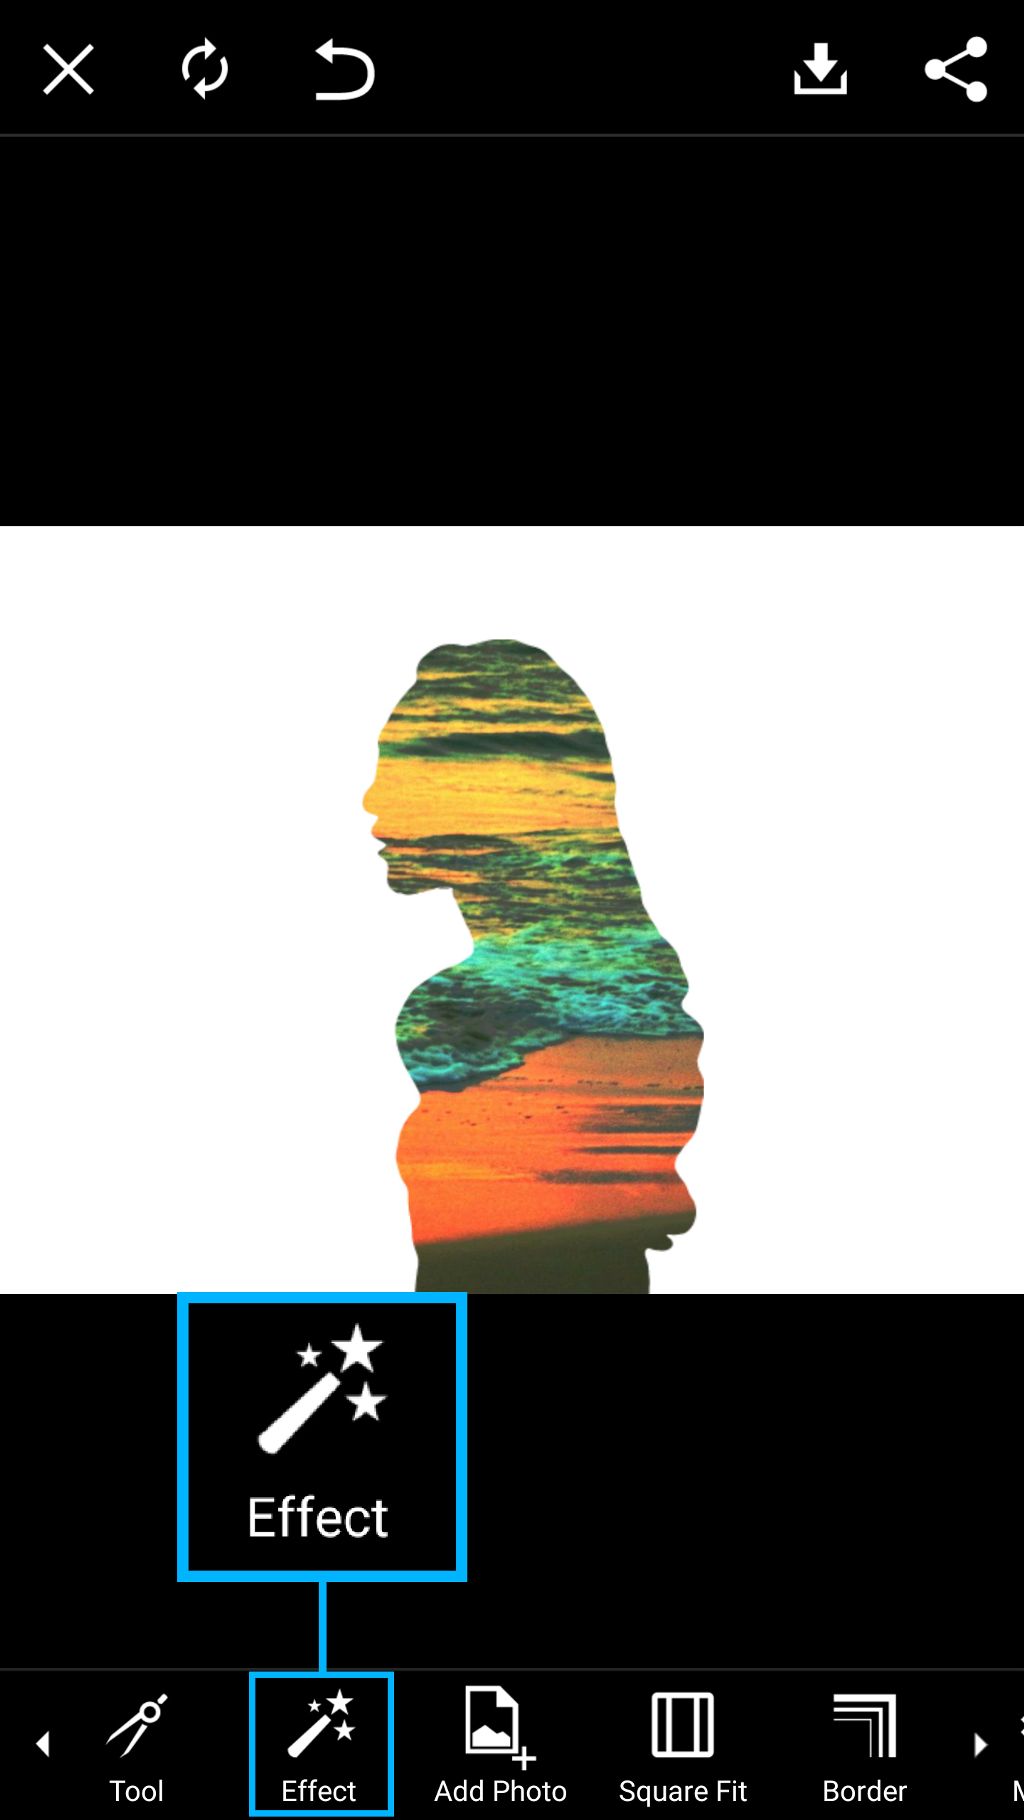
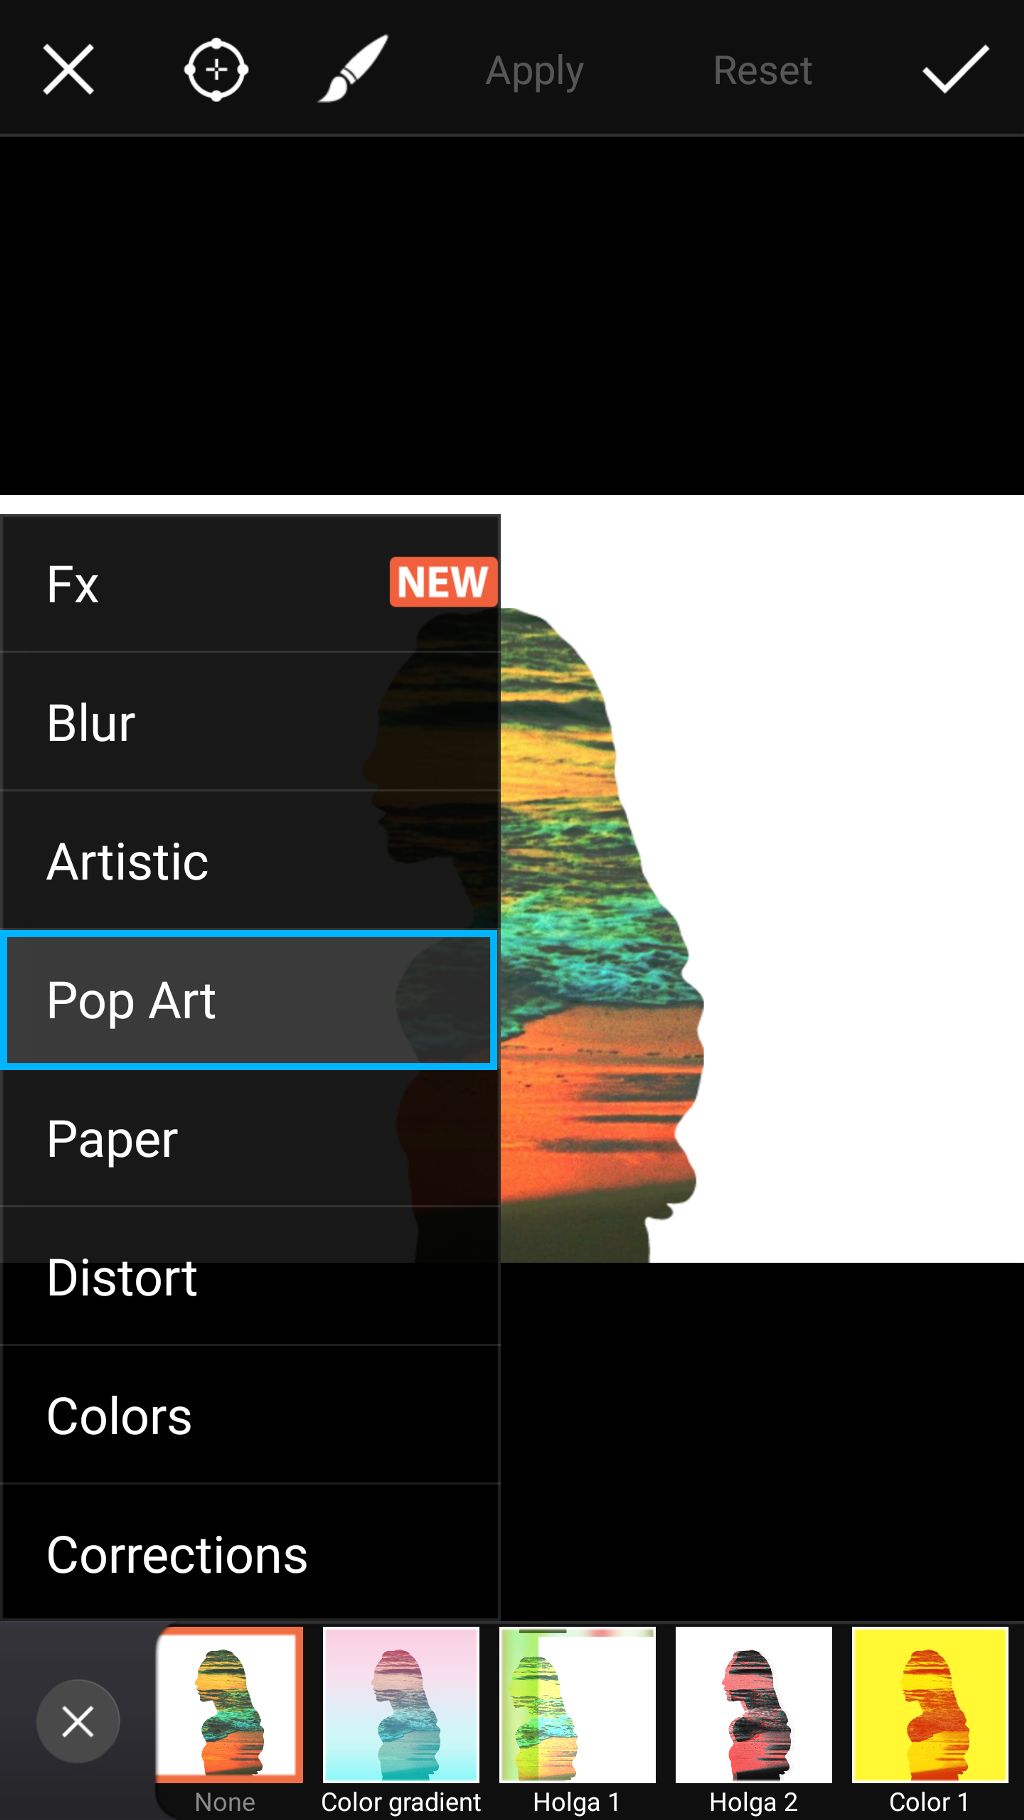
Tap on Effect to open the Effects menu. Open the Pop Art section.
Step 11: Customize Effect
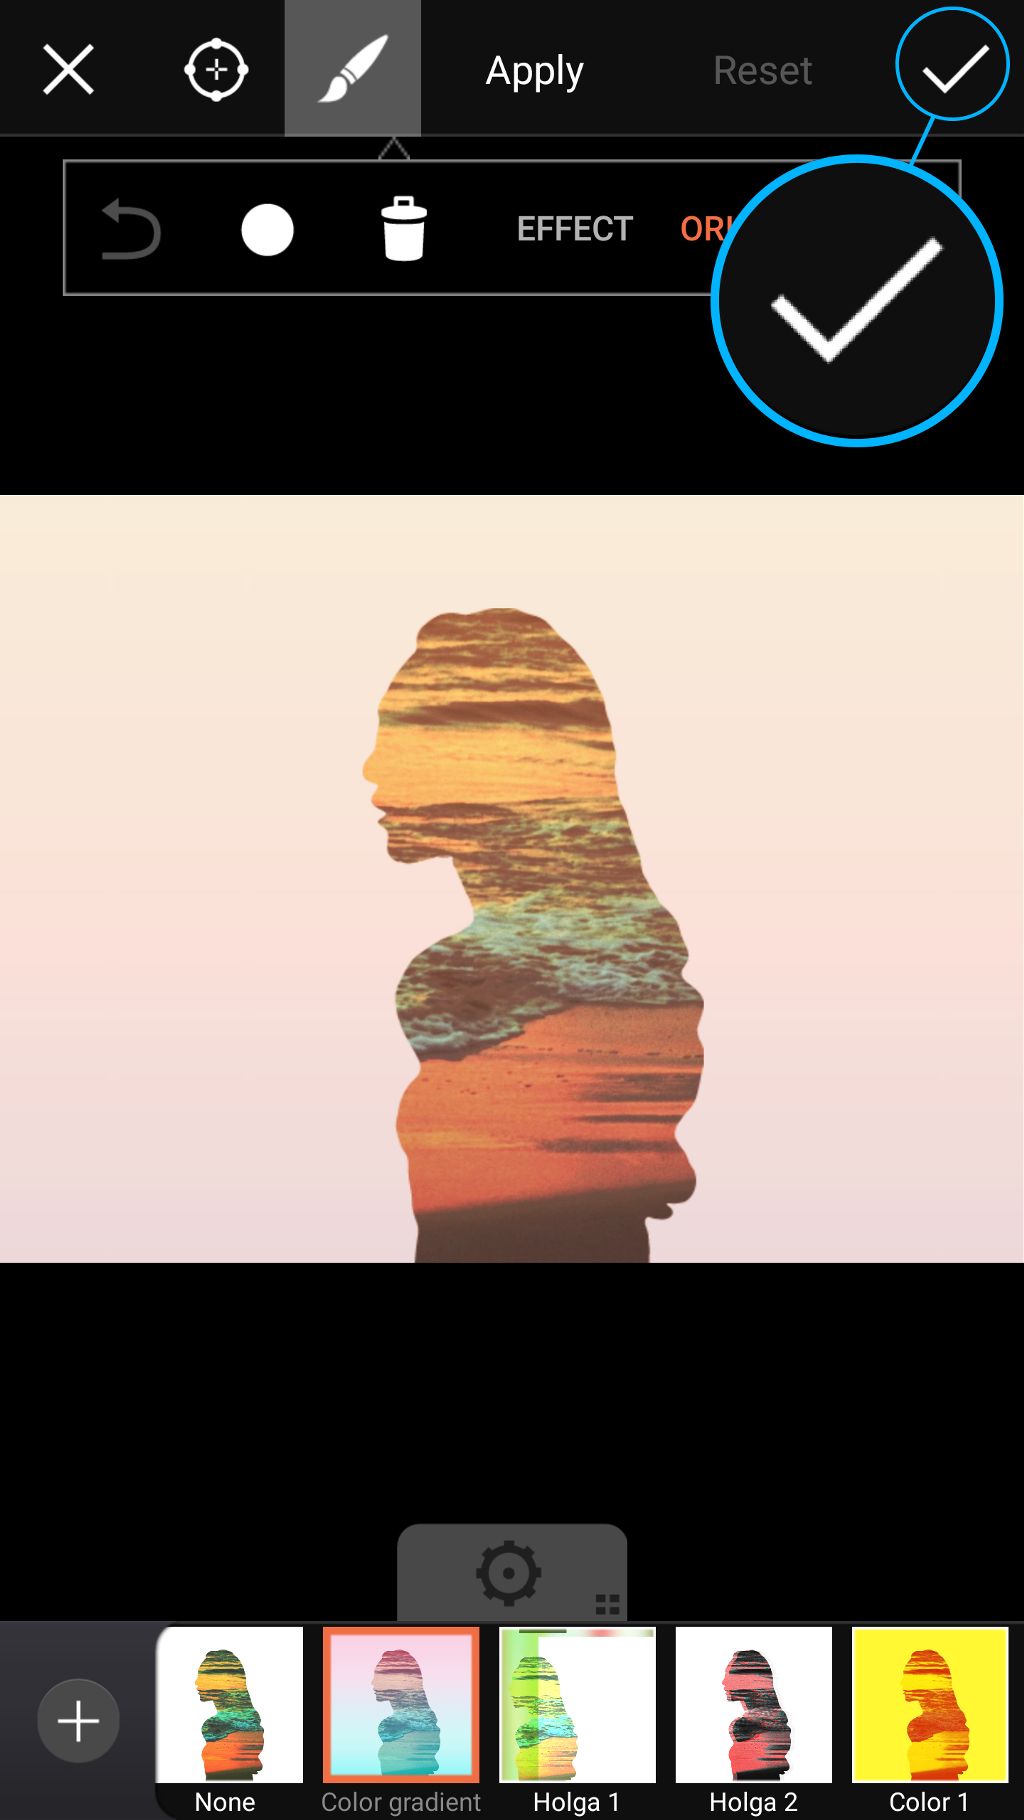
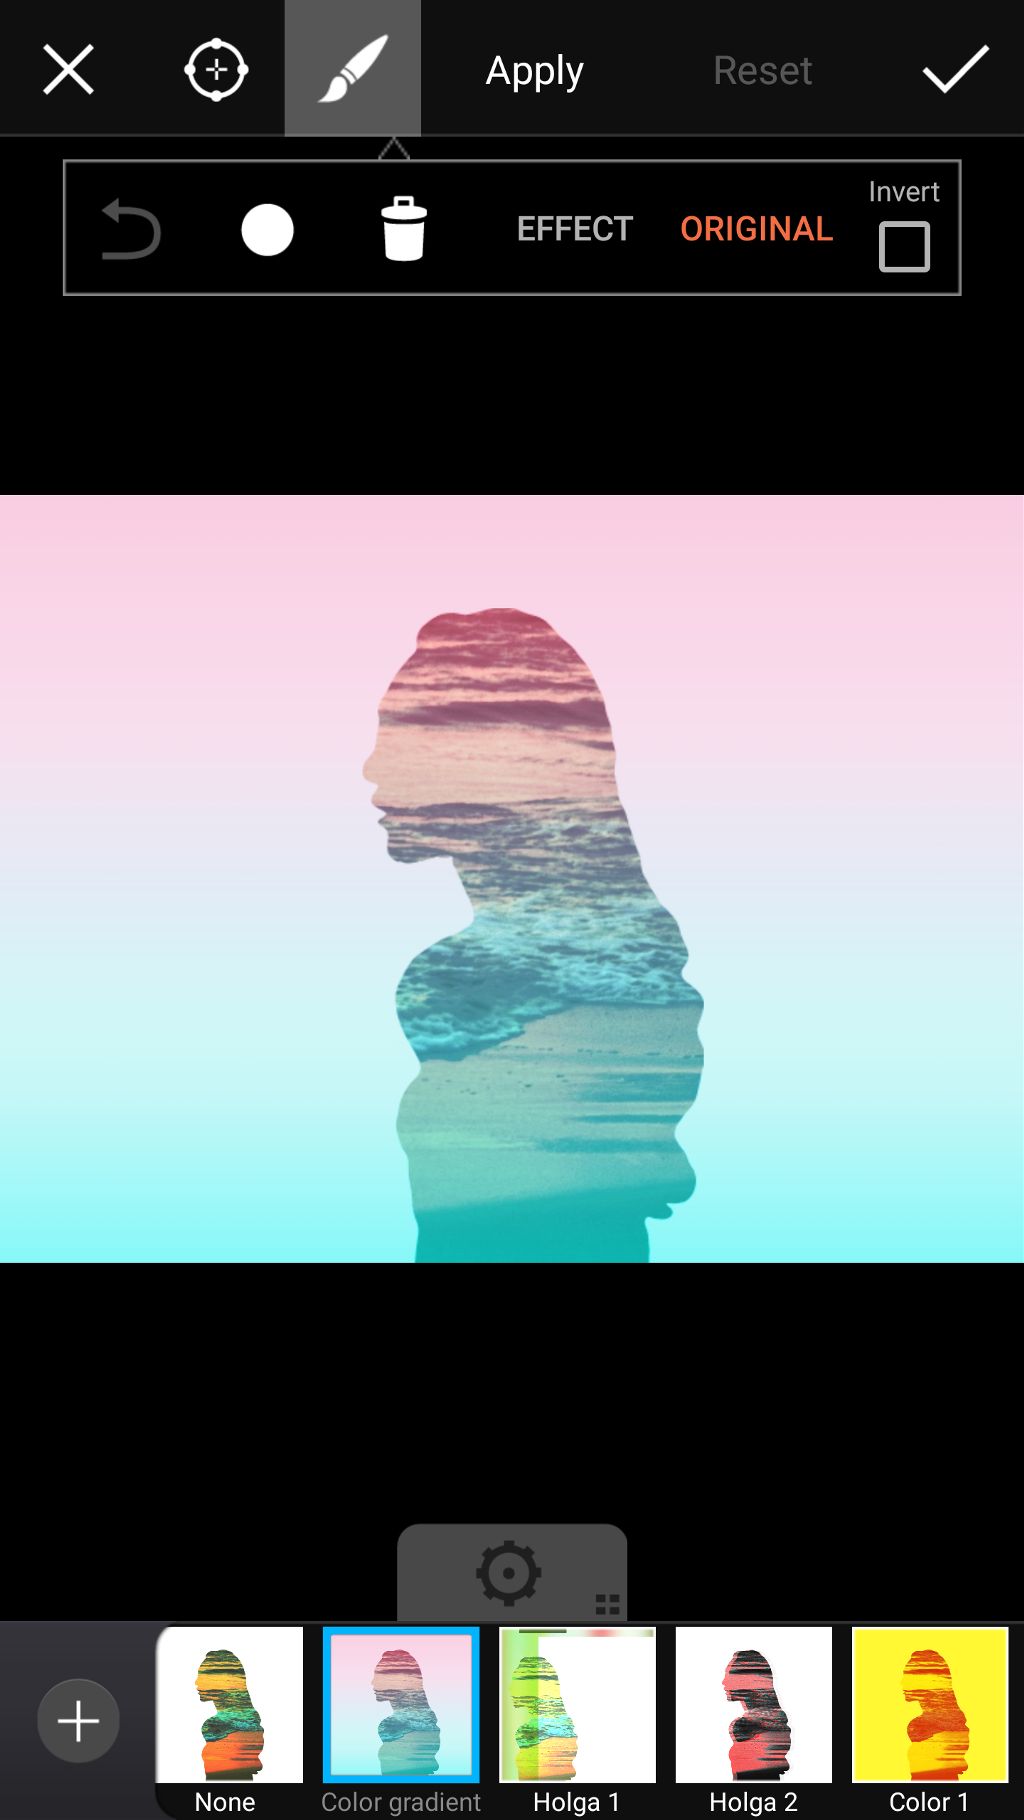
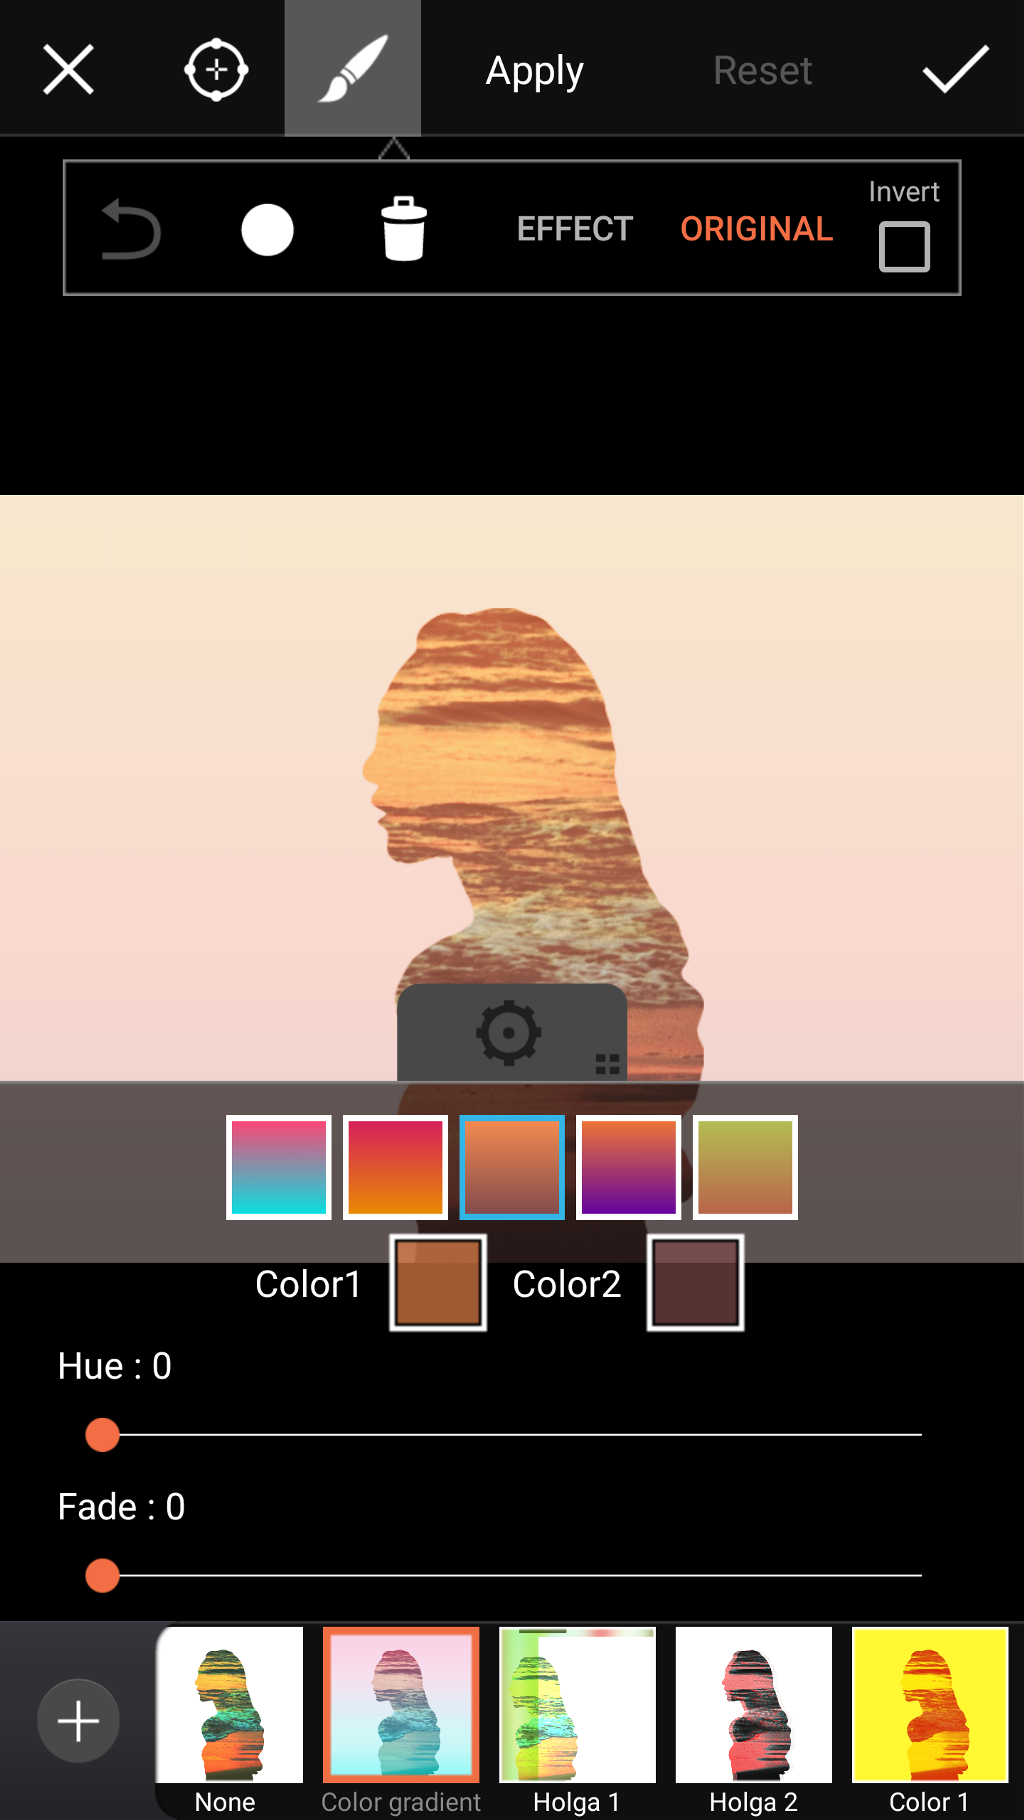
Select Color Gradient. Tap on the gear icon to open the Effect settings menu. Select your color gradient.
Step 12: Save & Share
When you’re happy with your Effect, tap on the check mark to confirm. Save your work, and share it with the PicsArt community!
