We’ve all been there: You’ve snapped some selfies that are almost good to go but need a little adjustment. They just need some creativity before you share them with the world. That’s where photo retouching comes into play. It’s like your digital magic wand that can transform your good photos into next-level, attention-grabbing ones.
Ready to breathe new life into your favorite pictures? Whether you’re a photography enthusiast or a selfie aficionado, here’s how to edit faces in photos for a natural look.
What is photo retouching?
Photo retouching is the process of making enhancements to an image using editing tools. Depending on your photo, you might adjust different aspects to improve its overall quality and achieve the desired aesthetic or artistic effect.
Just like regular photo retouching, face retouching involves using editing tools to adjust the subject’s appearance. It’s about making subtle tweaks like changing eye or hair color, adding some new looks, etc.
5 basic techniques for photo retouching
Contrary to popular belief, retouching isn’t just limited to photography. It’s an editing technique that can be applied to various elements within a photo, including:
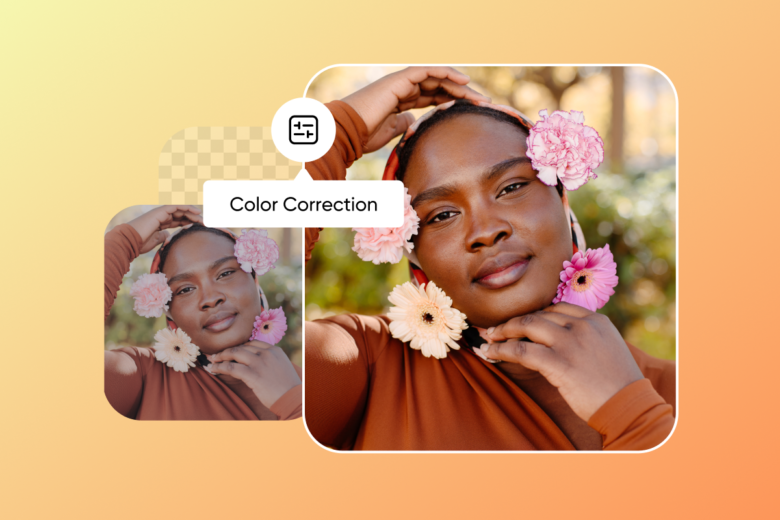
- Color correction: Color correction involves adjusting the colors, brightness, and contrast to make your image more visually appealing and balanced.
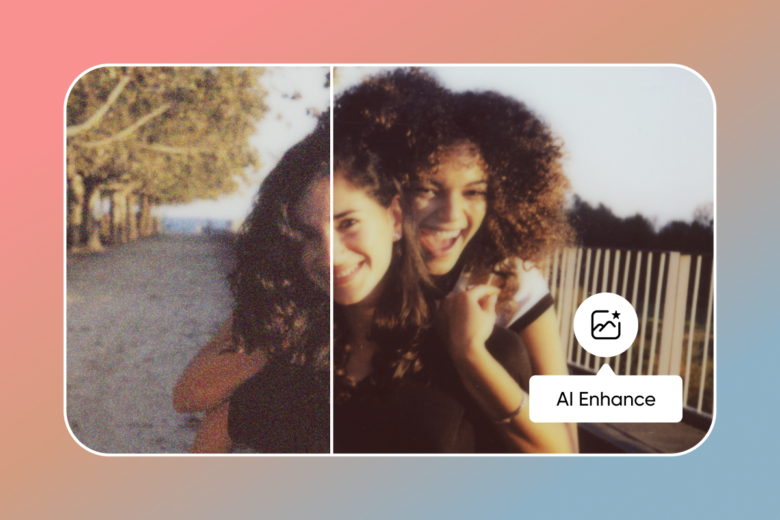
- Removing noise: Reducing or eliminating graininess or digital noise from low-light or high-ISO photos can help boost your image quality.
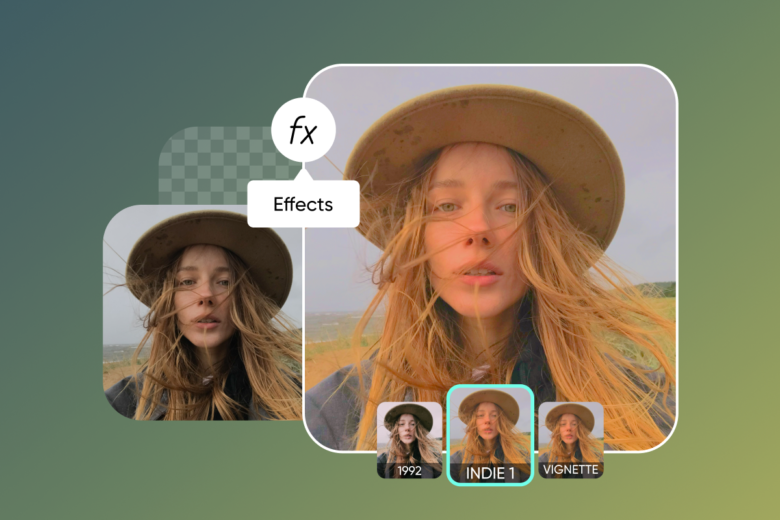
- Adding special effects: Fine-tuning your photos with creative effects like filters, vignettes, or artistic styles can help showcase your personality and style.
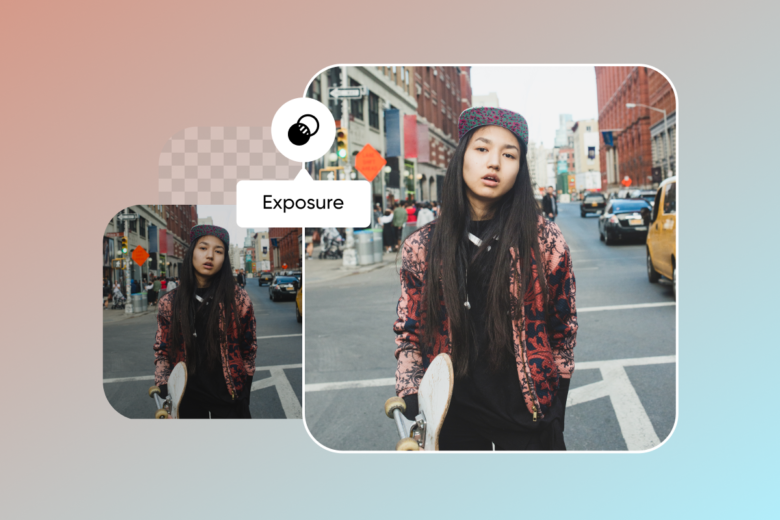
- Adjusting exposure: Increasing the exposure can highlight details in the shadows and midtones, making your image clearer and more vibrant.
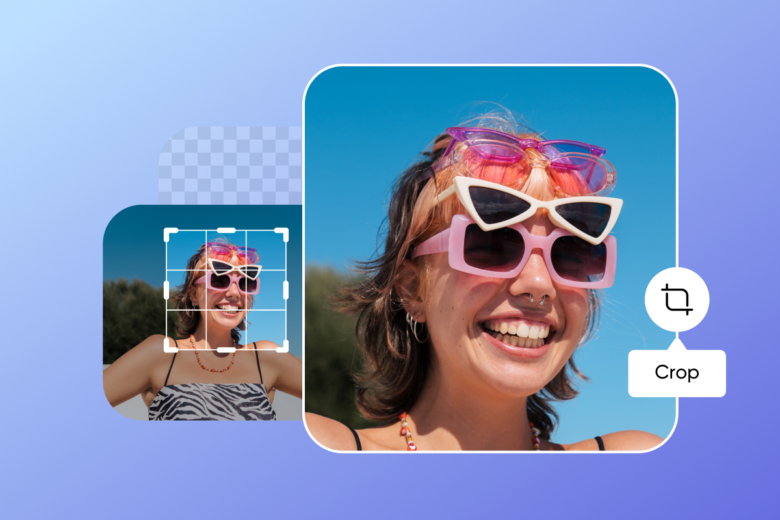
- Cropping: Sometimes, all your photo needs is a better composition. Try cropping out distractions to focus on your subject and give your pictures a brand-new look.
How to edit faces in photos with skin retouching
When it comes to photo retouching, adjusting how the skin looks is one of the most common goals. After all, we all want our skin to look its best in our portraits — but the key is to achieve that while maintaining a natural and authentic appearance. Some common skin retouching techniques include:
- Spot healing: Spot healing allows you to remove small details from your photo, like blemishes, pimples, or smudged makeup.
- Skin smoothing: Smoothing allows you to soften and give a dreamy look to the skin. It can help to adjust how light bounces off the skin and reduce shine.
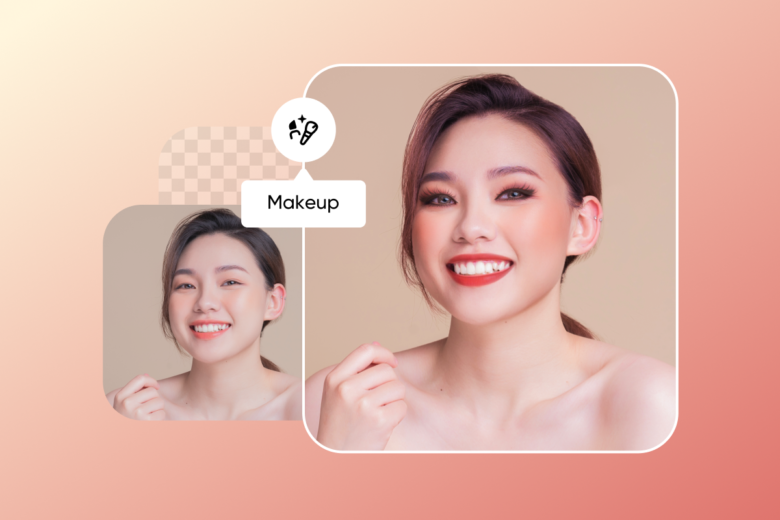
- Virtual makeup: Experiment with new makeup looks to enhance your natural features. Instead of applying makeup in real life, use the Makeup tool under Retouch to try different lipstick shades, highlights, eyeshadows, and more.
Remember: The key is to use retouching to highlight your natural features and not compete with them. For example, instead of using a skin-smoothing tool to blur out all of your pores and blemishes, try using a spot-healing tool to remove specific imperfections. This will give you a more natural-looking complexion without making you look plastic.
You can also use retouching to enhance your features, such as your eyes or lips. For example, you can use a brightening brush to make your eyes look brighter or use a lip plumper to make your lips look fuller. However, be careful not to overdo it, as too much retouching can make you look artificial.
How to touch up photos with Picsart
Here’s a quick guide on how to edit faces in photos on Picsart if you’re using an iOS- or Android-powered device.
- Upload your photo
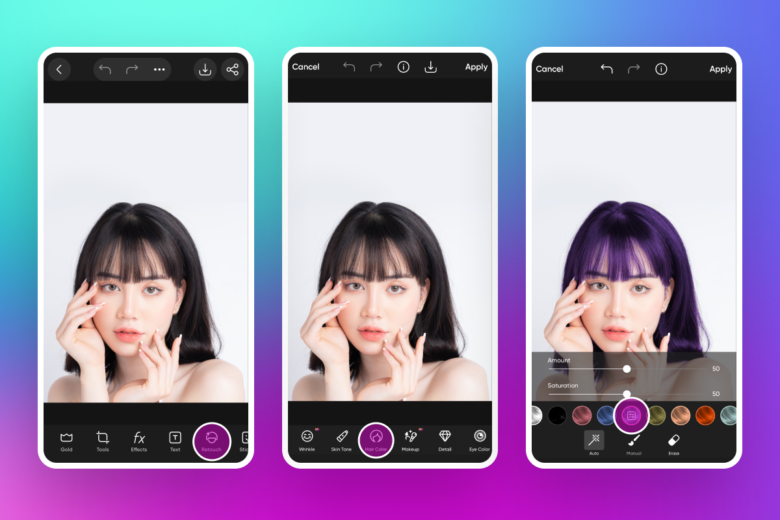
First, choose a photo to get started. Tap on the purple + button at the bottom of your screen to open the Create menu. From there, you can upload photos from your gallery to retouch.
- Select Retouch
Tap the Retouch button on the bottom-panel toolbar.
- Retouch your photo
Use the Auto tool to automatically retouch your photo with AI, or experiment with different tools to elevate your photo. From removing eye bags to whitening teeth, it only takes a few seconds to transform your photo.
- Apply and export
When you’re done retouching your photo, use the Apply/Checkmark button on the top right corner. Then, use the same button to export your edit and tap on Save in the bottom-left corner.
Congrats! Now that you know how to retouch photos, you’ll be able to edit your selfies and portraits in a breeze. And remember: You don’t have to stop there. There are all kinds of edits you can apply with Picsart, from fun stickers to bold filters.


