logo

Turn a rough sketch into a finished design with Picsart Flow

WORKFLOWS8 minAdvanced

Transform hand-drawn sketches into branded product renders with AI, no 3D software required.

Loading tutorial video

What you'll learn

  • How to convert rough sketches into photorealistic 3D product renders
  • Generate multiple material and color variations in parallel
  • Add branding and create editorial product scenes
  • Build reusable AI workflows with connected nodes

What is Picsart Flow?

Picsart Flow is a node-based AI workflow tool that connects multiple AI models on one infinite canvas. Each step (upload, generate, combine, refine) lives as a connected node, so you can branch new directions, compare variations, and iterate without starting over. Think of it as a visual programming canvas where your creative process becomes a reusable workflow.

Common use cases

  • Product design: Turn napkin sketches into pitch-ready renders
  • Packaging: Test label designs and color treatments before production
  • Fashion: Convert garment sketches into styled lookbook shots
  • Furniture: Generate lifestyle scenes from rough furniture drawings
  • Character design: Create vinyl figure or plush toy concepts
  • Marketing: Build full campaign visuals from a single product sketch

Build your sketch-to-design workflow step by step

STEP 1: Open Picsart Flow and upload your sketch

  • On web: Go to picsart.com/flow → Create new project → Add image node → Upload sketch
  • On mobile: Not available yet — use web version for full workflow access
Open Picsart Flow

STEP 2: Connect nodes and configure your workflow

Build your workflow by connecting AI model nodes:

  • Image-to-image node: Connect to sketch for 3D product renders (use Nano Banana Pro)
  • Text-to-image node: Generate brand logos and editorial backgrounds
  • Branch multiple image nodes: Create parallel material variations (frosted glass, marble, terracotta)
  • Combine nodes: Merge branded product with background scenes
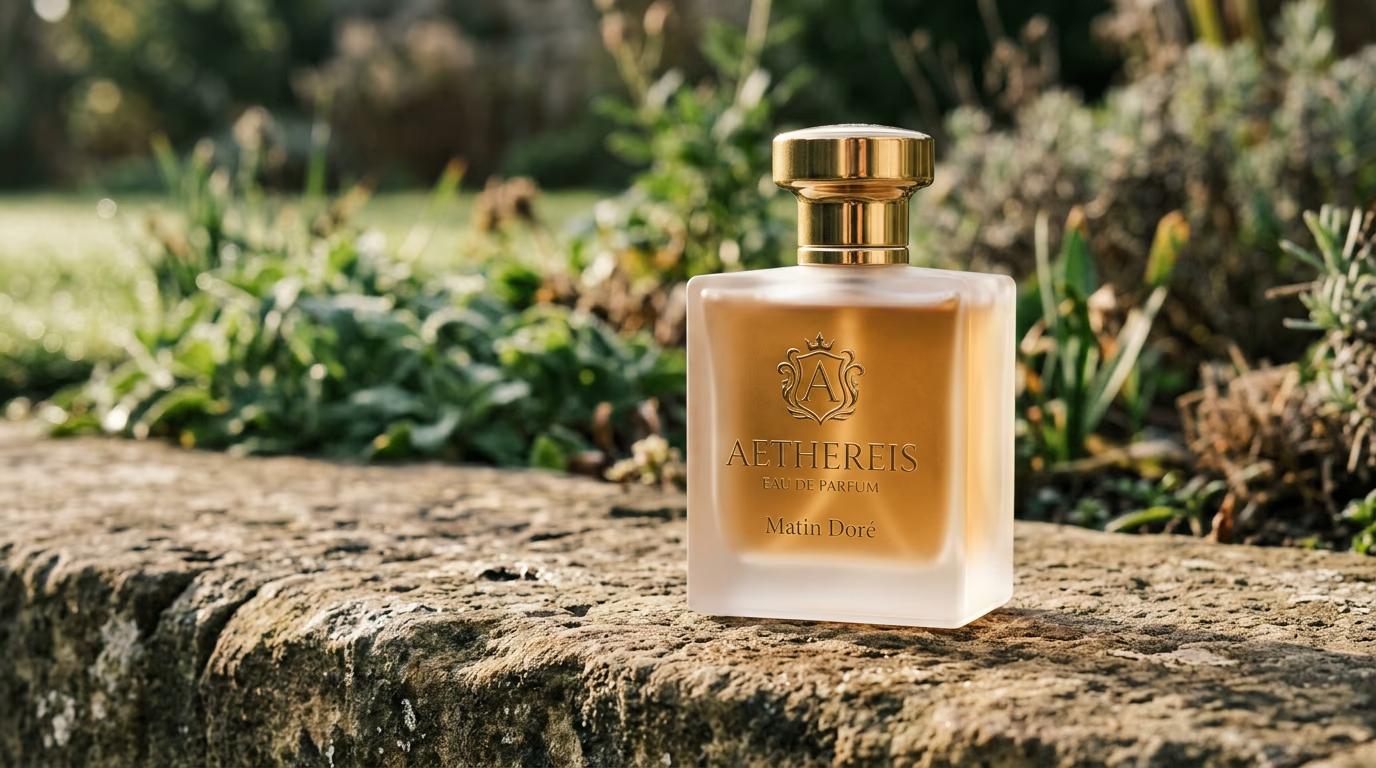
STEP 3: Generate and refine each node

Write prompts for each node and generate. Lead with the object details (material, shape, proportions), add surroundings (studio background, soft lighting), and specify finish (color, texture). For variations, re-prompt the same silhouette with different materials. All generations run in parallel on the canvas.

STEP 4: Export your finished designs

Review your workflow outputs and save your favorites: Not satisfied? Re-prompt any node without affecting the rest of your workflow, or save the entire workflow as a template for future projects.

  • Check that product renders maintain sketch proportions and details
  • Verify branding is legible and correctly placed
  • Confirm editorial scenes have cohesive lighting and composition
Start creating workflows

Tips for best results

💡 Sketch with clear proportions

Focus on accurate silhouettes rather than artistic finish. Add written notes beside your sketch for materials, colors, or distinctive features that lines alone can't communicate.

💡 Structure prompts consistently

Always lead with the object (material, shape, details), then surroundings (background, lighting), then finish (color, texture). This order helps the model prioritize what matters most.

💡 Generate variations in parallel

Branch multiple image nodes from the same source instead of generating one at a time. You'll see all options side by side and pick the winner instantly.

💡 Use concrete material names

Replace vague descriptors like "premium" or "luxe" with specific materials: frosted glass, brushed aluminum, natural marble, terracotta. The model understands physical materials better than abstract qualities.

Frequently asked questions

Sketch-to-image AI takes a hand-drawn or scanned sketch and turns it into a finished, photorealistic or stylized image using image-to-image models. The line work gives the model your silhouette and proportions, while your prompt fills in materials, lighting, and scene details. You get a professional render without 3D software, photography, or post-production work.

Upload your sketch to Picsart Flow, connect it to an image-to-image node, and write a detailed prompt describing materials, lighting, and finish. The AI generates a 3D-style render based on your sketch's silhouette. You can then branch additional nodes to create color variations, add branding, or place the product in editorial scenes—all on the same canvas.

Yes. Picsart Flow's image-to-image models read rough sketches and generate photorealistic product renders. Your sketch doesn't need to be polished—clear proportions and a recognizable silhouette are enough. Add written notes on or beside the sketch for details like material, color, or distinctive features the lines don't show.

Rough sketches work fine. The AI reads proportions and silhouette, not artistic polish. Focus on accurate shape and include written annotations for materials or colors. A napkin doodle with clear structure will generate better results than a detailed drawing with incorrect proportions.

Ready to build workflows?

Turn your next sketch into a finished design with Picsart Flow's AI workflow canvas.

Start creating now