Nothing can capture the emotion of a moment in time quite like a photograph. A photograph’s ability to freeze life’s most precious, painful, and promising moments and preserving history in a single frame is unlike any other art form. But you don’t have to have the sophisticated skills or experience of a professional photographer to achieve beautiful, memorable photographs. With the advent of digital photography and advanced smartphone cameras, anyone can take better photos with the right photography tips for aspiring photographers. Whether you are a beginner photographer or have a few years under your belt, these tips will either build your photographic muscle or remind you about all the things to keep in mind when composing, shooting, and editing your fabulous photos!
How to Get Into Photography
Like any creative pursuit, the world of photography can be daunting to break into, especially if you’re a beginner photographer learning the ropes, figuring out the difference between digital cameras, or discovering photography lingo like focal length, light source, and depth of field. The good news is that the world can’t get enough of beautiful photos like the ones you will learn how to take.
- Find Your Story
Every artist is a storyteller. Through their respective medium, whether a pen, paint, papier mache, or photograph, every artist sees a beginning, middle, and end in their composition and has a deep desire to share that story with anyone who cares to see it. So, what’s your story? What do you hope to tell the world through your lens?
- Find the Right Camera
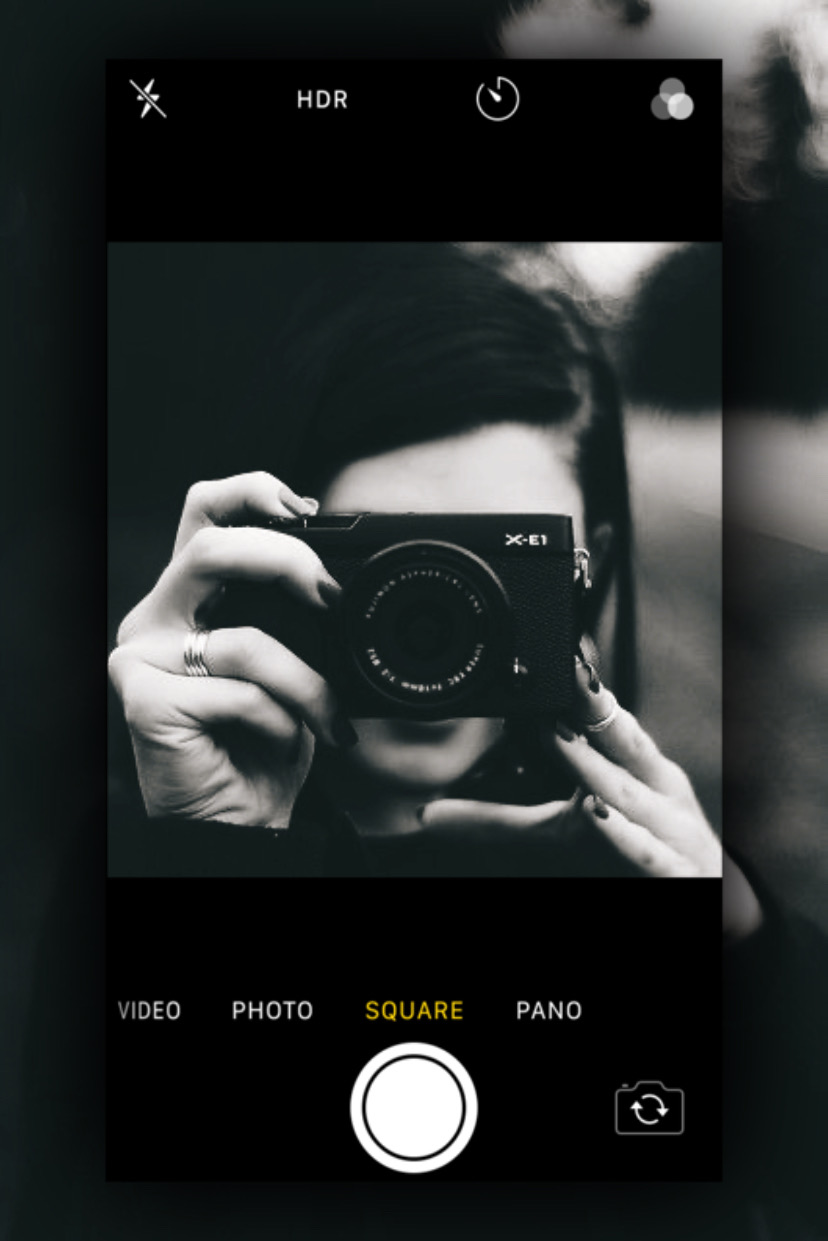
Every photographer has their own preference of camera, from a simple point and shoot to a digital camera to a sophisticated smartphone. Beyond those basics, you may find yourself learning new terms like mirrorless and DSLR. Be sure to research the best camera for your needs and learn the specific ways to operate them for the best results.
 via Picsart
- Start Shooting
Once you have a camera in your hands, get to shooting! Take your camera everywhere and capture anything you see, from the mundane to the majestic. Going on a hike? Take that Nikon to the woods and start photographing stunning mountains and beautiful flowers. Going to a party? Capture the whole scene, from the fabulously dressed attendees to the stylish decor to the delicious food. Meeting a friend’s baby for the first time? Charge up the Canon and snap away at some sweet moments. You have to start somewhere, so just…start. Pro tip: Be sure to find out what the capacity is on your memory card. For most people, a 32GH or 64GB memory card should suffice and will capture hundreds, maybe even thousands of images.
- Volunteer to Take Event Photos
Everyday life is one of the most fascinating photography subjects and often picks up nuances that we can miss when rushing through the day. Special events are those extraordinary times when we pause and pay homage to a special individual or celebrate a once-in-a-lifetime occasion with our nearest and dearest. When you’ve been invited to one of these special events, ask the host if they would be interested in your newly developed photography skills to memorialize the day. It’s a win-win. They get great shots of the event and you get to hone your talent in a new environment.
- Share Your Photos Online
No matter how you plan on using your photography skills, most new photographers want to share their work with the world. Once you’ve amassed a collection of snaps, create an online portfolio or a photography account on a social media platform. Use popular hashtags and connect with other creatives to get your work seen by the most eyeballs!
Photography Tips for Beginners
- Obey the Rule of Thirds
If you’ve read even one article about photography and photography theory, you’ve probably heard the term “The Rule of Thirds.” It is, in fact, a rule of thumb when it comes to composing any visual work of art. The Rule of Thirds is a composition technique in which an image is divided into thirds to create a nine-section grid with the important elements of the composition placed either at the intersection or along one of the lines of the grid. Following this tried-and-true technique creates a sort of organic, imperfect visual that looks like it “just happened.” Once you become more comfortable with the camera, you will find it easier to identify your grid when looking at your subject and composing the perfect frame before snapping.
 via Picsart
- Learn Your Camera Settings
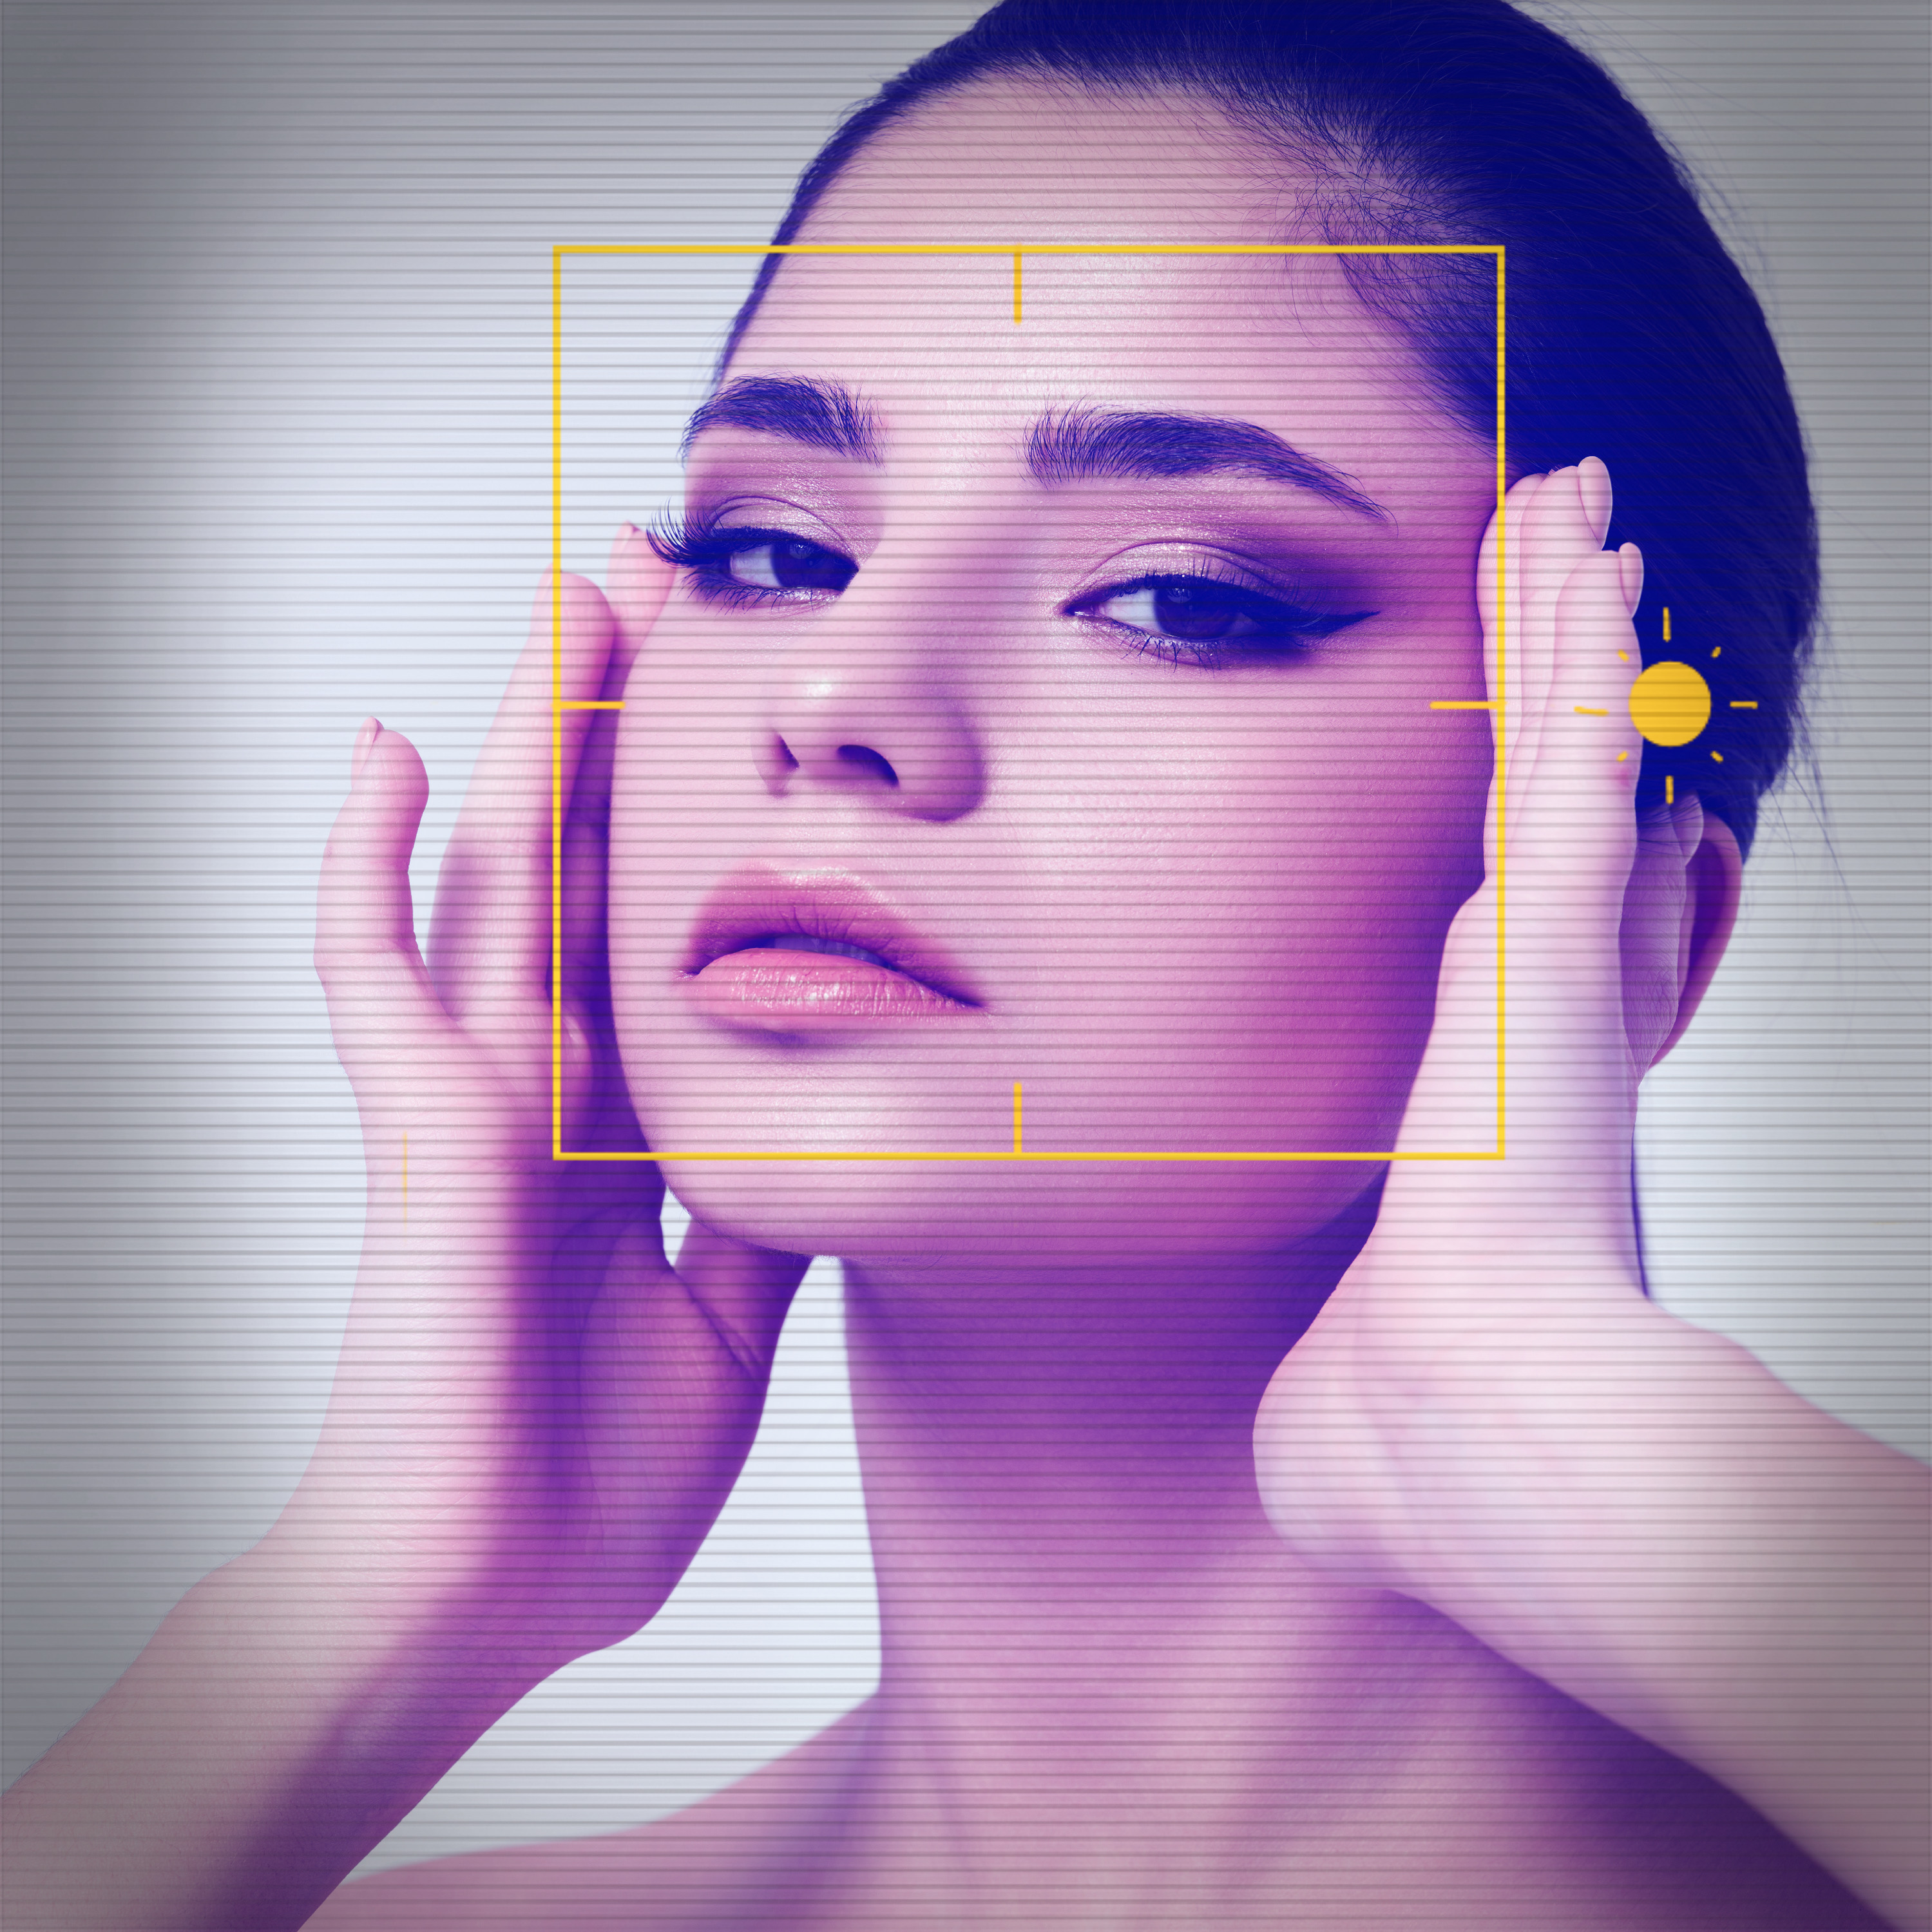
No matter what type of camera you own, you may be intimidated by the many settings you have probably never heard of. You may have a lot of questions, like “Should I shoot in manual mode?” or “What’s the best shutter speed for landscape photography?” Take some time to experiment with different settings and read up on how to best achieve the look you’re going for. Play around with depth of field and look up tutorials on ISO speed. Your camera’s user manual and the massive amounts of resources that exist online will get you all set up before heading out to capture your first adventure.
 via Picsart
- Understand the Exposure Triangle
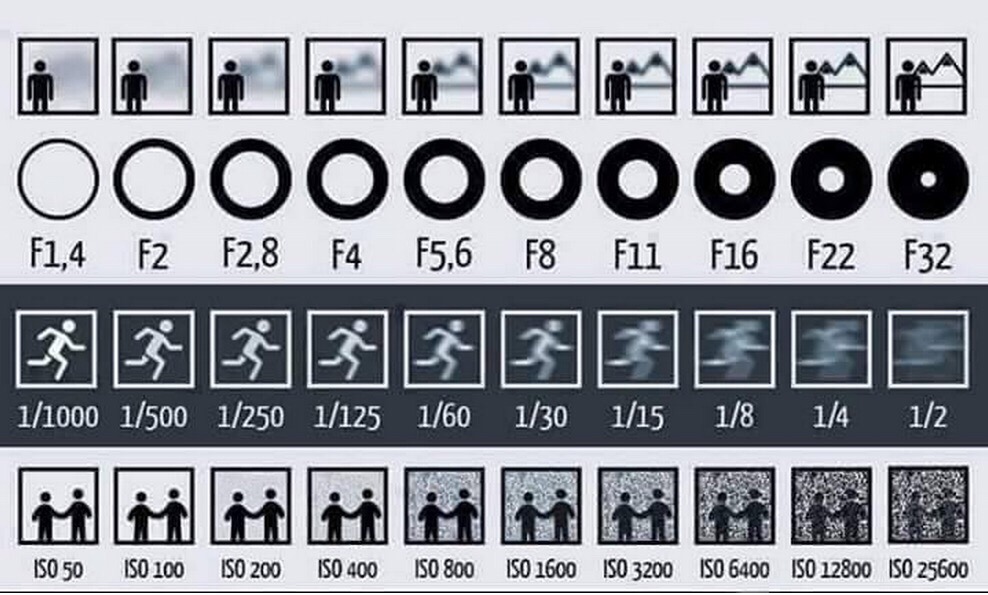
Grids and triangles. Who knew photography required so much geometry? Before you start checking out, it’s important to understand how understanding and mastering the exposure triangle — a trio of camera settings that impact a photo’s exposure — can help you become a proficient photographer in no time. The exposure triangle in photography includes aperture, ISO, and shutter speed, but what do each of these tricky terms mean? Aperture, also known as the f-stop or focal length, is the width of your lens opening. The width of this opening tells you how much light comes through your lens. A lower f-stop (larger opening) gives your photo more exposure (increases brightness), while a higher f-stop (smaller opening) reduces the amount of light that lands on your photo. Your camera’s aperture setting also determines the sharpness of the background of your photo. Do you know that blurred background effect that gives photos that professional look? That blur and its intensity are set by adjusting your camera’s aperture. Lower f-stop: less blur. Higher f-stop: more blur.
When it comes to good photos, it’s all about lighting. In fact, you don’t even have to have the best camera to take a good photo as long as you have good lighting. Your ISO (International Standards Organization) setting is the sensitivity of your camera’s sensor. So, as you increase the ISO, your camera’s sensor becomes more sensitive to incoming light. A higher ISO impacts your photo by creating more noise (visual distortion), while a lower ISO, which is more desirable, reduces noise.
If you plan on taking action shots or photos of people or things in motion, then having a grasp of shutter speed is your best bet to get a clear picture. In simple terms, shutter speed is how long it takes for your camera to take a photo. The camera shutter stays closed until you snap a photo. Once you click to capture a photo, the shutter opens and fully exposes the camera sensor to the light passing through your lens. Once the sensor receives the light through the open shutter, the “curtain” closes immediately. A long shutter speed allows more light to come through and results in a motion blur. In other words, objects in motion will appear blurred in the direction of the motion. This is great if you’re hoping to catch a raging waterfall or the speed of a long-distance runner. If you’re not aiming for that effect, then a shorter shutter speed is your best bet.
 via Picsart
- Get to Golden Hour
Ah, that glorious golden hour. Songs have been written about the warm, glowy feeling you get when bathing in the golden hues of twilight. Social media influencers have made entire careers out of posting photos of themselves at just the right time. And if you’re even remotely interested in photography, then you must know how desirable it is to time your photos just right to capture the warm, sunshiny hues of golden hour. Golden hour is the period of time right after sunrise and right before sunset when the sky is painted in warm yellows and oranges. Generally speaking, the best time to take photographs is around 4 or 5 PM, depending on the season. But golden hour isn’t just known as prime time for its impact on your photo’s colors. With the sun in peak position, it casts long, dramatic shadows, creating a certain intensity that’s hard to beat in both portrait and landscape photography.
- Always Be Ready
The most pensive writers have been known to always carry around a pen and notepad to jot down notes or phrases when inspiration strikes. If you want to capture authentic, in-the-moment photos or spot a location that would be perfect for a future photoshoot, always be prepared to whip out your camera and take a few test shots. You can never anticipate memories being made or how nature will surprise you when you’re least expecting it.
- Avoid Camera Shake
Avoiding camera shake is easier to accomplish than you might think. Sure, a tripod comes in handy when trying to hone in on your subject. But a steady hand can be achieved through minor adjustments like adjusting your shutter speed to the fastest setting to reduce blur caused by the camera’s motion. Using a remote to snap photos is also an easy way to avoid a shaky hand. Did you know your breathing can also impact camera shake? Here’s a tip: Try to exhale completely before releasing your camera’s shutter. Your body will be at rest and ready to take the perfect shot!
- Invest in a Reflector
Want to cast a golden glow on your subject or direct the light to a specific point on your subject’s face? A reflector — a bendy metallic disc that reflects natural or artificial light in your intended direction — is the best tool in any beginner photographer‘s arsenal. Recruit a friend to assist you with holding the reflector while you snap away.
- Explore Photo Editing Software
Whether you’re a professional photographer or just starting out, your goals may include sharing your photos with at least one other person. Learning how to use even the most basic photo editing software can come in handy to enhance your snaps and even get creative with graphics. Picsart, an all-in-one editing software, is perfect for just about any level of experience. Picsart’s sophisticated photo editing tools can help you get the most out of your gorgeous shots.
- Take Multiple Shots
You can spend a day on set or on-site and think you’ve gotten the shot. But unless you’re zooming in and checking the details of each photo, you’re more than likely to find more unusable photos than you expected when you get back home or back to your studio. For that reason, it’s advisable to take multiple shots — more than you think you will ever need — just to make sure you didn’t waste the day on a handful of mediocre photos.
- Shoot in Different Lighting
It’s a well-known fact that soft, natural light is the best-case scenario for the most appealing photos. But shooting in different kinds of lighting can create stunning shots with a lot of drama. Night photography, when shot with the right equipment (such as a sturdy tripod and remote shutter release) and set to the right ISO, can transform the time between dusk and dawn into a work of art! Studio lighting can also create desired drama, especially with the appropriate lighting, props, and backdrops. Experiment and explore to see what your camera can do!
- Buy Basic Equipment
You don’t need to invest in expensive gear to jumpstart your photography career. A simple entry-level digital camera, basic photo editing software, and natural photography skills will get you far whether you’re picking up photography as a hobby or a career.
- Study Other Photos
They say the best writers are always reading other people’s writing. By investing time and energy into studying how other writers compose their headlines and sentences and discovering the different ways they engage their subjects during interviews, wordsmiths get a sense of what they like as well as the evolution of the industry. Similarly, photographers must be aware of how their peers are taking photos and the techniques they are using to create stunning pictures. Studying other artists’ work has been known to boost creativity, and it helps aspiring photographers discover their own artistic voice and style.
- Pay Attention to Detail
It’s true that the subject of a photo is the focal point and star of the show. But honing in on details makes for the most interesting compositions. Is a partygoer donning a brooch that’s catching the light in a dazzling way? Is the host making interesting gestures with their hands? Oftentimes, these details help tell your story better than a wide shot of the scene. Find and focus on these details for the most visually captivating photos.
Beginners’ Tips for Photo Editing
Good photography comes down to a few things. One of them is having a good eye. Another is being able to work with a camera and having solid photography skills. And yet another is knowing how to take a photo from good to great with photo editing software. Picsart has all of the tools you need to elevate all of your spectacular snaps. Read on for tips on how to edit your photos using Picsart’s selection of photo editing resources.
- Shoot in RAW Format
First thing’s first: shooting in any other format besides RAW (like JPEG) will give you far fewer editing options. Like adjusting your photo’s white balance and finding your exposure. Photos shot in JPEG format are more difficult to edit because the files are pre-processed and don’t contain the original data of the photo. This makes it more difficult to adjust things like your photo’s white balance, color, or exposure. Although RAW files are larger in size and require more sophisticated editing and post-processing programs. But the ability to really get into the file and manipulate its data in a way to completely customize your photo could be worth it.
- Crop Like a Pro
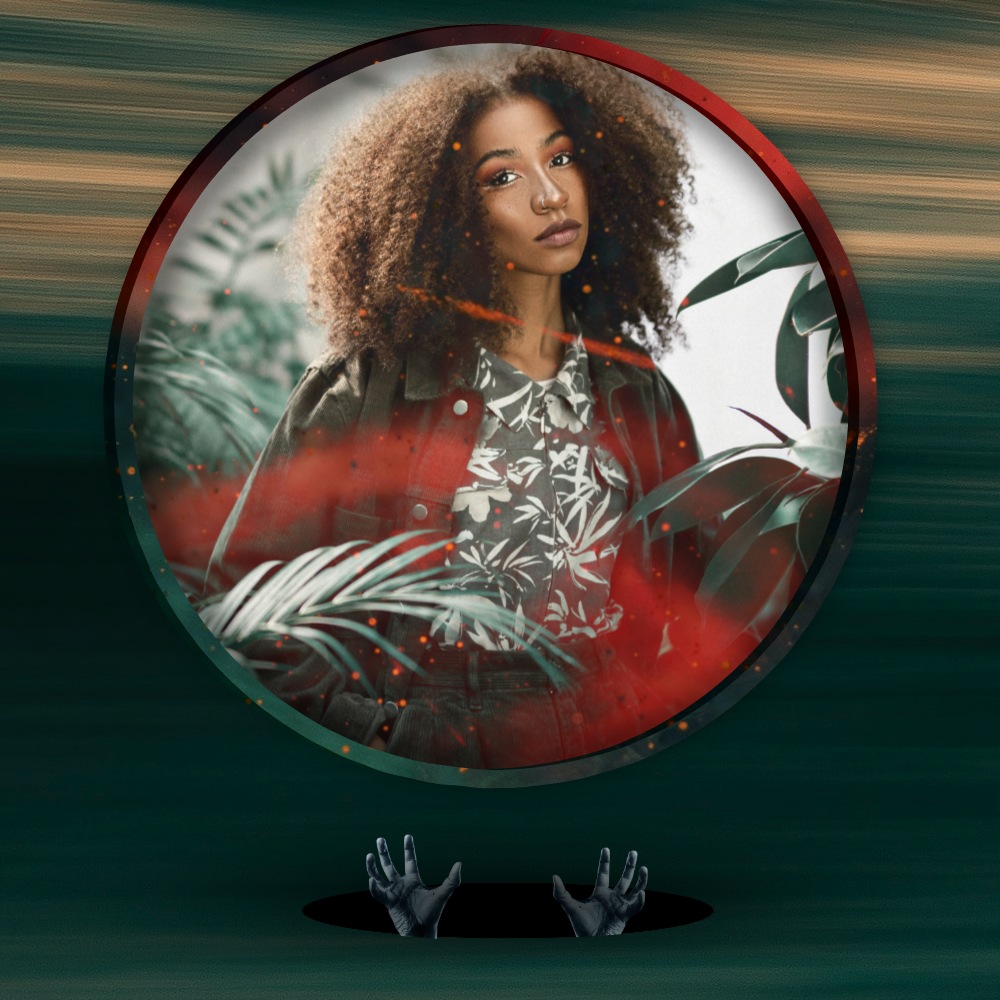
Clean up your photos by strategically cropping unnecessary or unwanted elements of your photo. Achieving the right dimensions is also essential when cropping for platforms such as social media. Adjusting your photo’s framing is one of the most basic yet most essential basic photo editing tools you’ll want to use in many cases. You can also experiment with cropping your photos into shapes with Picsart’s shape crops to use in photo collages or other creative projects.
 via Picsart
- Remove People From Photos
Ever find an unwanted element in one of your perfect photos? Use Picsart’s Remove tool to remove it quickly and easily. Get rid of graffiti on walls, cars in the foreground, or stained concrete that are polluting your photo with an eyesore.
- Adjust Exposure and Brightness
The most subtle tweak can take a photo from gloomy to glorious. With a subtle move of the exposure slider, your low-light photos will shine with renewed energy.
- Increase Contrast
Strengthen the black tones of your photo and add some weight to your composition with a simple contrast adjustment. You will notice the light areas of your photos become lighter and the dark areas become darker. You can do so by clicking Tools then Adjust then Contrast in the Picsart app.
- Enhance Saturation
Whether you want the colors in your photo to be more intense or you’re hoping to achieve a subtle fade, adjusting the saturation will give you the striking colors you’re going for. You can do so by clicking Tools then Adjust then Saturation in the Picsart app.
- Sharpen
Sharpening an image is not the most recommended editing tool, mostly because applying too much of the tool can lead to an oddly distorted and noisy photo. Sometimes, sharpening a photo ever so slightly can enhance the subject in the most subtle way. As a beginner, play around with this tool to see what you’re comfortable with. In the Picsart app, click on Effects then HDR, and play around with the sharpening settings.
Create at the Speed of Culture
Picsart is a full ecosystem of free-to-use content, powerful tools, and creator inspiration. With a billion downloads and more than 150 million monthly active creators, Picsart isn’t just the world’s largest creative platform; we’re also the fastest growing. Picsart has collaborated with major artists and brands like BLACKPINK, the Jonas Brothers, Lizzo, Sanrio: Hello Kitty, I am a Voter, Bebe Rexha, Maroon 5, One Direction, Warner Bros. Entertainment, iHeartMedia, Condé Nast, and more. Download the app or start editing on the web today to enhance your photos and videos with thousands of quick and easy editing tools, trendy filters, fun stickers, and brilliant backgrounds. Unleash your creativity and upgrade to Gold for premium perks!

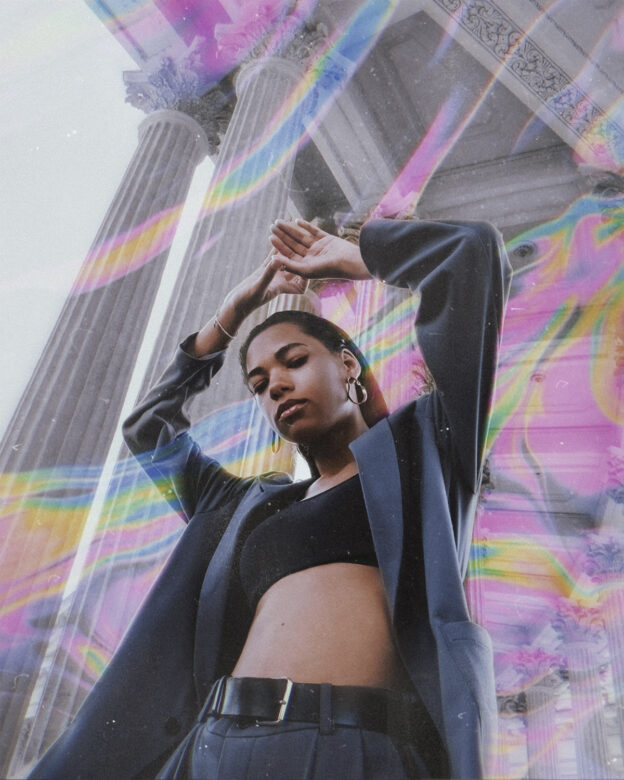

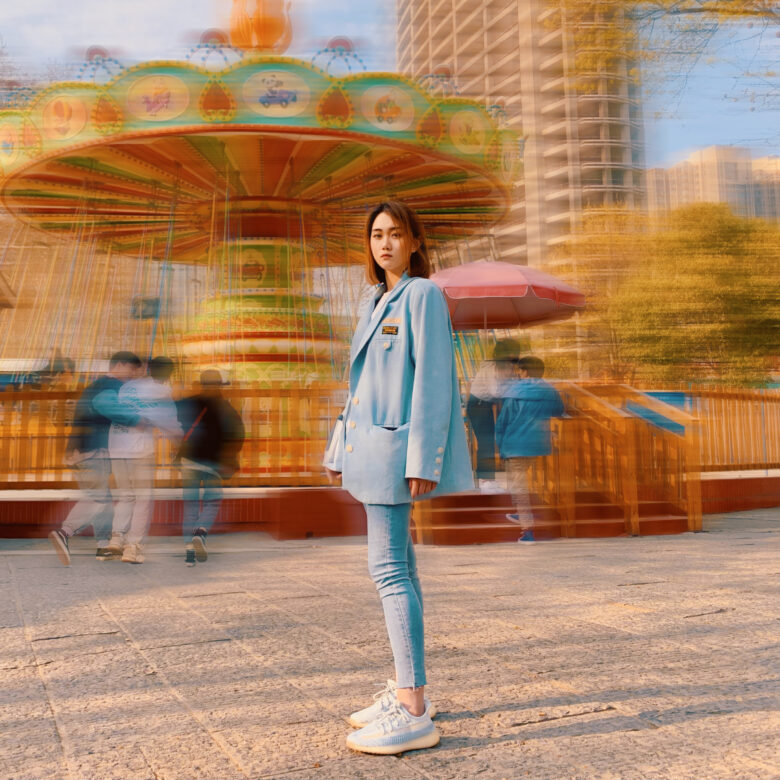

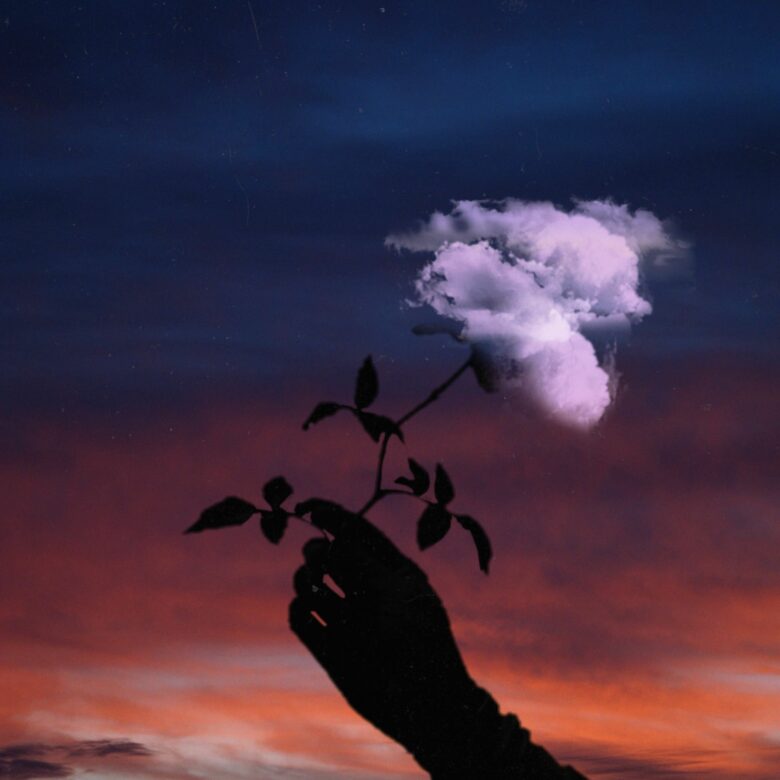
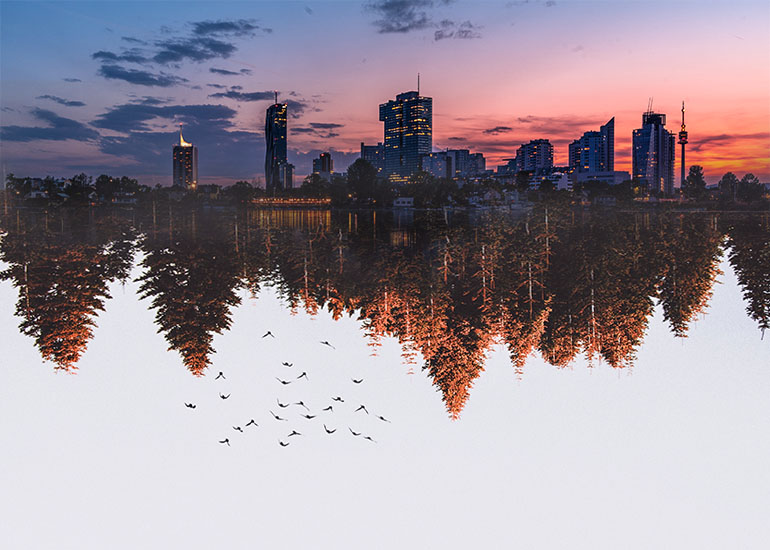
 via PicsArt


