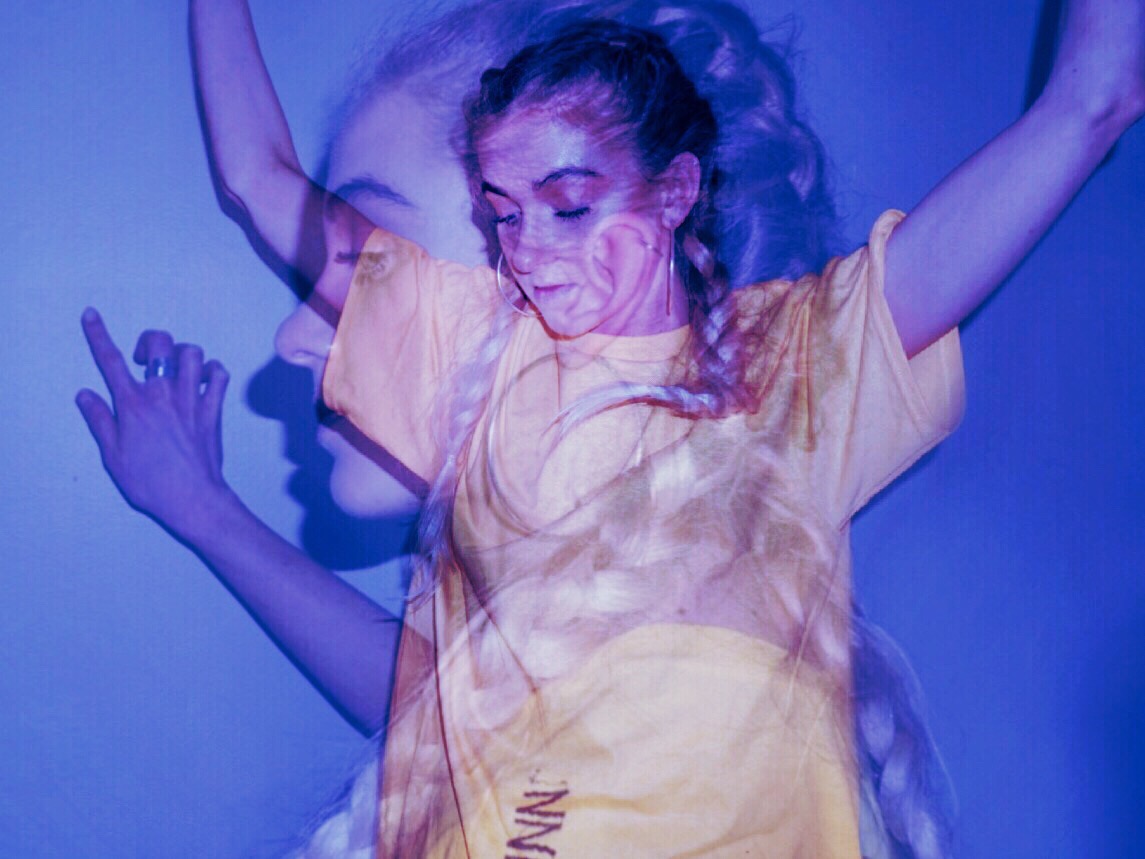
When it comes to editing photos, sometimes two is better than one. This, plus the fact that technology-inspired photo edits are everywhere right now (glitchy selfies, anyone?), gave us our inspo for this ultra-cool double exposure remix. Thanks to a little help from the Add Photo Tool, you can take your double exposure skills to the next level with this DIY projection screen photo edit. Follow this easy photo editing tutorial to create a new and improved double exposure faster than ever!
- Download PicsArt photo editor and collage maker for iOS, Android, or Windows.
- Open your picture in the photo editor. Tap on the Add Photo icon and select the photo you want to add.
- Tap on “Blend” and change the blending mode to “Overlay.” Tap on “Opacity” and bring the opacity down to about 70. Tap on “Apply.”
- Tap on the Draw icon. Tap on the layers icon in the bottom right corner to open the layers panel.
- Tap on the paint bucket and select a dark blue color (or any other color you like).
- Tap on “Normal” to see your blending mode options, then select “Overlay.” Tap on “Apply.”
- Save and share your photo to PicsArt using the hashtag #Projection!

PicsArt photo editor, collage maker and sticker maker is all about you. If you haven’t tried it, you’re missing out! Remix free-to-edit pictures into awesome collages and memes. Download the app to get in on the action.


