Contents
With all of PicsArt’s tools and features, there really are endless possibilities when it comes to what you can create. Whether you’re searching for collage templates and custom invitation makers, you want to make your own meme, or you want to level up your YouTube account with cool YouTube thumbnails, you can do that and so much more in PicsArt. But with a full suite of photo and video editing tools, where do you begin?
Our Master Storytellers and Master Contributors are a community of some of PicsArt’s most active and inspirational creators. Just check out this Spotlight on PicsArt Master VenusTheCat and you’ll quickly see what we mean! We recently asked them what their photo editing secrets are to creating their masterpieces – and they’re sharing all their favorite photo editing tips and tricks here. What are you waiting for? Let’s dive into these photo editing hacks!
Favorite Photo Editing Tips
Double Vision
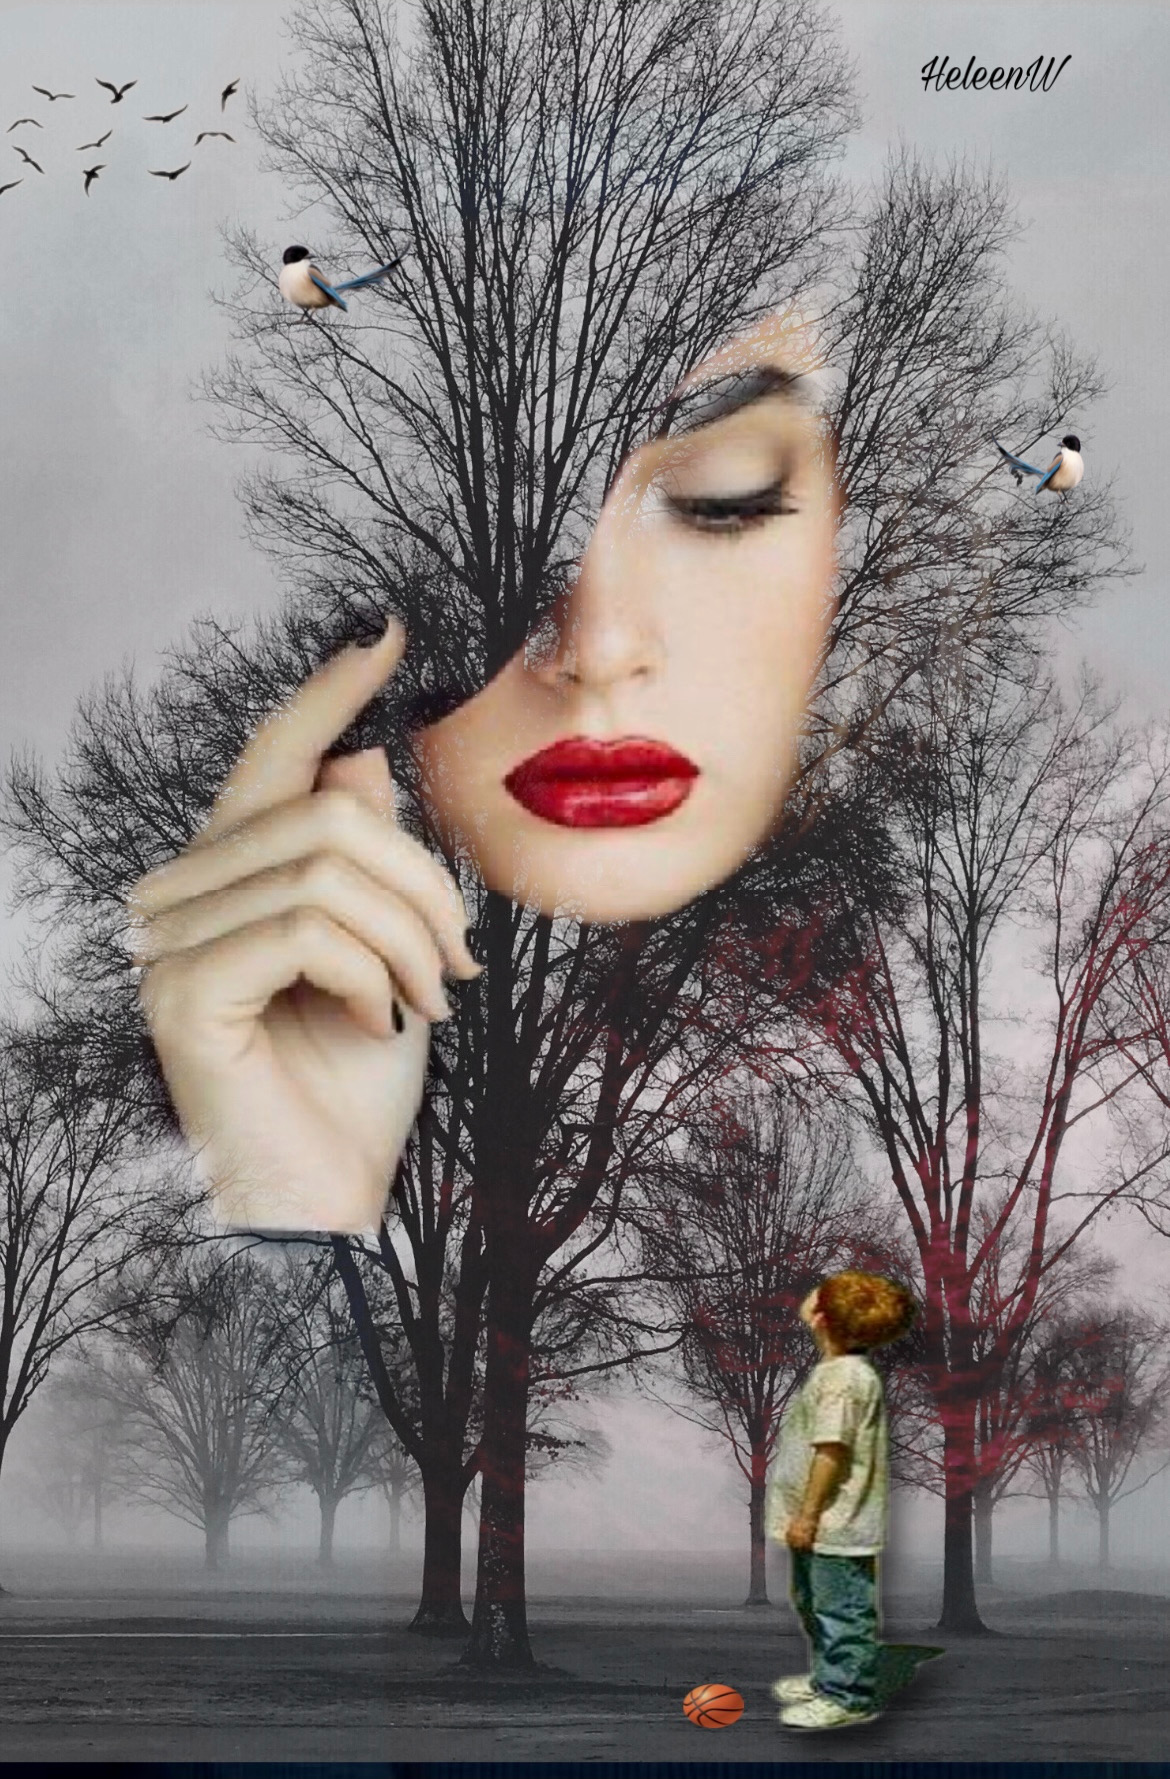
“My favorite editing trick is double exposure. I start with one edit and look for what fits. Sometimes I’ll layer two edits or three on top of each other for the right result. Just try and see what it turns out.” – @Heleen12 Want to learn how to make your own? Check out this complete guide to double exposure photos.
Play With Colors
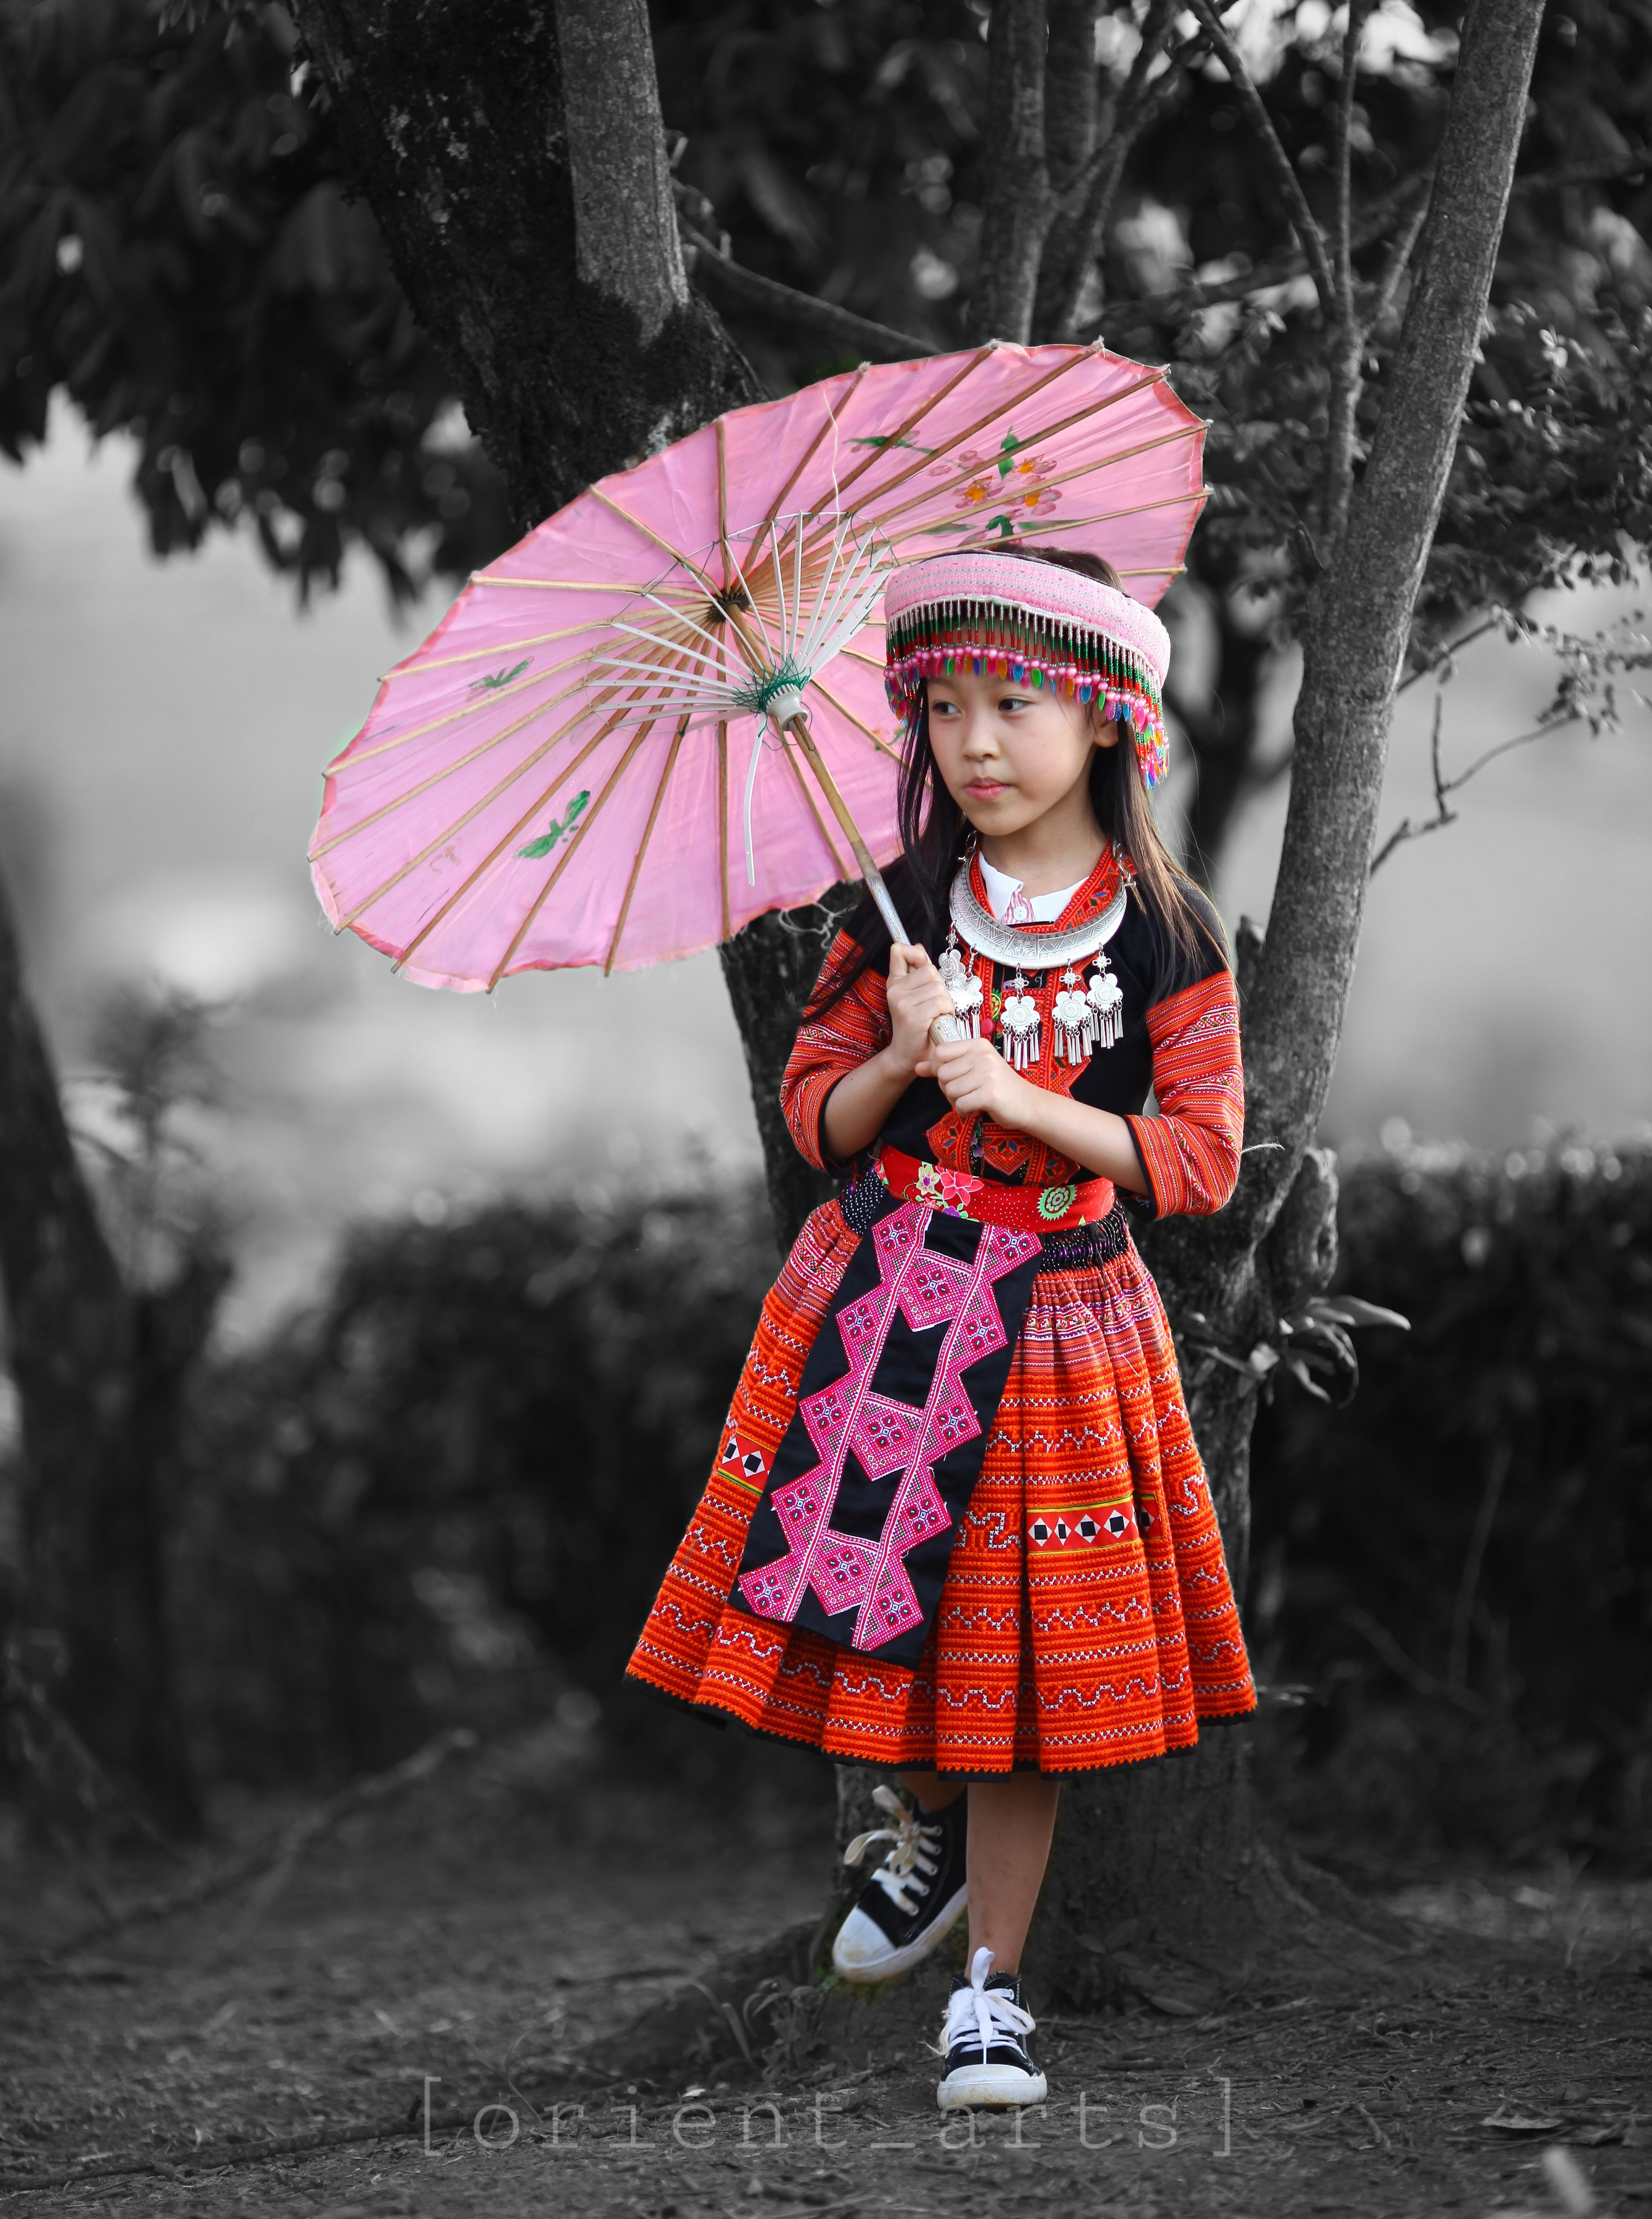
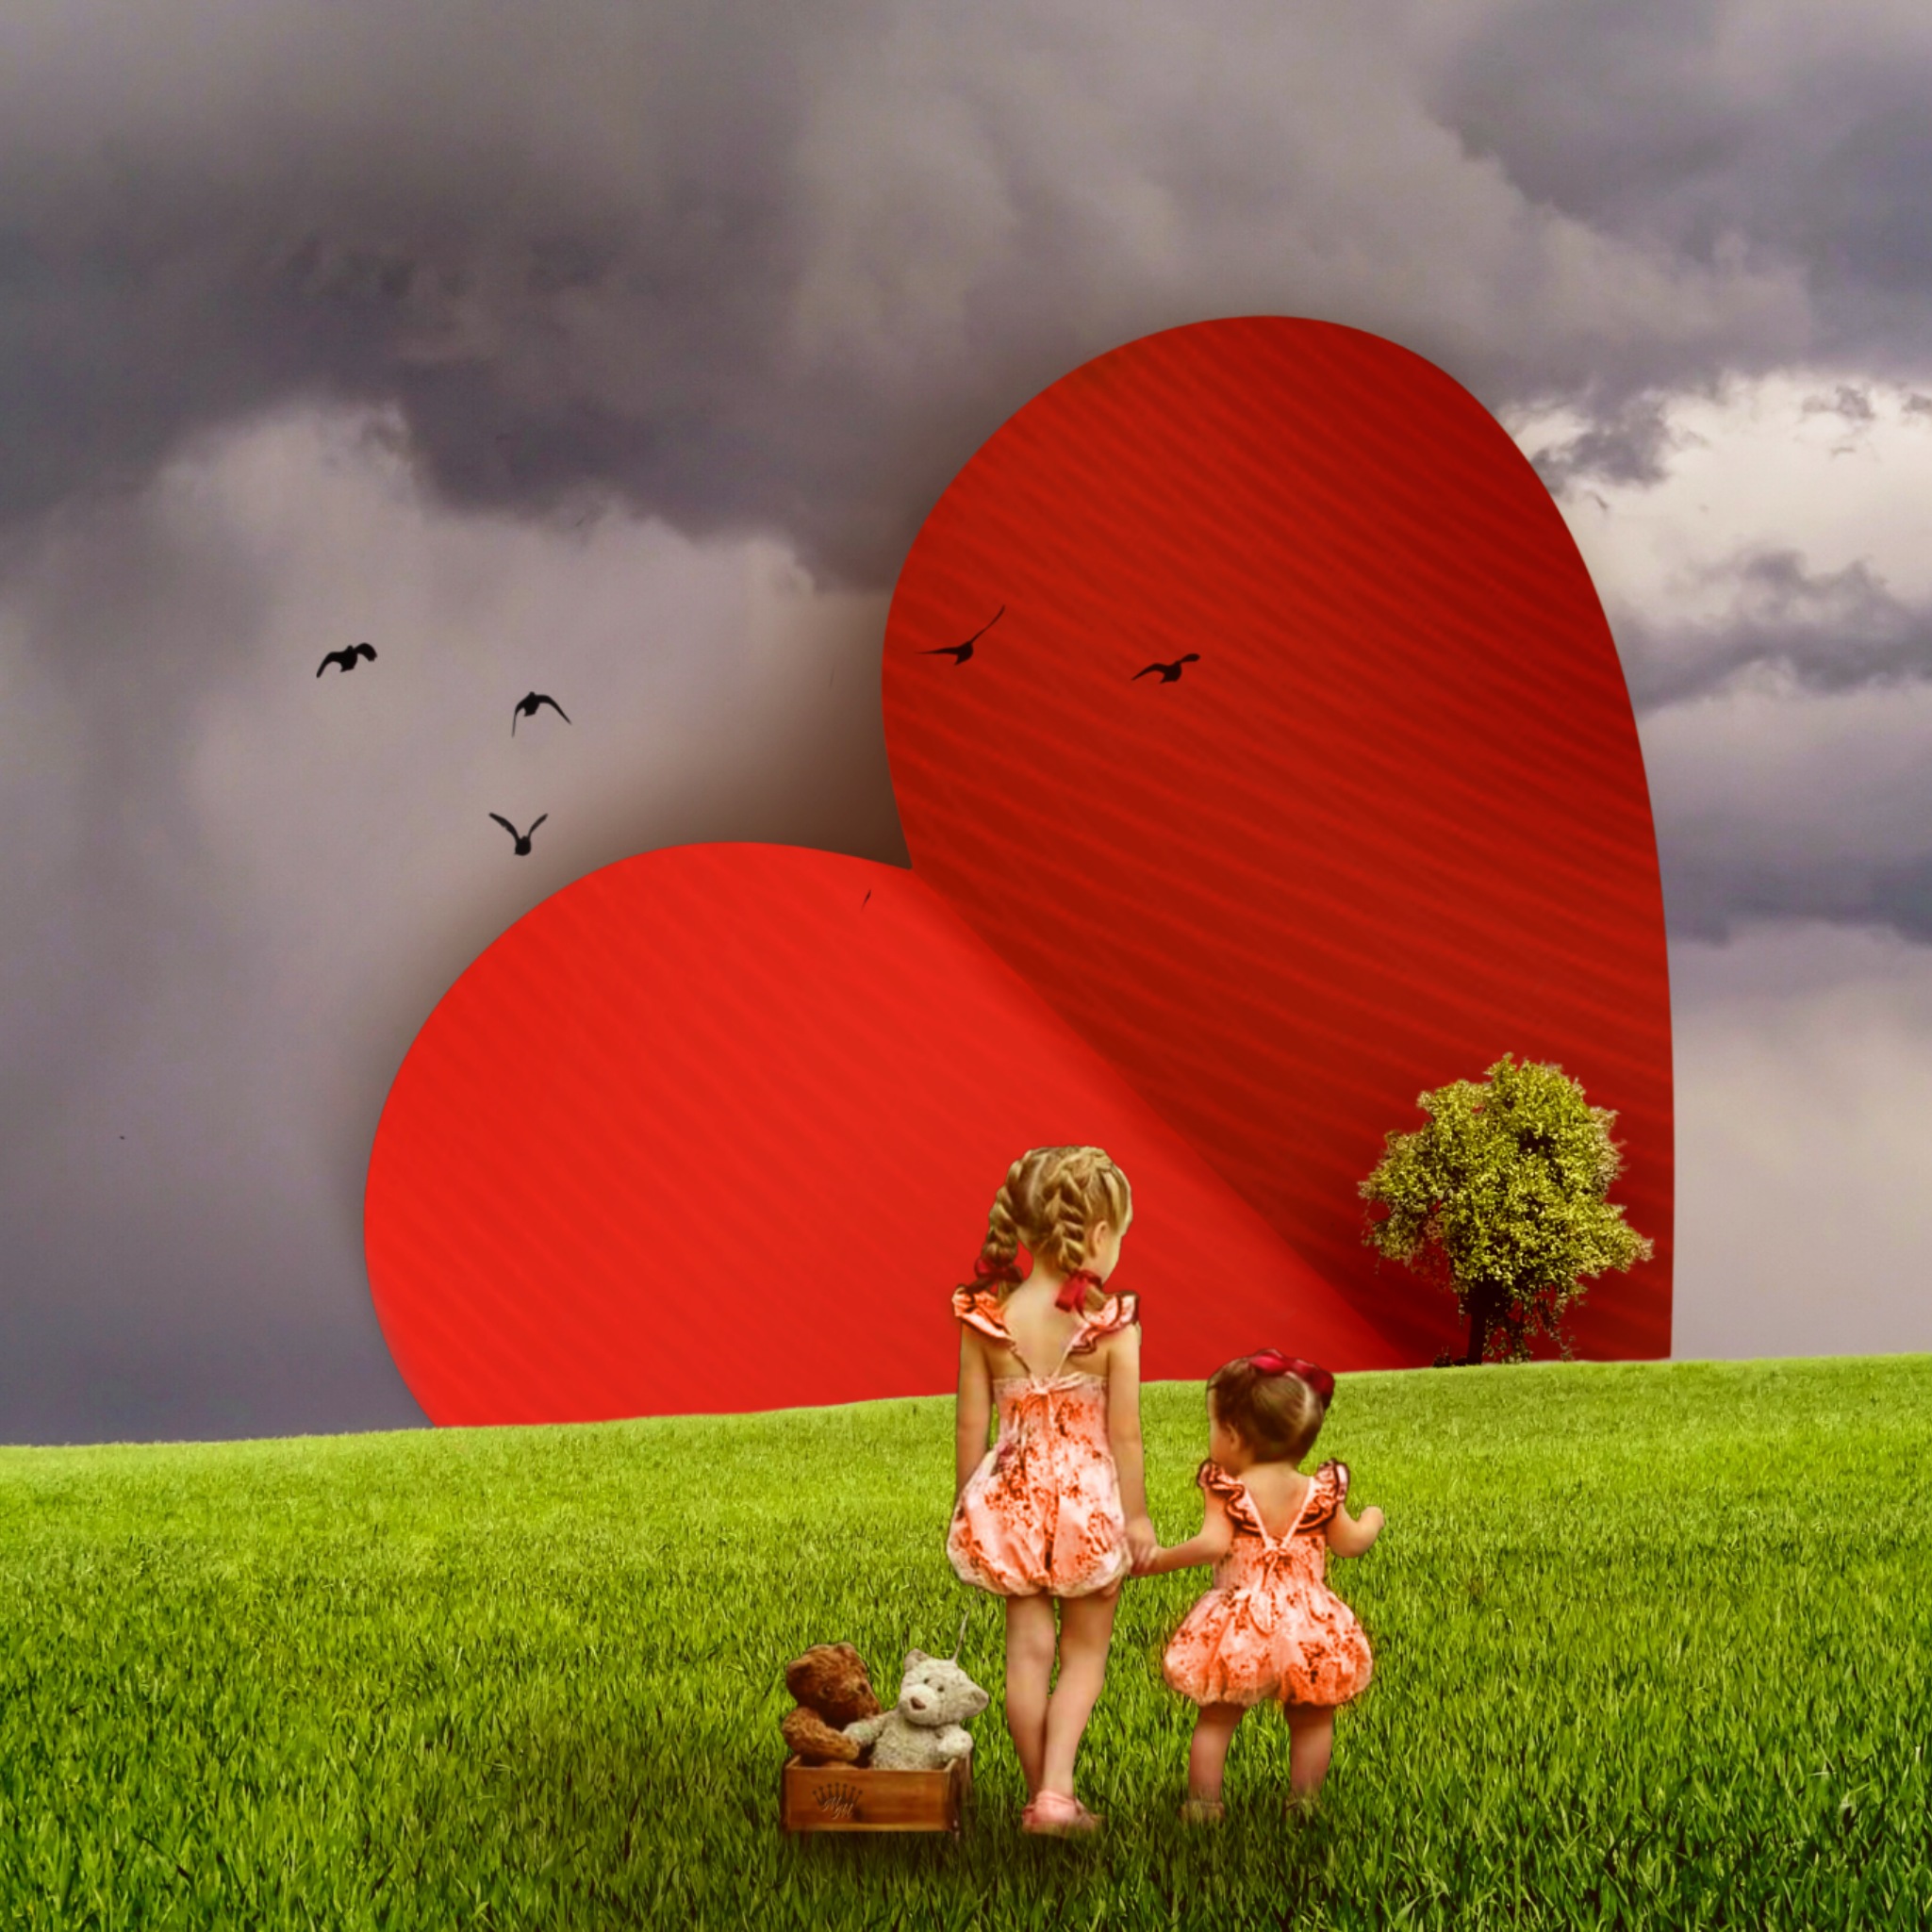
“I make the background of a photo black and white and leave the people, animals, or other focal points in the foreground in color. This gives a cool three-dimensional feeling to my photo editing.” – @orient_arts
Add Shadows
“A quick way to add a shadow: Place your sticker. Go to Tools; Adjustment, and turn down brightness about 50%. Now go to Erase and click Invert. Next click Restore and draw the darker area back to make a shadow for your sticker.” – @jcervay
Add a Colorful Border
“With a little bit of playing around, you can add a nice colorful effect to the border of an image. Open your image in PicsArt and tap the Effects option. Then under FX, tap Vignette. Tap Vignette again to open the vignette effect options. Then tap the color box to choose the border color. While here, you can also increase or decrease the border size.” – @adarshimishra
It’s in the Details
“Paying attention to details can make your edit more realistic, like adding shadows to objects or making reflections of light in water or windows for example. You can also erase clear or transparent objects with a lower opacity to see the background and the object.” – @endhless
Rule of Thirds
“I really pay attention to every detail… like shadows and reflections for every single object. I often draw the smallest details, such as bright spots… or fur on animals. But even more I love to give depth and movement to images with Blur or Motion tools .. even good framing using the rule of thirds can make the image more pleasant by attracting the viewer’s gaze to the subject you want to give importance.” – @lillobalillo
Retouch
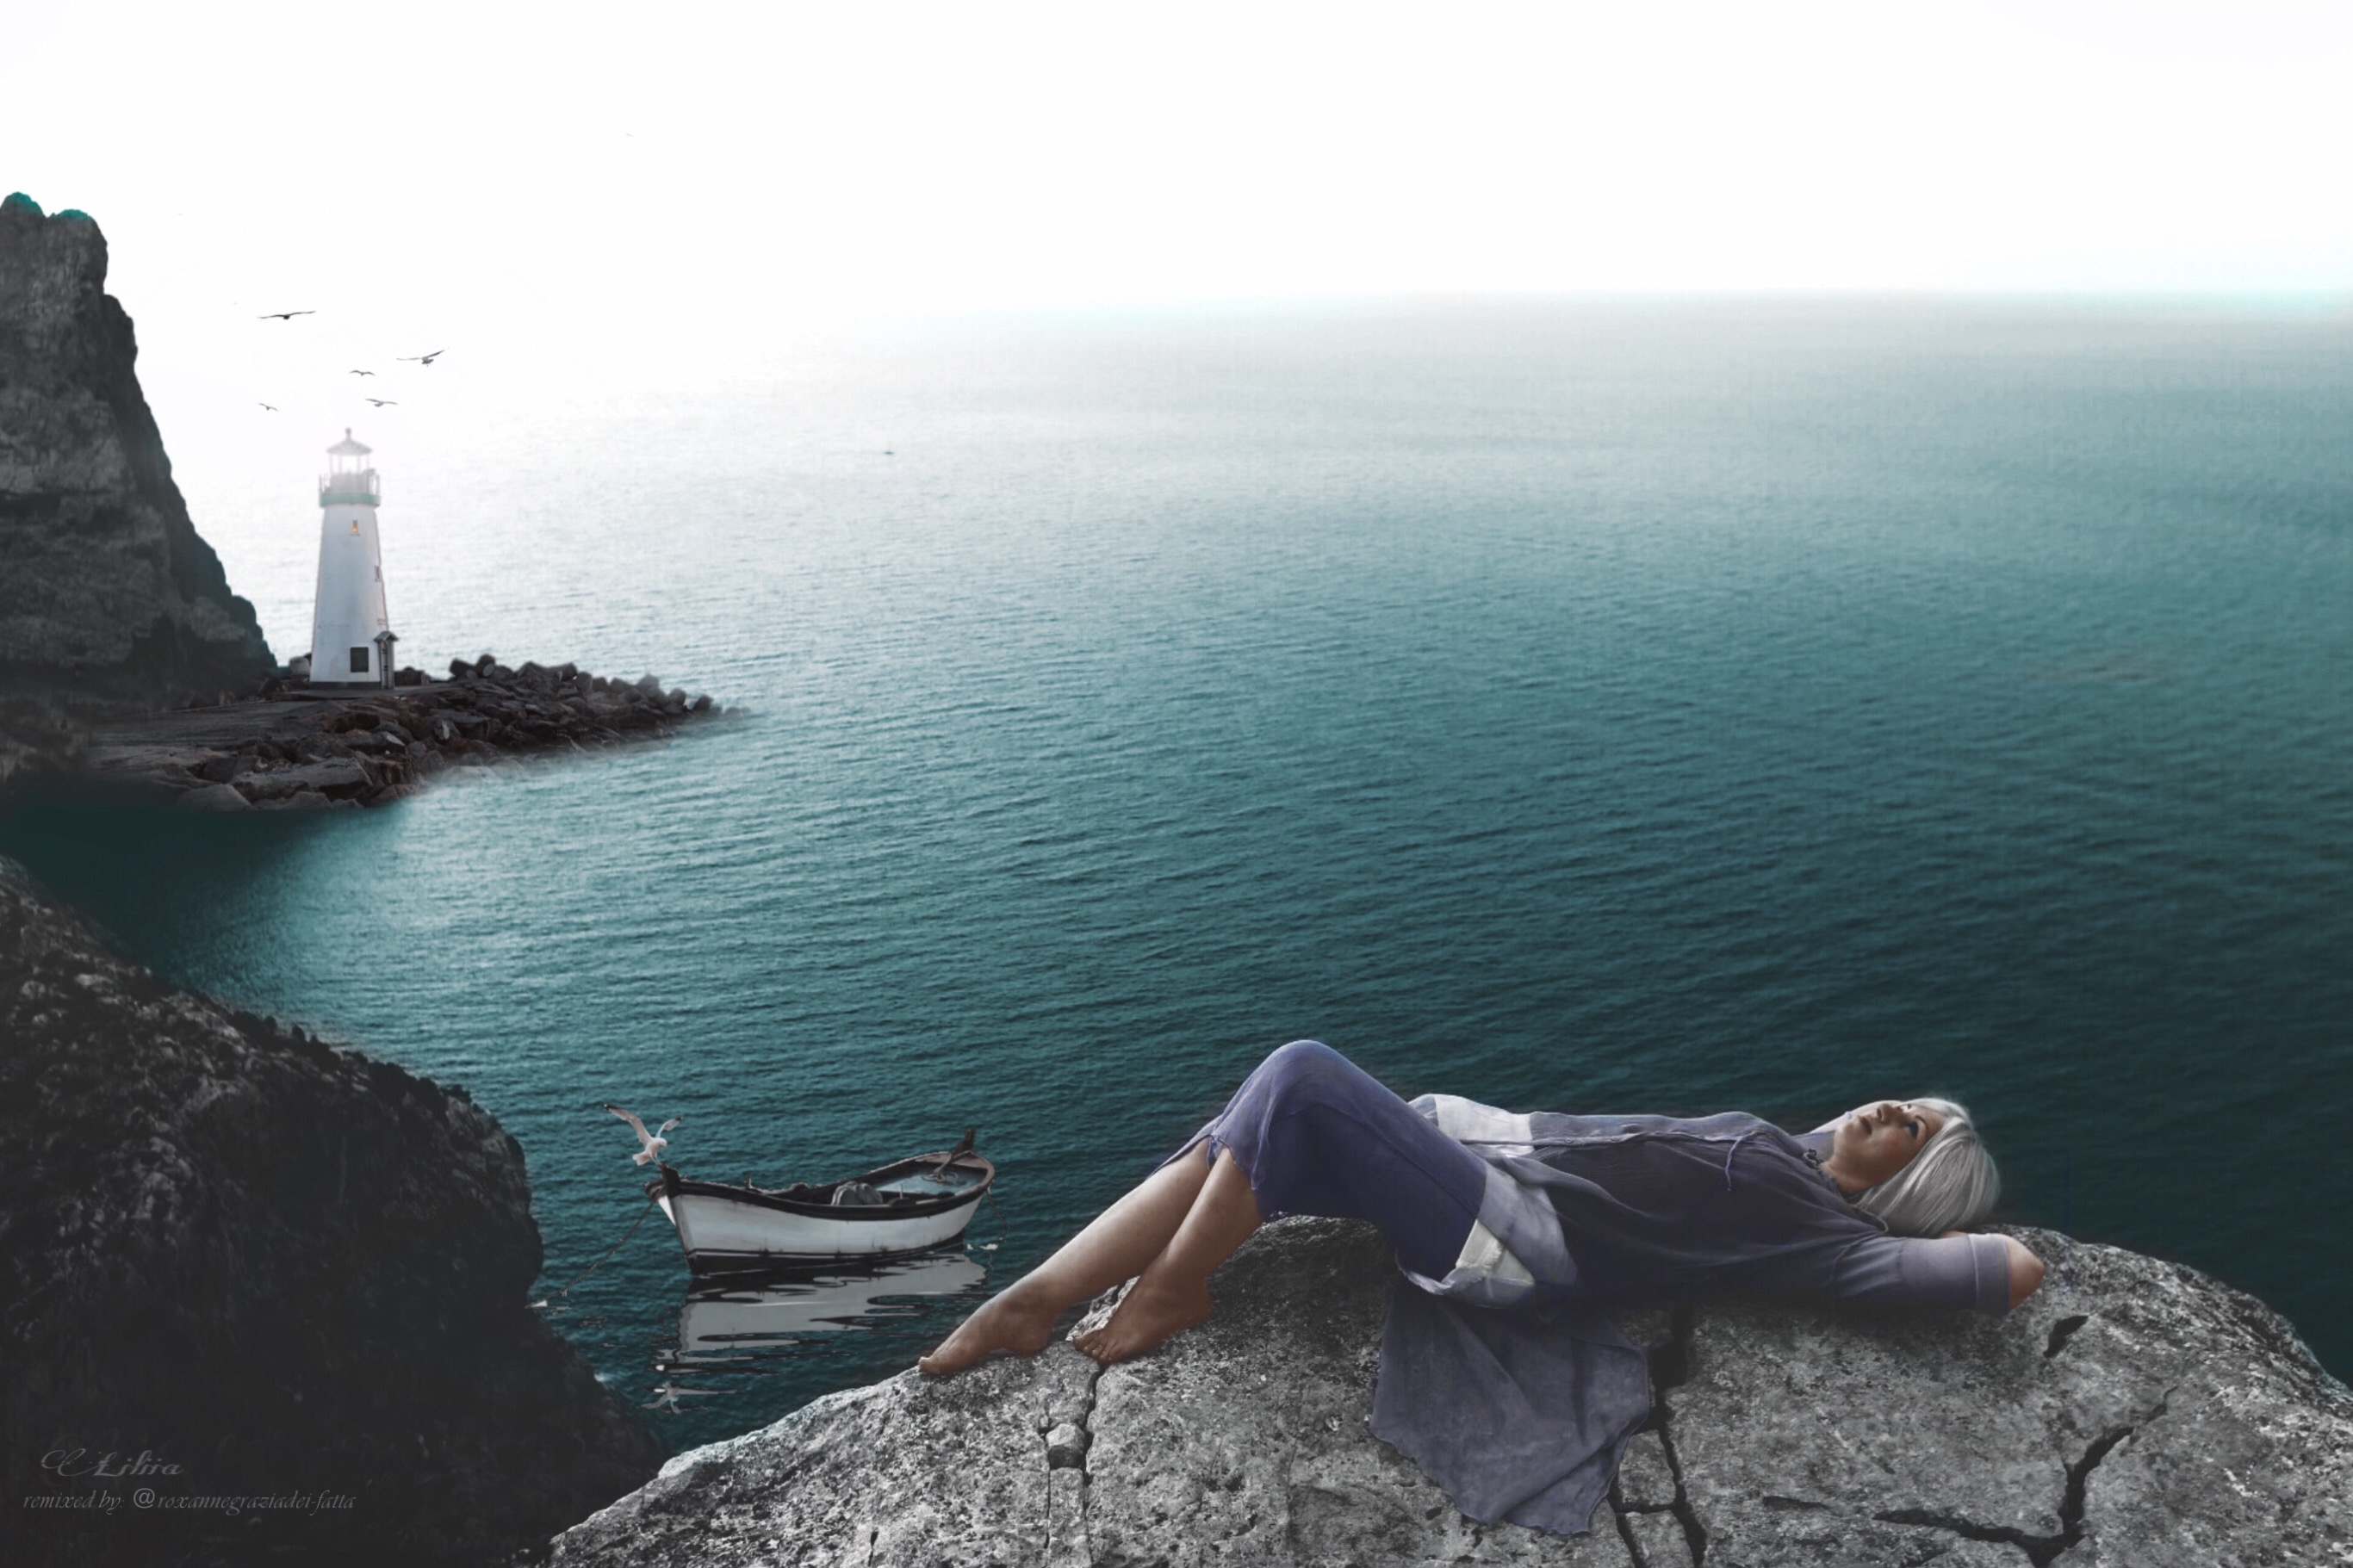
“I love using the Retouch tool for things other than editing faces. It adds vibrant, realistic, translucent colors to so many elements like water, skies, landscapes, clothing, and people… without changing the integrity of the images within the whole. The photo below is a shoutout Remix that I made from the artist’s original black & white photo.” – @roxannegraziadei-fatta
Sharp Details in Drawings
“My trick is for creating sharp details in drawings. Just enlarge the photo you are using as reference, as high the Editor permits, before transferring the image to the drawing board. When on the drawing page, you can enlarge any tight spot by pinching out on your screen. I do not use a stylus pen. I use my pointer finger as my pencil.” – @draw_art_4u
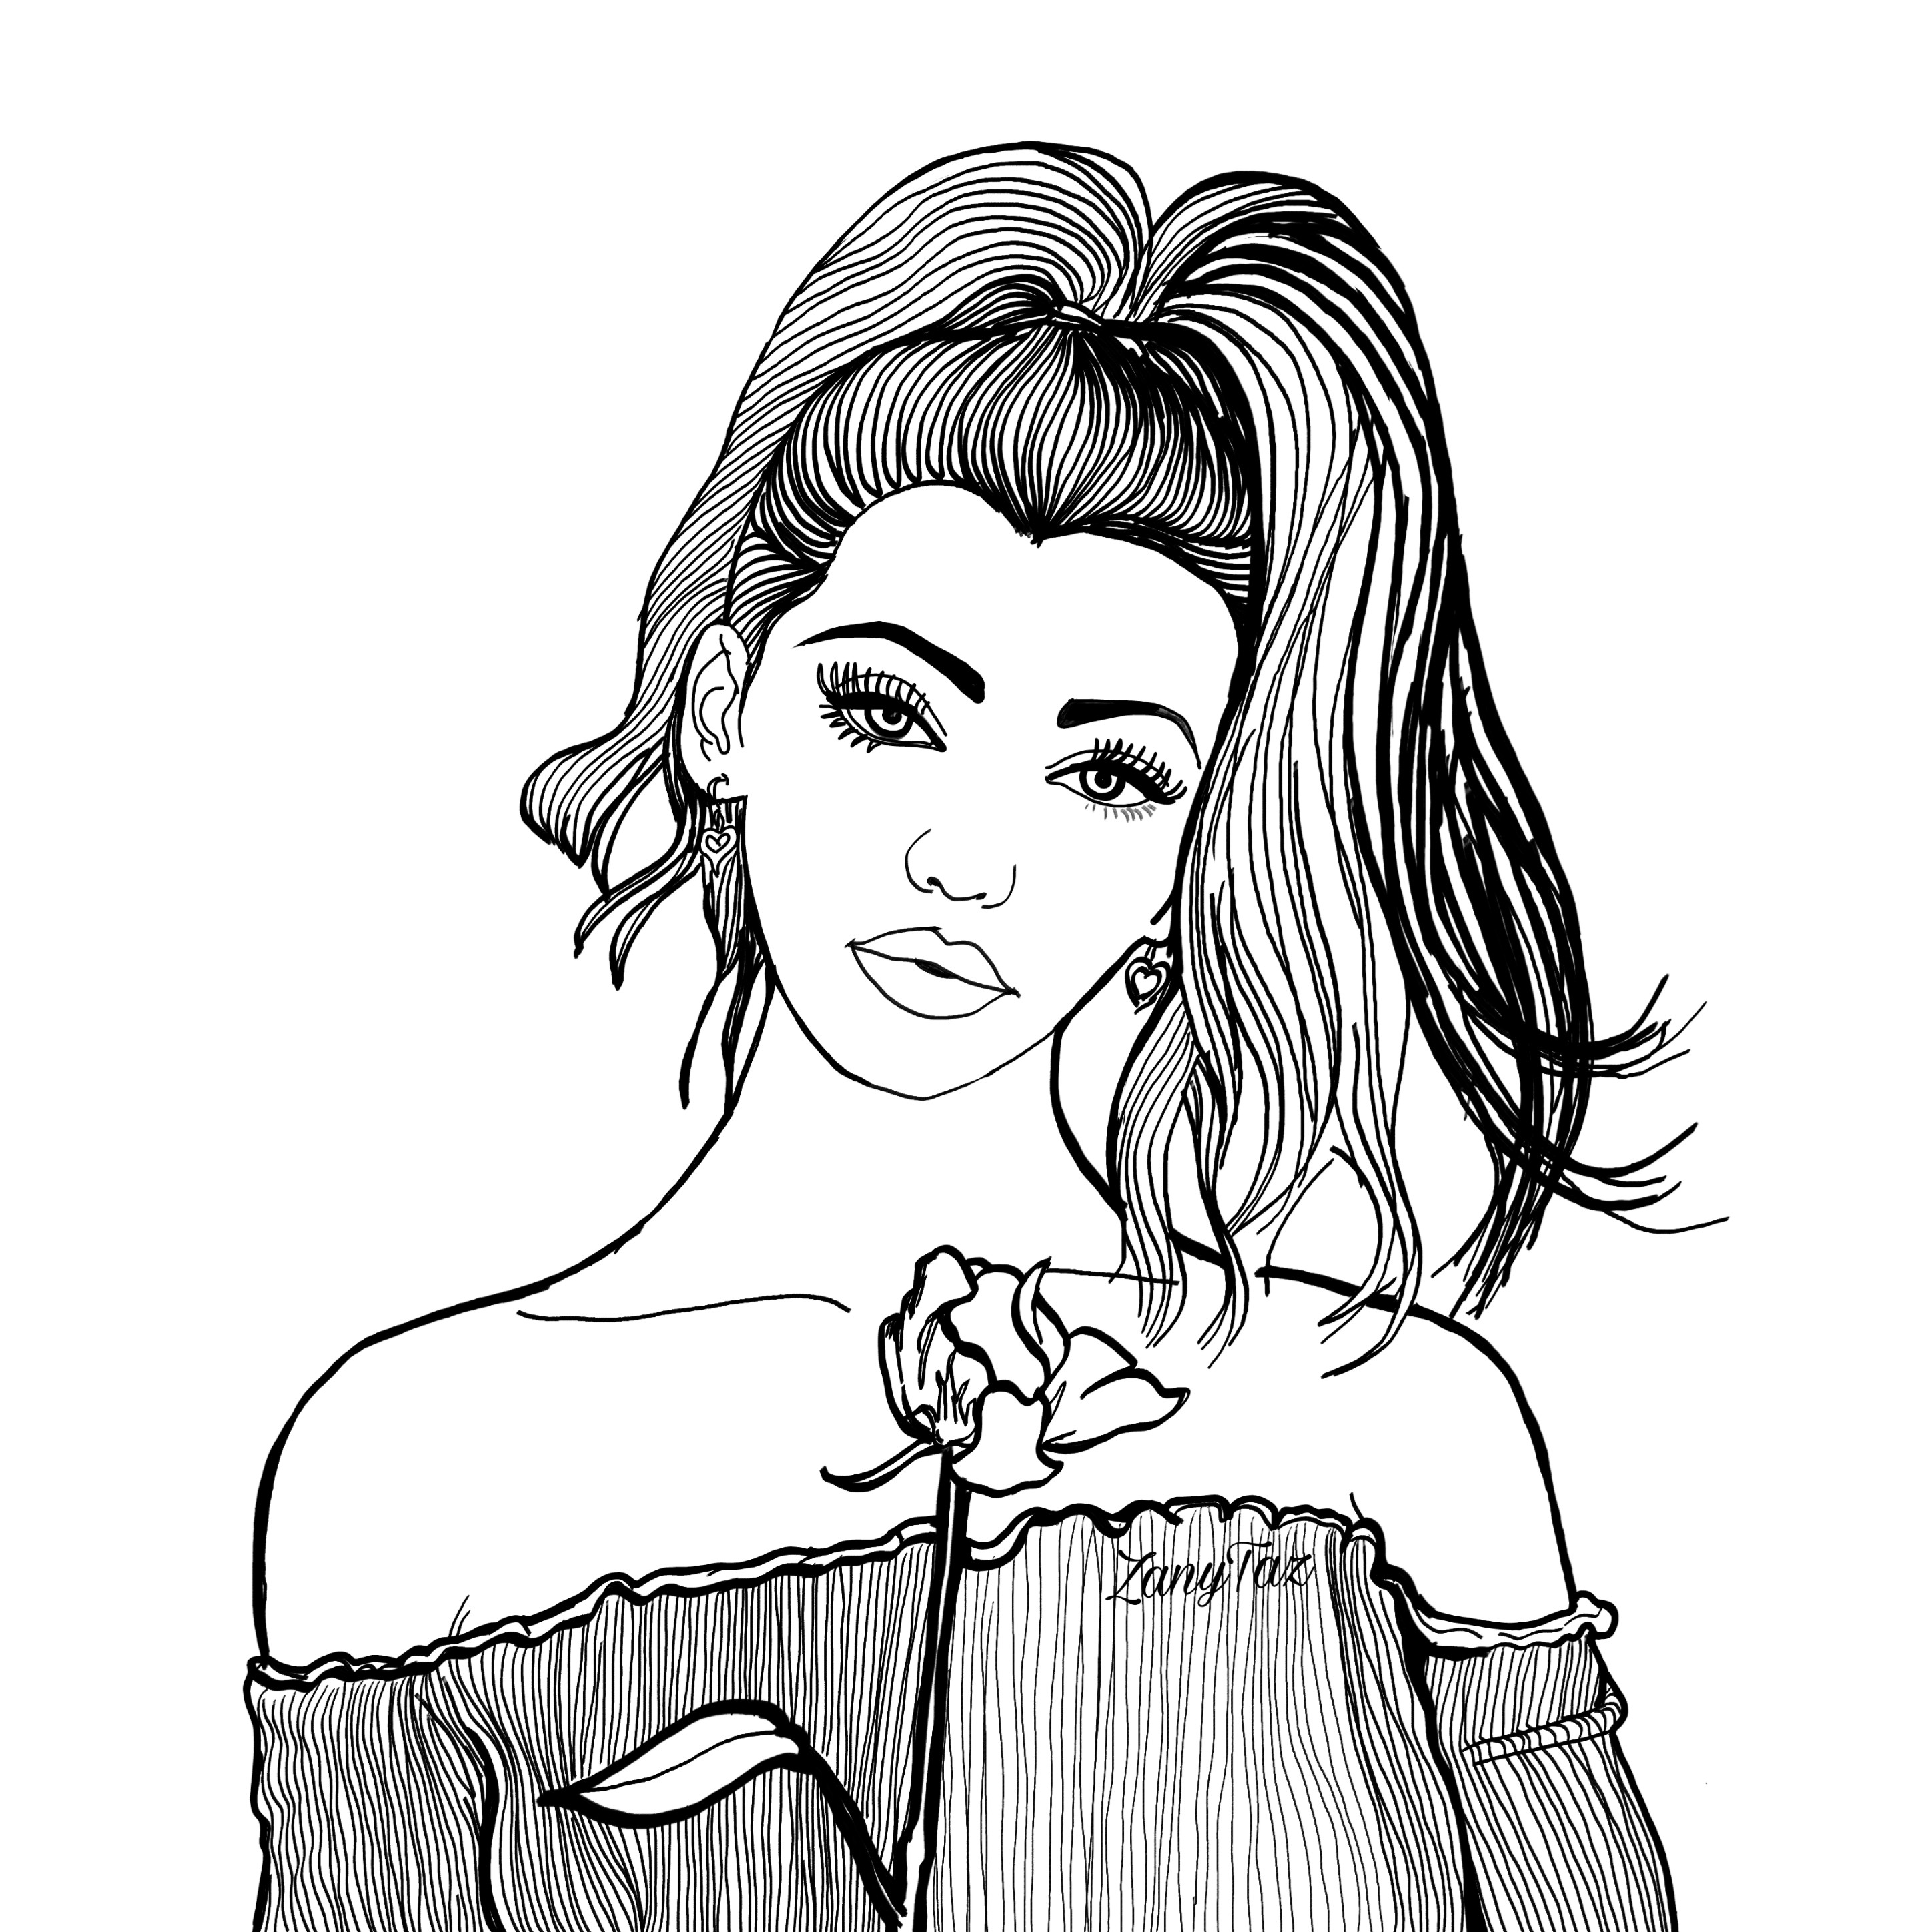 via PicsArt
Want to learn how to use the Draw Tool? Check out this quick tutorial:
Blur Effect
“Using blur effects is definitely one of my favorite editing tricks. There are several to choose from, ranging from classic blur to zoom blur to motion blur. Playing around with these effects it is possible to give the image a more dynamic look, even managing to give the illusion of movement! That’s why they are a must in my edits.” – @whitecloud21 Consider blurring out just the background for an eye-catching focused effect.
 via PicsArt
Shadows
“The photo editing tool I use the most is the Shadow tool. I love it! Pro tip: if you need an extra large shadow or want to make a shadow that isn’t a regular shape, try this workaround for a fairly realistic shadow:
Step 1) When adding stickers to your picture, duplicate one of the largest of the stickers. Alternatively, you can duplicate a photo.
Step 2) Edit that large sticker and make it black by tapping on the sticker Effects and then FX. Swipe across to get B&W (the black and white filter). Slide the bar to “black” or the number to “0.” Now you have a black sticker!
Step 3) Move the black sticker down to the bottom layer and “stretch” it with your fingers so that it is extra large. Tap the Eraser at the top.
Step 4) Erase the whole black sticker. You can now see all of your picture.
Step 5) Tap the eraser again to change the settings on the brush. Start with a very opaque brush and begin brushing on your shadow a little at a time. The underneath shadows can be as subtle and opaque or as tiny and exact as you like.” – @nancyspasic
Filters Are Your Best Friend
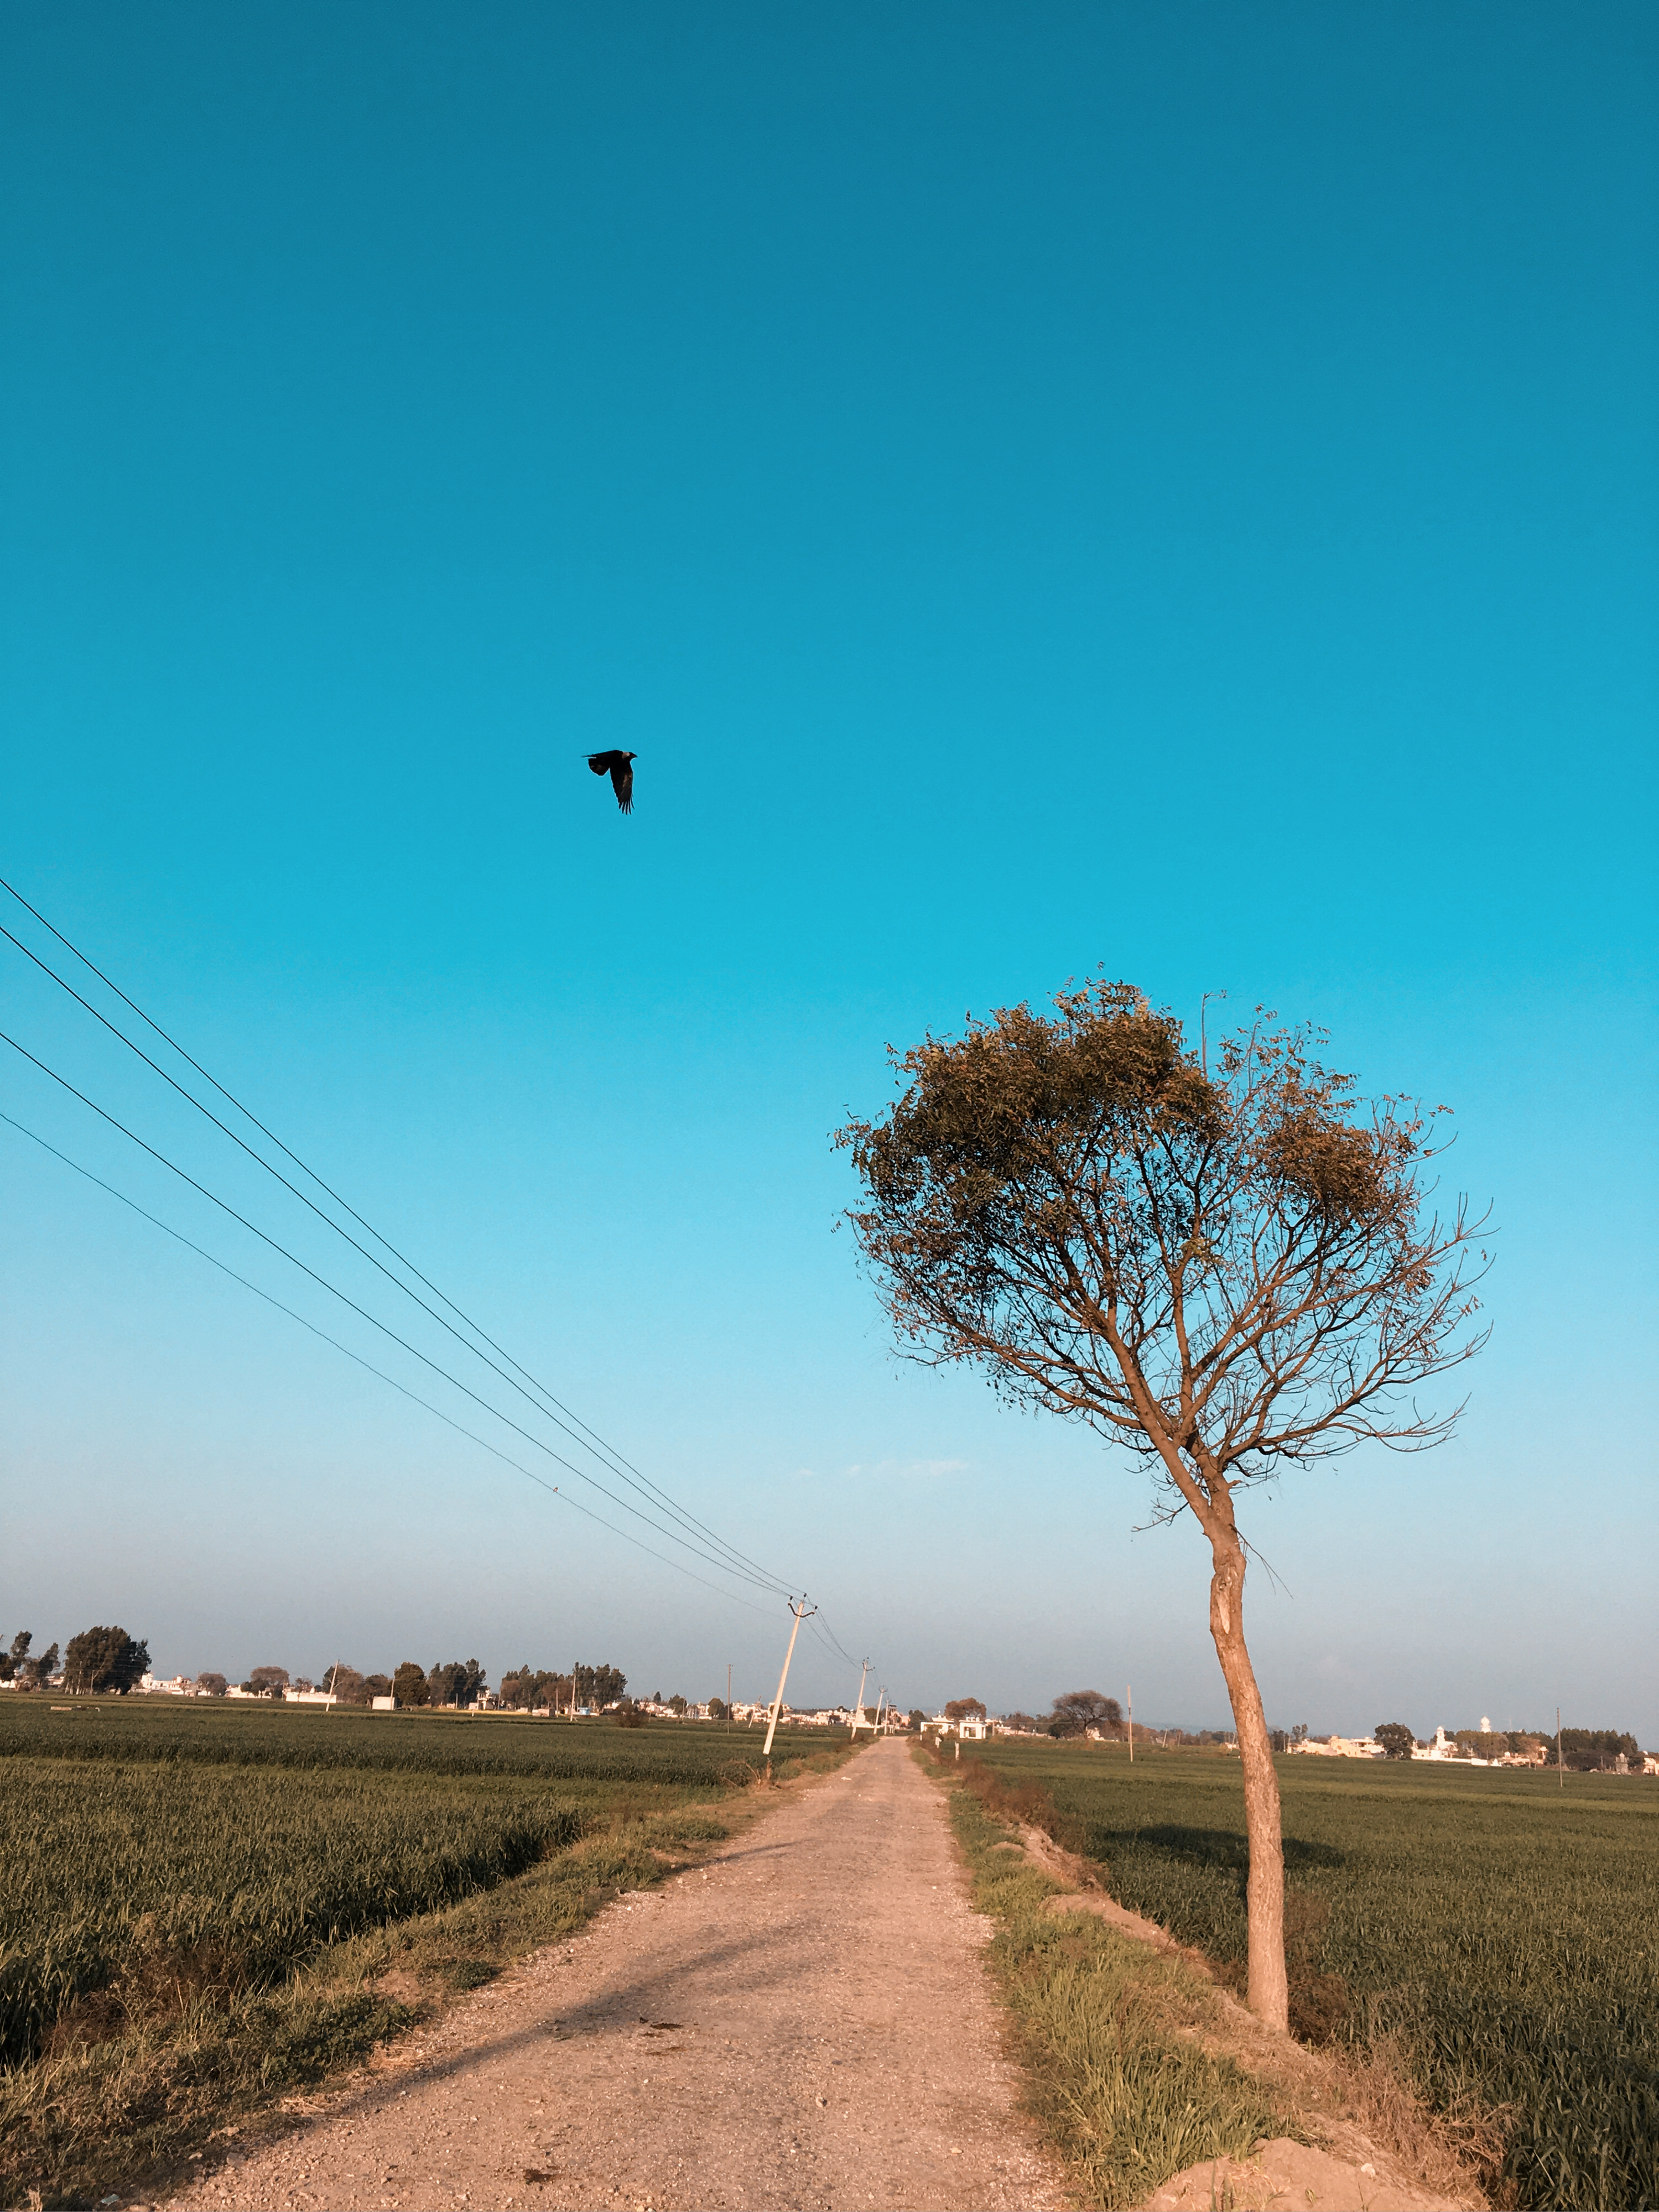
“My favorite tools are the premium filters found under the FX tool. I just choose one suitable filter and my photo is ready to post. I always try to keep my photos original, so other users can edit and remix them. In this photo I used ISL4.” – @manilehal1
Pro tip: you can also layer on filters and manually adjust the opacity on the individual filters by long pressing on the filter upon application. Learn more about filters and masks in the PicsArt 101 tutorial series if you’re just getting started with photo editing:
Know Your Toolset
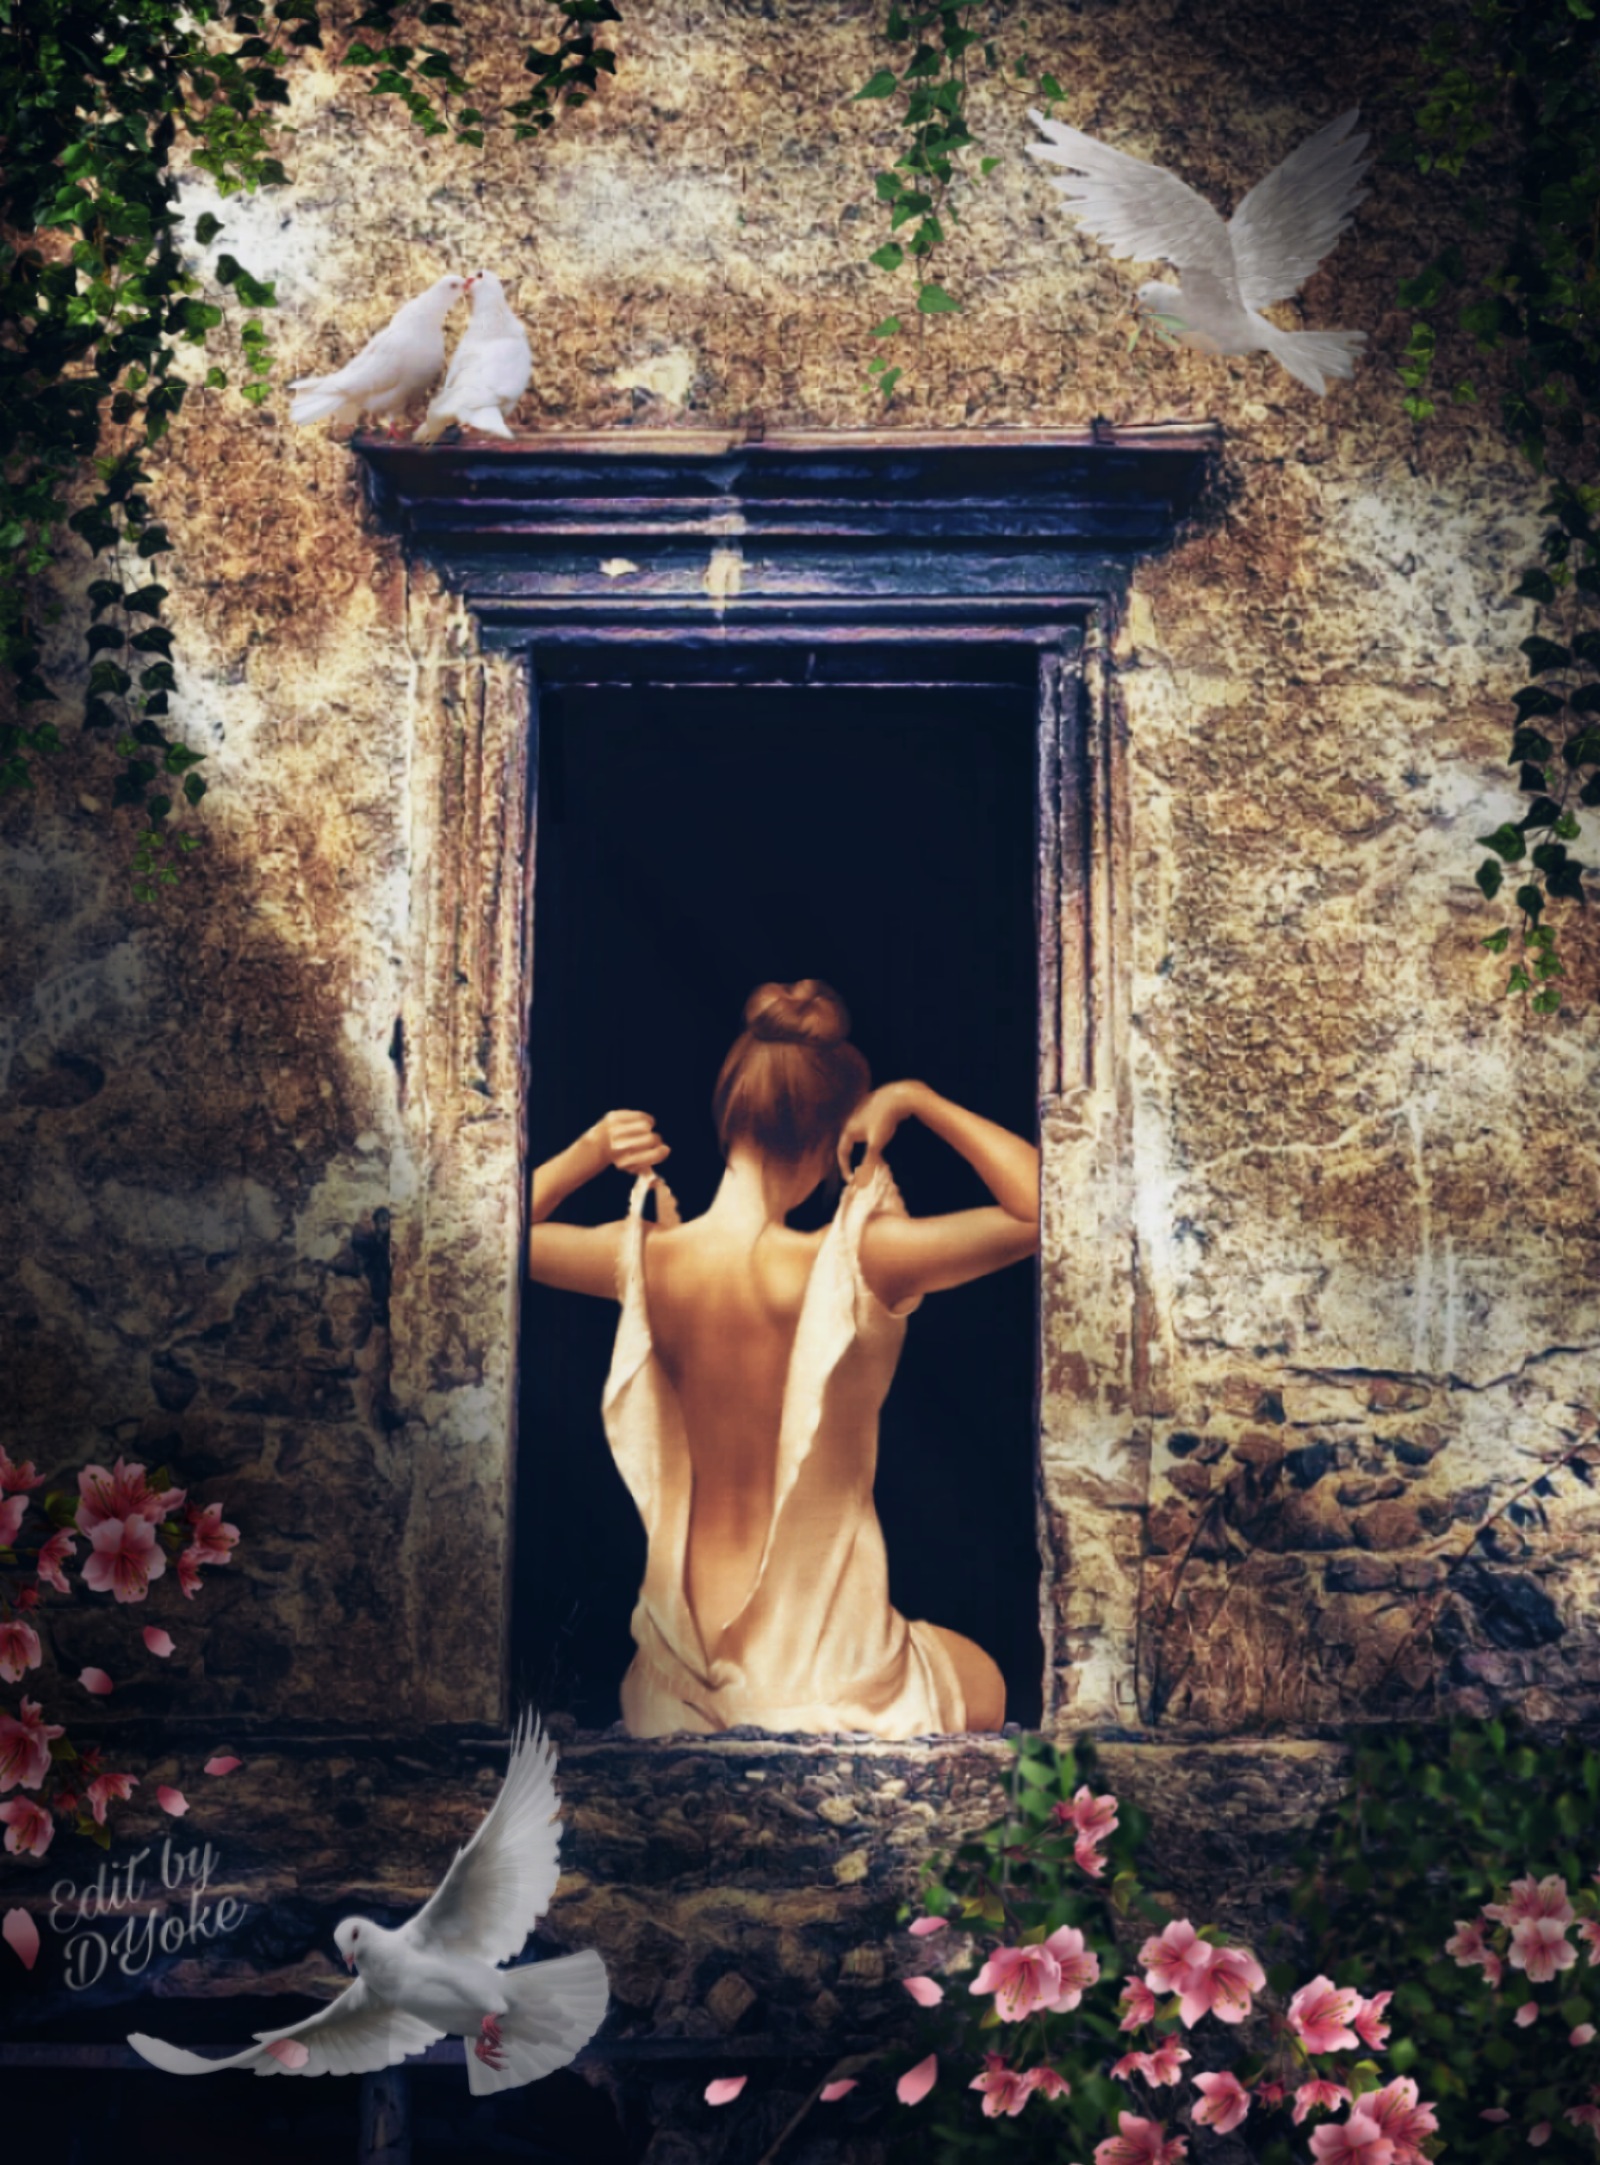
“I love all the tools and filters. One trick I use most of the time is Tools > Adjust > Brightness and Eraser to create shadows, adding light and depth. I also use gradient masks to color black and white photos and play around with filters to get the right color and depth.” – @djyoke
Make Magic
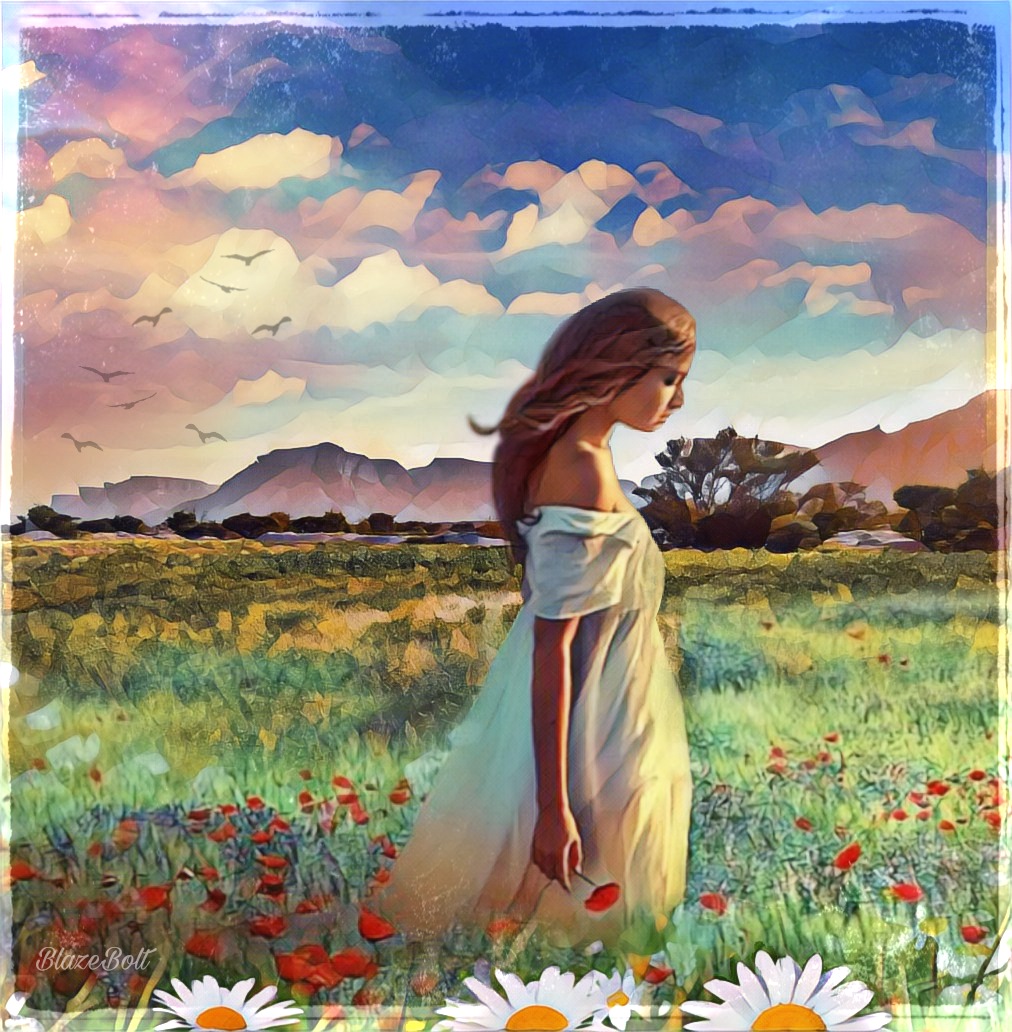
“I call my trick ‘a little bit of magic goes a long way.’ I combine Flora, Feast, and Geode Magic Effects to each edit to get an oil painting look.” – @blazebolt
Outlined Text
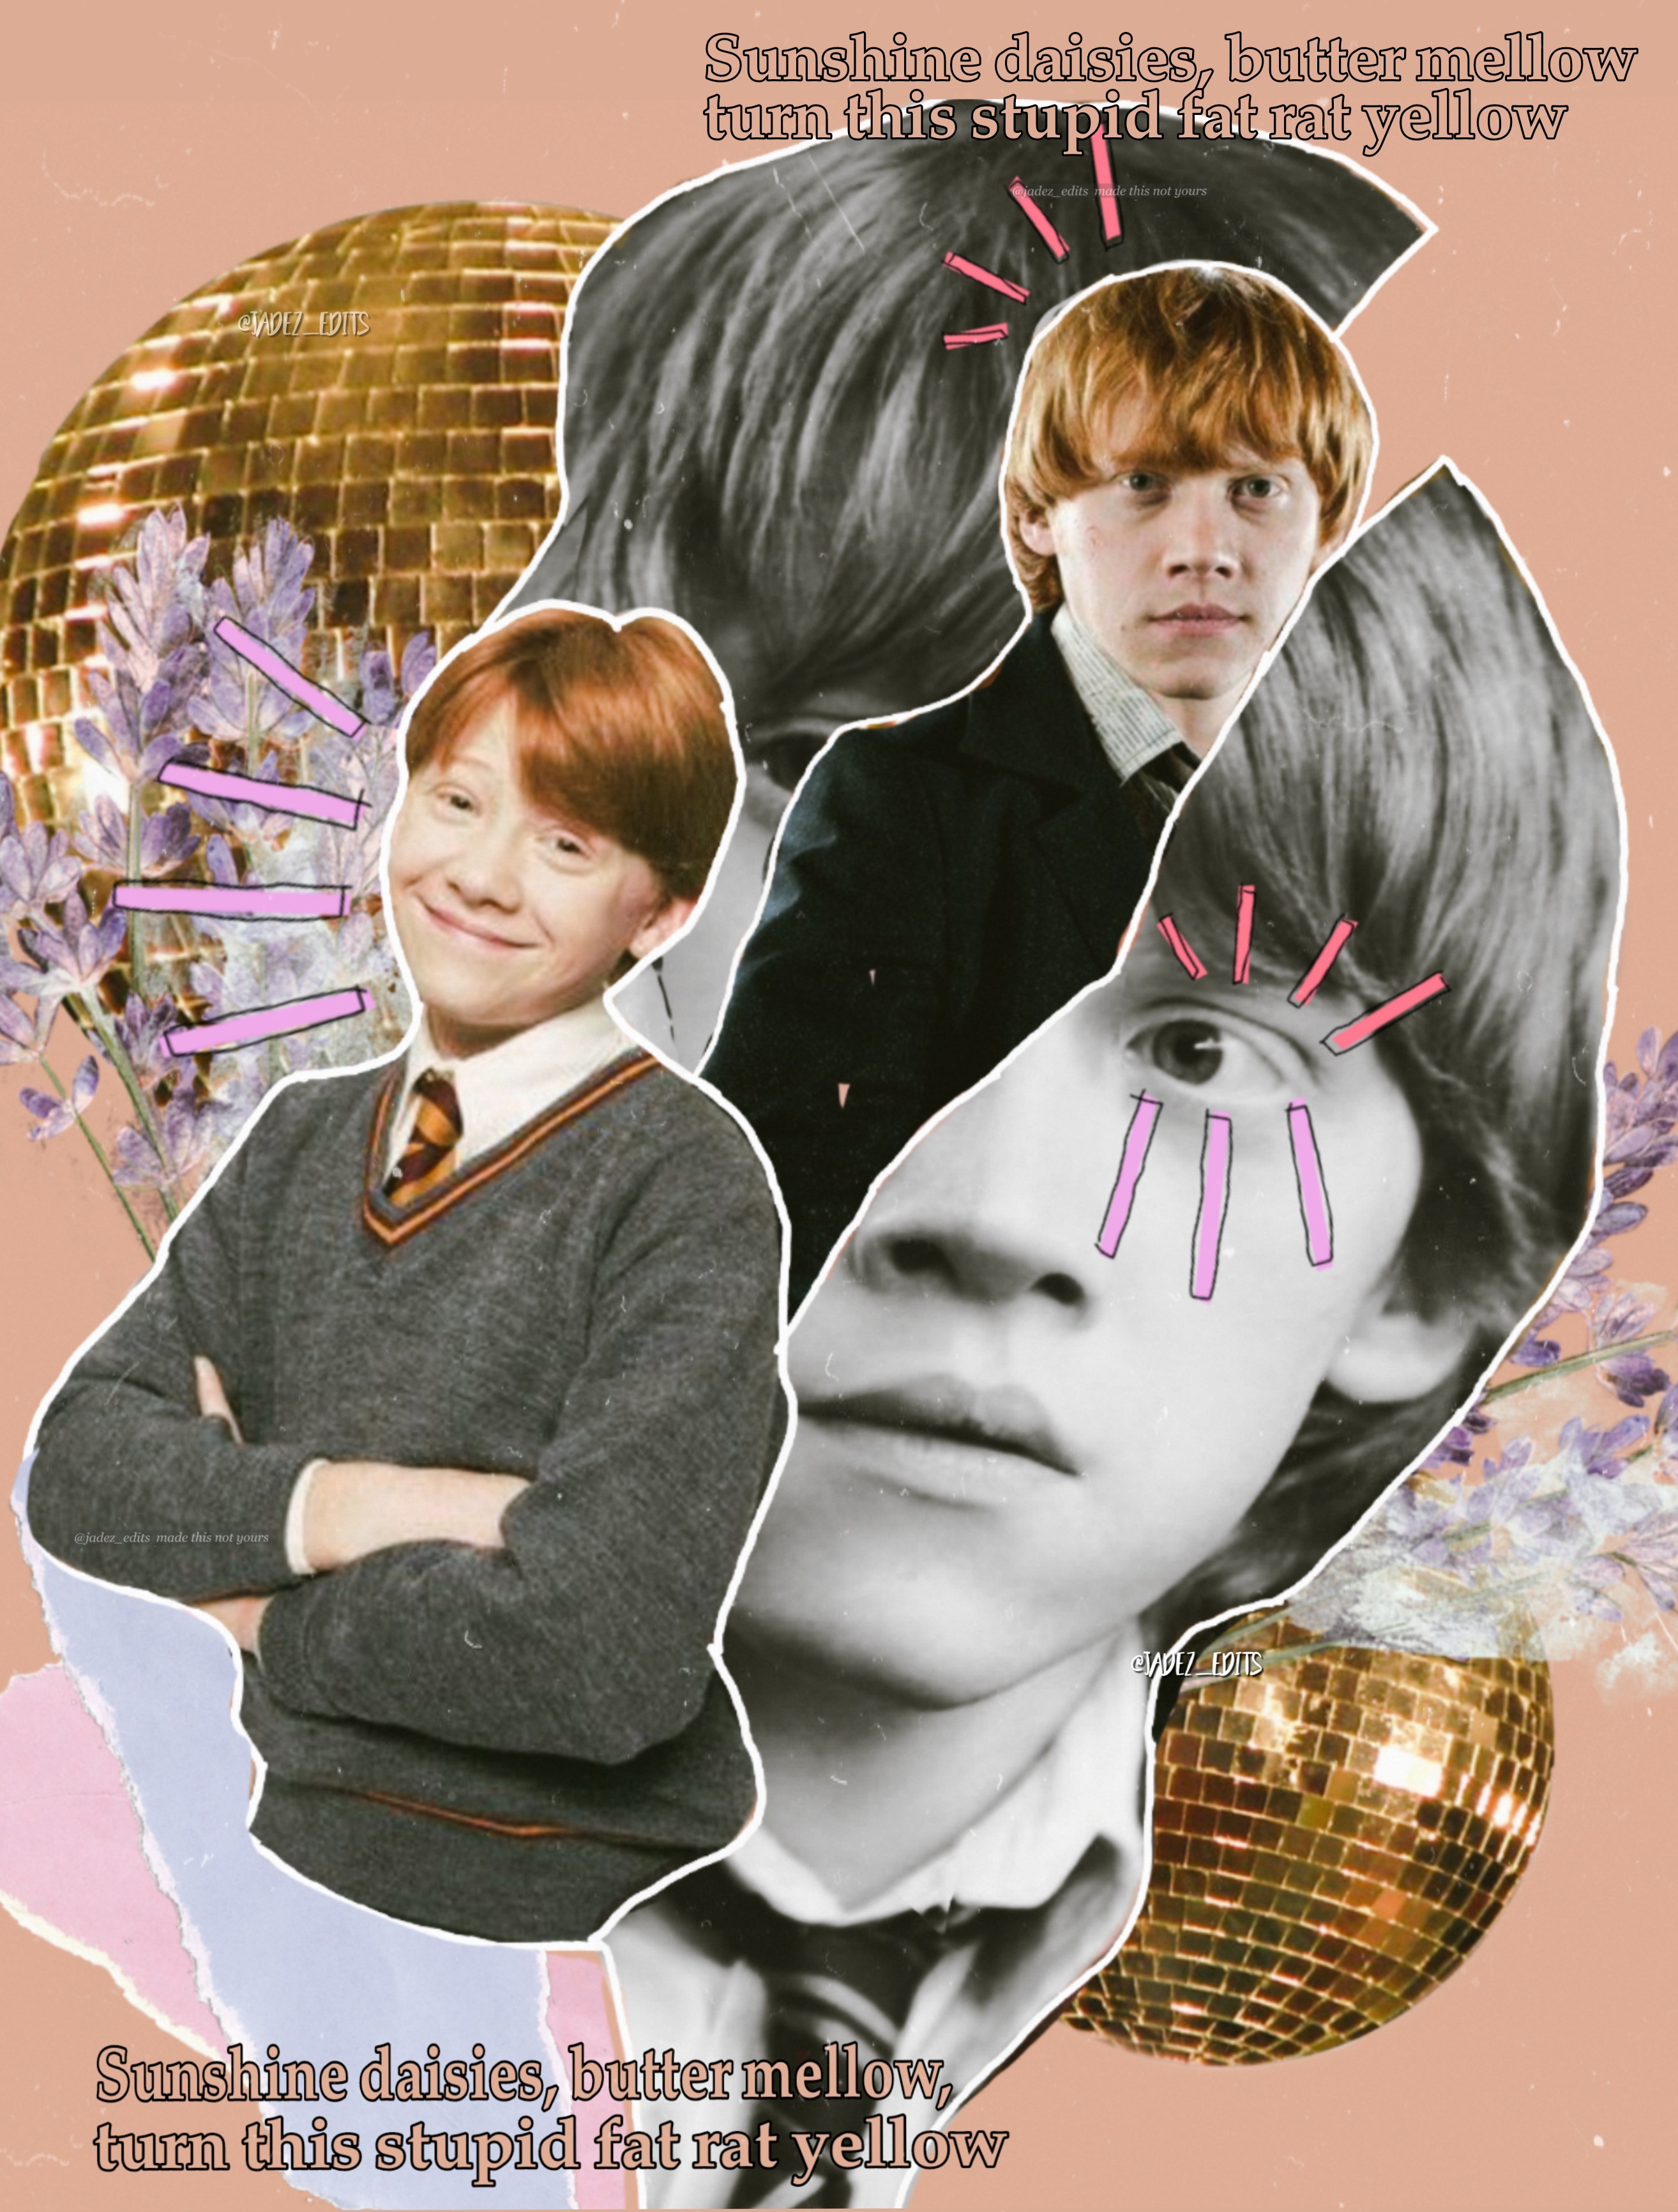
“My trick is with text. This works if you have a solid colored background. In the Text tool, use the eyedropper to pick a color in your photo’s background and use it for your text color. Then, go to Stroke and choose a color! It makes it look like you outlined your text.” – @jadez_edits
Go Wild With Stickers
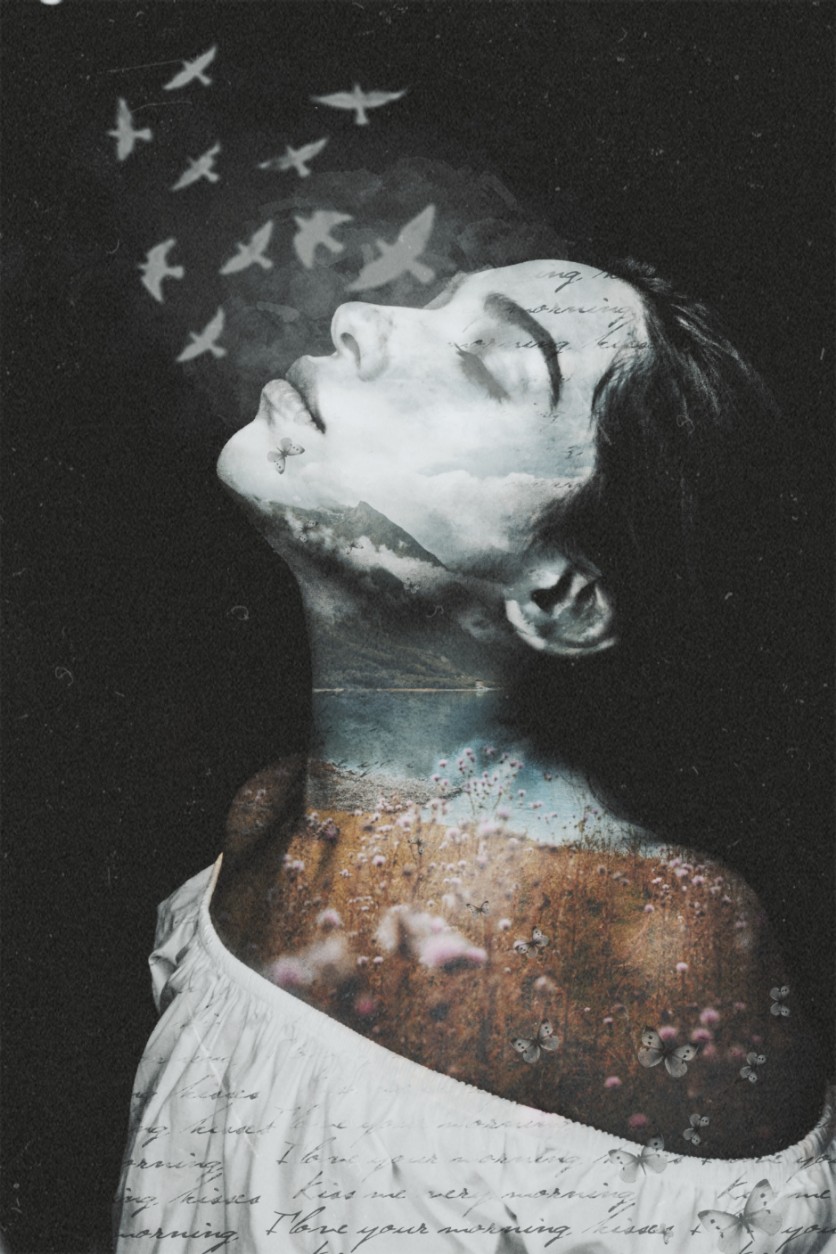
“[The trick] which I use very often is to apply colored stickers, text, or filters on black and white photos.” – @harzar
There are so many ways to take your edits to the next level! We hope our Masters were able to teach you some things to help you do just that. Follow the Master Storytellers and Master Contributors on PicsArt to continue to be inspired and enhance your own editing skills.
Make Awesome
PicsArt all-in-one Photo and Video Editor, Collage, and Sticker Maker is the world’s largest creative platform with over 150 million monthly active creators and influencers. PicsArt has collaborated with major artists and brands like Taylor Swift, The Jonas Brothers, Gwen Stefani, Maroon 5, Lizzo, Meghan Trainor, One Direction, MONSTA X, Warner Bros. Entertainment, iHeartMedia, Condé Nast, and more. Download the app today to level-up your photos and videos with thousands of quick & easy editing tools, trendy filters, fun stickers, and brilliant backgrounds. Unleash your creativity with PicsArt and upgrade to Gold for awesome premium perks!

 via PicsArt
 via PicsArt
 via PicsArt
![For the Up in Space image remix challenge ✨ ___________________________[rank: 159/4927]#freetoedit #galaxy #space #collage #astronaut #stars #unsplash](https://cdn141.picsart.com/335356136069201.jpg) via PicsArt
via PicsArt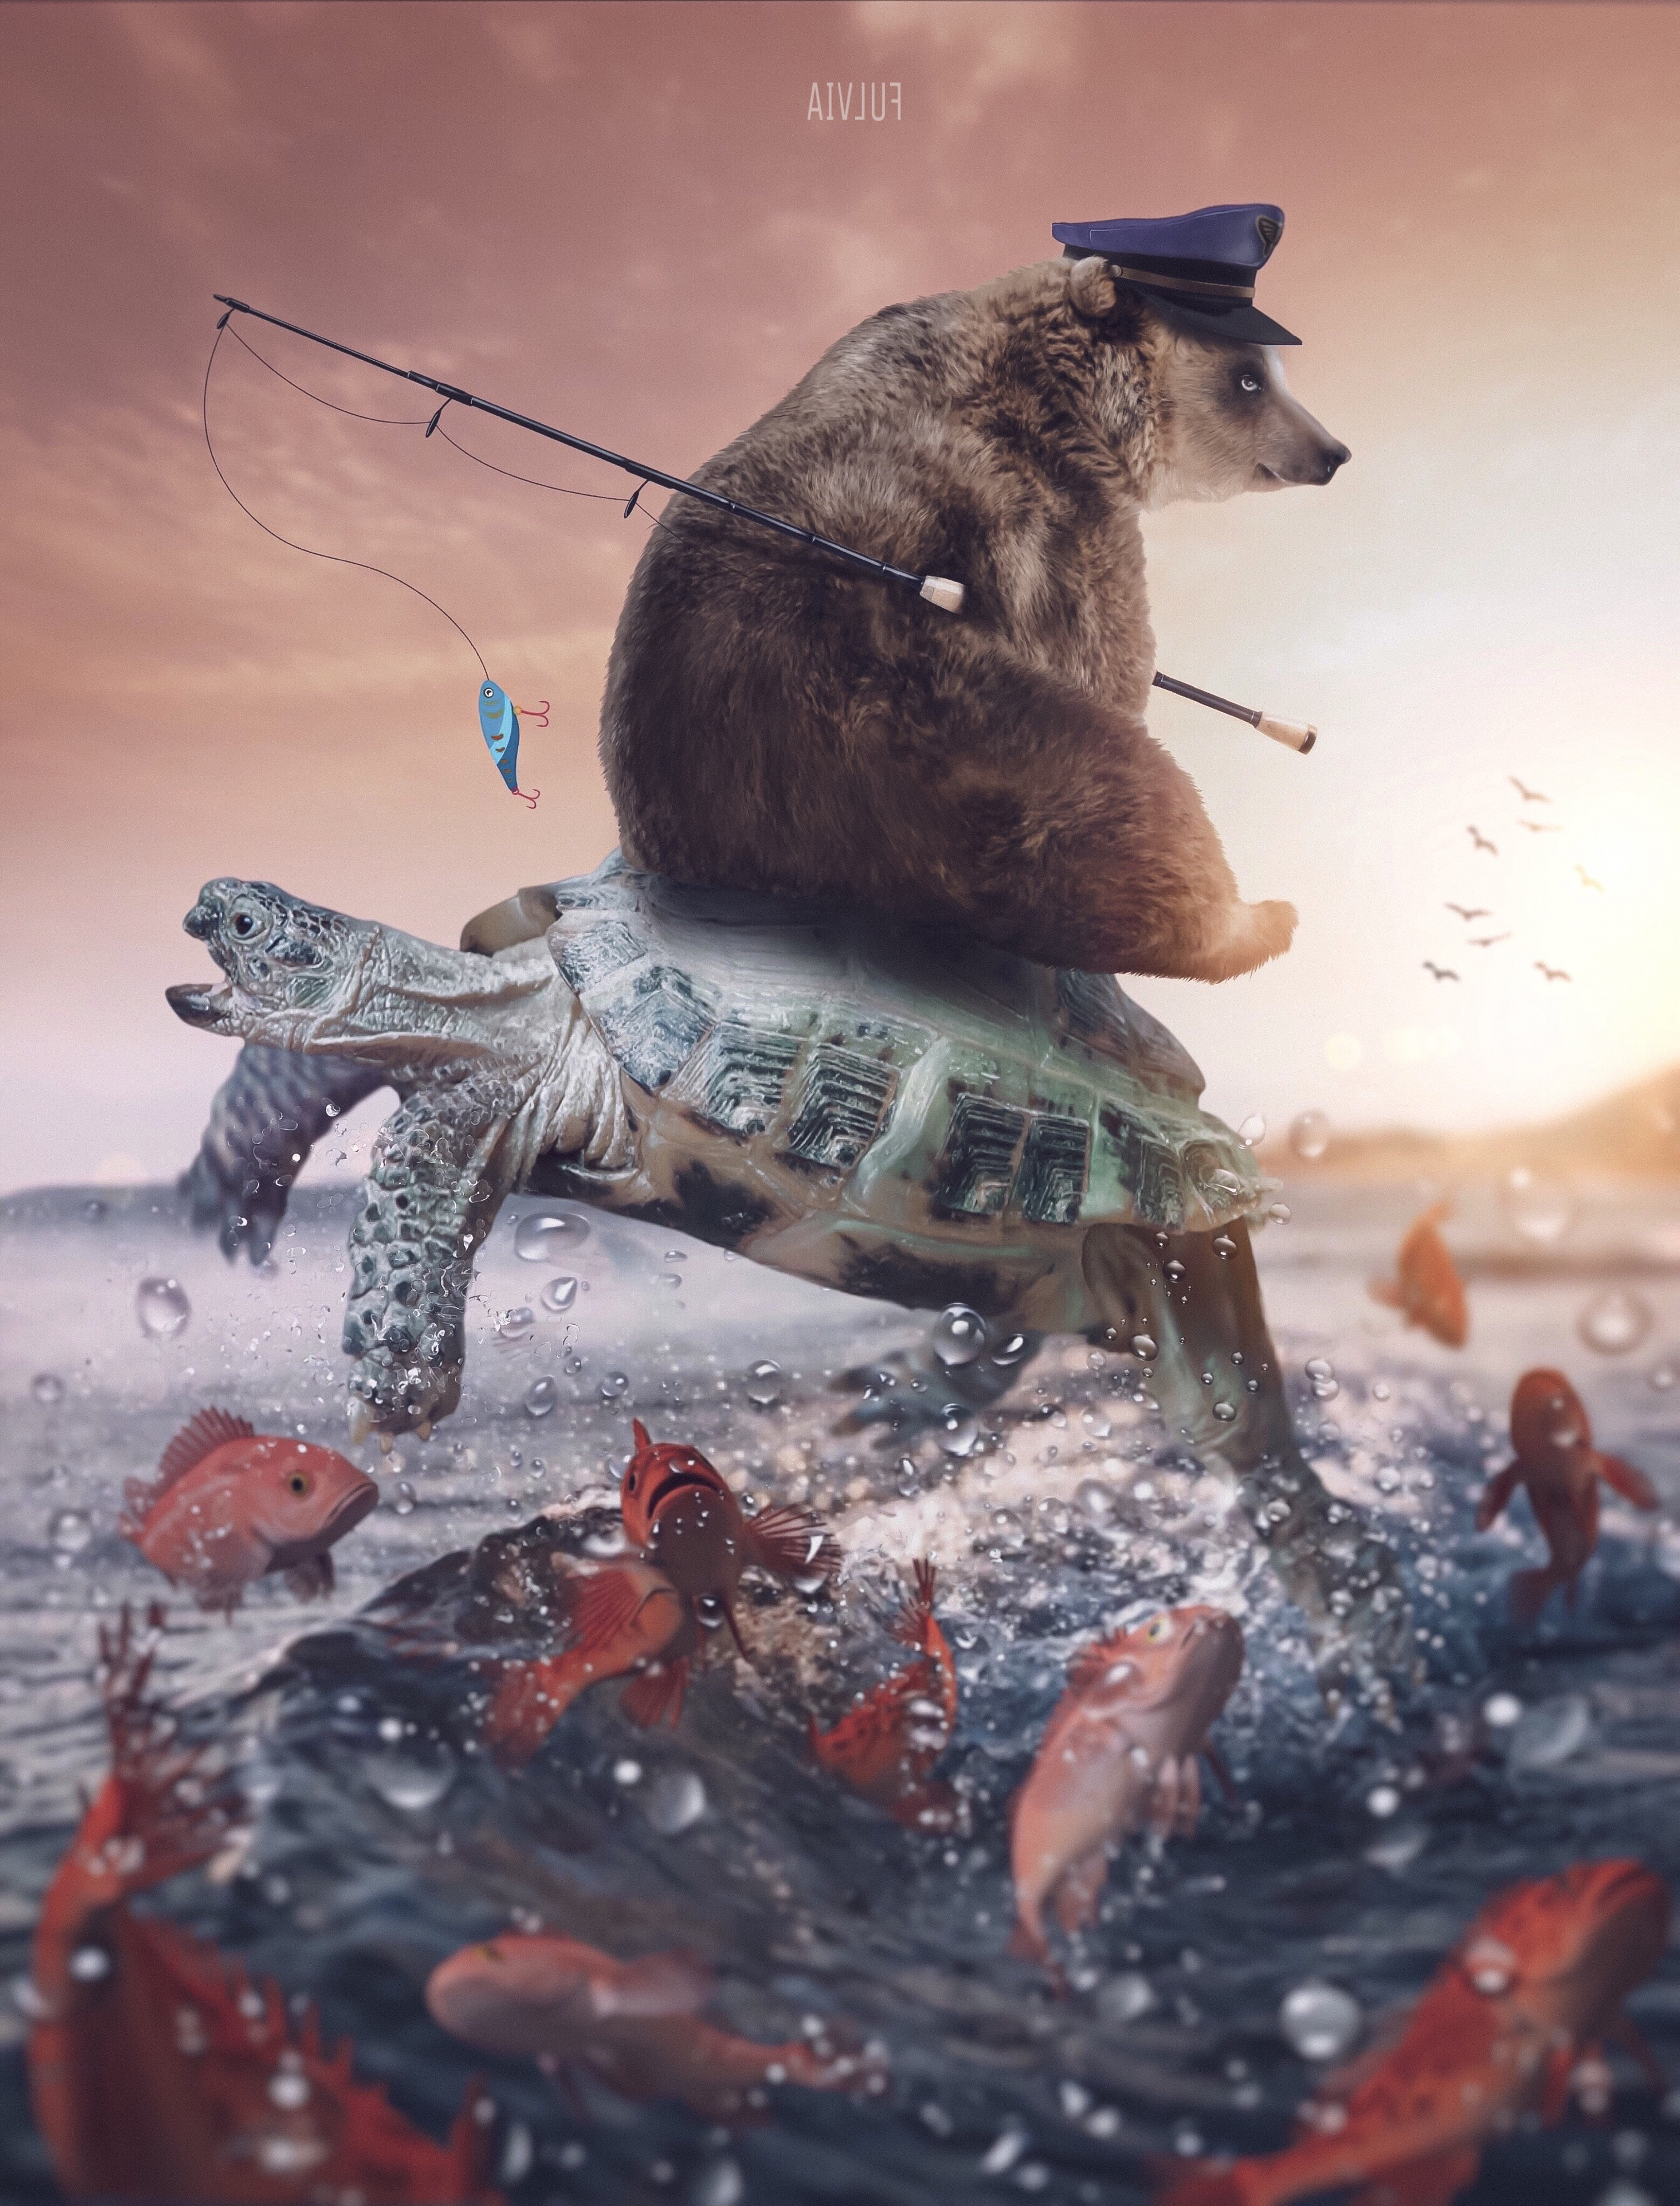 via PicsArt
 via PicsArt
 via PicsArt
 via PicsArt
 via PicsArt
 via PicsArt
 via PicsArt
 via PicsArt


