Architecture photography has been around for as long as photography itself. Buildings are an important part of human history. They provide more than just shelter, rather they’re a place to gather, call home, work, and create memories. Following this, it makes sense that building photography is such a popular art form, both for photographers and viewers.
Taking architectural photos can be a rewarding and potentially profitable pursuit if you’re willing to put in the time and effort it takes to honor the design of a building. Read on for our best tips on how to be an architectural photographer, including ten architecture photography ideas to get you started.
What Is Architectural Photography?
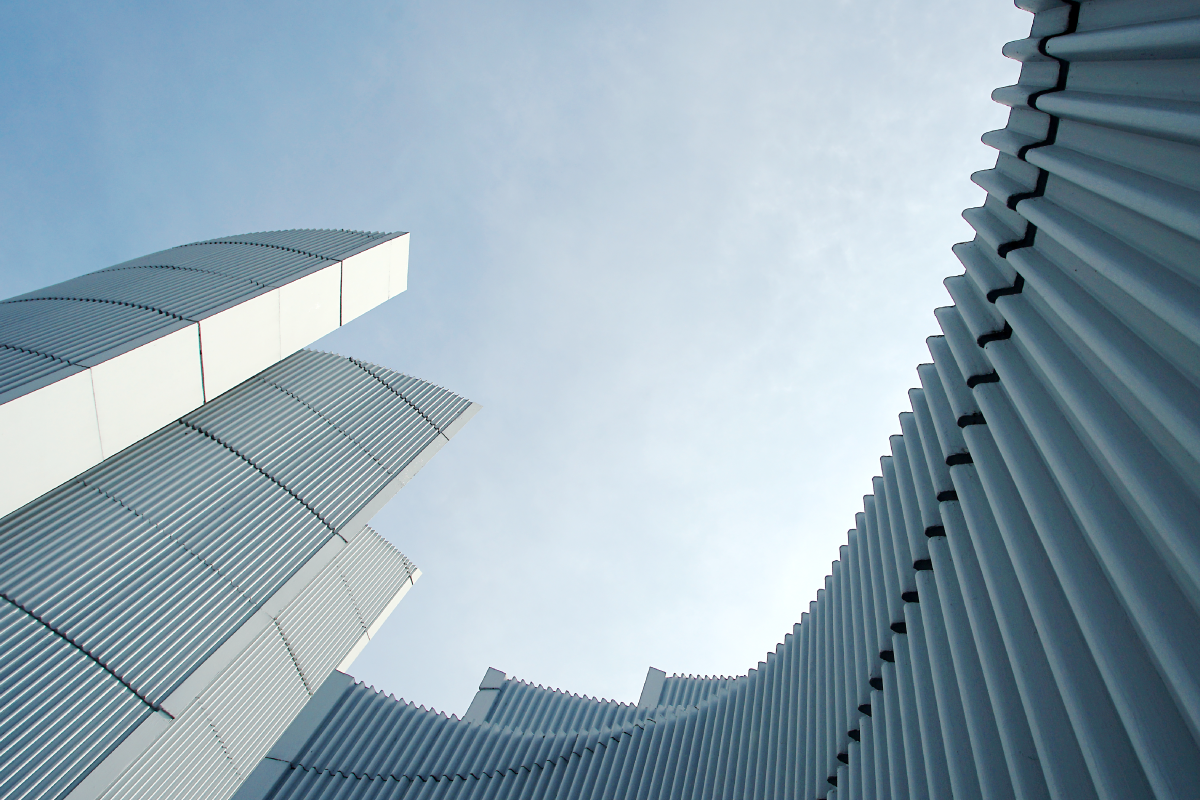
In its simplest form, architecture photography is the art of taking photos of buildings. Also called building photography, this style of photography is unique because it involves creating art by taking pictures of other people’s art. Architectural photography is popular because people enjoy seeing the work of architects — the creative lines, geometric shapes, angles, and designs that they use to create buildings.
Architectural photographers add another level to the art of building design. Whether it’s in development, a few months old, or a few centuries old, you get to capture that building as it exists in a specific moment in time.
Your architectural photography can include building interiors and exteriors, cityscapes, and even bridges and other human-made structures. It can encompass entire city blocks, or it can focus on close up building photography details like the curvature of an archway.
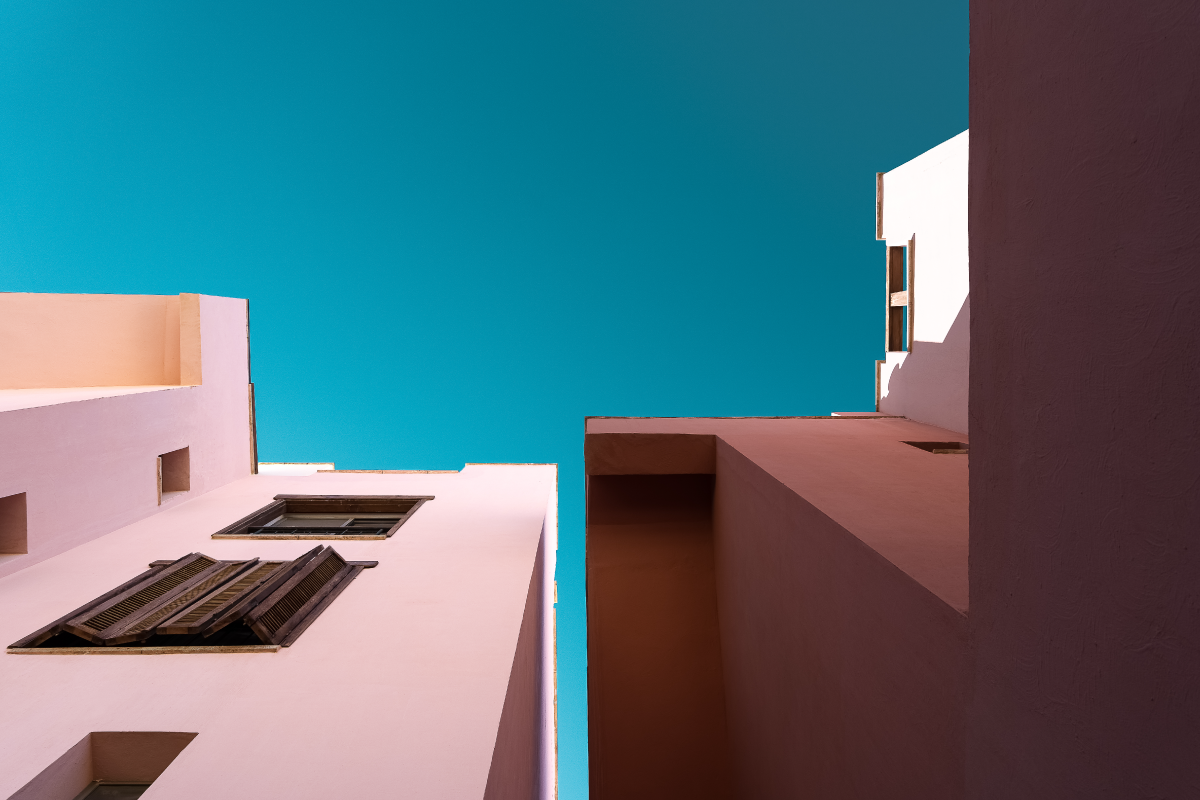
Whether you’re taking photos for your own artistic enjoyment or you’ve made a career out of it, architectural shots are in high demand. Clients that pay for building photography can include magazines, realtors, tourism boards, architecture firms, developers, and advertising agencies.
Whether you want to make a living through taking architectural photos or you’re just looking for a new fulfilling hobby, learning the best architecture photography ideas, tips, and tricks can help you get the most out of your new practice.
8 Architectural Photography Tips and Tricks
The following tips on how to be an architectural photographer can help get you started on what will hopefully be a rewarding photography journey:
1) Choose the Right Camera
When you’re taking architectural photos, you don’t necessarily need the most high-tech or best camera on the market. Any good DSLR or similar camera with interchangeable lenses should be able to do the trick. Plus, you won’t have to worry about springing for something that can take high-speed action shots because buildings are great at standing very still.
2) Make Sure You Have These Two Lenses
There are many different lenses available for professional photographers, and trying to figure out which ones you need can get overwhelming (and expensive). When you’re taking architecture photos, there are really only two main lenses you should be concerned about: a wide-angle lens and a tilt-shift lens.
Wide-angle lenses help you shoot large buildings or the interiors of rooms from a closer distance. Tilt-shift lenses make it possible for you to adjust the angle of the lens separately from the angle of the camera. This helps you shoot from interesting, steep angles without distorting the lines in the photo.
3) Invest in a Tripod with a Remote Shutter
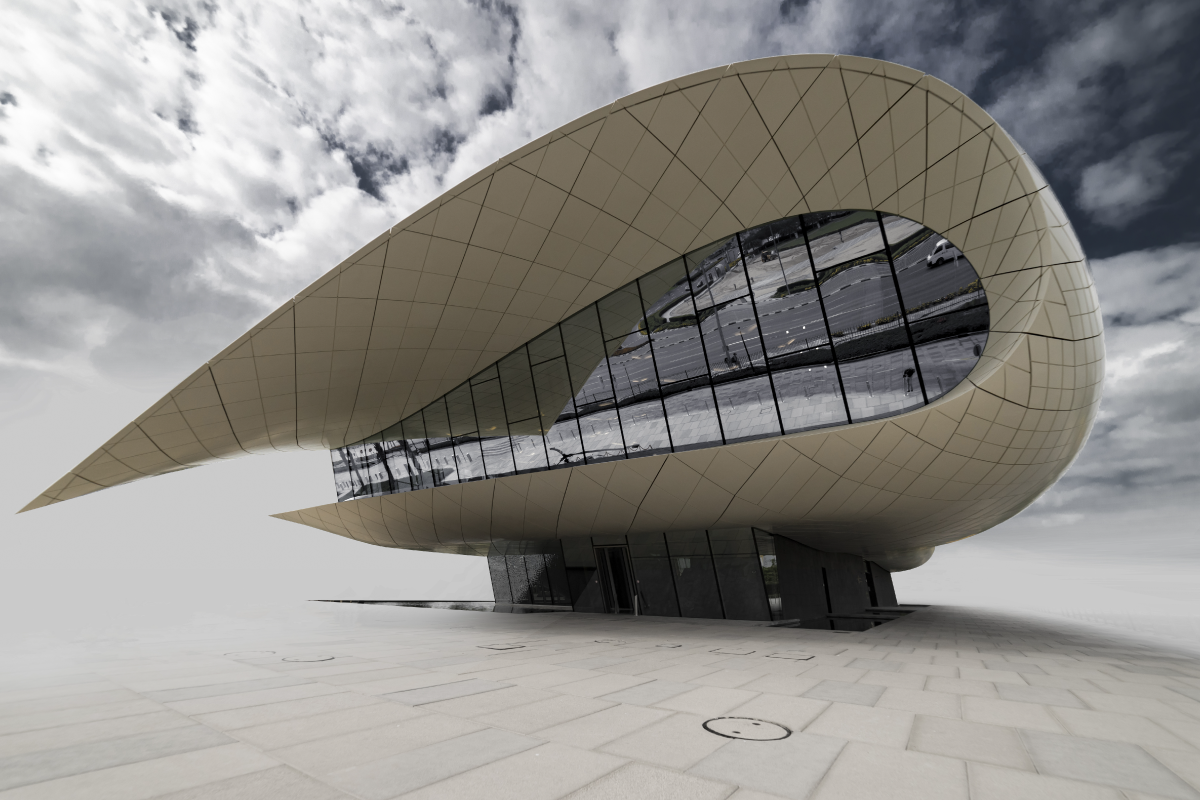
The hallmark of a great architectural photographer is their ability to capture high-resolution photos of a building. The less shake on your image, the better. While commonly used for home photography setups, a tripod with a remote shutter will allow you to frame your picture and make tiny adjustments until you get the perfect composition. Then, you can use the remote shutter to snap the photo without the possibility of bumping your camera and accidentally changing the shot.
4) Scout Locations
Having trouble thinking of locations? Try searching for historical landmarks, tourist destinations, government buildings, or museums in your area. Old, abandoned buildings can also make for great shots. Even the smallest towns have structures that are worth photographing. You just have to be willing to look and think out of the box.
5) Do Your Research
Before you start a photography session, you should take the time to research the building, including things like:
- When it was built
- Why it was built
- How it is used today
- Whether there are any interesting details you should know about, like architectural themes or oddities
- What it looks like at different times of day, especially golden hour
6) Tell A Story
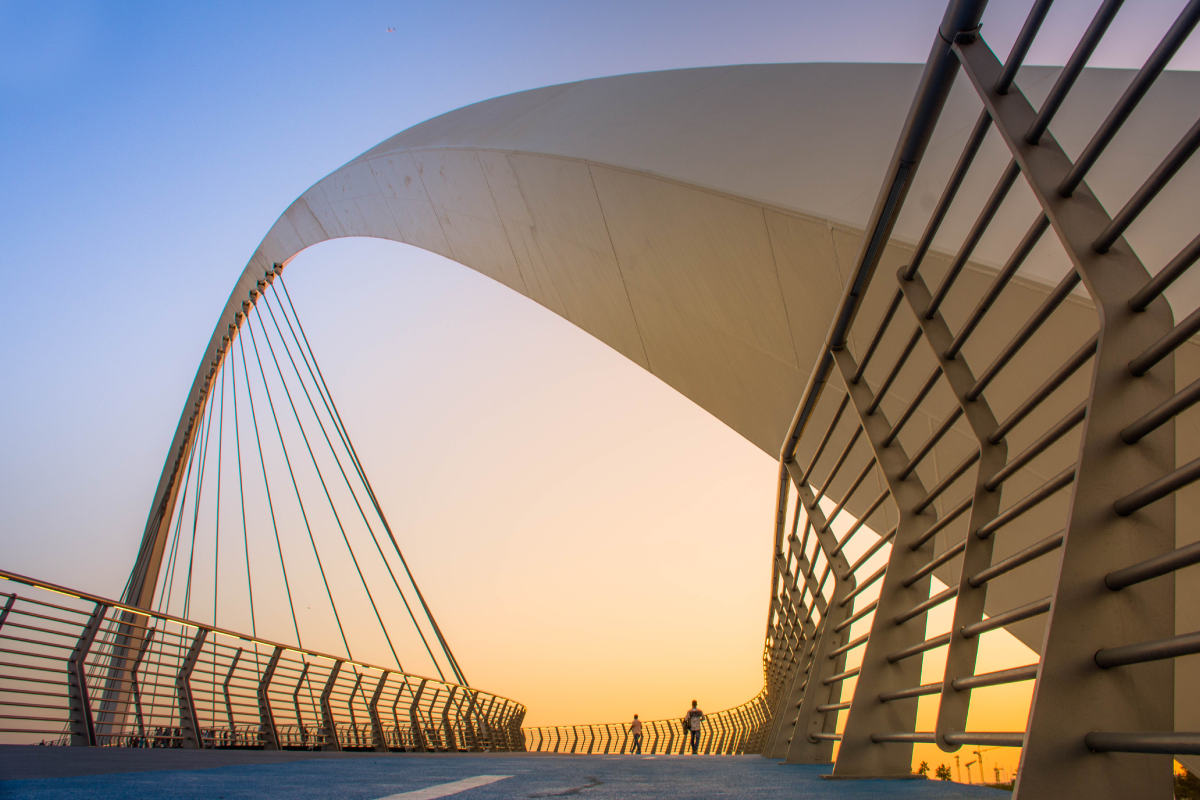
Once you’ve done your research, you should start to think about the story you want to tell with your photographs. Is there an interesting part of the building’s history that you want to allude to? Are there specific details that you’re excited to share with the world? Deciding on a story will help you frame your image, choose which parts of the building to include in the shot, and speed up your post-production editing.
7) Spend Time Setting Up Your Shot
Composition is crucial in architecture photography. It’s what elevates your photo from a tourist shot to a piece of art. Pay attention to the balance of subjects you have in the frame, keeping in mind color and visual weight. How do they work together to create a single image? This is where design principles like the golden ratio and the rule of thirds come into play.
8) Experiment With HDR
High Dynamic Range (HDR) photographs are created by layering multiple photographs over each other to form one composite image. This can be a great tool when you’re shooting in areas with really bright natural light or dark shadows because your camera won’t be able to focus on both extremes at once. HDR photos are different from double exposure photos.
Consider the popular architecture photography idea of shooting inside a building while including a peak out the window. HDR allows you to capture both a well-lit interior and bright outside view.
Avoid These Common Photography Mistakes
Taking architectural photos isn’t always very intuitive. There are some best practices that you can only learn by experimentation. To help you along this journey, we’ve compiled seven of the top mistakes made by amateur architecture photographers so that you can avoid them in your practice:
1) Only Taking Photos From One Angle
In building photography, one of your main goals should be to create an accurate portrayal of the subjects you shoot (unless you’re doing abstract architecture photography). By taking photos from a wide range of angles, around different parts of the building, and both tiny details and wide angle views, you can give viewers a better idea of the entire architectural design.
2) Taking Distorted Photographs
Distortion — either from using too wide of a lens or taking a photo from a steep angle — is another way to alter your photos’ accuracy and give people a misleading representation of the building. So, when you’re shooting, make sure that what you see in the photo looks like what you can see with your eyes.
3) Not Getting Permission to Take Photos
If you’re planning on publishing your photos, you’ll need to get permission from the building owner before you start shooting. If you’re just taking photos as a hobby, this one is still important if the building you are shooting is private property.
4) Recreating Photos That Already Exist
Photographs of famous buildings are often taken from similar angles. People are used to seeing that building in a specific way, so it’s easy to start photographing from that angle in your own photography. Try to challenge yourself to find new and creative ways to look at subjects from a different perspective. Cinematic photos might be your best friend here.
5) Only Looking at the Big Picture
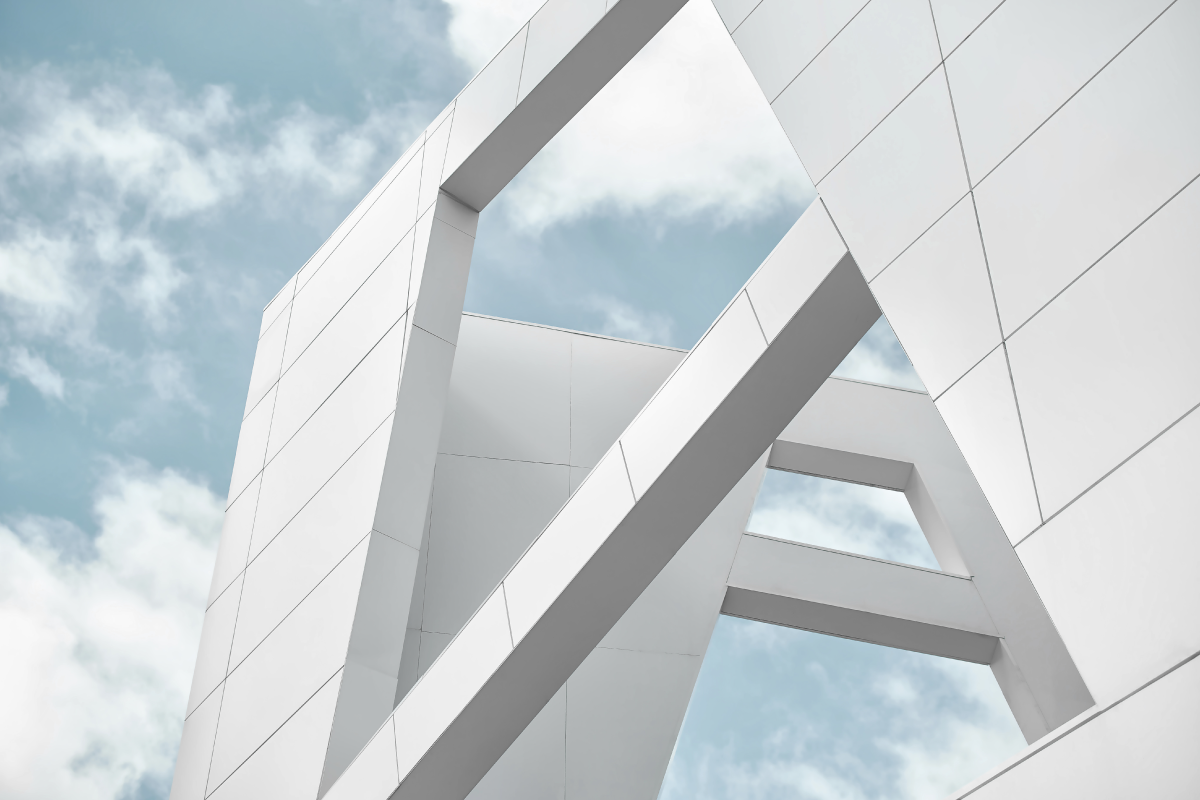
When you think of architecture photography, you probably think of photos of entire buildings. However, there can be some magic in showcasing interesting details with close-up building photography. Alternatively, take an inside-out approach and capture HDR photos from inside the building looking out.
6) Over-Editing
Again, it’s important to remain true to the architectural design that you’re photographing. It can be tempting to edit your photos until they hardly resemble the setting that you actually photographed. Remember, you’re trying to create a snapshot of a building at a specific moment in time. You want people to be able to look at your photograph and see exactly what you saw in that moment.
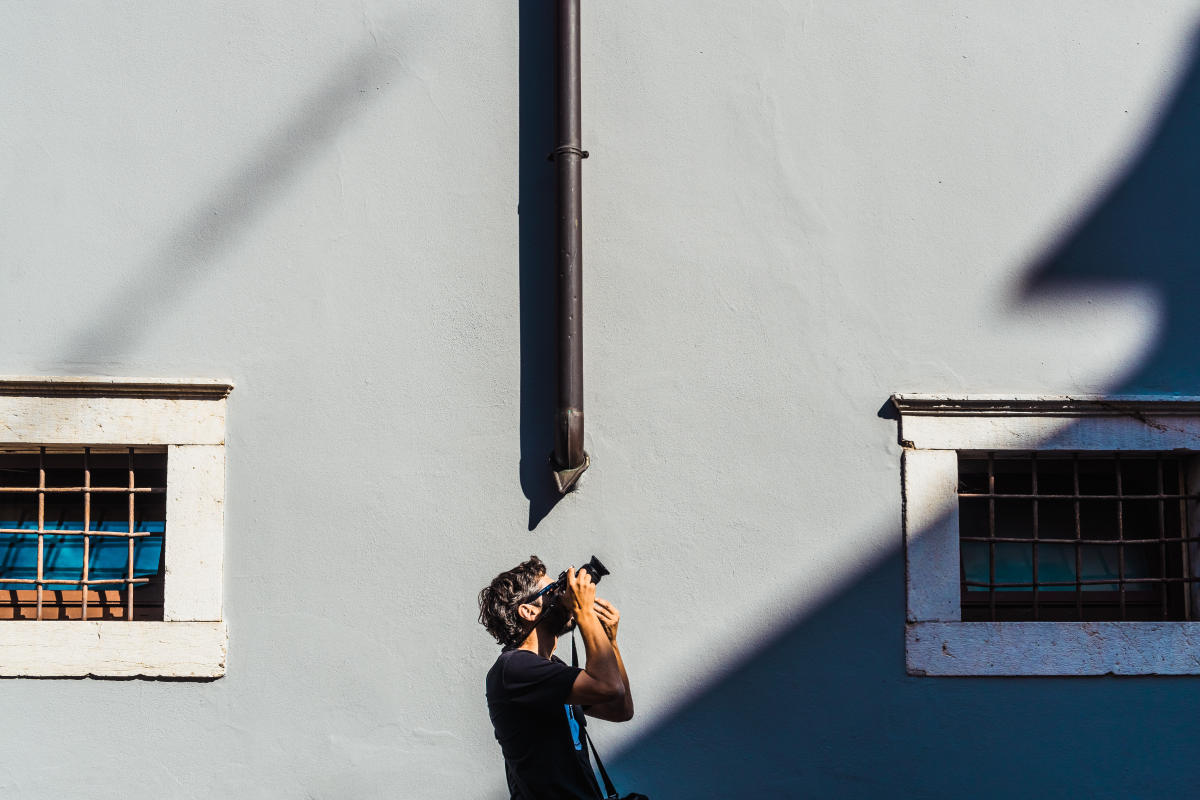
7) Not Including People in a Shot
A lot of architecture photography doesn’t include people; but, that doesn’t mean that you have to avoid including people in your shots. In many cases, it may be impossible to find a good shot of a building without people wandering into the frame. In this scenario, consider using a motion blur effect to make the building and its surroundings feel more alive.
If it’s really important to have a shot without anyone in it, you can always remove people from the photo in post-production.
10 Ideas to Become an Architectural Photographer
Practice makes perfect. It might take you a while to find your own specific style of building photography – and that’s okay. In the beginning, you should have fun letting yourself explore different architecture photography ideas to find which you enjoy the most. Here are ten architecture photography ideas to get you started:
1) Use long exposure shots or motion blur effects to blur pedestrians and create a feeling of movement.
2) Shoot from creative angles to tell a unique story about the building.
3) Use black and white photography to bring focus on the shapes and lines of a building.
4) Get up close and personal, shooting from a creative angle to capture abstract architecture photography.
5) Find beauty in a building’s imperfections.
6) Experiment with perspective and the rule of thirds to put a new spin on a scene.
7) Look for symmetry to create visually appealing images.
8) Don’t be afraid to shoot the in-between places.
9) Play around with reflections in windows. This works well if there are clouds, a vivid sunset, puddles, ponds, or lakes near your building subject.
10) Include some plant life to add a natural contrast to the human-made elements in your photo.
Edit Your Architectural Photography
By now, your head is probably overflowing with exciting architecture photography ideas and you’re ready to start creating. After your next photoshoot, follow this quick step-by-step tutorial to edit your architecture photos in Picsart:
In the Web Browser:
1) Open the Picsart Editor on desktop and select New Project to start an edit.
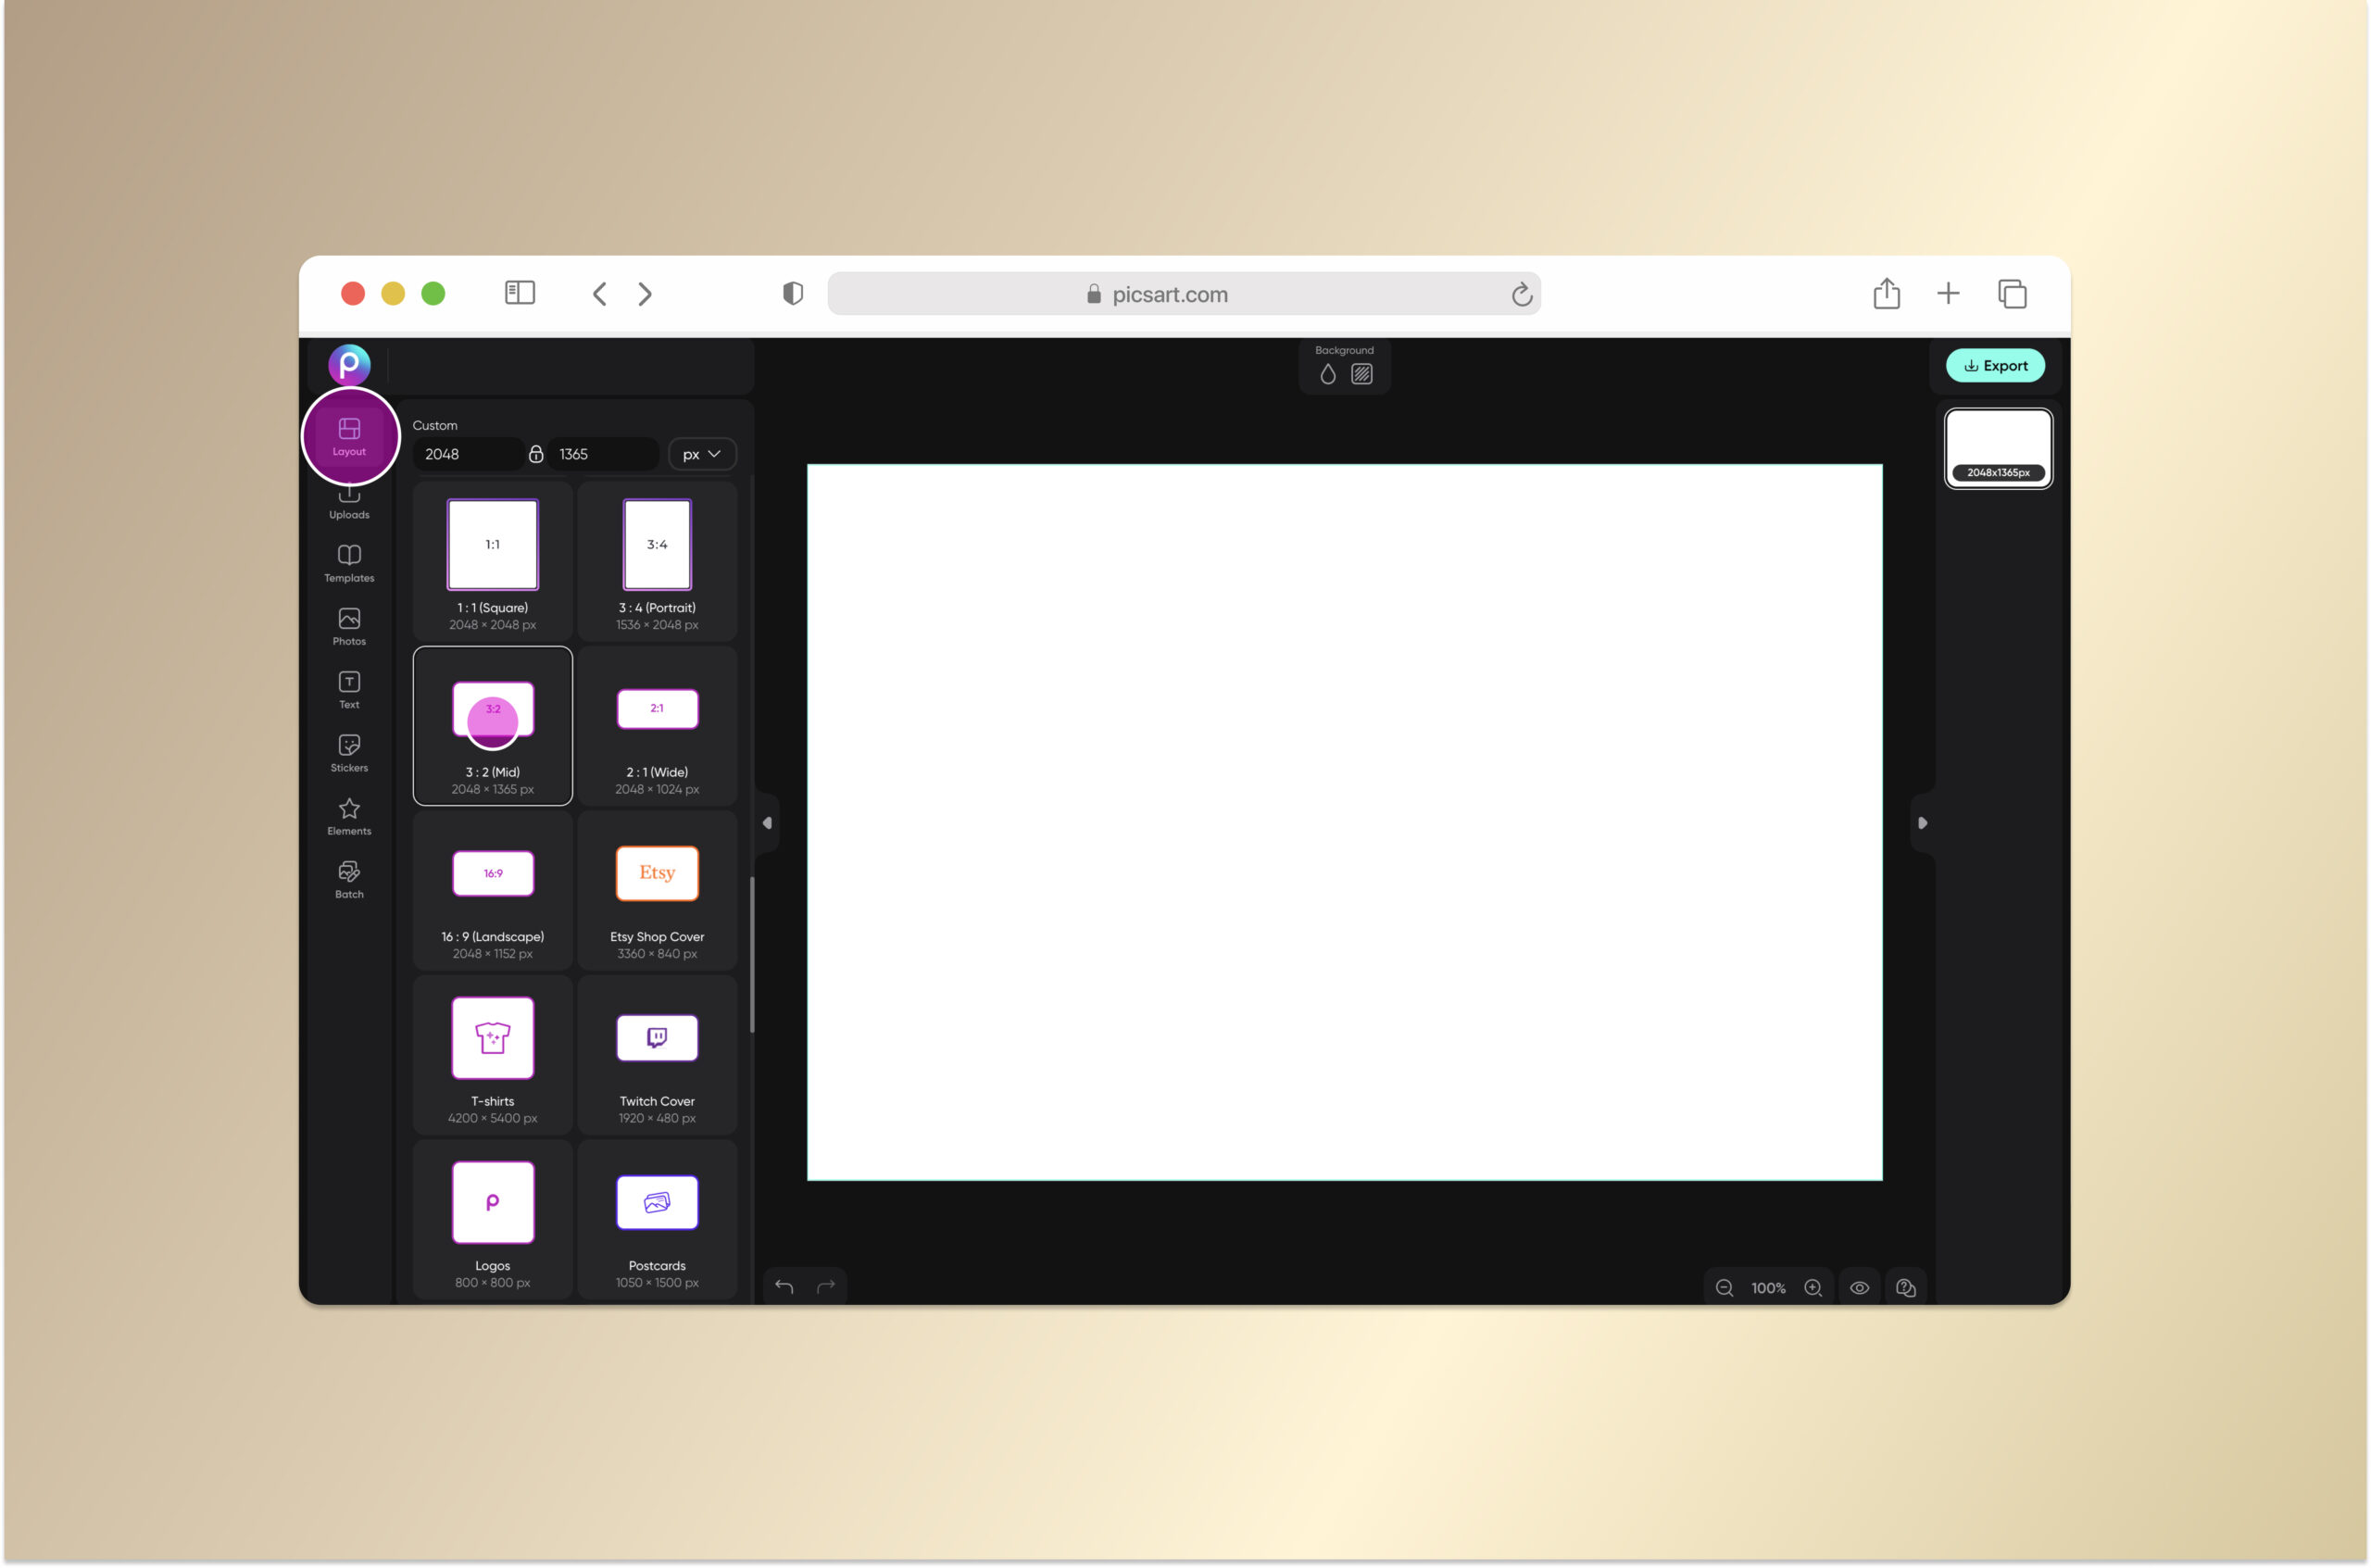
 2) Click on Layout and select the right canvas size for your project. Be sure to keep in mind where your final image will live and the formatting needs for that medium.
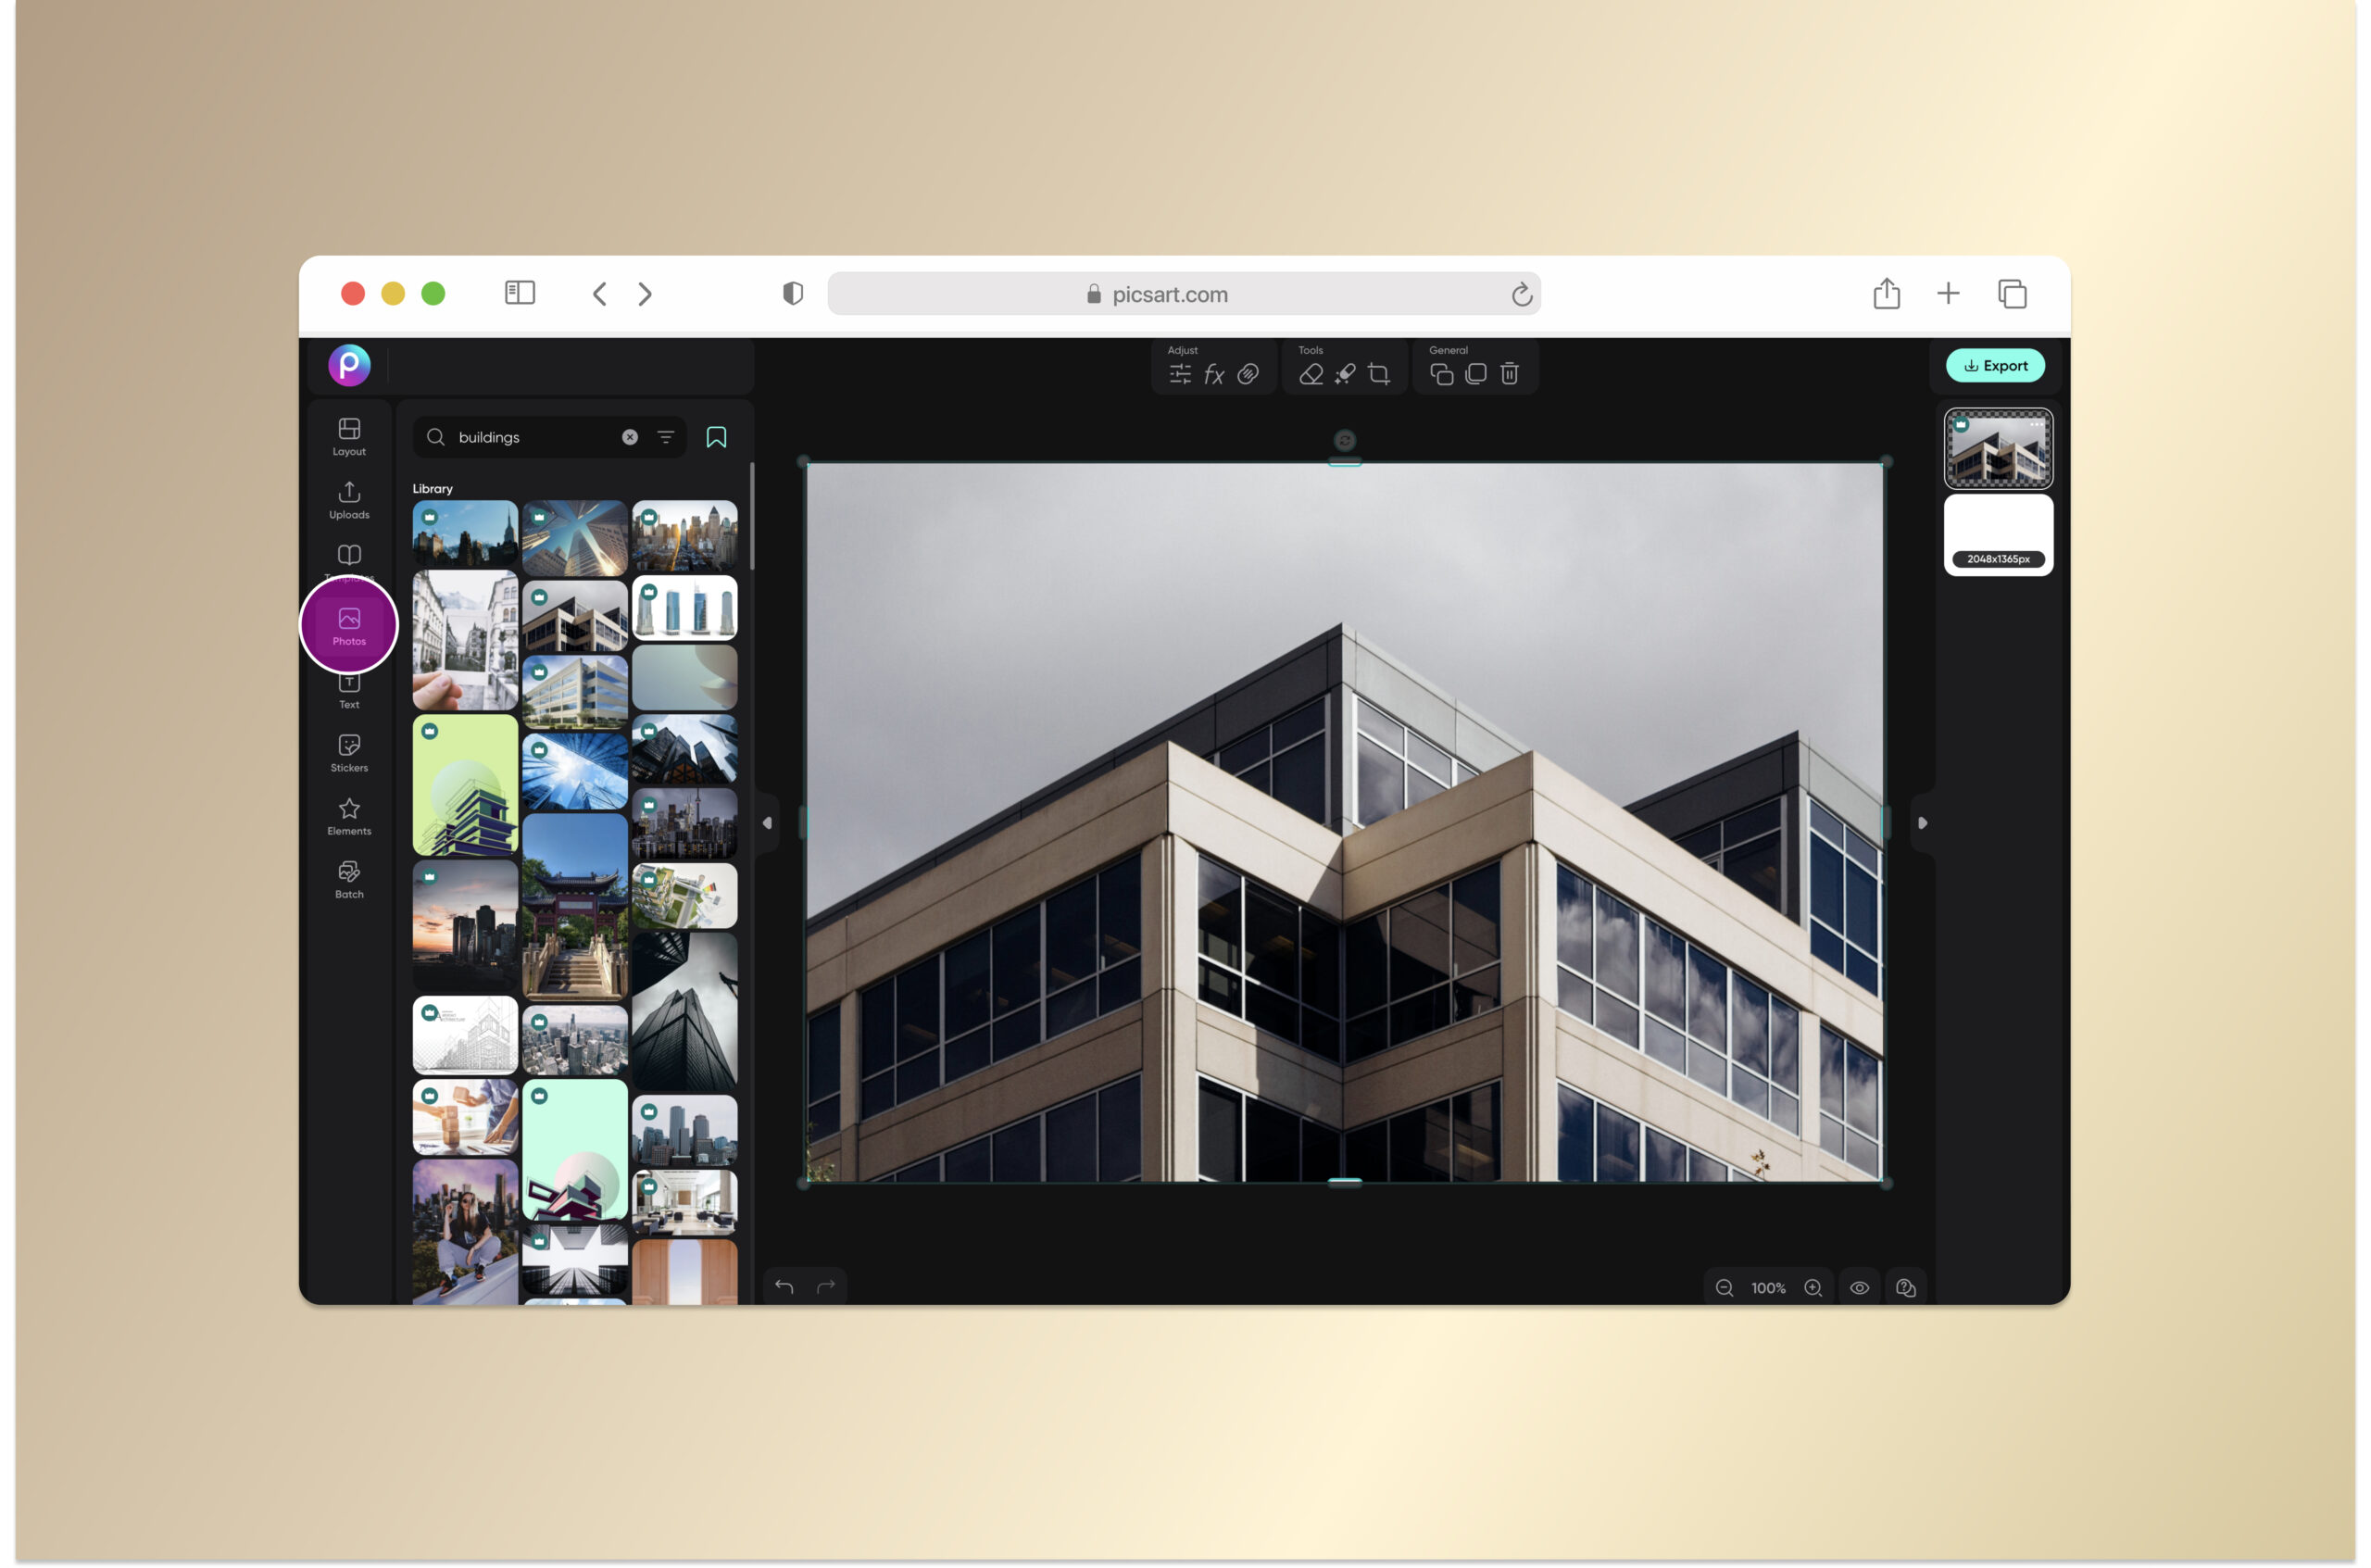
3) Select Photos from the left-hand toolbar. Click My Photos, then click Upload and choose one of your architecture photos to edit. If you’re just looking to practice editing building photography, search for “buildings” in the search box and select one of the stock photography images. It’s a great place for other architecture photography ideas.
 4) After your photo is uploaded, a new editing toolbar menu will display above it. Select fx to open the filters options. Here we went with a Featured filter and selected SPC2 for a warm edit.
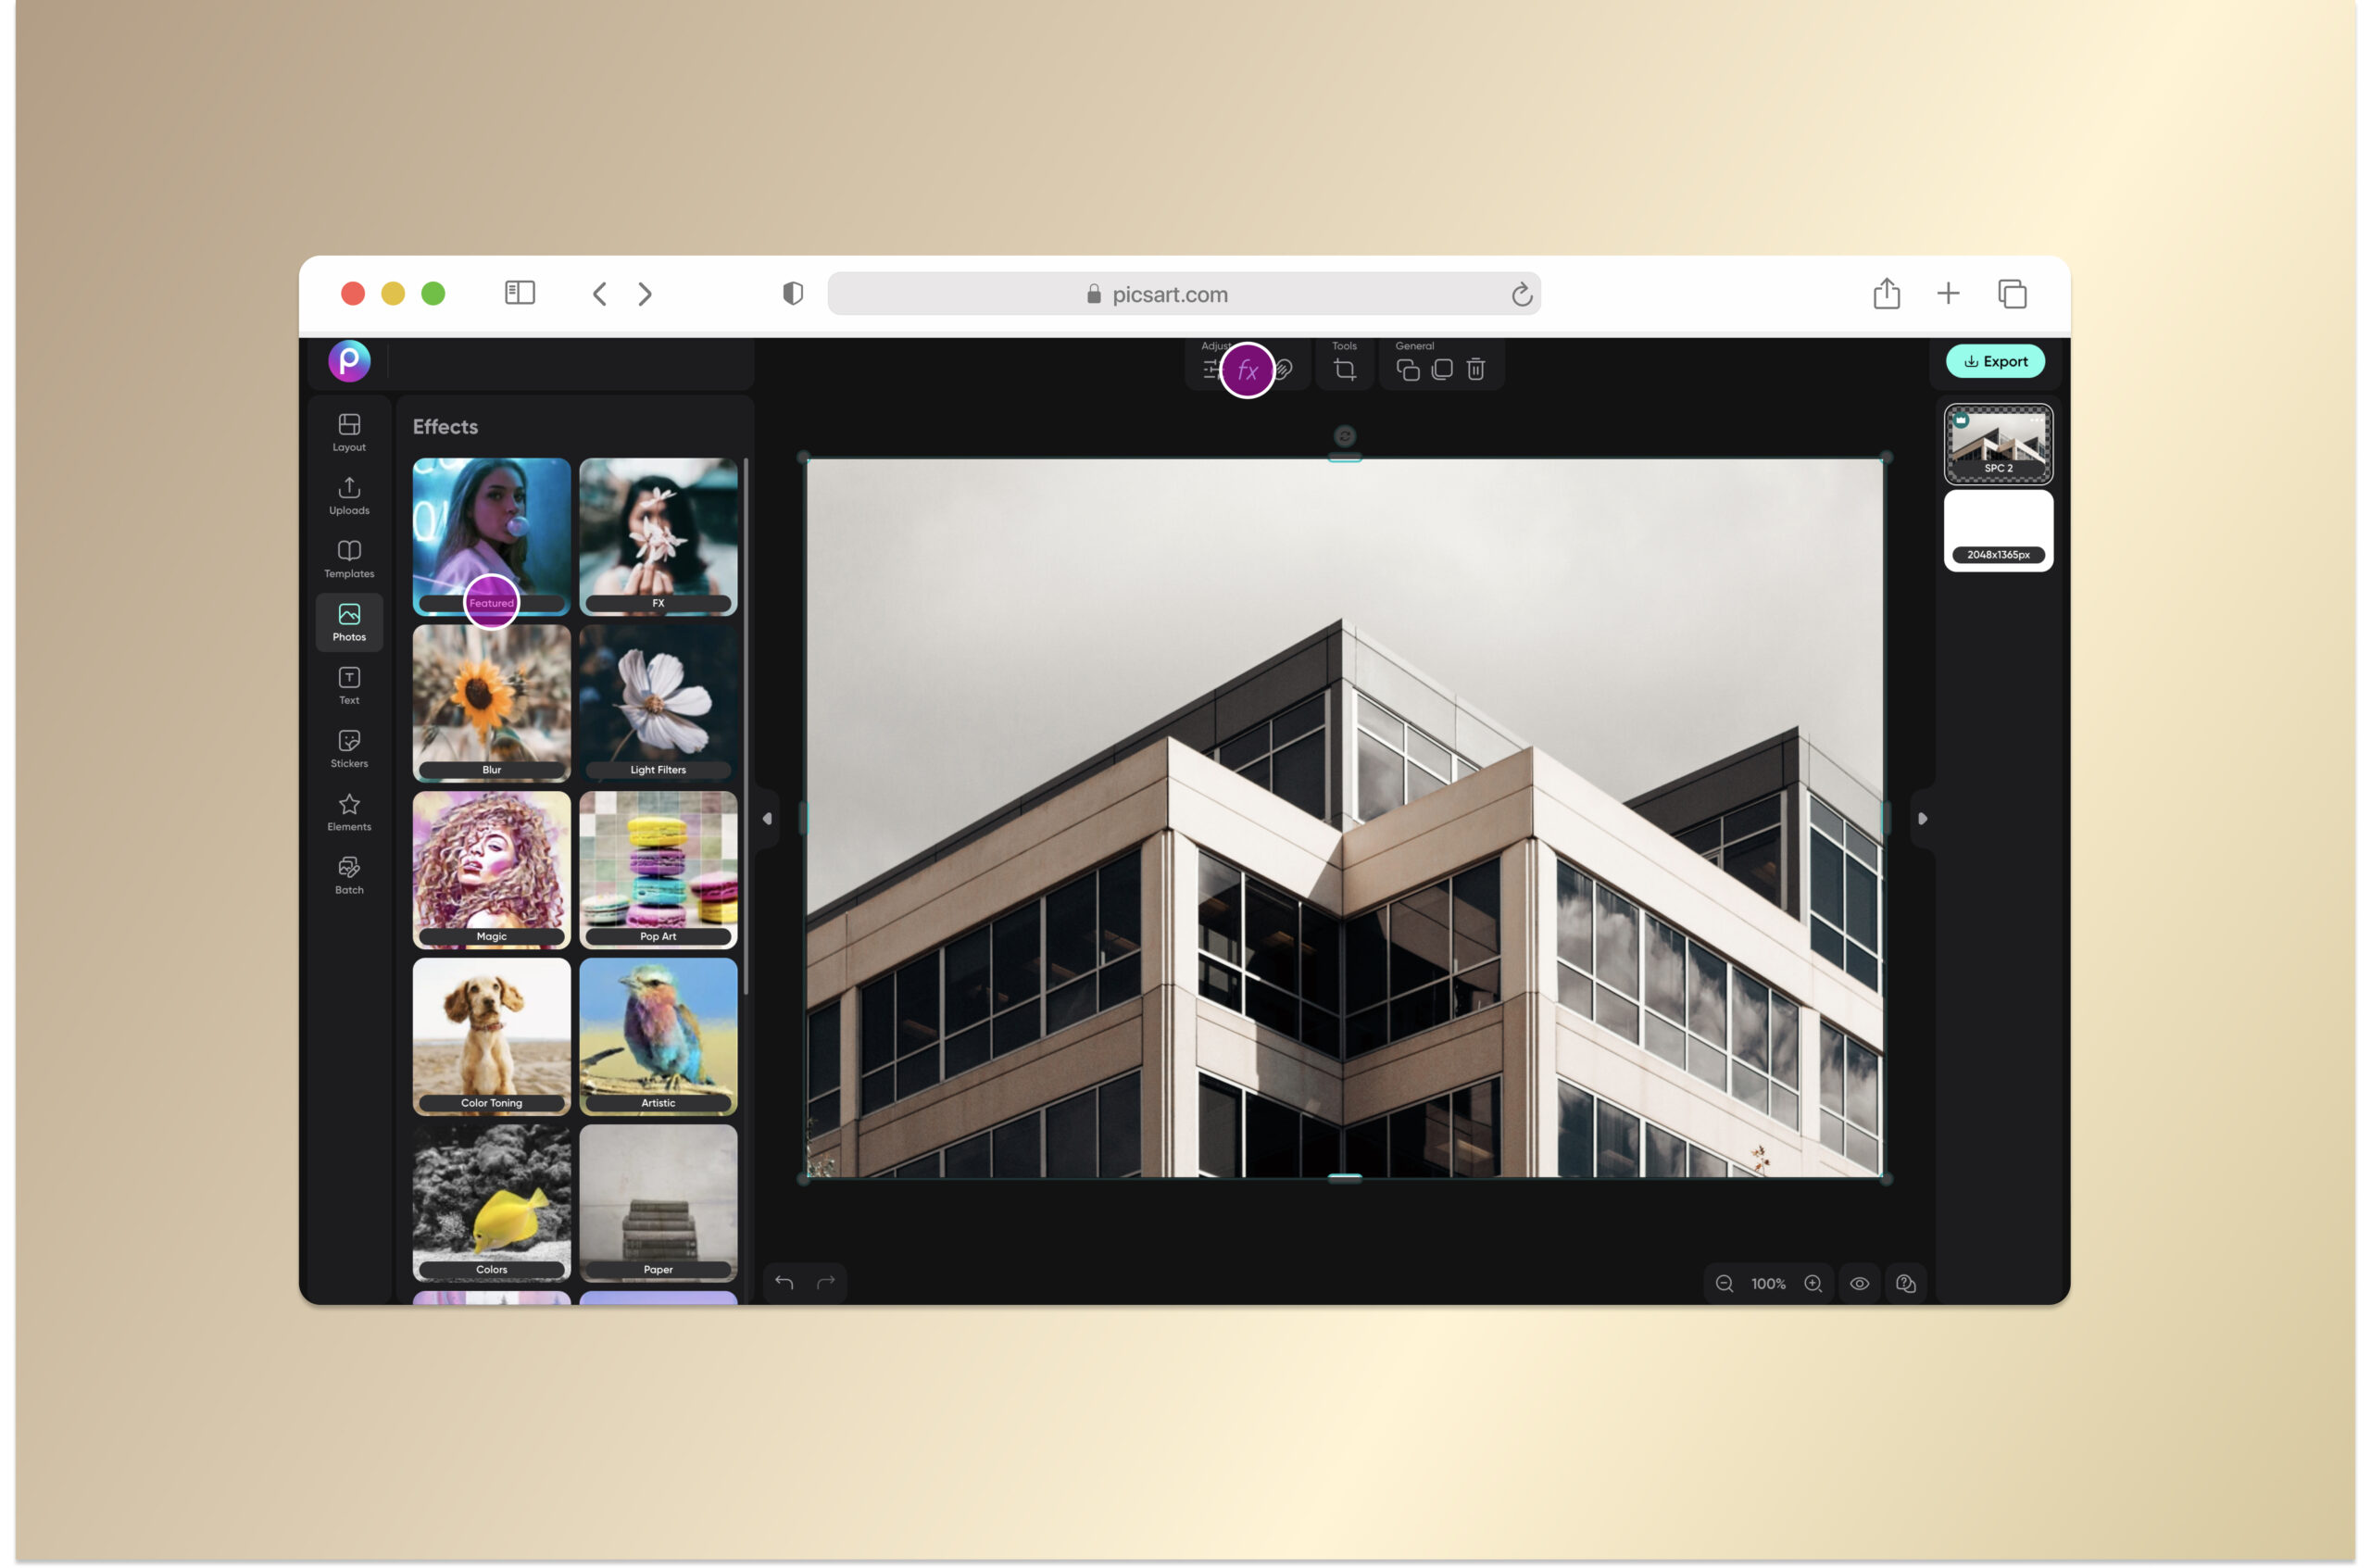
In this step, you can also adjust other properties of the image, including contrast, saturation, highlights, and shadows. 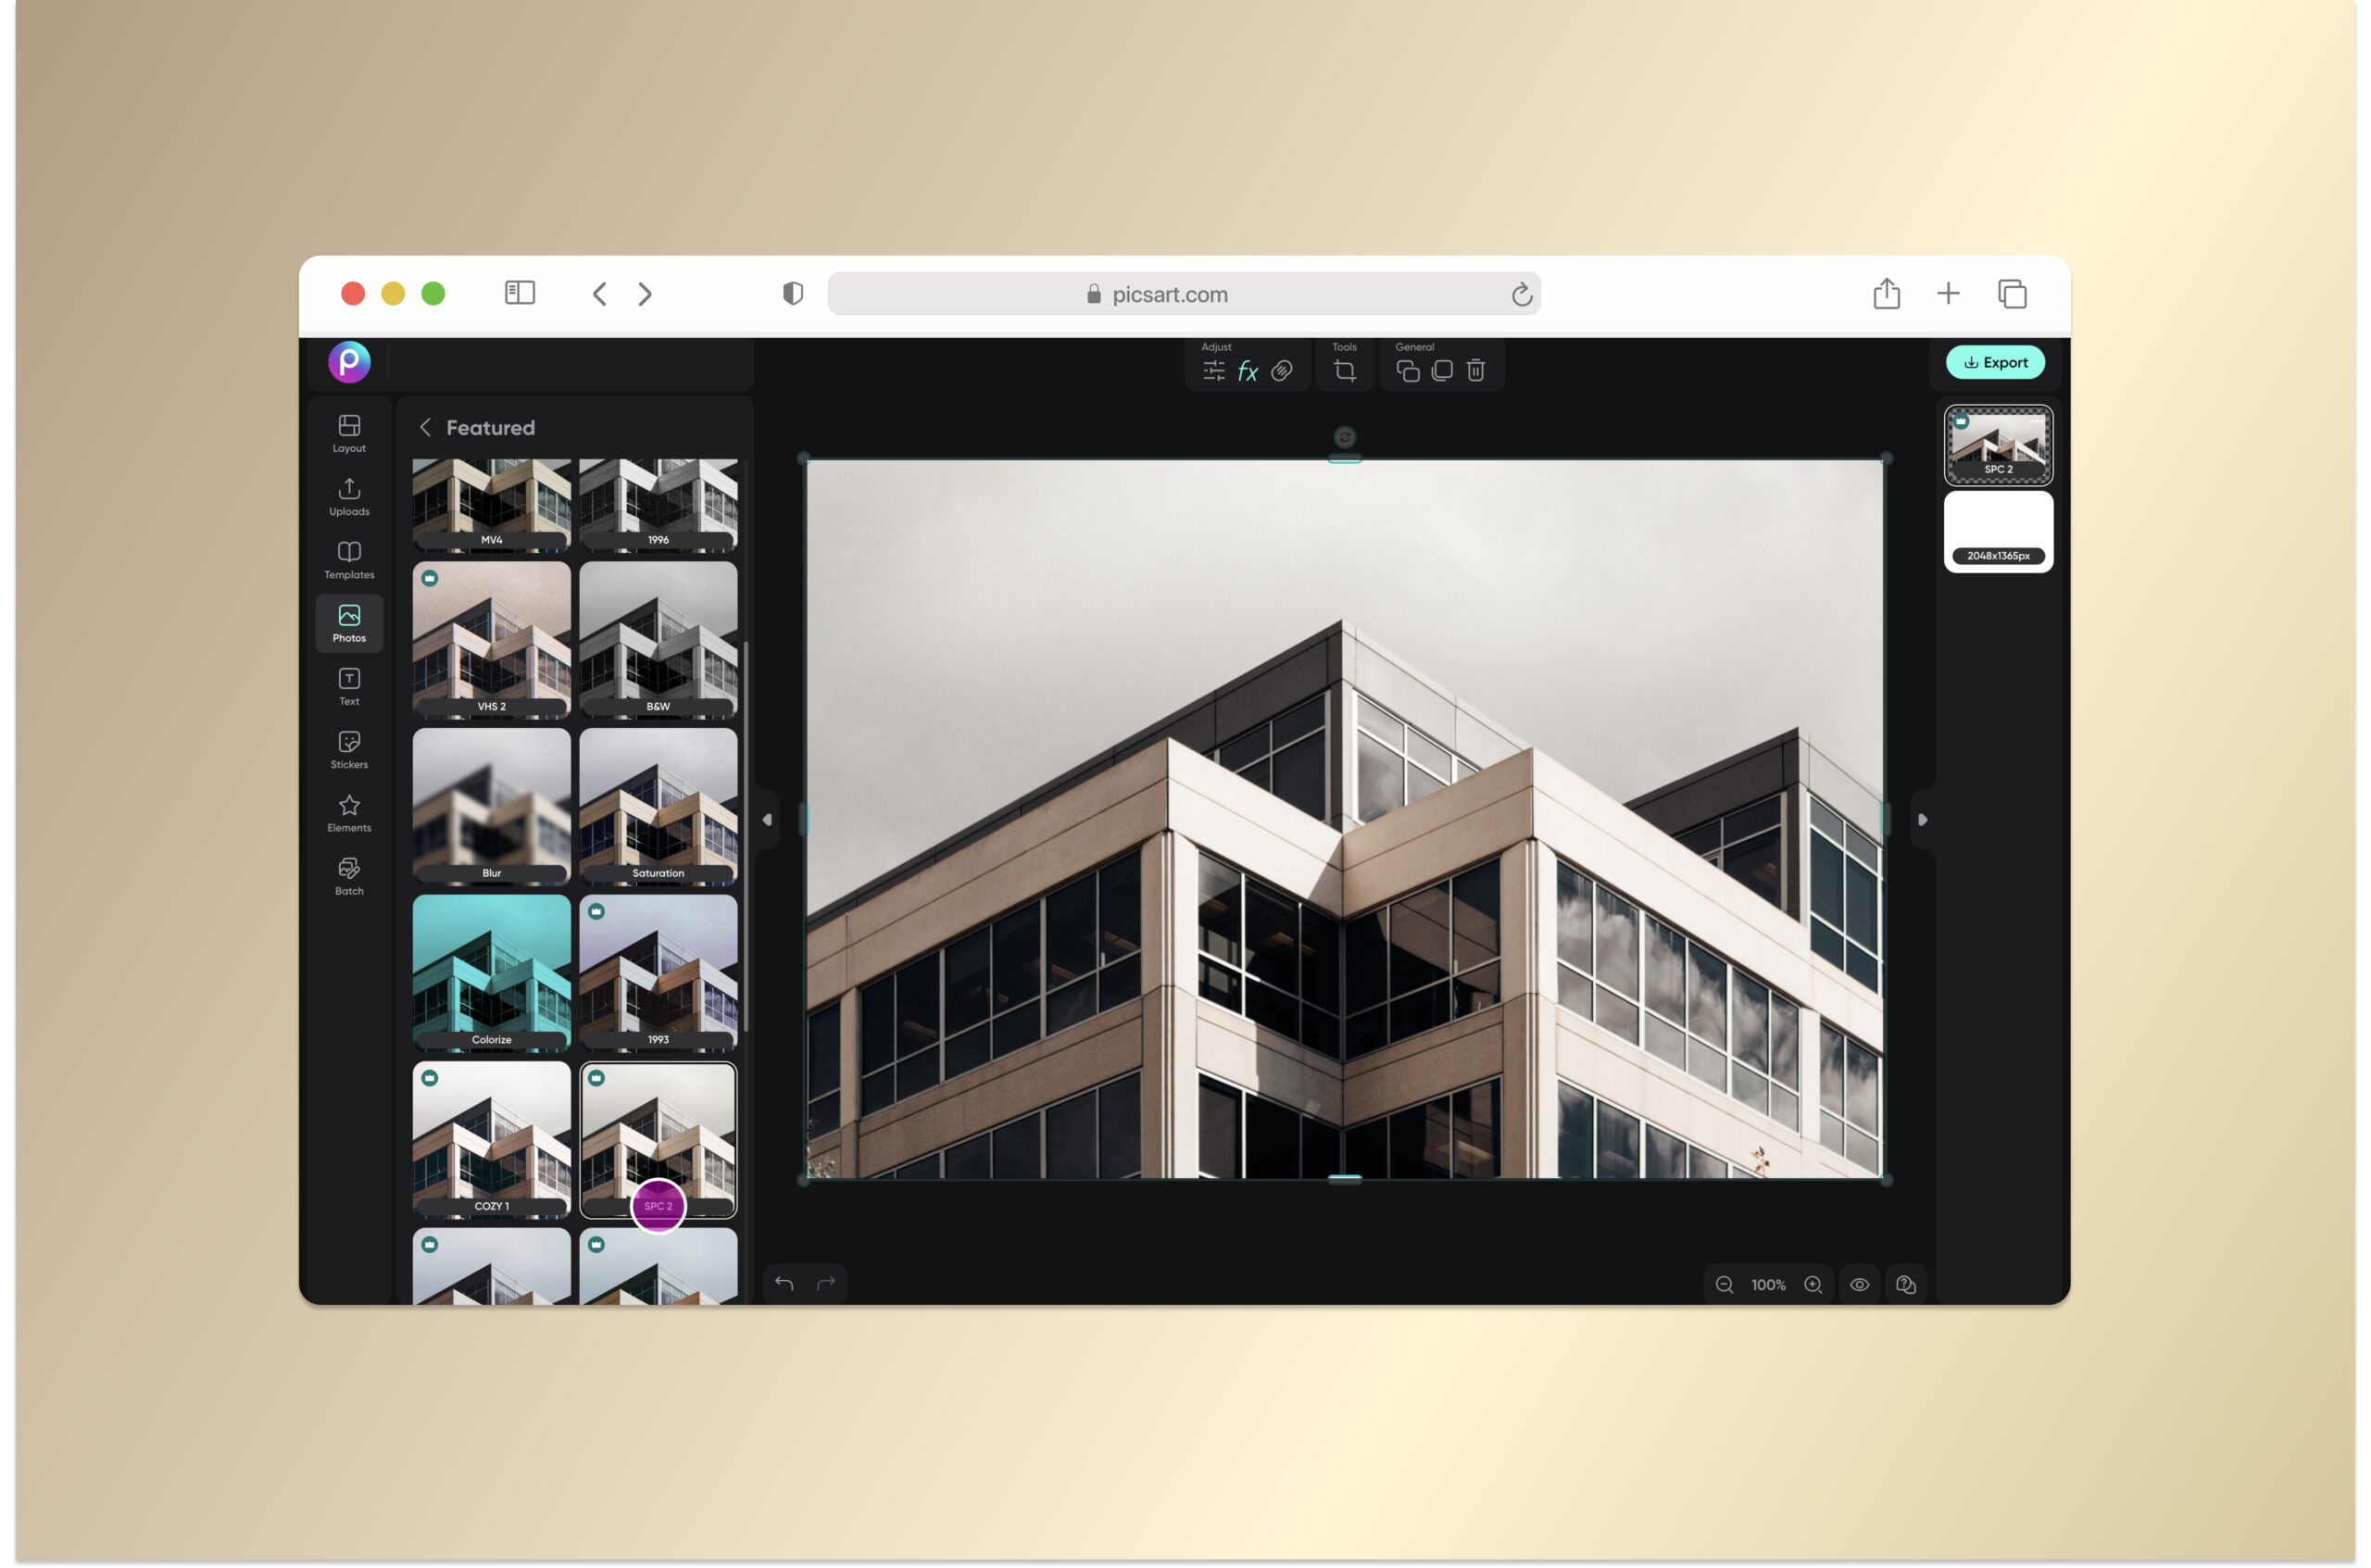
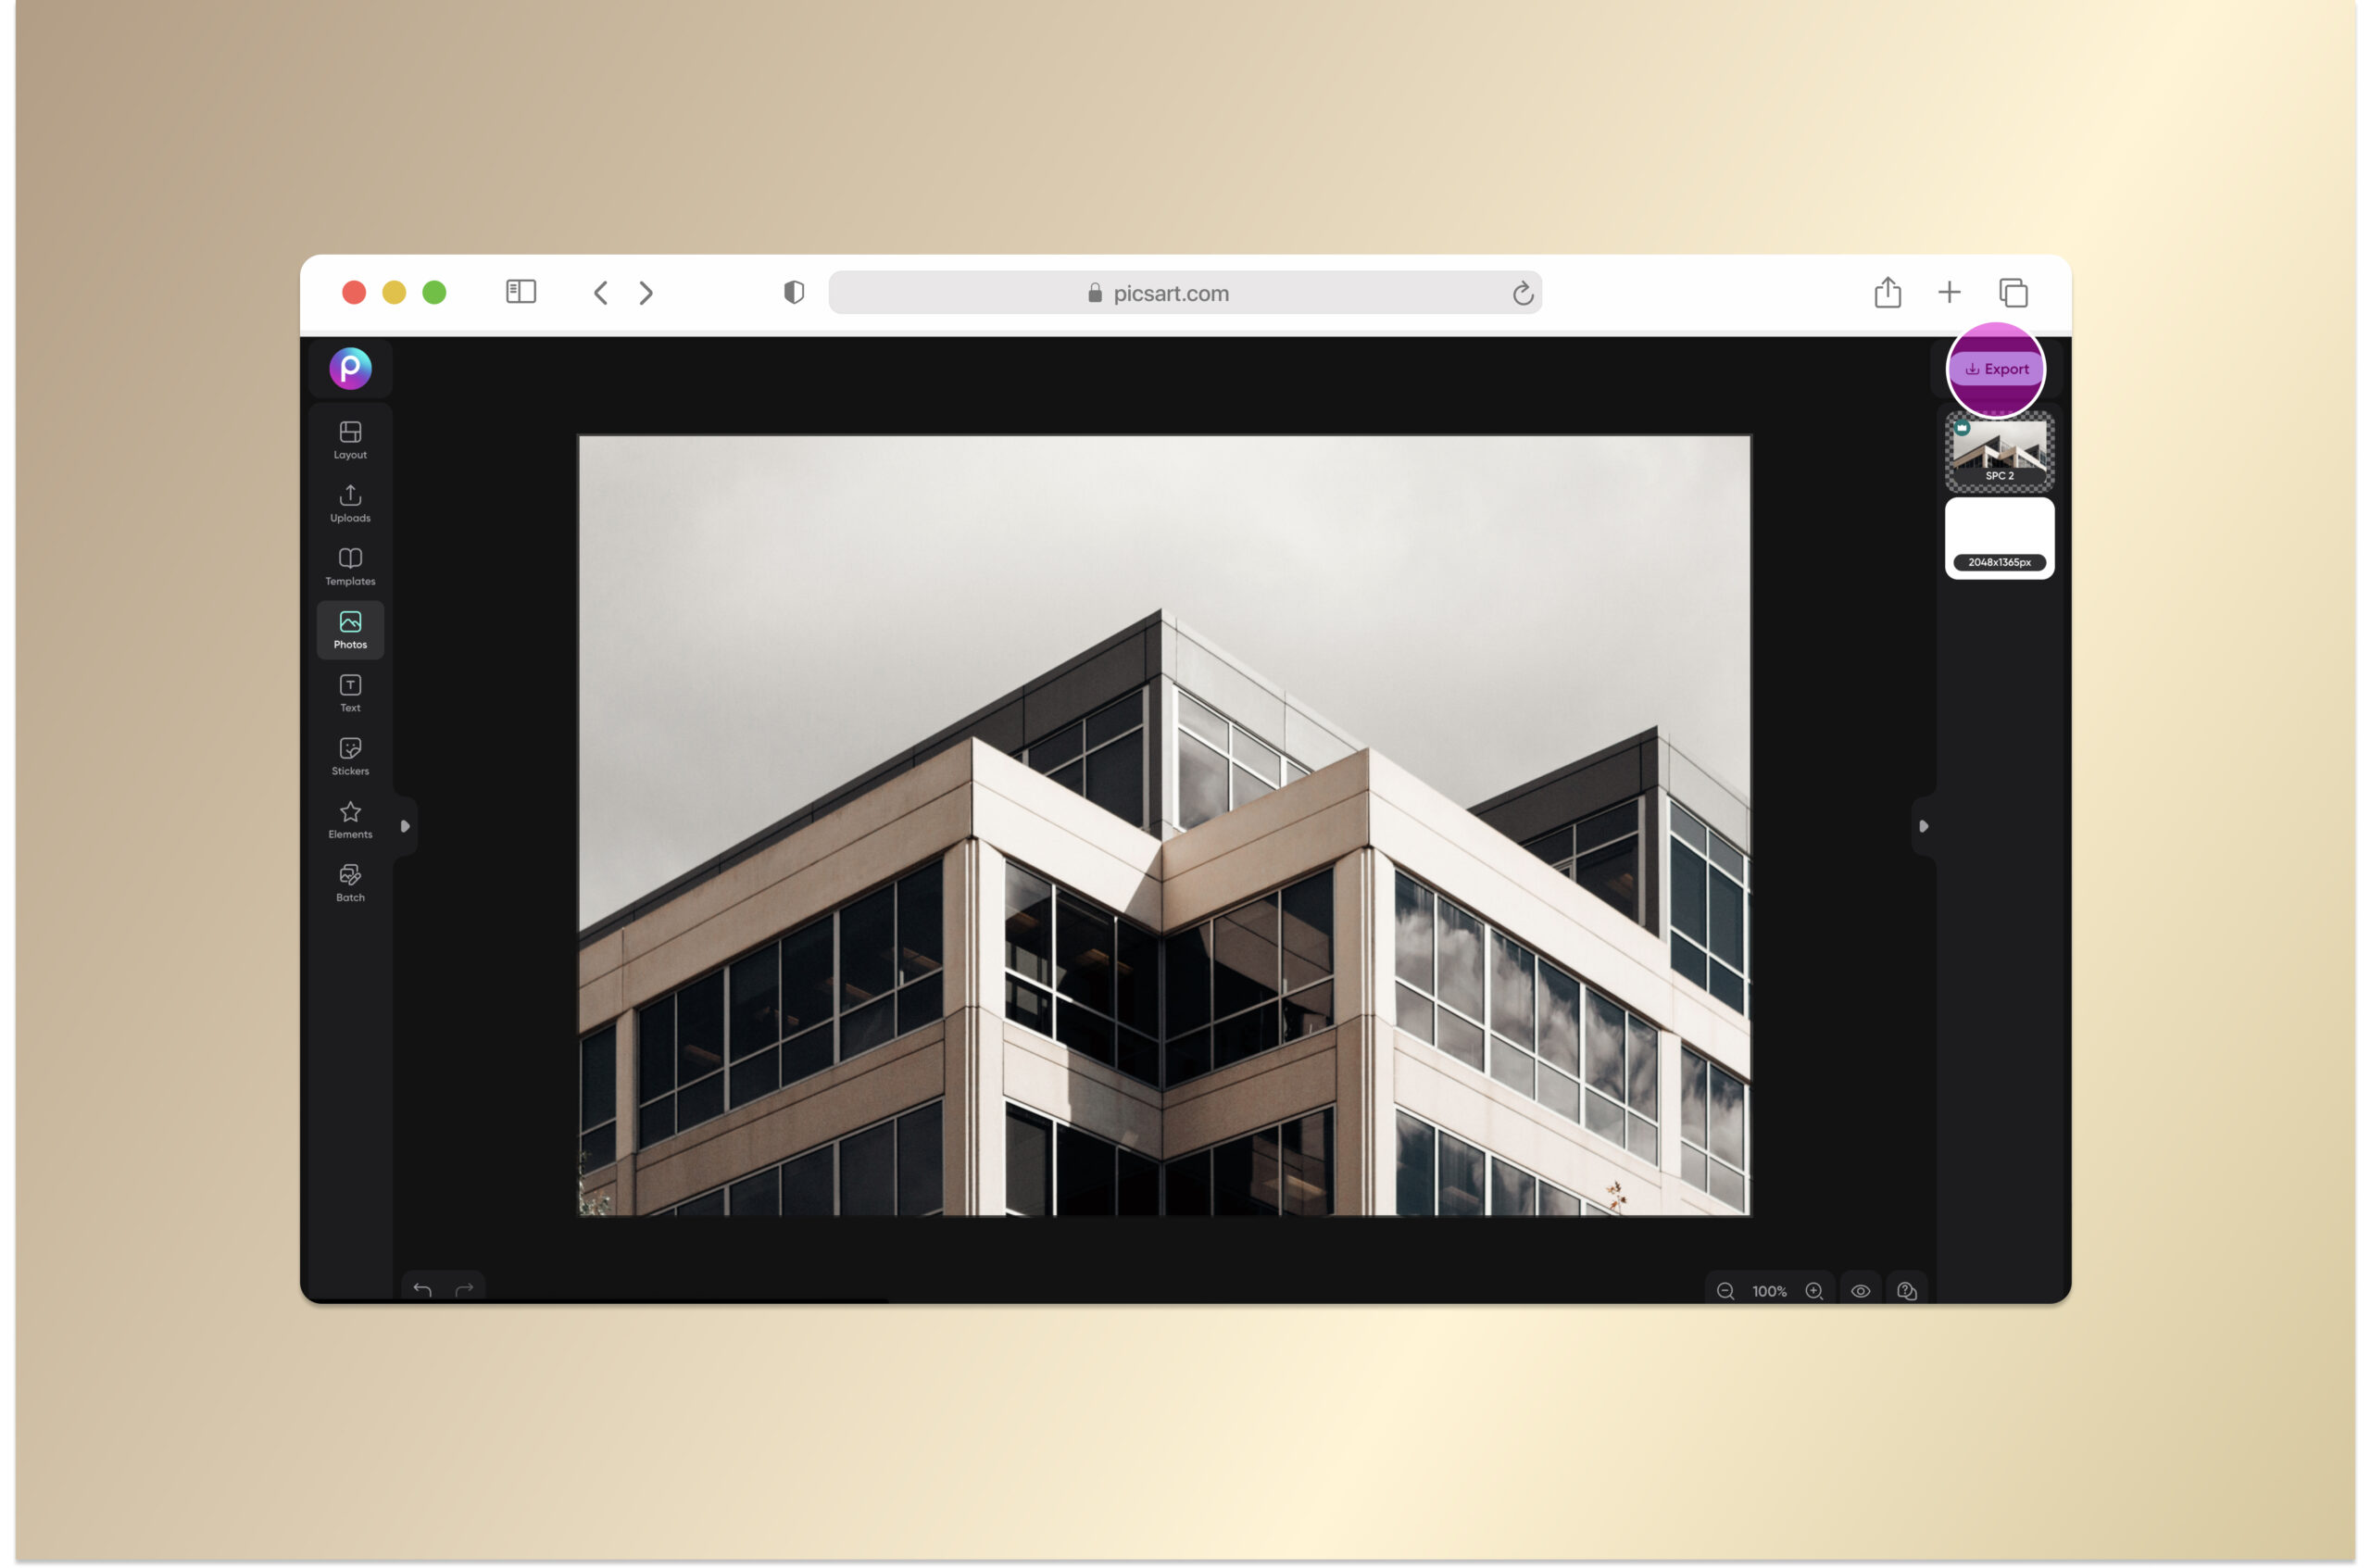
5) When you’ve got your photo exactly as you want it, click Export on the top right of your screen to save and share your design.
In The App:
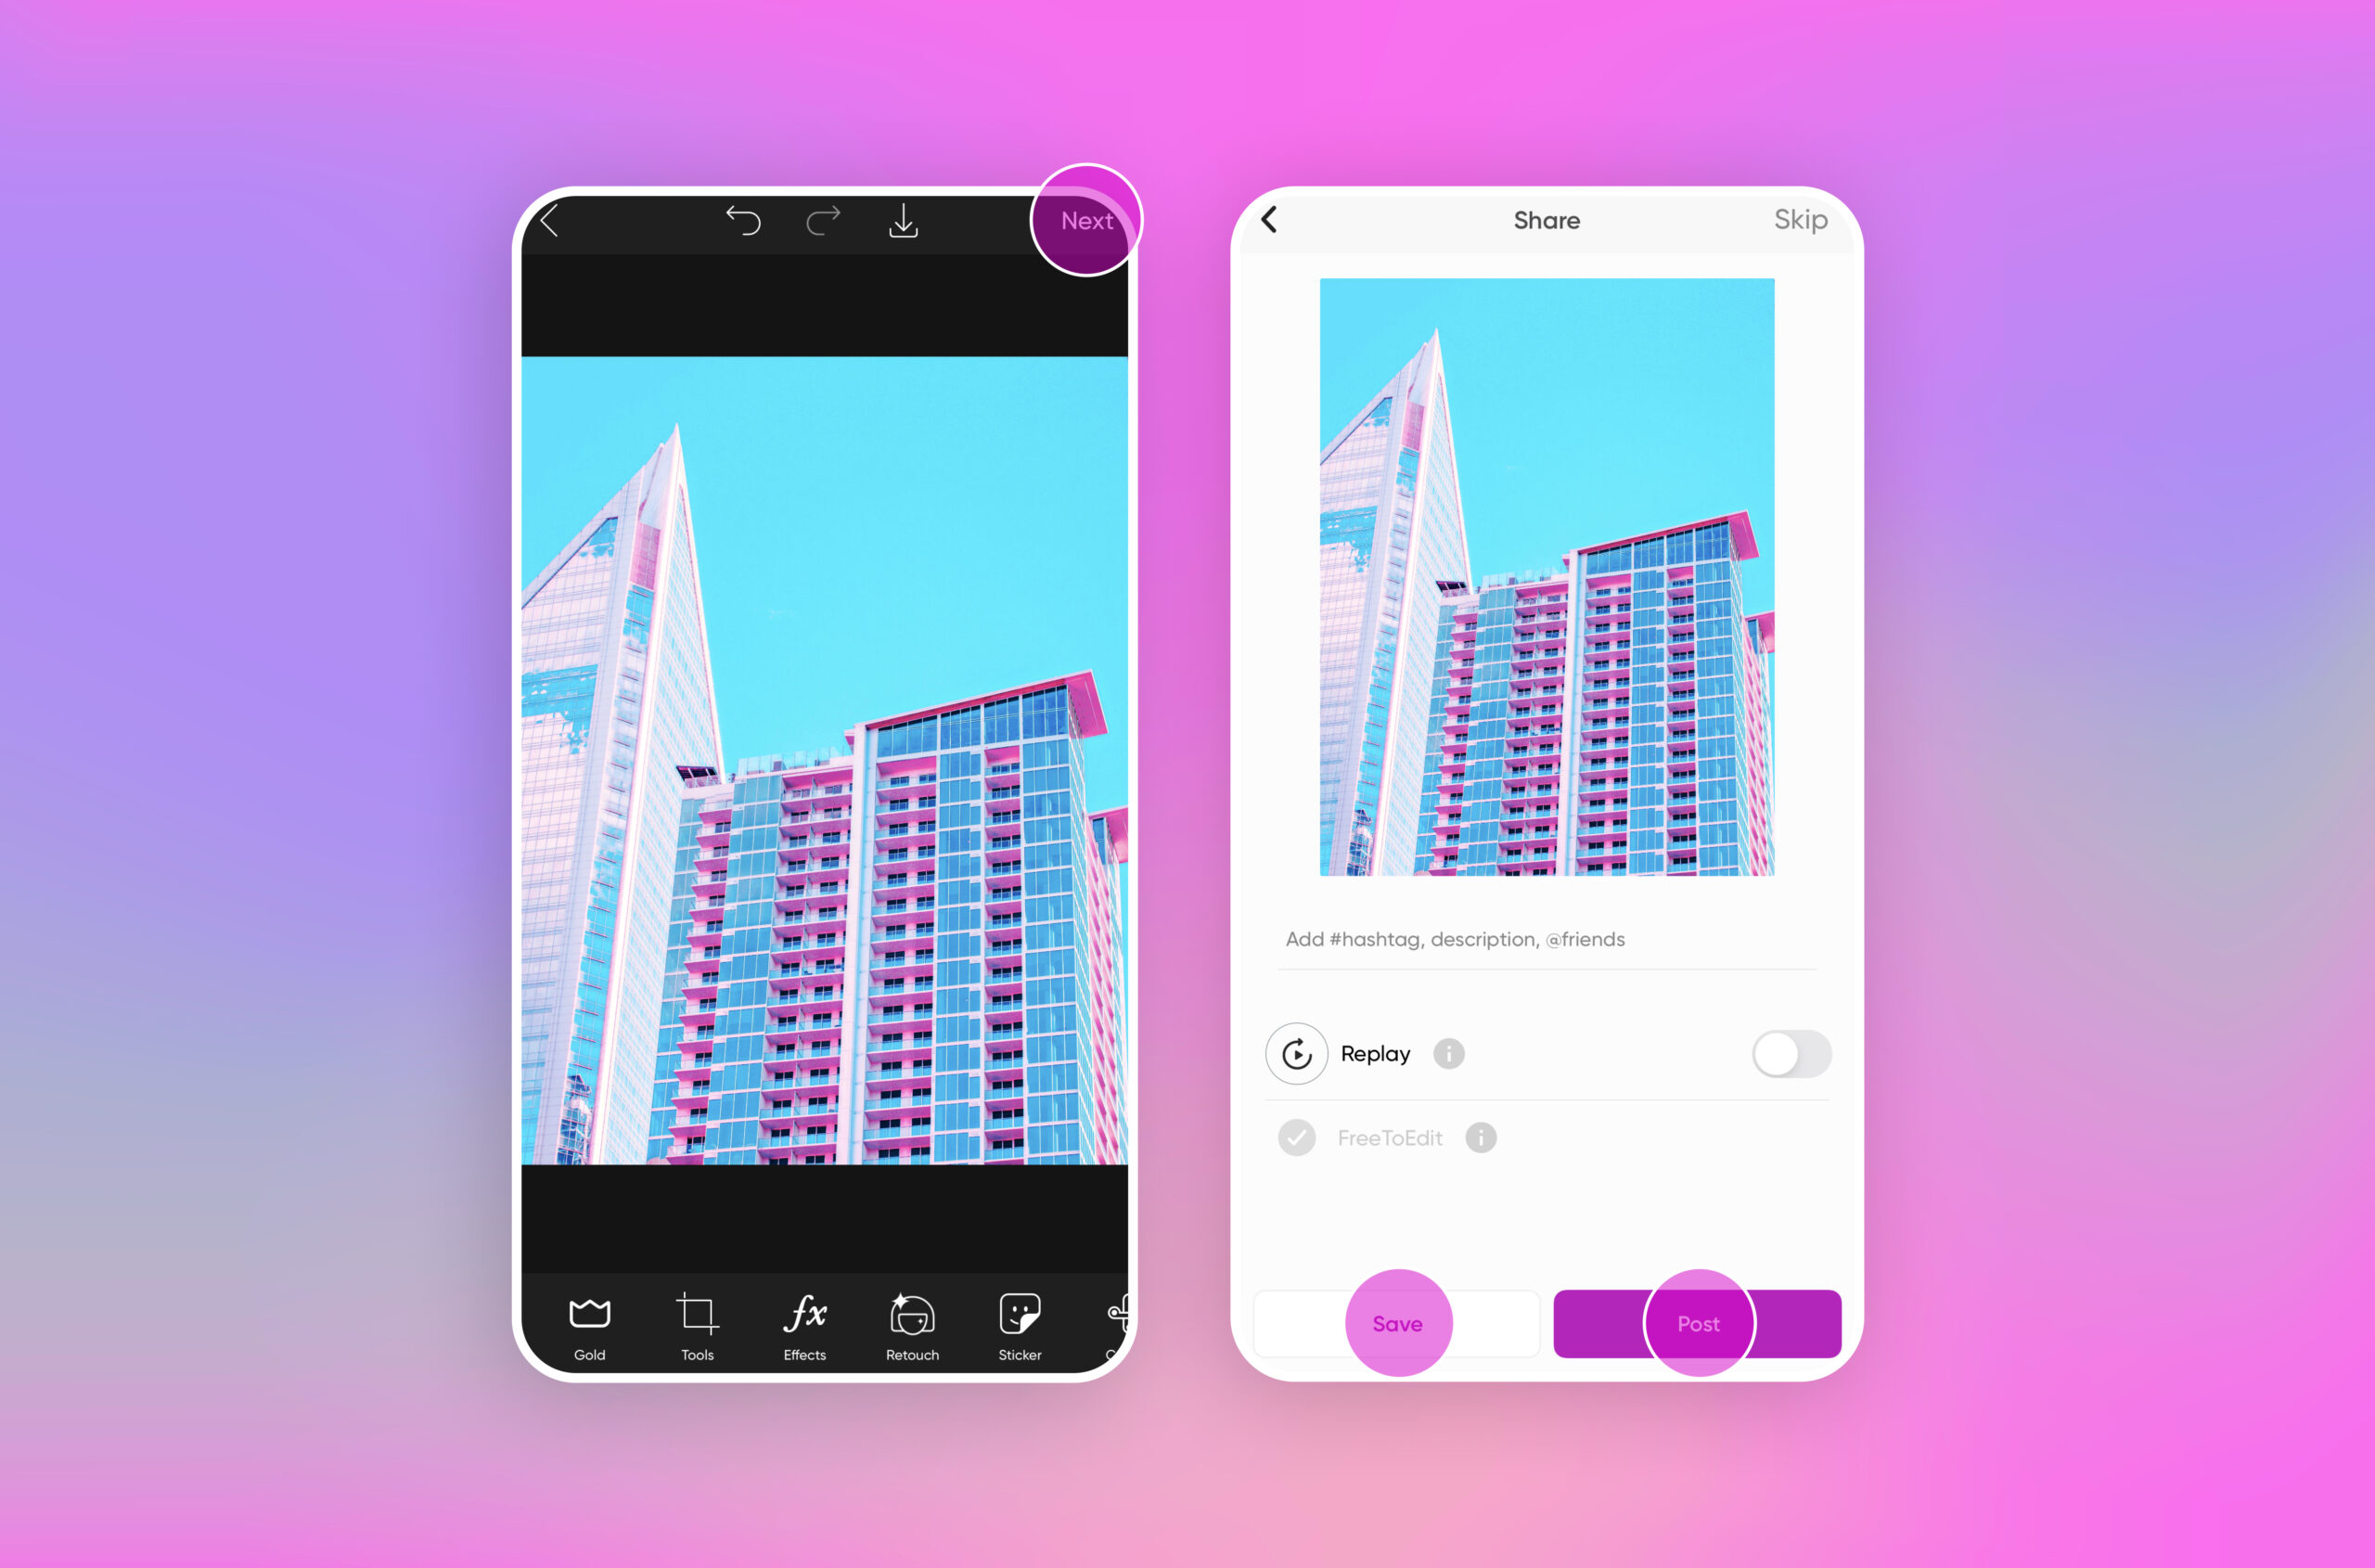
1) Open the Picsart app on your mobile device and upload one of your architecture photos by tapping the plus sign (+) at the bottom of the screen. If you don’t have one handy, you can search for Free To Edit photos.
 2) Tap on Tools and Crop in the bottom toolbar to crop out any parts of the image that aren’t essential to the story you’re trying to tell. Tap Resize to change the size of your photo if needed. Then, tap Apply in the top right corner to save your changes.
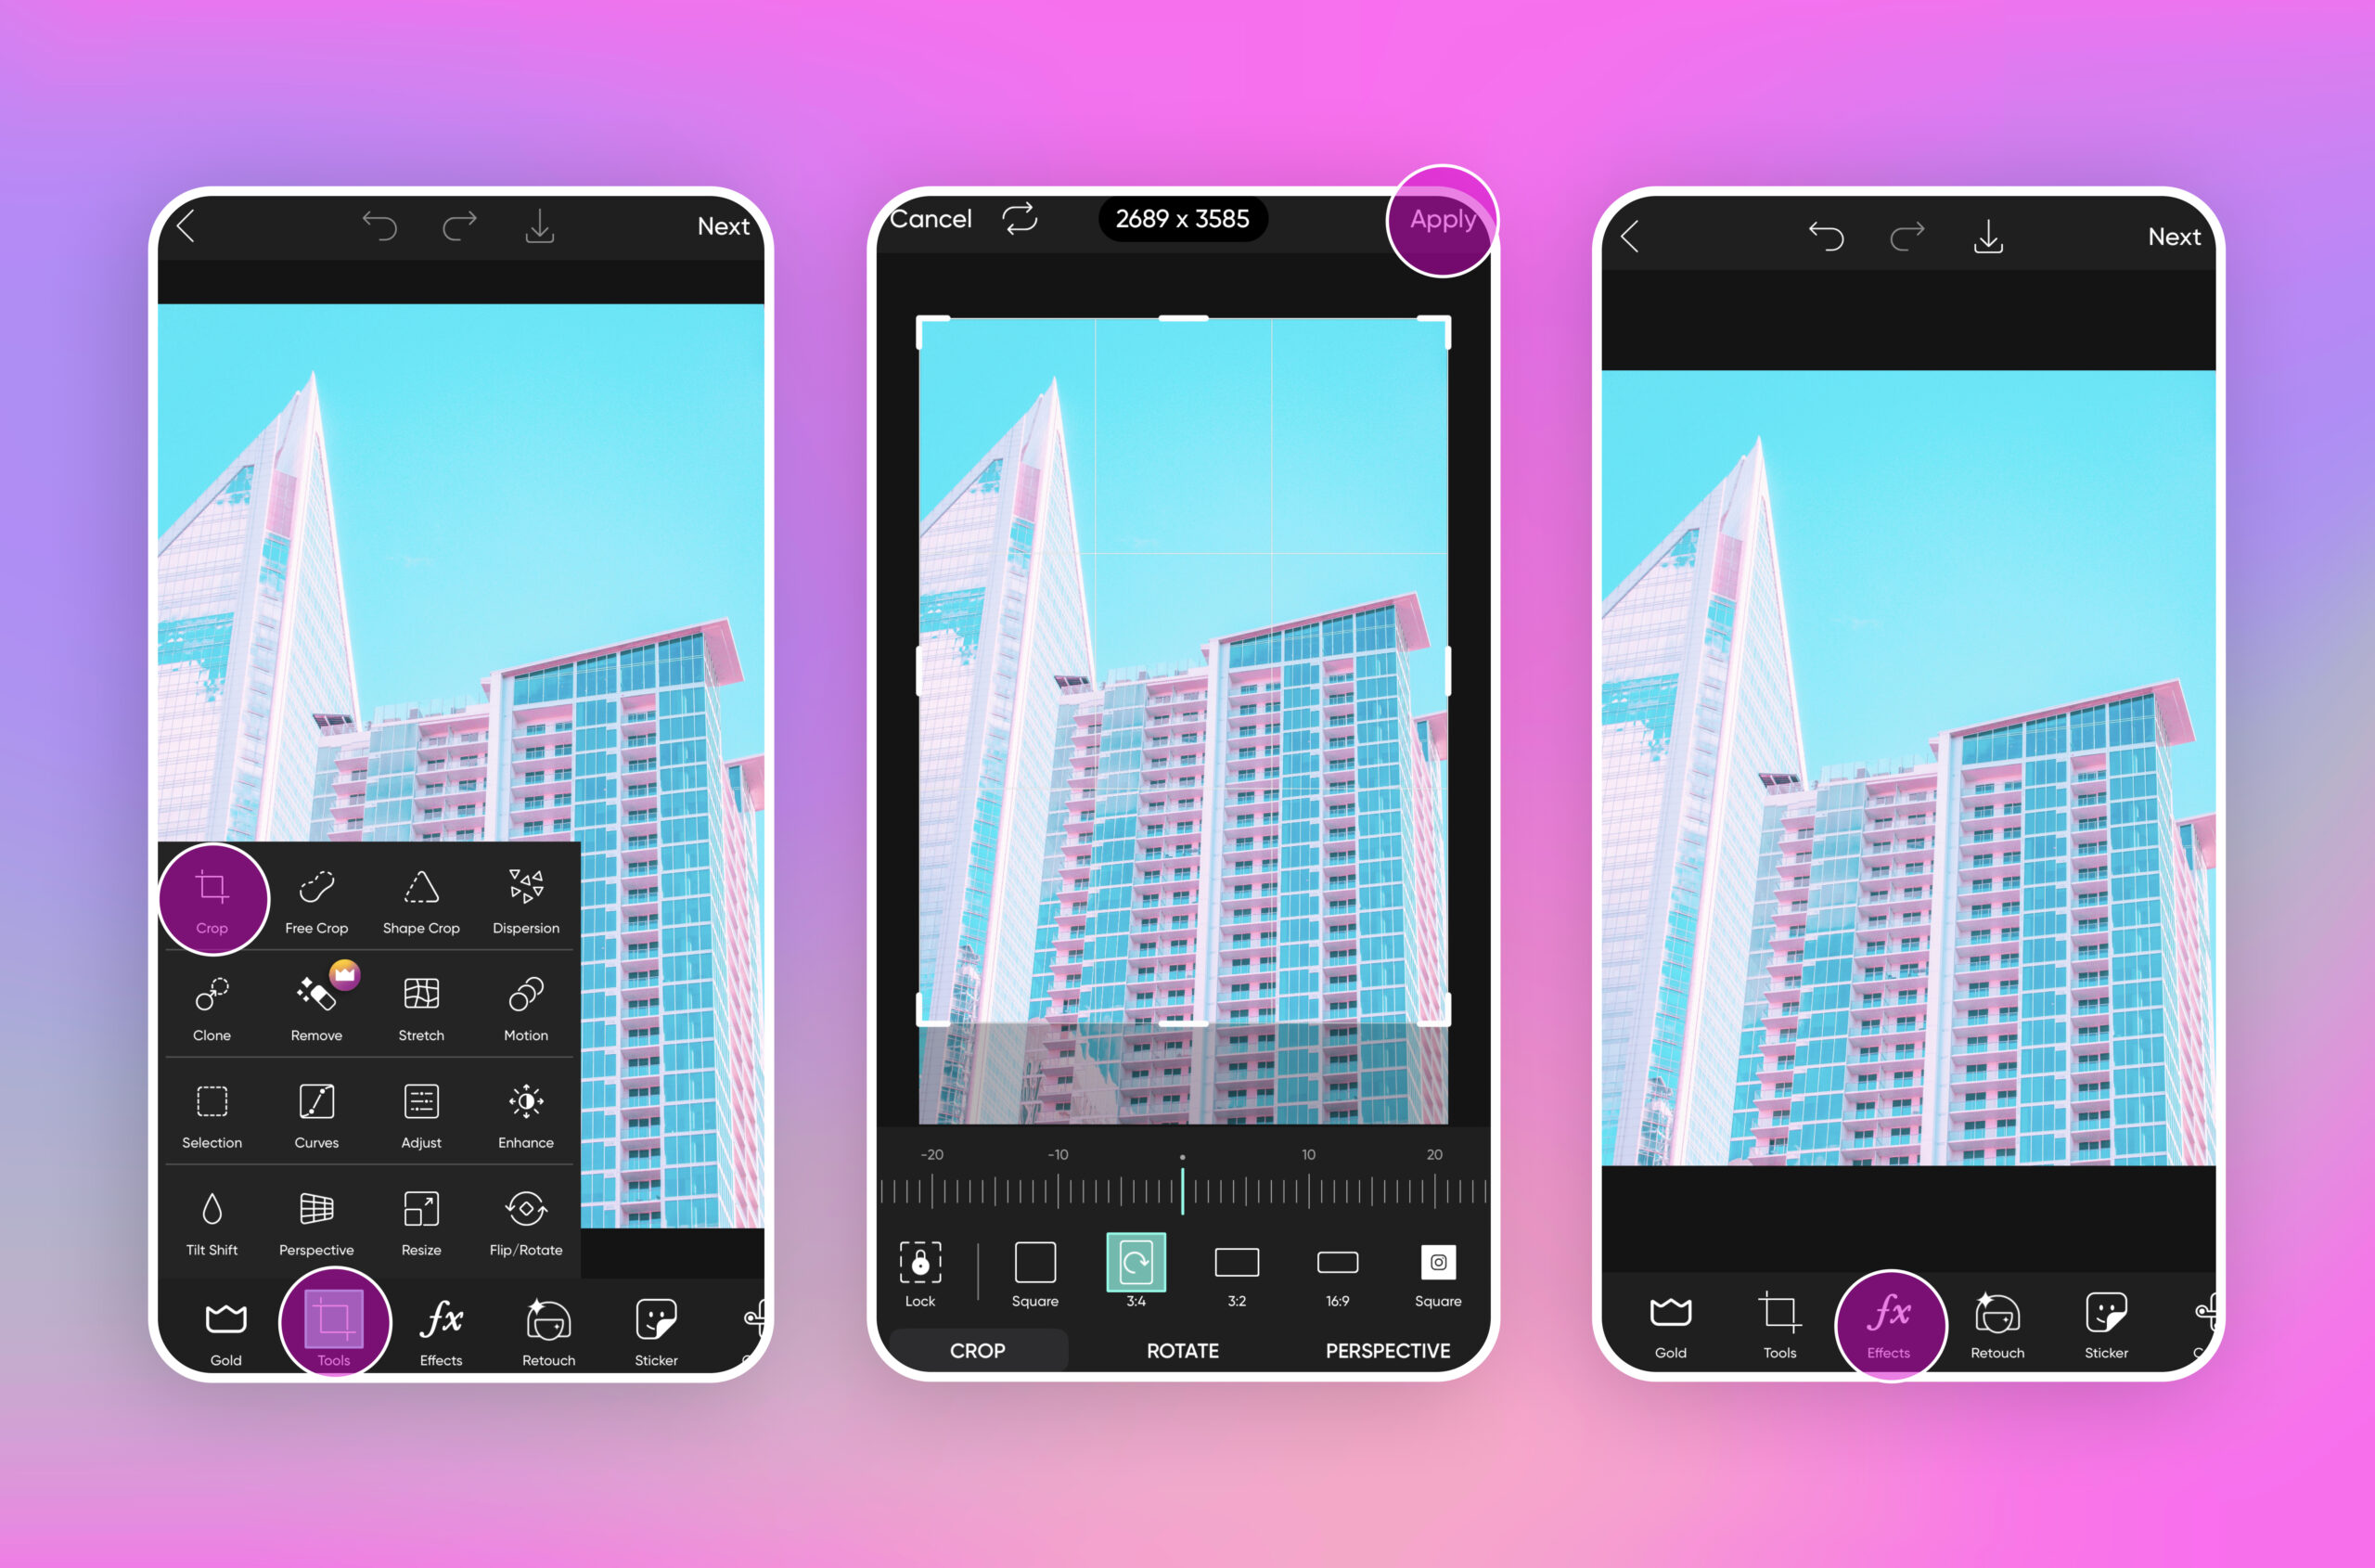
3) Let’s apply a filter. Tap on fx and scroll through the filter options to find the right one for your edit. Here you can also use Adjust to make changes to the contrast, saturation, brightness, and other aspects of your image. Remember, try to make edits that enhance your photo without overdoing it. Then, tap Apply.
4) When you’re finished editing your building photo, select Next on the top right of your screen to save and share your piece with the Picsart community. You’ll find lots of other architecture photography ideas there.
Create at the Speed of Culture
Picsart is a full ecosystem of free-to-use content, powerful tools, and creator inspiration. With a billion downloads and more than 150 million monthly active creators, Picsart is the world’s largest creative platform. Picsart has collaborated with major artists and brands like BLACKPINK, Taylor Swift, the Jonas Brothers, Lizzo, Ariana Grande, Jennifer Lopez, One Direction, Sanrio: Hello Kitty, Warner Bros. Entertainment, iHeartMedia, Condé Nast, and more. Download the app or start editing on web today to enhance your photos and videos with thousands of quick and easy editing tools, trendy filters, fun stickers, and brilliant backgrounds. Unleash your creativity and upgrade to Gold for premium perks!


