We all love taking photos on our iPhones, but not all of us know how to finesse them using the basic editing tools built right into iOS, iPhone’s operating system. They might seem basic or not so obvious to use, but if you want to improve the quality of your photos, they can make a significant difference.
As always, you’re in the right place just at the right time, because in this article, we’ll give you an easy-to-use guide on how to edit photos on an iPhone by using the built-in editing tools. And if you have more ambitious visions for your photos, we’ll show you how to spice up your visuals using the Picsart all-in-one photo editor.
How to edit photos in the iPhone’s default Photos app
The Photos app has more editing potential than you know! Since iOS 13, the app has been revamped to provide users with all the basic editing functionalities they might need for finessing their pictures. Even the not-so-successful shots can become worthy of your feed with a couple of tweaks. Here, we’ll provide you with an introduction to what each icon does in the editor interface and how you can use them to get the perfect look for your photos.
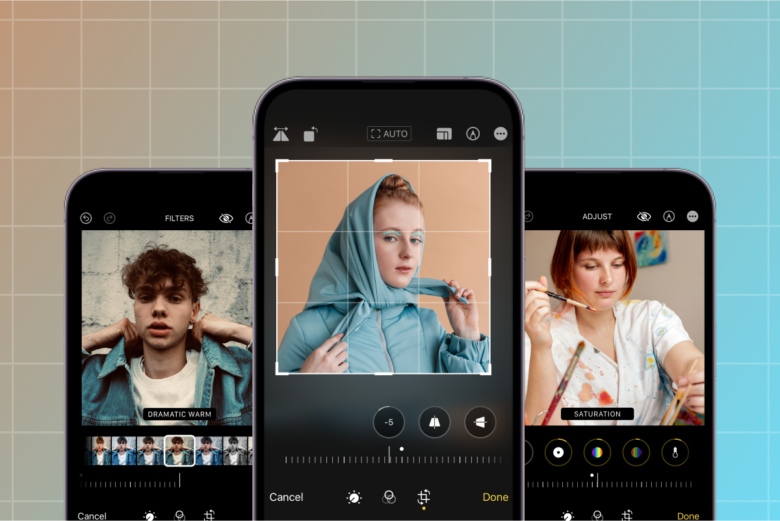
We’ll start with the basics: how to open the Editor interface in the Photos app. Here’s a step-by-step guide:
- Open the Photos app and select the photo you want to edit. If you don’t want to experiment with the original, just tap on the Share button and Duplicate the photo. Now you have version 2 to make all your edits on.
- Tap on the Edit button in the top right corner.
- On the lower part of the screen, you’ll see three sections of editing tools. We’ll cover what each does in the next section.
- Once you’re done making adjustments, tap on the Done button to save your changes.
Wonderful! Now you know how to open the Editor in the Photos app. Next, let’s cover what each tool does and, most importantly, how you can use them to improve the visual quality of your photos.
The Adjust toolset
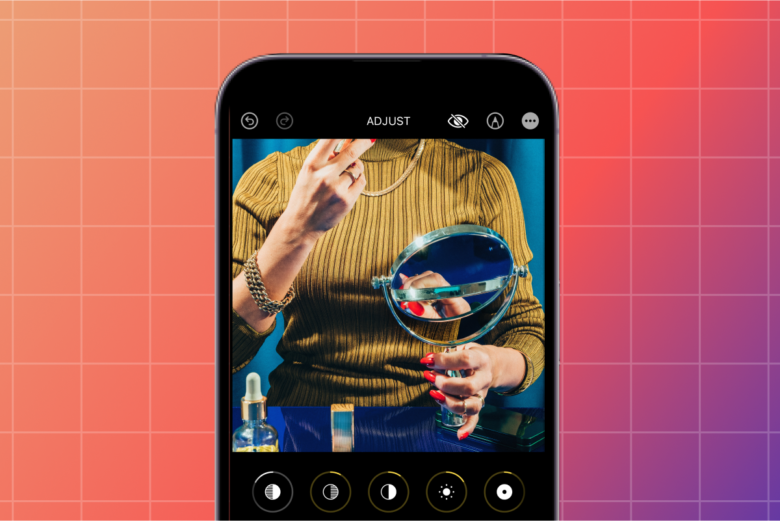
The Adjust tools in the Photos app editor on iOS devices offer a range of options to fine-tune and enhance your photos. Whether you need to brighten a dark photo, adjust the contrast, or add some pop to your colors, the Adjust tools have got you covered. Below is a closer look at each of the tools available.
The Auto adjustment tool is a great place to start when editing your photo. With just one tap, the tool will automatically adjust the brightness, contrast, and color of your photo, helping to bring out the best in your image.
Exposure
The Exposure tool allows you to adjust the overall brightness of your photo. If your photo is too dark or too bright, use this tool to adjust the exposure and bring your image to the desired brightness level.
Brilliance
The Brilliance tool is a powerful way to improve the overall clarity and definition of your photo. This tool can help to make your image look sharper and more defined, especially in areas with low contrast.
Highlights
The Highlights tool allows you to adjust the brightness of the brightest areas of your photo. You can use this tool to recover detail in areas that may have been overexposed or washed out.
Shadows
Shadows allow you to adjust the brightness of the darkest areas of your photo. Turn the slider left when you want to create moody compositions. If you want to bring up details in areas that may have been underexposed or too dark, turn the slider to the right.
Contrast
Contrast tool is helpful when you want to adjust the difference between the light and dark areas of your photo. You can use this tool to make your photo look more dynamic and add depth and definition.
Brightness
This tool is quite self explanatory. It allows you to adjust the overall brightness of your photo, similar to the Exposure tool. However, this tool is more subtle and can be used to make smaller adjustments to the brightness of your image.
Black Point
The Black point tool allows you to adjust the darkest point in your photo. For casual photography, you should mainly use this slider to make the shadows in your photo look deeper and richer. But mainly, this is used to create adjustments between the maximum black levels to ensure it matches printers’ black capabilities.
Saturation
The Saturation tool allows you to adjust the overall intensity of the colors in your photo. In other words, it helps you make the colors more vibrant or muted for a more subdued look.
Vibrance
The Vibrance tool is a more subtle version of the Saturation tool. It allows you to adjust the intensity of the colors in your photo, but it focuses more on the muted colors in the image. You can use this tool to make precise adjustments to the colors in your photo without making them look overly saturated.
Warmth
The Warmth tool allows you to adjust the overall color temperature of your photo. You can use this tool to make your photo look warmer or cooler, depending on the look you’re going for. The closer you get to the left end of the slider, you’ll get a cooler, blue tint. If you go opposite, you’ll get a warmer, orange tint.
Tint
The Tint tool allows you to adjust the overall color balance of your photo. You can use this tool to make your photo look more green or magenta. The tinting helps bring out colors in a different way, so try it out on your own to see at which point you prefer the palette of the image more.
Sharpness
The Sharpness tool allows you to adjust the overall sharpness of your photo. It makes your photo look crisper and more defined, especially in areas with fine detail. Perfect for close up or architectural shots, to help bring out the tiniest details.
Definition
The Definition tool is a more subtle version of the Sharpness tool. It allows you to add some definition to your photo without making it look overly sharp or unnatural.
Noise Reduction
Perfect for when you want to get rid of the grainy overlay on your photos. This tool allows you to reduce the grain or noise in your photo, especially in areas with low light. Perfect for adjusting night shots.
Filters
The Photos app editor also comes with several basic filters that are useful when you’re in a hurry. It has a total of nine filters, three of which are black and white filters. Perfect for when you want a simple B&W shot.
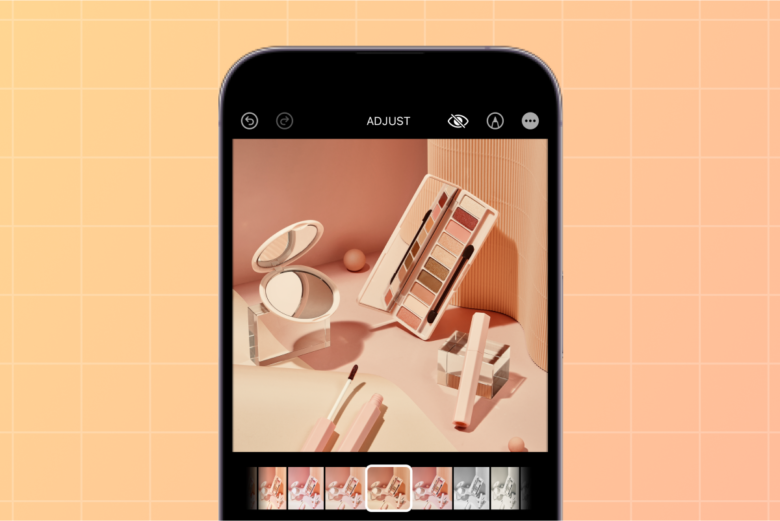
It’s important to keep in mind that you have the option to adjust the strength of the filter. To do so, just use the slider below each filter to decrease its strength. It’s always worth experimenting to see what looks the best, so it’s encouraged to give the filter sliders a try!
Crop & Rotate
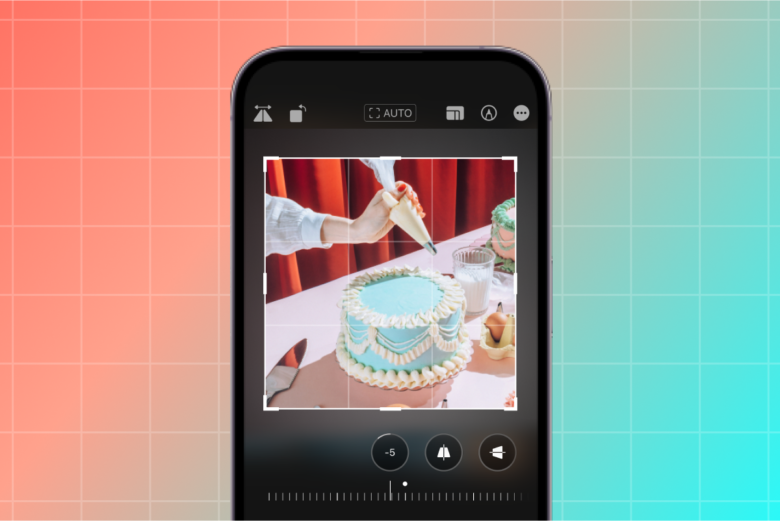
The Crop & Rotate tools in the Photos app editor allow you to adjust the composition and orientation of your photo. These tools can help you to straighten out a crooked image, remove unwanted elements, and make your photo look more polished. Here’s a closer look at some of the Crop & Rotate tools available:
Straighten
The Straighten tool allows you to adjust the alignment of your photo, making sure that the horizon line is straight and level.
Vertical
The Vertical tool allows you to adjust the vertical alignment of your photo, making sure that the subject is standing upright and not tilted.
Horizontal
The Horizontal tool allows you to adjust the horizontal alignment of your photo, making sure that the subject is not leaning to one side.
Flip
The Flip tool allows you to flip your photo horizontally or vertically, which can create a mirror image effect.
Auto crop
The Auto crop feature automatically crops your photo to remove any empty space around the edges. This can help to make your photo look more focused and centered.
Taking your photos to the next level with third-party photo editing apps
If you have more ambitious plans for your visuals, the Photos app’s editor can be quite limiting. You can’t do things like add text to your photos, remove the background and objects from the photo, or access a bigger variety of trendy filters and effects. There are a ton of photo editing applications in the App Store that will help you manifest your creative vision. And no, we’re not talking about hard-to-use and expensive apps that are designed for photography pros.
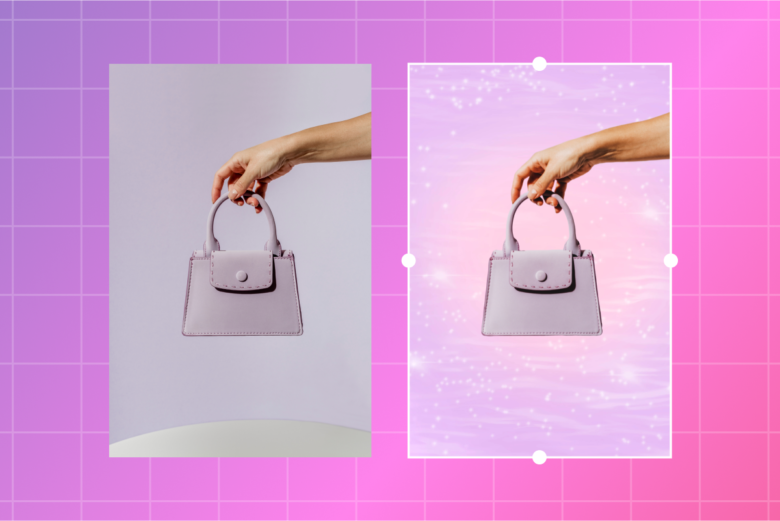
Of course, we’re a bit biased here, but we’re confident that once you give Picsart a try you’ll share our love for the app as well. Picsart is an all-in-one photo editor that’s also available on iPhone and will give you access to a suite of editing tools that were previously only available in expensive, pro-level editing software. But not anymore! Most of Picsart’s editing tools are available for free.
What’s best is that Picsart’s tools are powered by intuitive AI that will enable you to effortlessly and quickly make complex photo edits on your iPhone. Below are links to Picsart tutorials that will help you to take your iPhone photos to next level!
How to use Picsart to edit photos on iPhone
- How to turn a picture into a cartoon
- How to make an instant photo collage
- How to add a tattoo to images using Picsart
- Replace Your Ex with red flags, snakes and more with Picsart’s AI Replace
- Negative effect: how to make the negative of a picture
- How to Create Dripping Effect Images
- How do you make an image transparent?
- How to use the virtual makeup try on tool
- Eye color changer: easy ways to change eye color
- How do you face swap in Picsart?
- Circle crop an image the quick and easy way
- Color splash effect: a complete guide
Phew! That was a lot to cover. But it was worth it! Because now you know how to edit pictures on your iPhone. Hopefully this article gave you some inspiration and courage to take more creative risks with your photography. And if you need to take your vision to the next level, Picsart is always here to guide you in your creative journey.


