How to build end-to-end creative workflows with the Picsart CLI
SKILLS8 minAdvanced

Orchestrate multi-step campaigns that combine image, video, and audio generation into launch kits and content suites.

How to build end-to-end creative workflows with the Picsart CLI

What you'll learn

  • Chain image, video, and audio generations into one workflow
  • Build campaign kits with hero images, social graphics, and video
  • Automate blog-to-visual pipelines that read Markdown and generate assets
  • Create launch kits that include everything from OG images to soundtracks

What are CLI workflows?

CLI workflows chain multiple AI generation steps into a single automated pipeline. The Picsart gen-ai CLI lets you combine image, video, and audio creation to produce complete campaign kits, catalog re-shoots, blog visual suites, or product launch packages. Instead of running five separate commands, you describe the end deliverable and the CLI orchestrates every step. Think of it as a creative assembly line — you define the recipe, the AI handles production from start to finish.

Common use cases

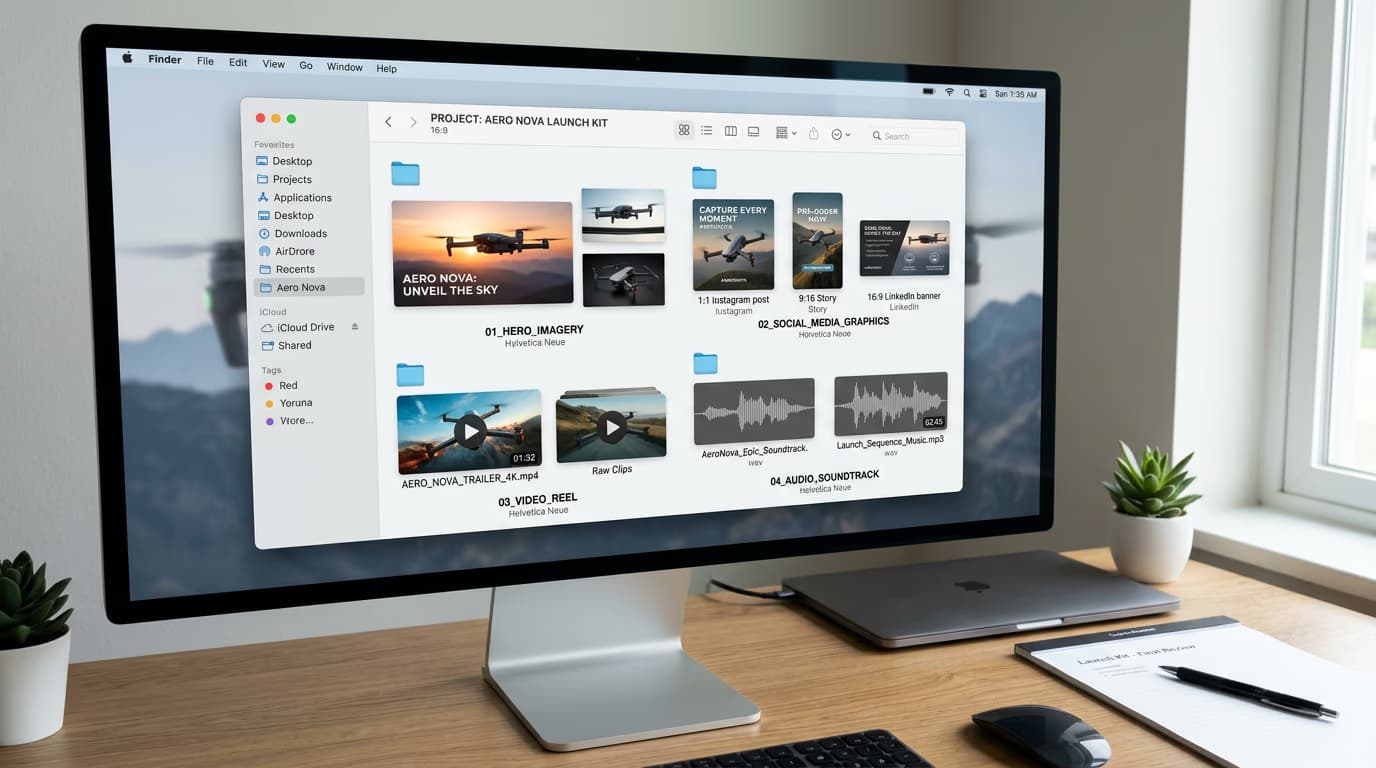
  • Launch kits: Generate hero image, social graphics, 15-second reel, and soundtrack for a product launch
  • Blog automation: Turn every Markdown article into a hero image, social preview, and OG card
  • Catalog re-shoots: Batch-process 200 product photos with new backgrounds and lighting
  • Campaign suites: Create a full set of Instagram posts, Stories, and TikTok clips from one brief
  • Event promotions: Generate posters, video teasers, and audio ads from event details
  • Multi-channel content: One source file produces assets for web, social, email, and print

Build a workflow step by step

STEP 1: Define your deliverables

  • On web: Go to picsart.com/cli → Download a workflow template
  • On mobile: Not applicable — workflows run in terminal only
Get workflow template

STEP 2: Structure the workflow steps

Map out your generation sequence:

  • Step 1: Generate hero image (e.g., 16:9 product shot with Flux)
  • Step 2: Create social graphics (e.g., 1:1 and 9:16 variations for Instagram)
  • Step 3: Animate hero into video (e.g., I2V with Kling, add camera zoom)
  • Step 4: Generate soundtrack (e.g., upbeat 15-second track with MiniMax)
  • Step 5: Package outputs (e.g., save to /launch-kit and upload to Drive)
STEP 3: Run the workflow

Execute the workflow manifest with gen-ai workflow --manifest launch-kit.json. The CLI processes each step in sequence, passing outputs from one step to the next. Progress updates show which step is running. Final deliverables save to your specified directory.

STEP 4: Review and refine

Check that all deliverables meet quality standards: Not perfect? Adjust individual steps in your manifest and re-run. The CLI caches completed steps, so only modified steps regenerate.

  • Verify hero image composition and aspect ratio
  • Check that social graphics maintain brand consistency
  • Review video motion and soundtrack pairing
Start building workflows

Tips for best results

💡 Start with a hero asset and derive everything else

Generate one high-quality hero image first, then use it as the input for social crops, video animation, and background variations. This keeps visual consistency across the entire campaign and reduces generation time since you're reusing one base asset.

💡 Use template manifests for repeatable workflows

Save your workflow manifests as templates (launch-kit.json, blog-visuals.json, catalog-reshoot.json). When you need the same deliverable structure for a new project, duplicate the template, update prompts, and run. This turns one-off tasks into repeatable processes.

💡 Chain extend commands for long-form video

If your workflow includes video, use gen-ai extend to stitch multiple 7-second clips into a 30-60 second sequence. The CLI maintains character and scene consistency across extensions. Add --soundtrack at the end to attach background music that matches the full video length.

💡 Integrate with CI/CD for automated content pipelines

Hook workflows into Next.js build scripts, GitHub Actions, or cron jobs. Example: every time a new blog post is committed, the workflow auto-generates the hero image, OG card, and social preview. The CLI's --json output makes it easy to pipe results into deployment scripts.

Frequently asked questions

Create a workflow manifest with sequential steps: generate hero image, create social crops (1:1, 9:16), animate hero into video, generate soundtrack, package all files. Each step passes its output to the next step as input. Run gen-ai workflow --manifest launch-kit.json and the CLI handles the entire pipeline. Download a sample template at picsart.com/cli.

Yes. Generate the hero image in step 1, then reference its output path in later steps for cropping, animation, or background replacement. The CLI passes file paths between steps automatically. This keeps visual consistency and reduces generation time since you're deriving assets from one source image.

Batch mode runs many independent jobs in parallel (e.g., generate 100 product images). Workflow mode runs sequential steps where each step depends on the previous output (e.g., generate hero → animate → add soundtrack). Use batch for volume, workflow for multi-step pipelines. You can combine them — run a workflow inside each batch job.

Create a workflow that reads Markdown frontmatter (title, excerpt) and generates assets: hero image from title, OG card with excerpt text overlay, social preview in 1:1 and 16:9. Hook the workflow into your build script (Next.js, Gatsby, Hugo) so new blog posts automatically trigger asset generation. The CLI's --json output lets you write results back to frontmatter or a CMS.

Ready to automate campaigns?

Install the CLI and start building multi-step workflows that deliver complete creative suites in one command.

Get started