How to run batch AI generations and script workflows with the CLI

SKILLS7 minAdvanced

Process hundreds of images, videos, or audio files in one command using manifests, concurrency control, and JSON output.

How to run batch AI generations and script workflows with the CLI

What you'll learn

  • Create JSON manifests for batch generation jobs
  • Control concurrency to balance speed and API limits
  • Pipe CLI output to jq, curl, or CI tools
  • Resume failed jobs and skip completed files

What is batch generation with the CLI?

Batch generation processes multiple AI creation jobs in parallel using a JSON manifest or directory scan. The Picsart gen-ai CLI reads a list of prompts, images, or videos, runs each through the AI pipeline, and saves outputs to your specified directory. You can tune concurrency, resume on failure, and pipe structured output to other tools. Think of it as Photoshop's batch actions, but powered by 130+ AI models and built for automation.

Common use cases

  • Product catalogs: Re-render 500 product images with clean backgrounds in one run
  • Social media: Generate 20 variations of a campaign visual for A/B testing
  • CI/CD pipelines: Auto-generate OG images during Next.js or Gatsby builds
  • Blog automation: Turn every article into a hero image using the blog title as the prompt
  • Video campaigns: Batch-generate 10-second social clips from a list of product names
  • Drive sync: Upload all outputs to Google Drive or Dropbox after processing

Run batch generations step by step

STEP 1: Create a manifest file

  • On web: Go to picsart.com/cli → Download a sample manifest template
  • On mobile: Not applicable — batch jobs run in terminal only
Get sample manifest

STEP 2: Configure batch settings

Set up your manifest and concurrency options:

  • Manifest format: JSON array with prompt, model, and output path for each job
  • Concurrency: Add --max-jobs 5 to run 5 generations in parallel (adjust based on your account limits)
  • Resume mode: The CLI skips files that already exist, so you can re-run after failures
  • Output directory: Use --output ./results to save all files to a specific folder
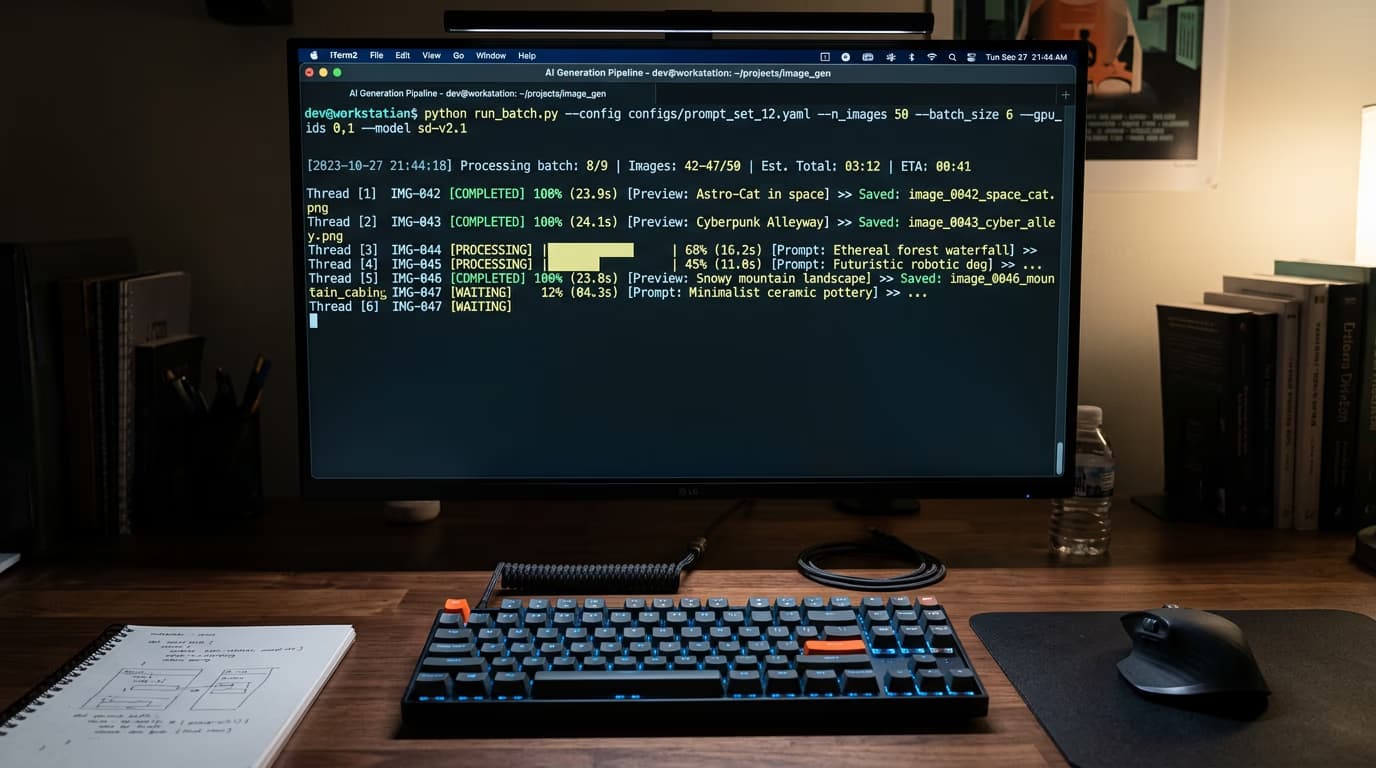
STEP 3: Run the batch job

Execute gen-ai batch --manifest prompts.json with your manifest file. The CLI processes all jobs in parallel based on your concurrency limit. Progress updates show how many jobs are complete, pending, or failed. Outputs save to your specified directory.

STEP 4: Review and verify

Check the output directory for completed files: Not perfect? Adjust prompts in your manifest and re-run. The CLI skips already-generated files and only processes new or failed jobs.

  • Verify all expected files were created
  • Check for failed jobs in the CLI output log
  • Inspect a sample of outputs to confirm quality meets your standards
Start batch processing

Tips for best results

💡 Start with low concurrency and scale up

Begin with --max-jobs 3 to test your manifest structure and verify outputs. Once you confirm everything works, increase to --max-jobs 10 or higher. Too much concurrency can hit API rate limits or exhaust your credit balance faster than expected.

💡 Use JSON output for piping to other tools

Add --json to get structured output you can pipe to jq, curl, or CI scripts. Example: gen-ai batch --manifest prompts.json --json | jq -r '.results[].url' extracts just the file URLs. Perfect for posting results to Slack, uploading to S3, or triggering downstream automation.

💡 Resume failed jobs without re-generating

If a batch job fails midway, re-run the same command. The CLI checks your output directory and skips files that already exist. Only failed or pending jobs get processed. This saves time and credits when handling large batches.

💡 Organize manifests by project or campaign

Keep separate manifest files for different projects: product-catalog.json, social-campaign.json, blog-images.json. This makes it easier to re-run specific batches, track credit usage per project, and version-control your generation workflows.

Manifest structure reference

  • prompt: Text description of what to generate
  • model: AI model to use (flux, recraft, sora, kling, etc.)
  • output: File path where the result should be saved
  • type: Generation type: image, video, or audio
  • aspectRatio: Canvas shape: 16:9, 1:1, 9:16, etc. (image/video only)
  • count: Number of variations to generate per prompt
  • image: Input image path for I2V or editing workflows
  • video: Input video path for V2V or extend workflows

Frequently asked questions

Create a JSON file with an array of job objects. Each object needs at minimum a prompt, model, and output path. Example: [{"prompt": "sunset over ocean", "model": "flux", "output": "./images/sunset.png"}]. Save the file and run gen-ai batch --manifest jobs.json. The CLI validates the structure before starting. Download a sample template at picsart.com/cli.

Yes. The CLI handles manifests with hundreds or thousands of jobs. Use --max-jobs to control how many run in parallel (default is 5). Higher concurrency finishes faster but can hit API rate limits or exhaust credits quickly. For very large batches (1000+ files), split into multiple manifest files and run them sequentially.

The CLI logs which jobs succeeded and which failed. Re-run the same command — it checks your output directory and skips files that already exist. Only failed or pending jobs get processed. This resume behavior is automatic, so you don't lose progress or waste credits re-generating completed files.

Add --json to get structured output. Example: gen-ai batch --manifest jobs.json --json | jq -r '.results[].url' extracts all file URLs. Pipe to curl to POST results to an API, or save to a file for later processing. JSON mode is silent (no progress logs), so it's perfect for CI/CD pipelines.

Ready to automate?

Install the CLI and start running batch jobs to process hundreds of generations in parallel.

Get started