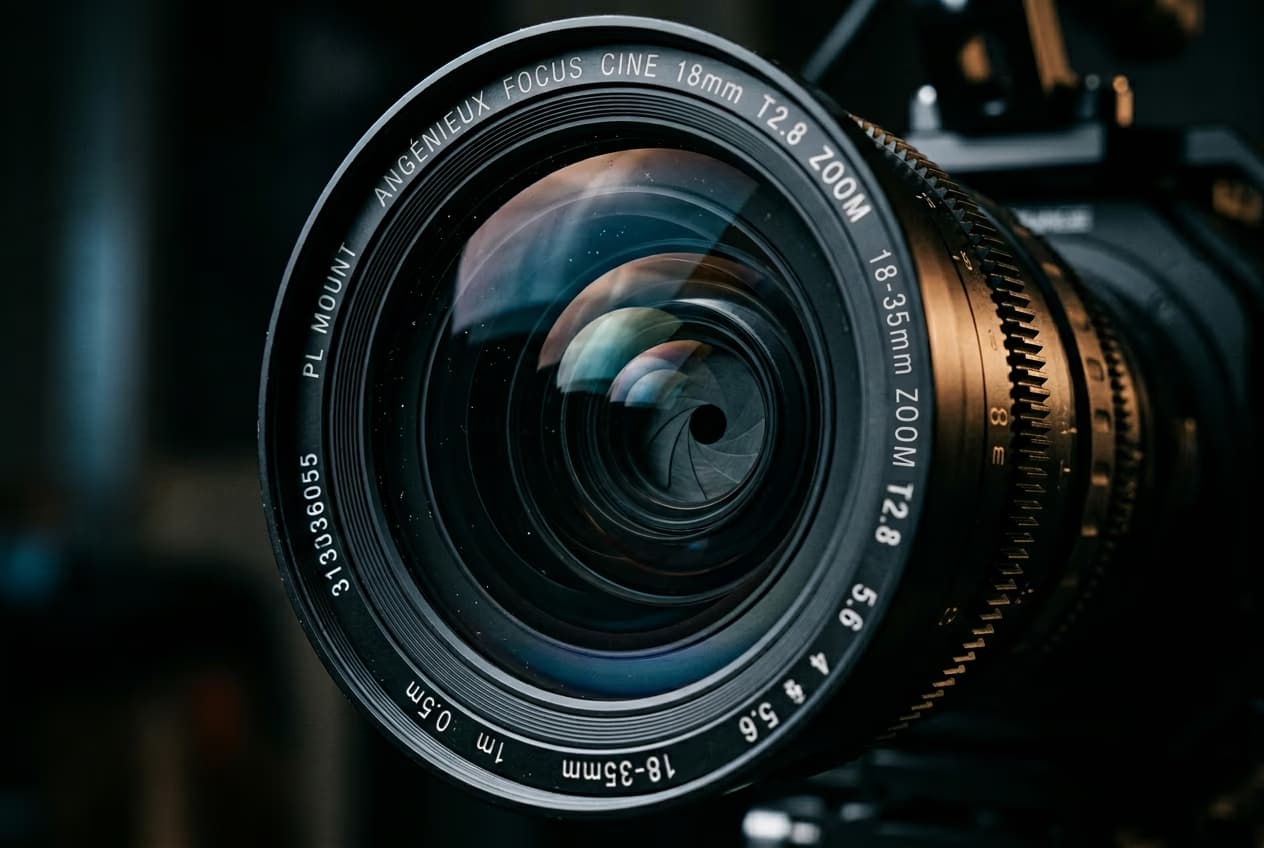
Make a 3D product video from one photo
Turn your product photo into a 3D model in Picsart Flow, then animate a turn between two angles you choose.
- Category: VIDEO MODELS
- Reading time: 3 min
- Watching time: 1 min
- Difficulty: Intermediate
Learn what you'll do
- Add a clear product photo to your Picsart Flow board.
- Turn it into a 3D model with Detail set to High.
- Check the model in Clay view and save the angles you want as images.
- Animate a turn from your first angle to your second.
Make your 3D product video step by step
Step 1: Add your photo
- Open a new board in Picsart Flow, add an Image node, and upload a clear photo of your product.
Open Picsart Flow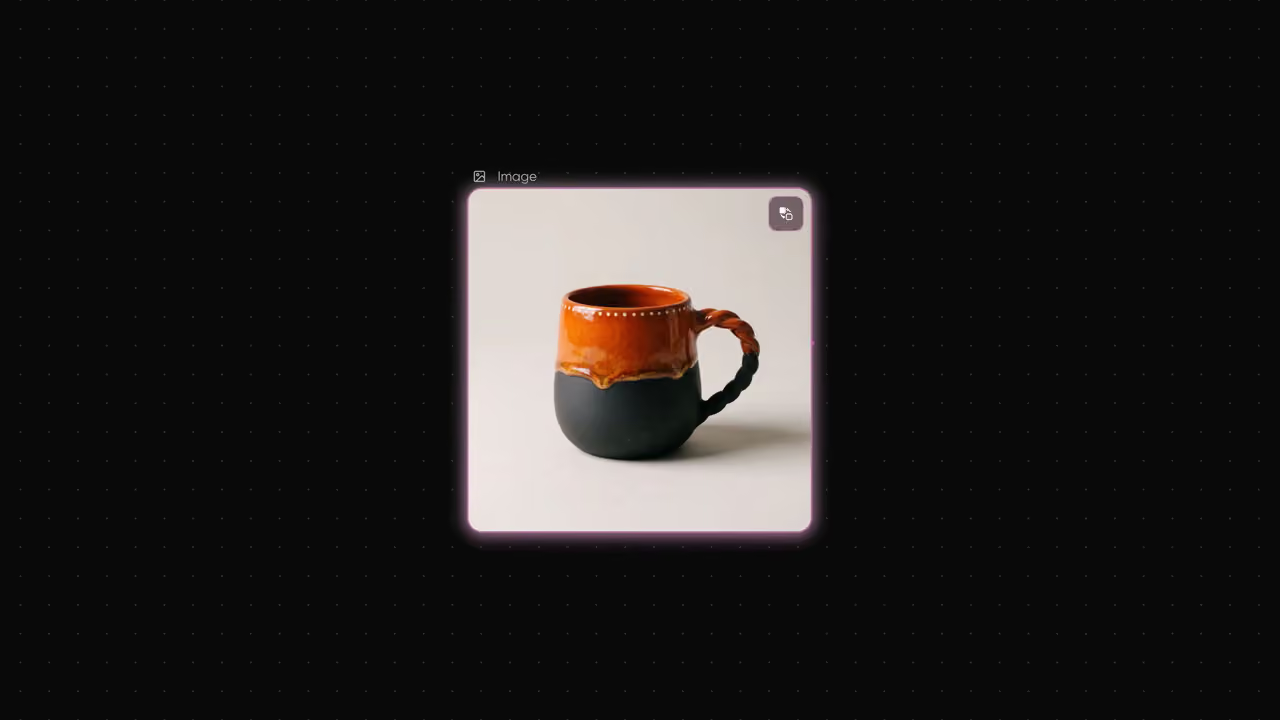
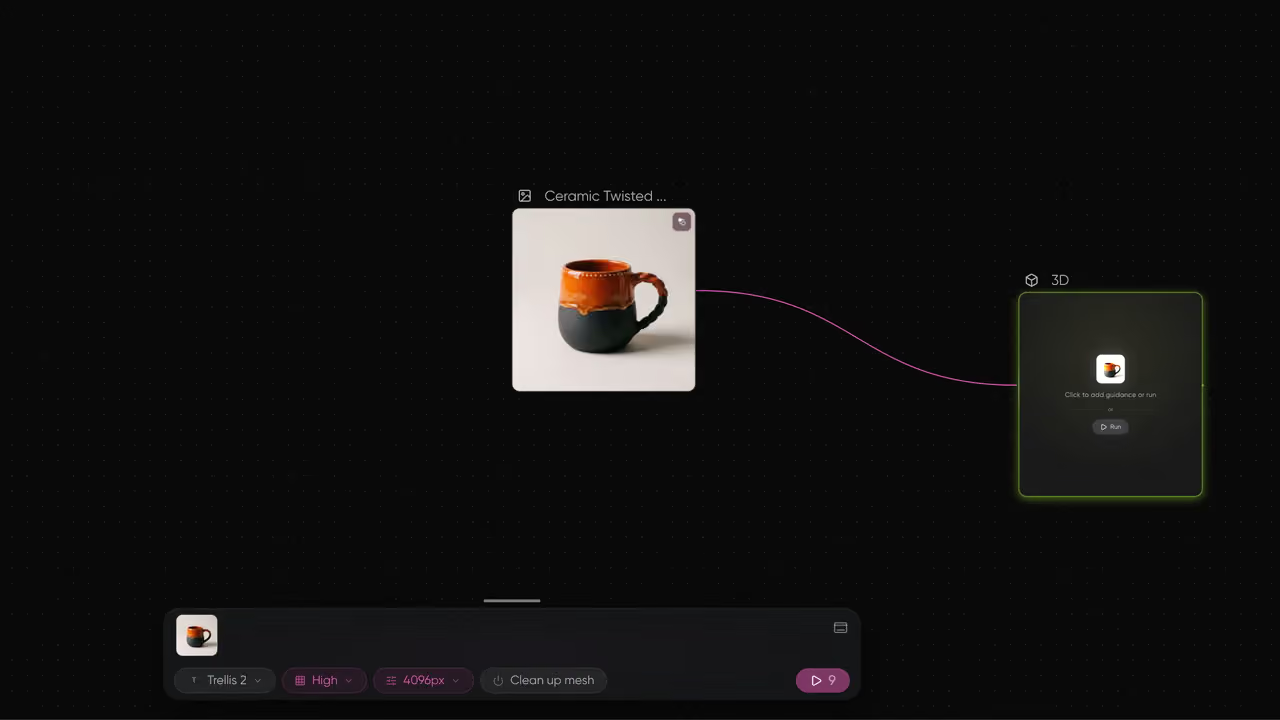
Step 2: Turn your photo into 3D
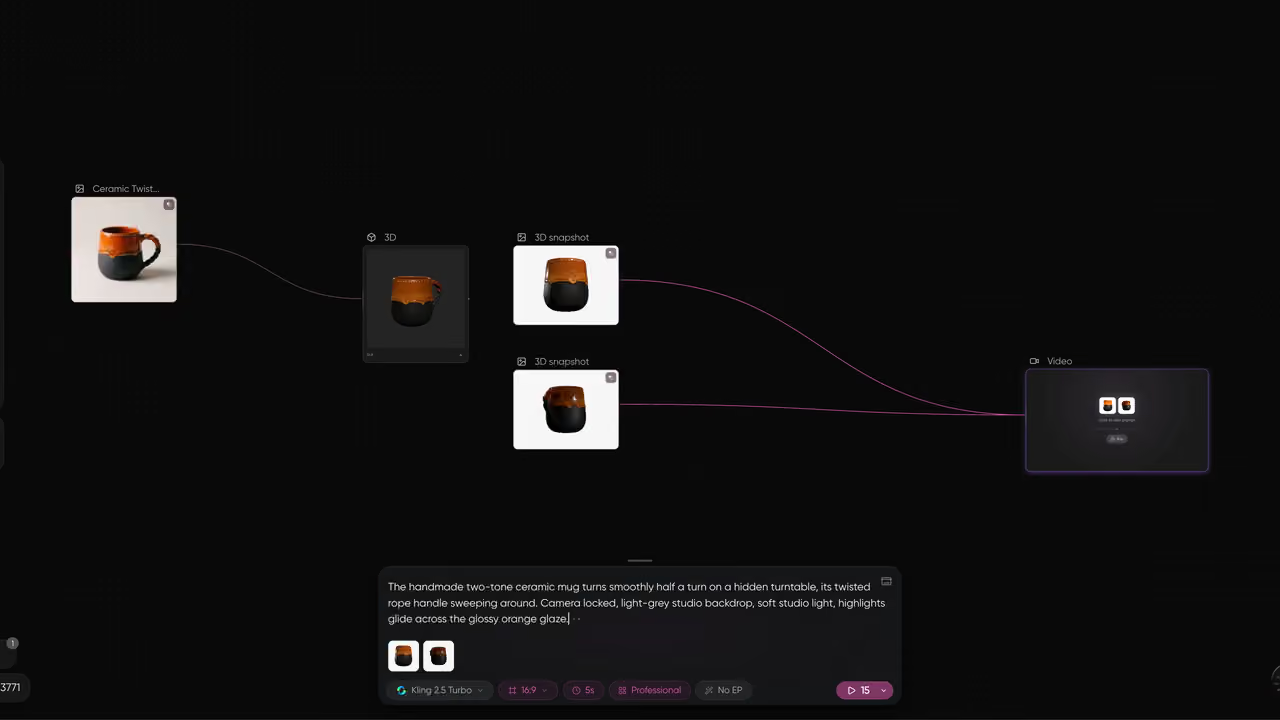
Drag from your photo and choose 3D. Apply these settings, then click Generate. Your 3D model is ready in a few minutes.
- Detail: High
- Texture quality: 4096px
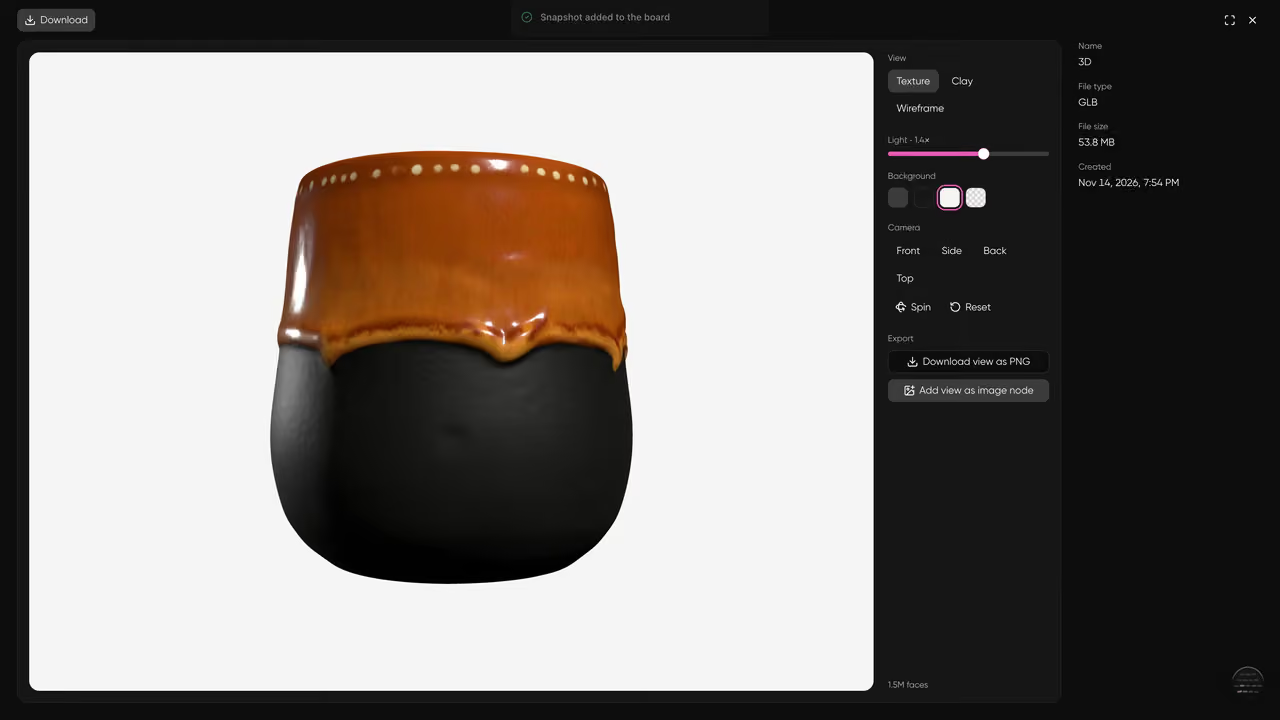
Step 3: Pick your angles
Open your 3D model full screen and set up the view. Then choose a camera view, such as Front, and click Add view as image node. Do the same for a second view, such as Back. Each view lands on your board as an image.
- Check your product’s shape in Clay view, then switch back to Texture.
- Choose a light background and brighten the light so the colors match your photo.
- Save two views: the first is where your video starts, the second is where it ends.
Step 4: Animate the turn
Connect both saved angles to a Video node — connect the start angle first and the end angle second. Pick a model, switch to Professional, describe the turn you want, and click Generate.
- Switch to Professional: start and end frames don’t work in Standard.
Step 5: Review your product video
Check your finished turn next to your original photo. In the mug example, the turn brings the twisted handle into view.
- Compare your product's overall shape with the original photo.
- Compare the main colors with the original photo.
- Check that the detail you want to reveal comes into view.
Make a video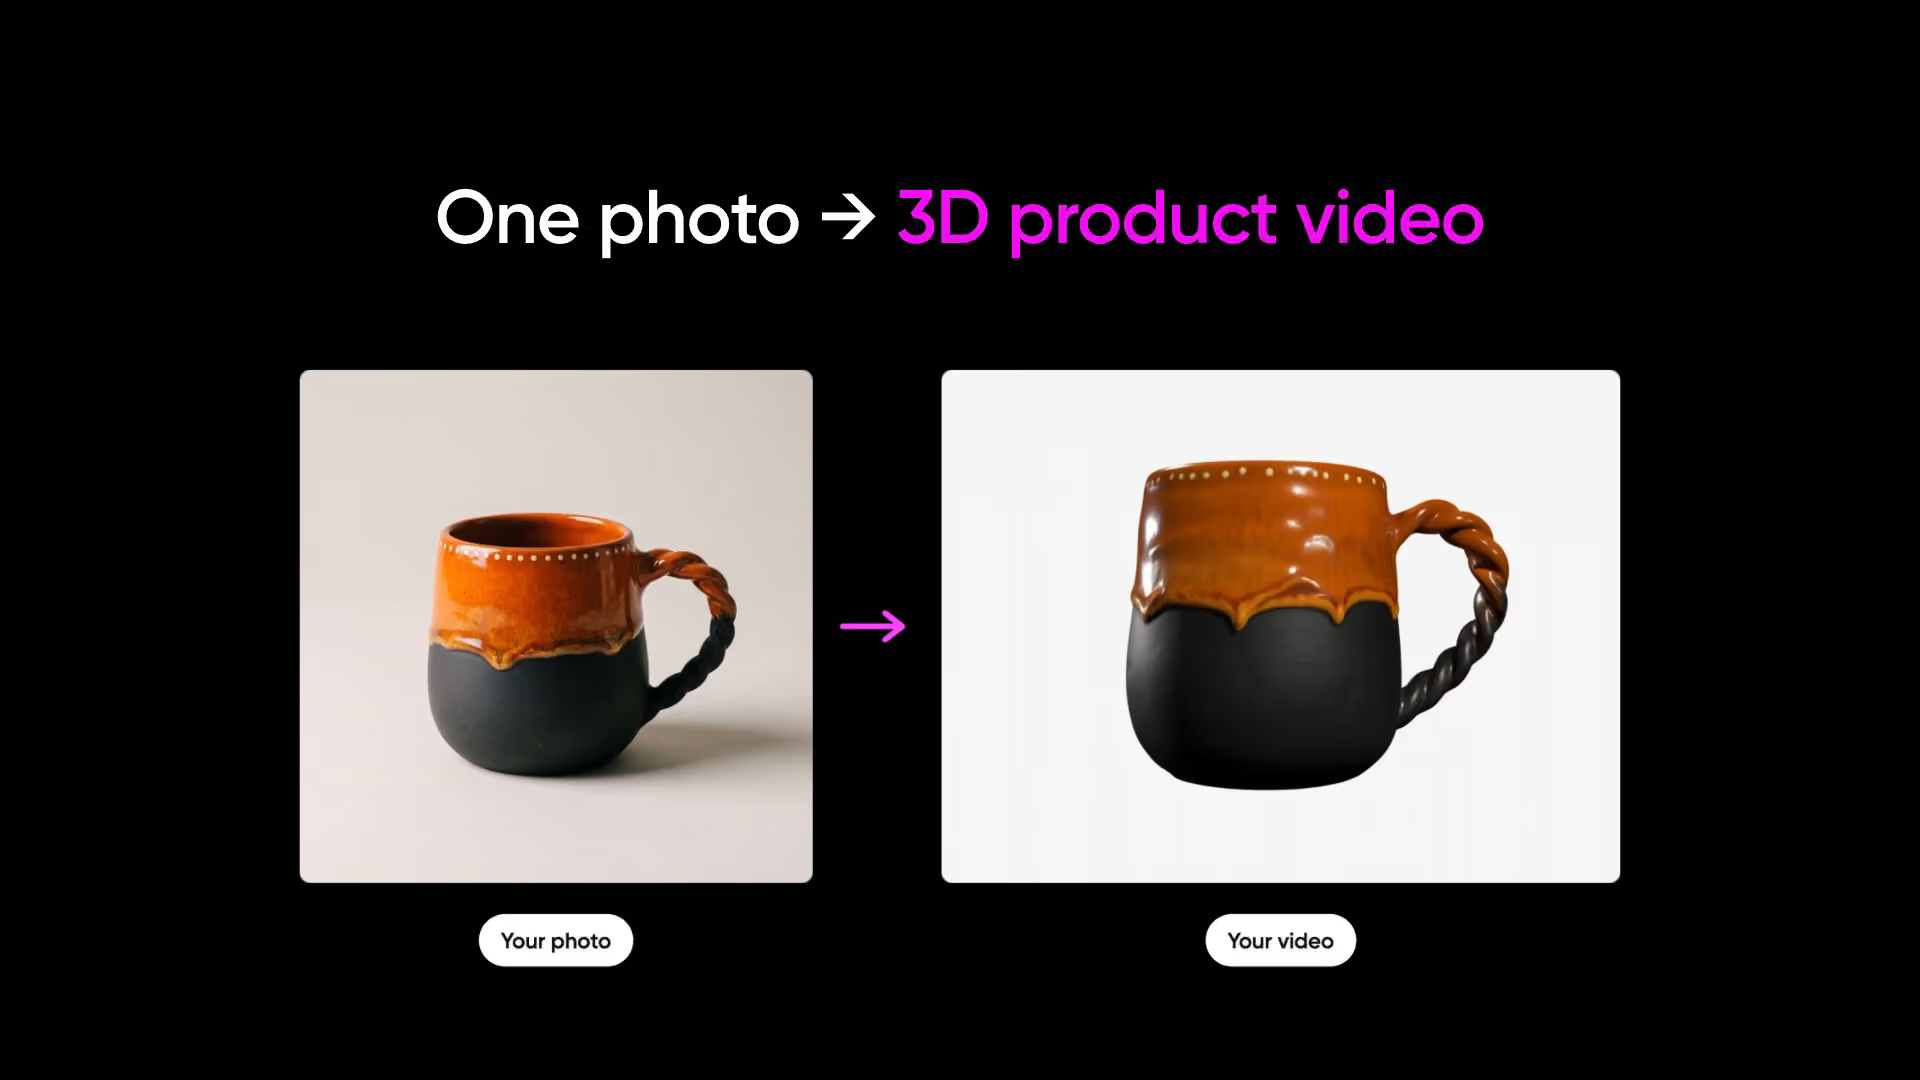
See the finished turn
Get better results
Give your model a clear starting point and check the details before you animate.
Start with a clear photo
Use a photo of one product on a plain background, evenly lit, so the 3D model reads its shape correctly.
Choose bold colors
Products with bold colors and chunky shapes come through best in this workflow.
Watch for fine details
Fine engraving and thin lines can get simplified. Check those details in your model before you save your angles.
Find answers to common questions
Find out what one photo can capture and where the model fills in gaps.
- When you build a 3D model from one photo, Picsart Flow fills in the back of your product. The model can give you a view that wasn’t in your original image, but it can’t know exactly what that side looks like. Check the shape in Clay view before choosing which angles to animate.