Remove objects from photos with AI
Clean up distracting objects without rebuilding your photo by hand. Select the detail you want to remove, let AI fill the area, and check the result before saving your edit.
Start with the edit you need
How to remove an object from a photo
An object remover for the photo you already have
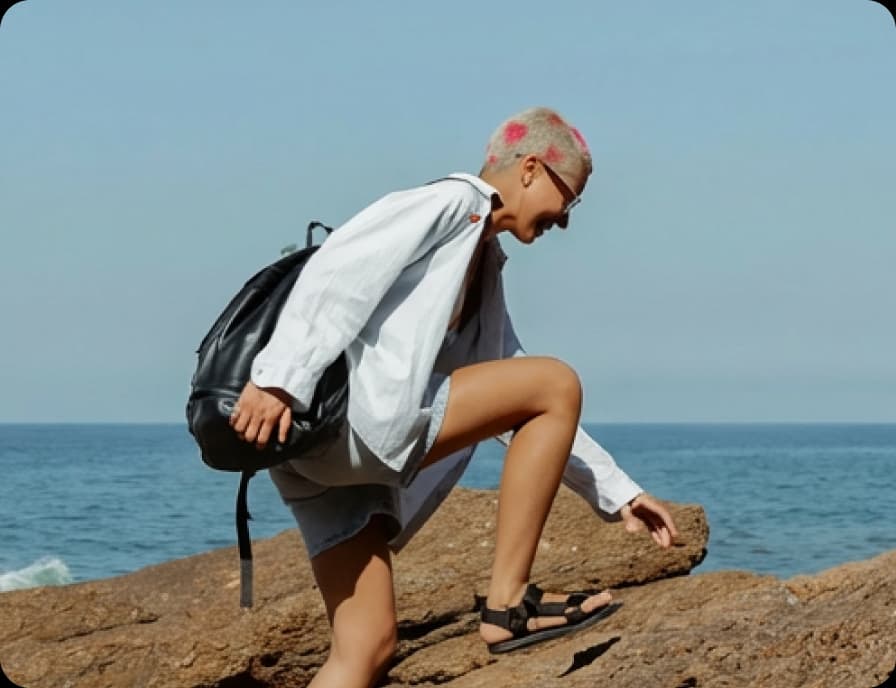
Remove an object from a photo when a small distraction pulls attention away from your subject. A cable on a table, an item beside a product, or clutter in the distance can change how the whole image reads. Picsart uses AI to fill the selected area using the surrounding scene. Simple backgrounds often give you a clearer starting point; patterned surfaces and overlapping subjects deserve a closer check. Work on one distraction at a time so you can judge each result.
- Keep attention on what matters in the shot
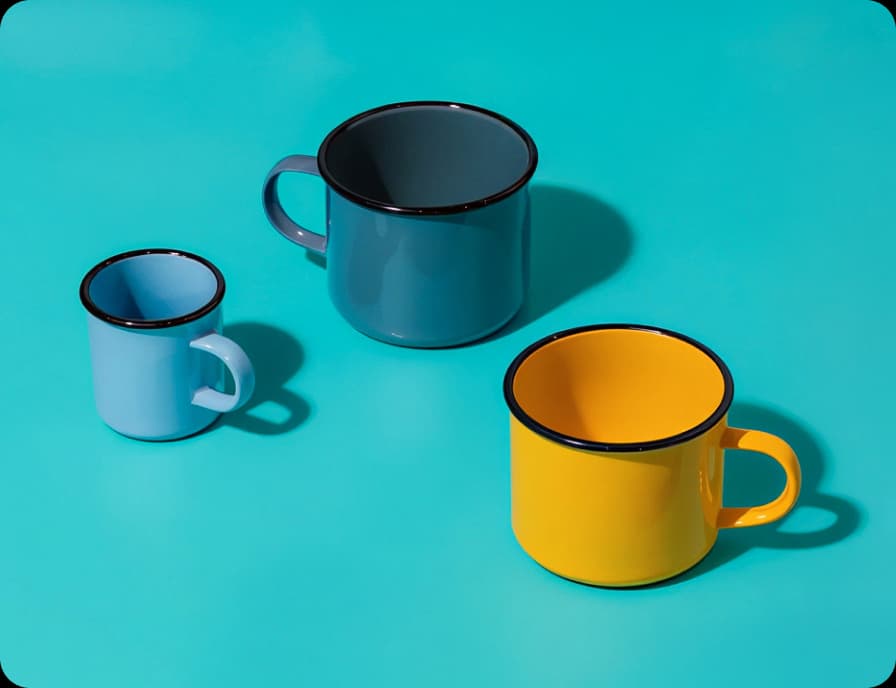
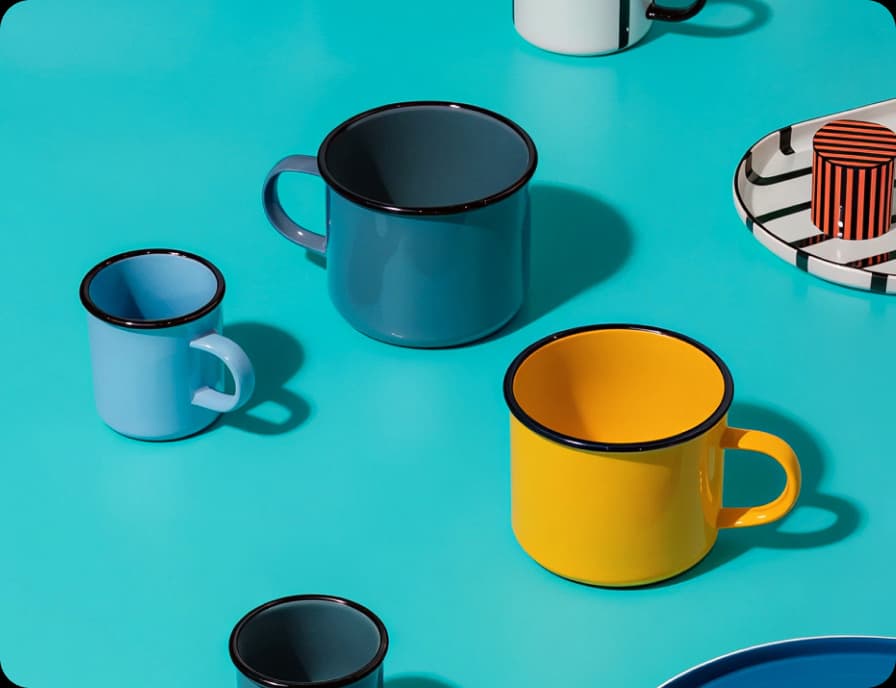
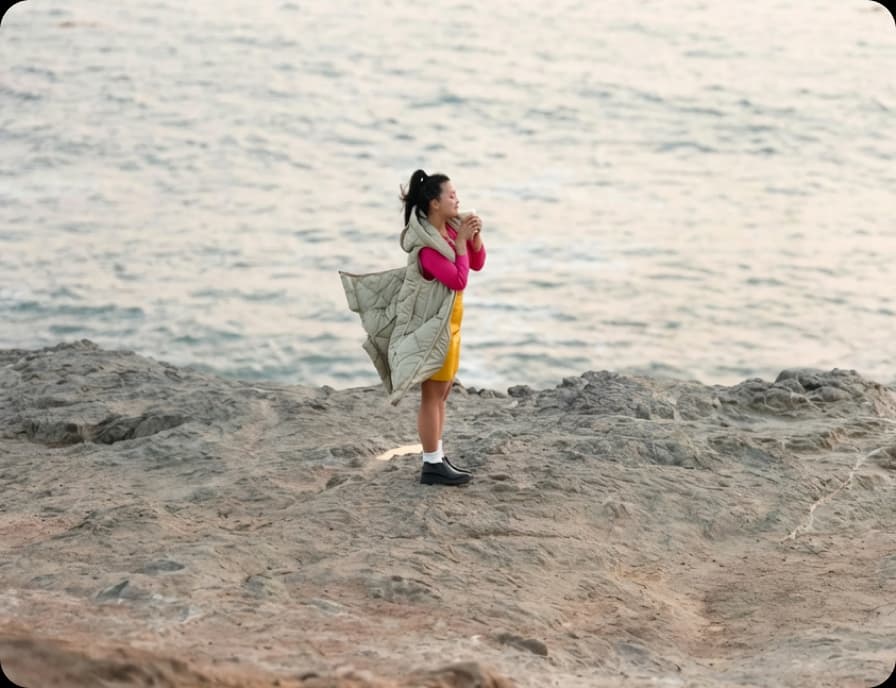
Compare object removal on different photos

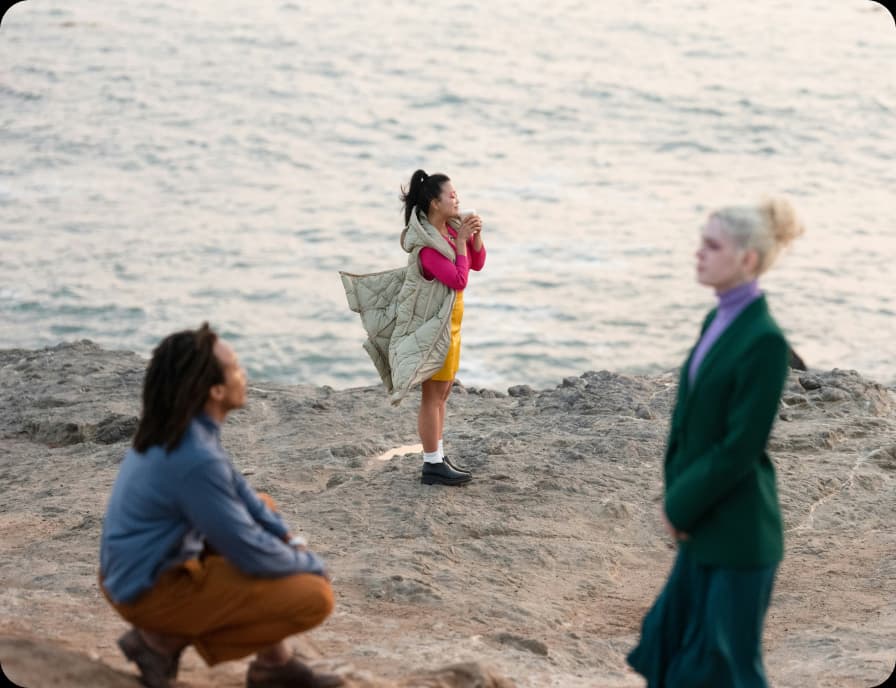

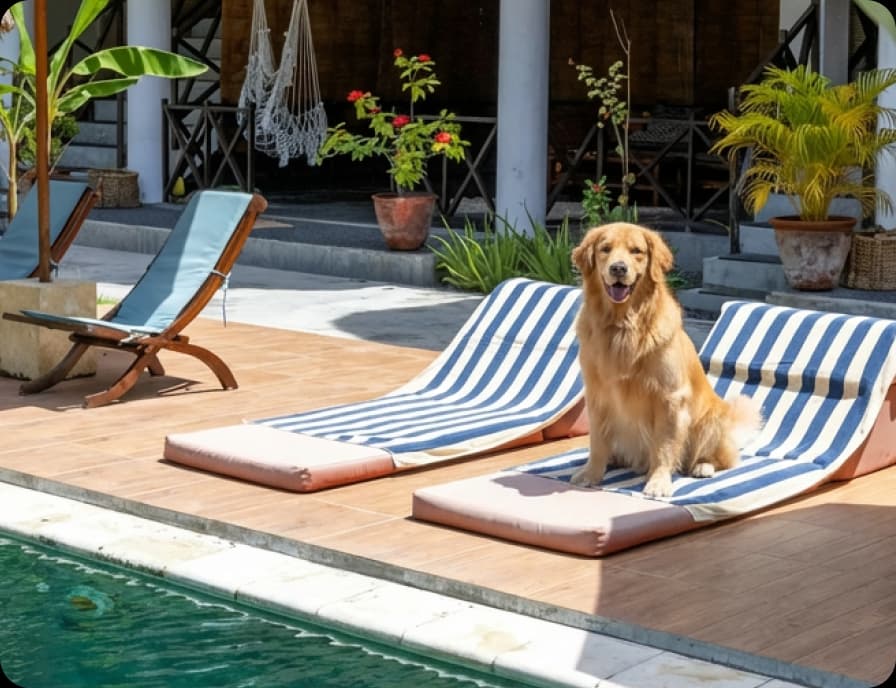
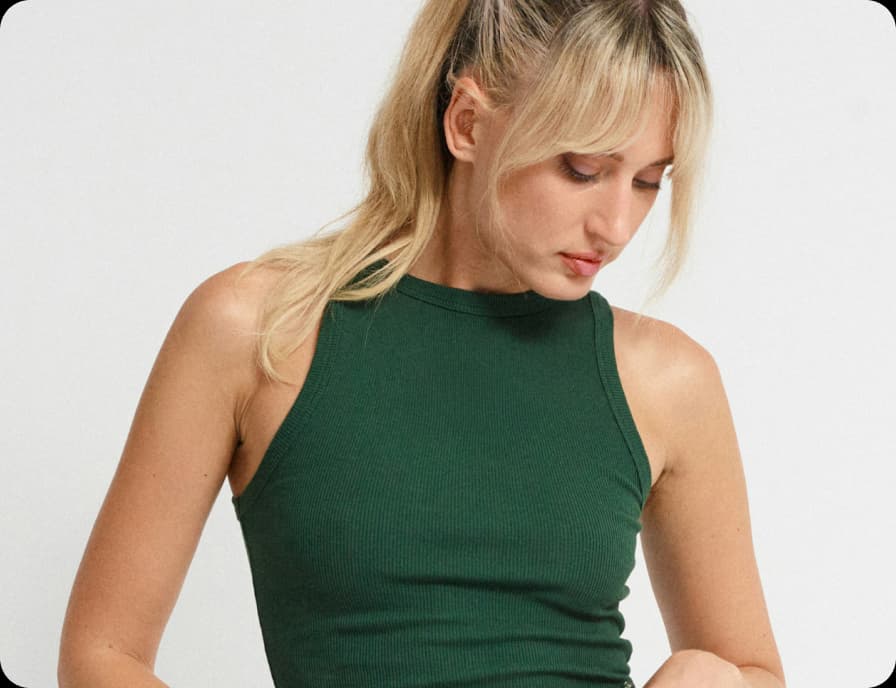
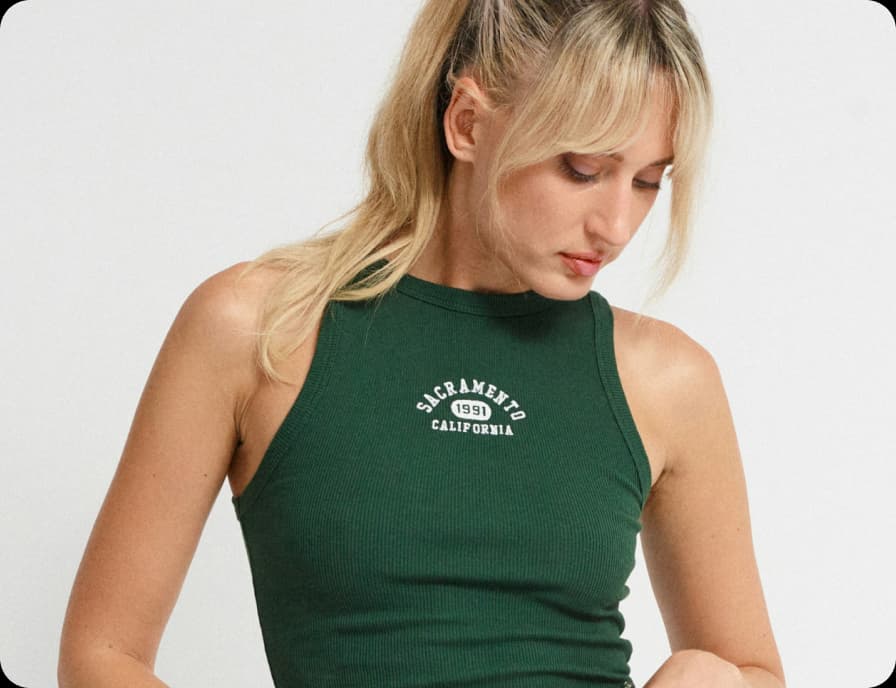
Use the brush for smaller details
Manual brushing gives you control over the part of the picture that changes. Use a smaller brush beside your subject and a larger one for open areas. Cover the object completely, including a visible shadow if it belongs to the distraction. Apply the edit and zoom in to inspect the boundary. If part of the object remains, adjust the selection rather than brushing over a much larger area of the photo.
- Choose the small detail you want to erase
Select a larger area without losing the subject
For a wider cleanup, review the selection options available in the editor, including background and foreground selection. Make sure the highlighted area covers the distraction you intend to remove. Similar colors or overlapping objects can make the boundary harder to detect. Keep the subject’s outline visible and use the brush to refine the selection where needed.
- Control the area you select
Give text and people their own editing workflow
Text overlays and people can need a more focused selection than a small object. Use the dedicated remove text from images or remove people from photos pages for those jobs. When text detection is available in the editor, inspect the detected text before removing it. Only edit overlays on images you own or have permission to modify.
Keep cleanup separate from a creative AI edit
Object removal starts with a selection on your existing photo. If you want to describe a broader change, explore AI Photo Editor for prompt-based editing instead. Explain which detail should change and which parts should stay. Review the output against your original image, especially faces, product details, and lettering. For everyday cleanup, a precise removal selection is often the most direct place to start.
Prepare a cleaner image for your next design
A cleaner product image or campaign photo is easier to reuse in a layout. Remove incidental clutter, then check that important product details, labels, and shadows still look accurate. You can continue with image cropping, text, or stickers to finish the design. Removing an object changes image content; it does not grant permission to reuse someone else’s work.
Learn image editing basics
Learn how to make cleaner edits with practical steps.
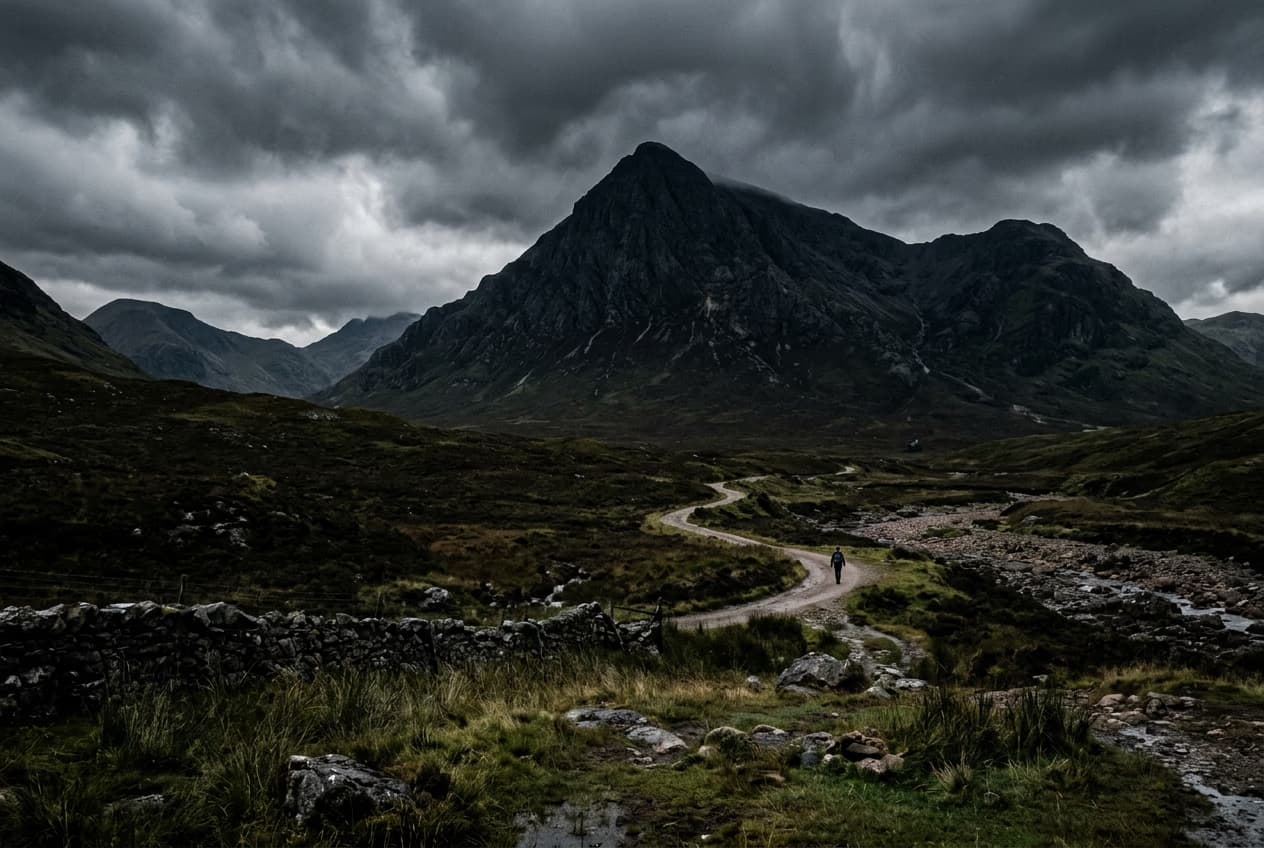
Remove unwanted objects from photos with AI
3 minBeginner
Replace objects in photos with AI-generated content
4 minIntermediate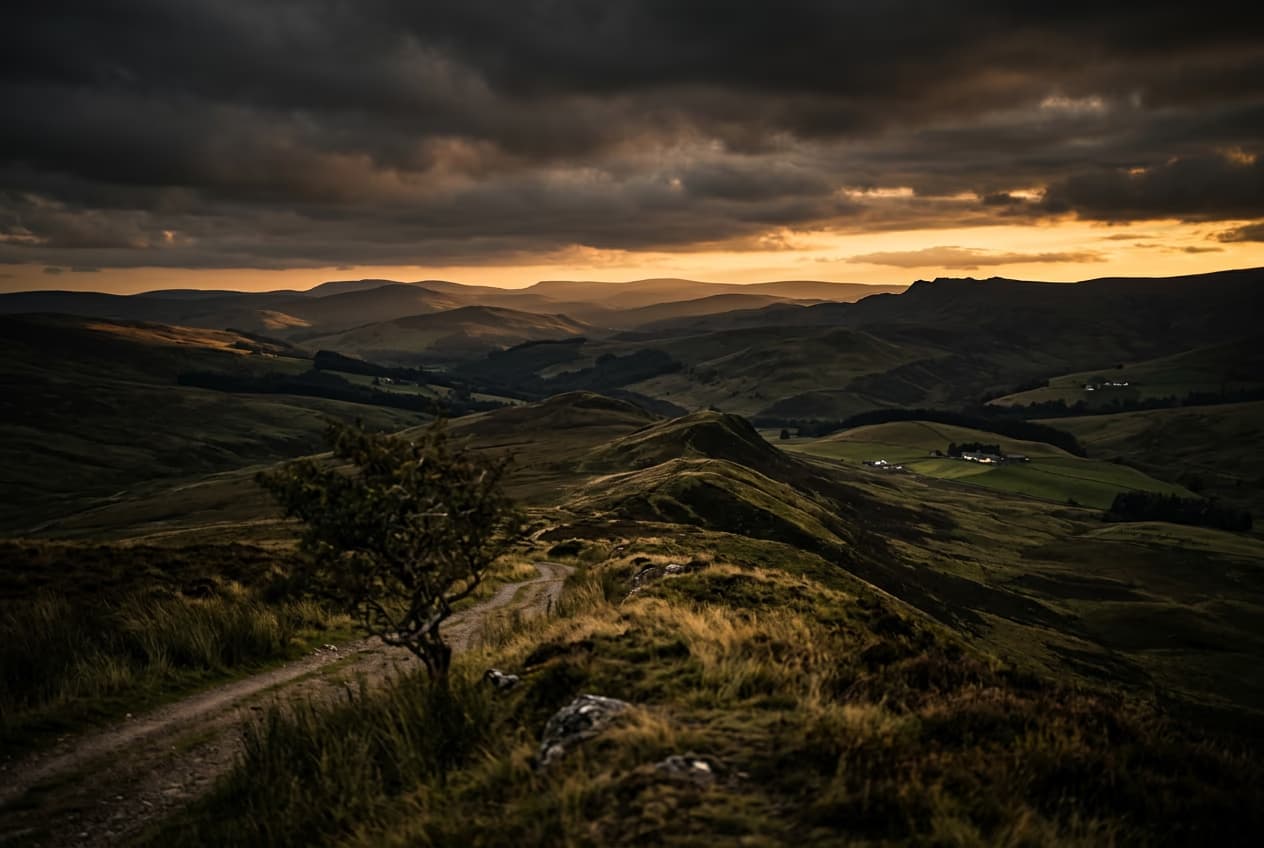
How to expand images beyond their borders with AI
4 minBeginner
Upscale low-resolution images to HD with AI
3 minBeginner
Edit any part of an image with text prompts
4 minIntermediate
Remove objects from photos with AI FAQ
Upload your photo, select Remove, and brush over the unwanted object. Apply the edit, inspect the filled background, and use Export when you are satisfied with the result.
Clean up visuals for polished creator content
Compare plans for the editing tools and features you want to use.
Pro
Most popularAI tools for everyday creative work.
Ultra
Most powerfulHeavy AI usage for creators & teams.
Enterprise
Custom AI solutions for large organizations.
- Volume discounts on credit rate
- On-demand top-ups